
How to Thread a Heavy Duty Leather Sewing Machine
In this short video you will learn how to install thread on your new leather sewing machine. In the example here I am using. Cobra Class 4 stitcher, but this will also work on Cowboy stitchers, Techsews and other brands too. Below I have also included photos of the process with descriptions in case you learn better that way.

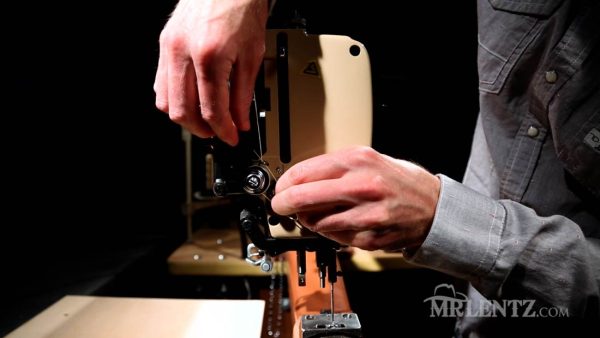
First turn the machine off,
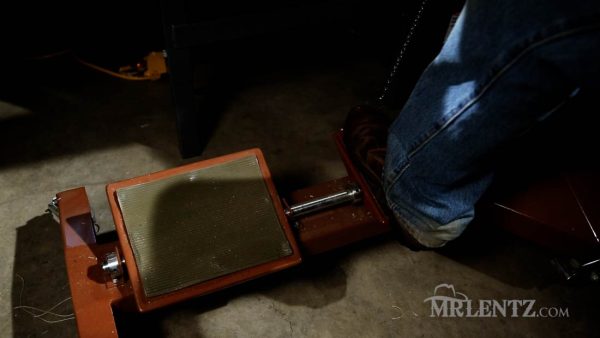
then press the lifter pedal.
Push this lever backward to keep the Presser foot lifted.
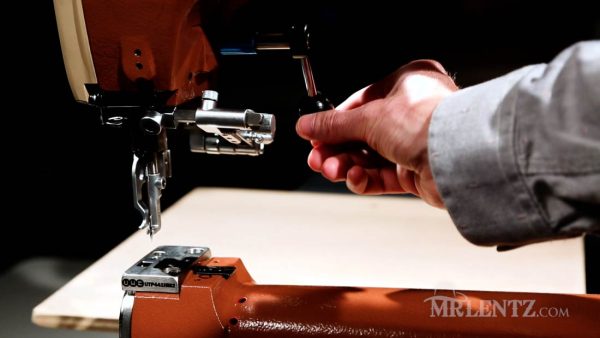
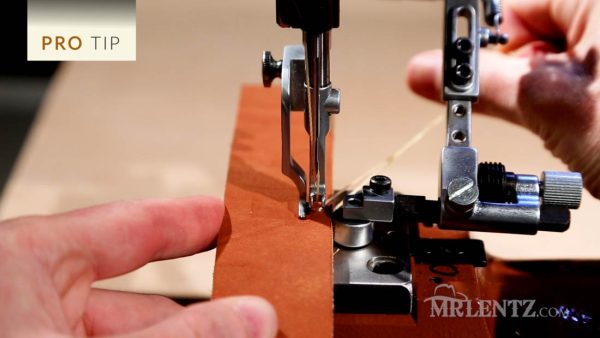
HANDY PRO TIP (for sewing in general):
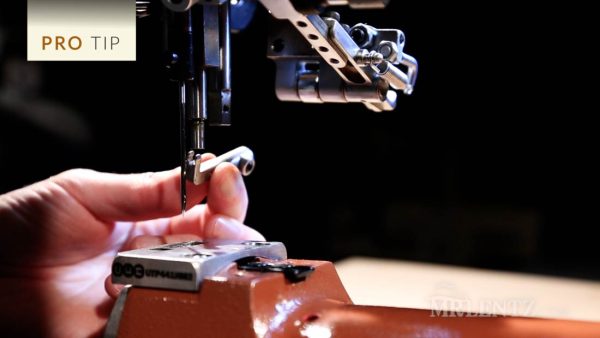
Use an open toe needle foot to clearly see where your stitch will land.
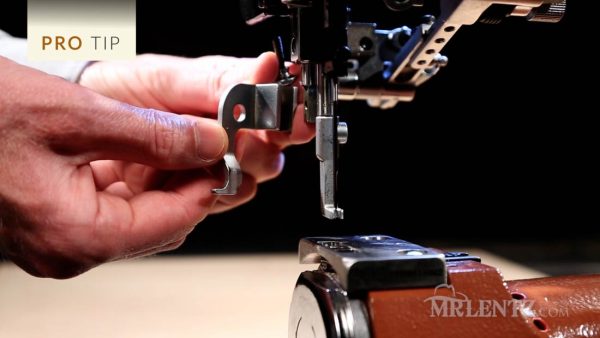
Use the left toe Presser foot for most projects, switching it up only if necessary to hold the leather correctly.
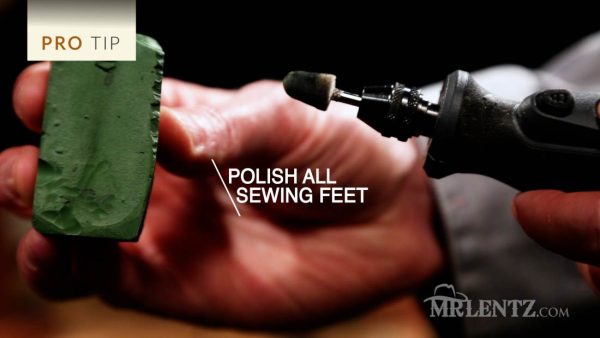
Always Polish your sewing feet to a mirror, finish on the bottoms and sides. It’s the number one reason your thread frays while stitching. I use a Dremel with polishing pad and green polishing compound.
Ok – let’s get back to it:
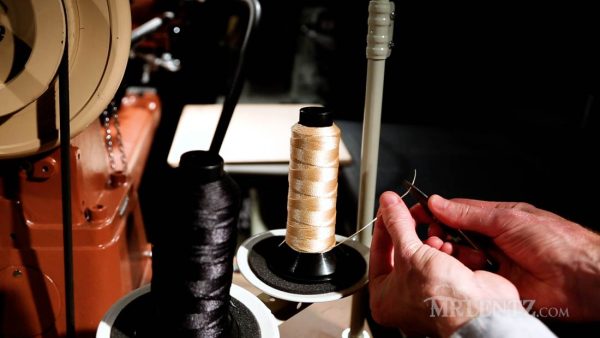
Snip off any frays at the tip of your thread – this helps make it easier to thread the machine.
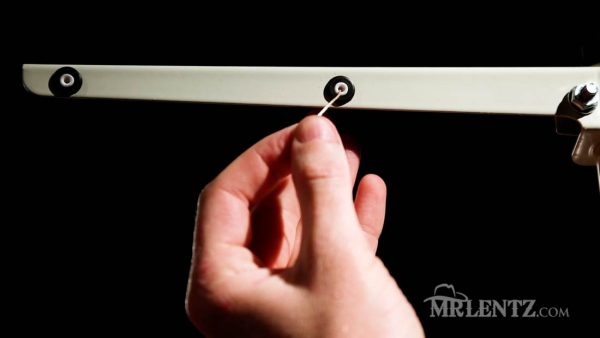
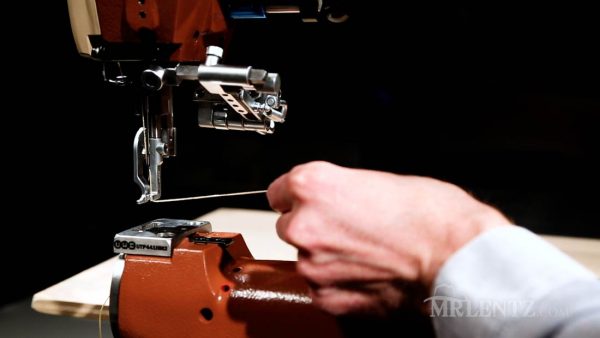
Slide it up through the hole on the thread stand.
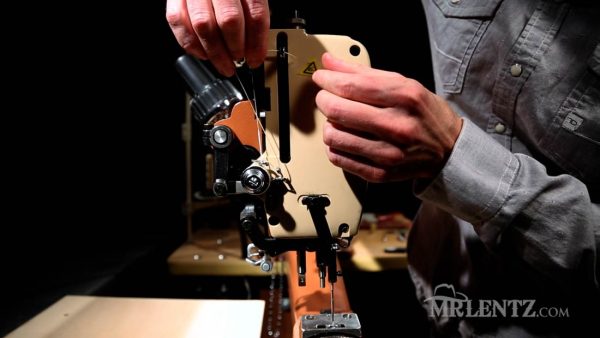
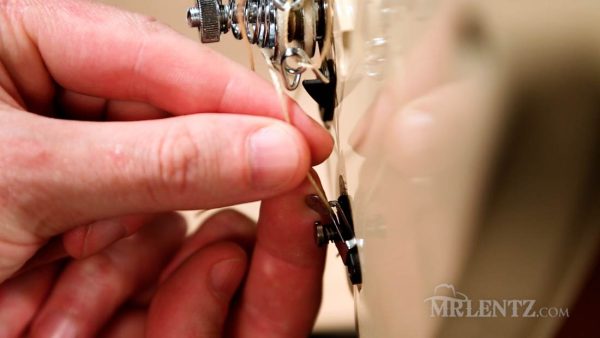
Bring the thread over to the main thread tension and through the eyelet…
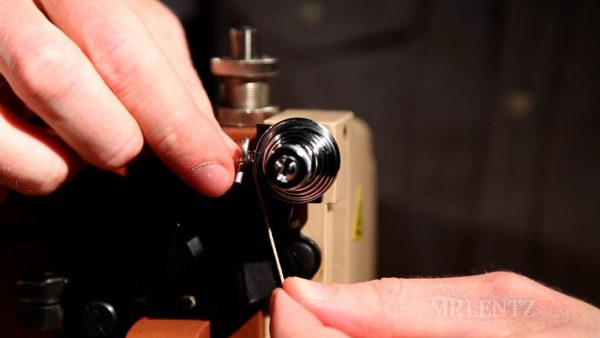
go down first after passing through the eyelet…
then around the back and between the metal plates at the top. Give it a pull to snap the thread into those plates.
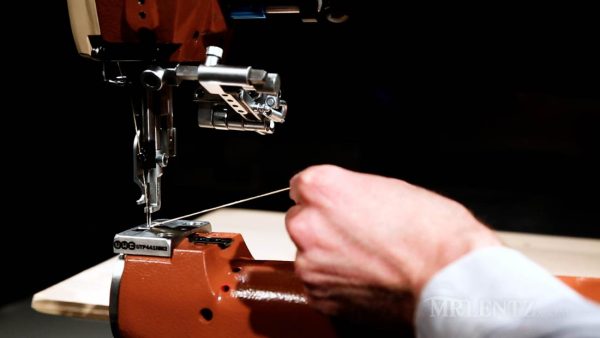
Next, go back through the eyelet…
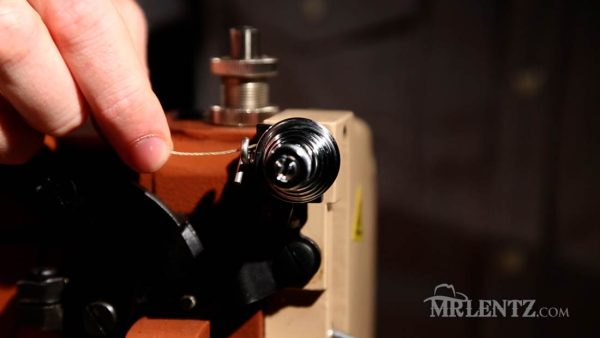
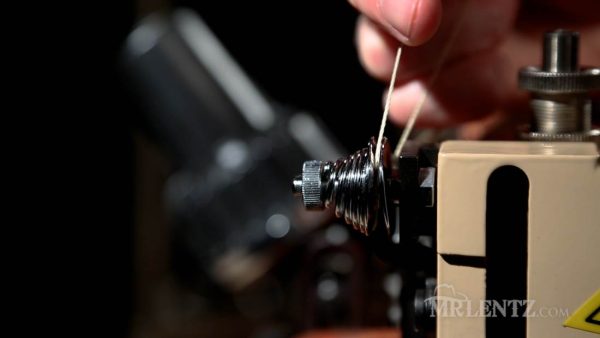
and down to the roller tension and go through the eyelet guide,
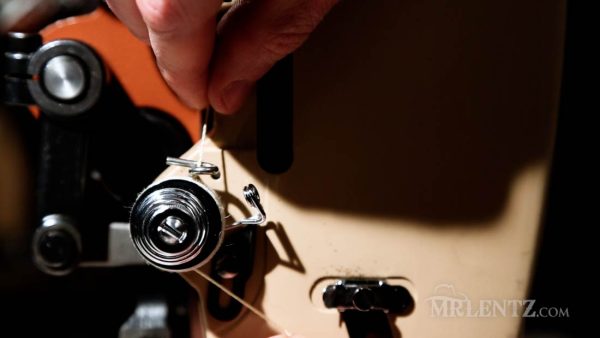
then left and wrap counterclockwise twice,
before heading back up through the eyelet.
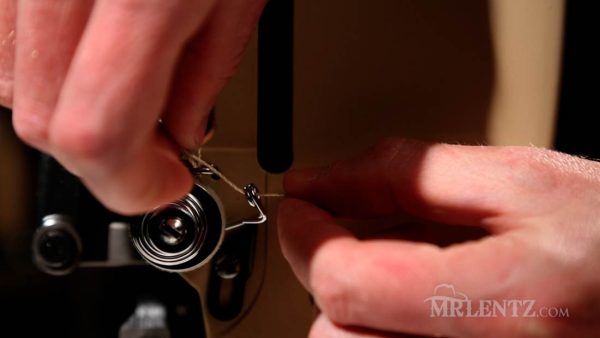
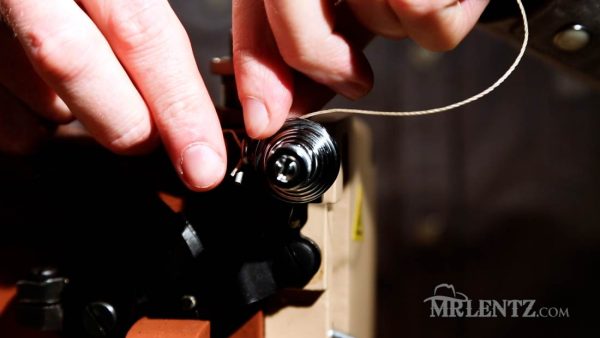
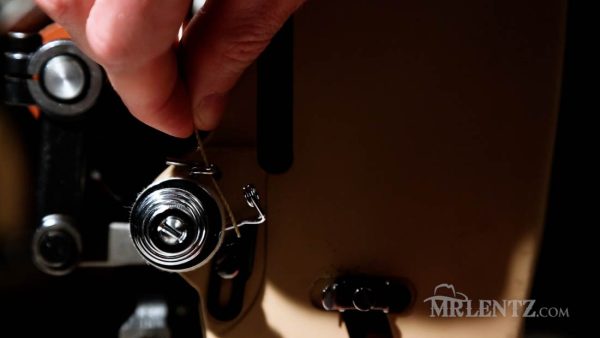
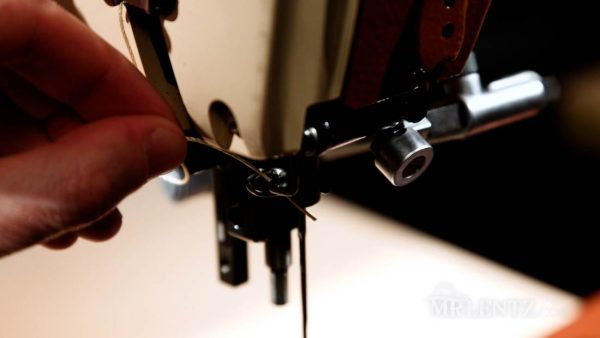
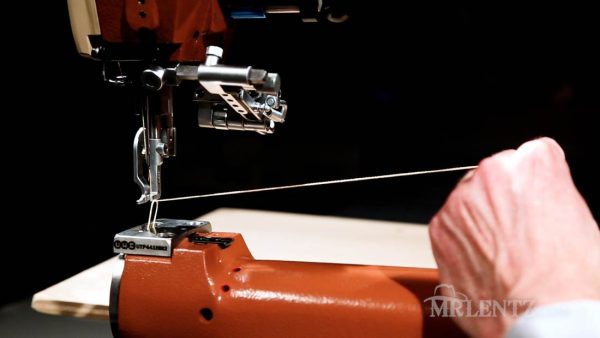
Go through the checkspring eyelet,
up through the take of lever,
and back through the sub tension. Staying left of the little screw on a spring.
Continue down and slightly under through the lower thread guide.
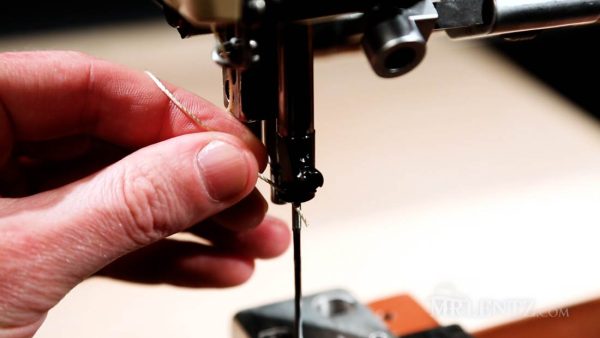
Then through a small hole on the needle clamp.

Use the hand wheel to adjust the needle position if you can’t reach the hole.
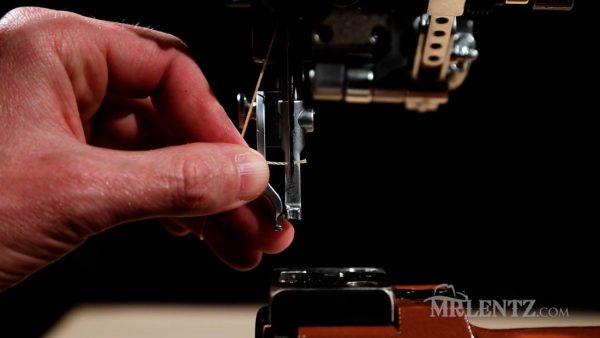
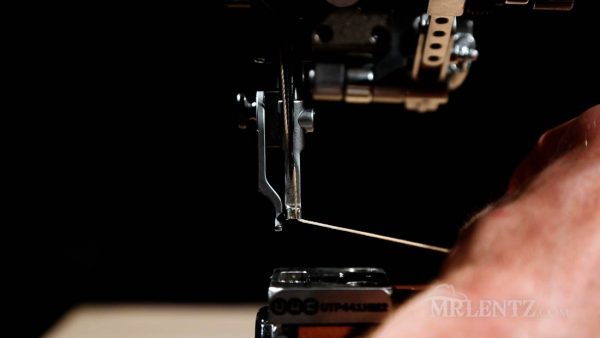
Thread the needle from left to right and help it back between the open toe foot.
Pro Leather Sewing Tip
Another quick pro tip for ya:
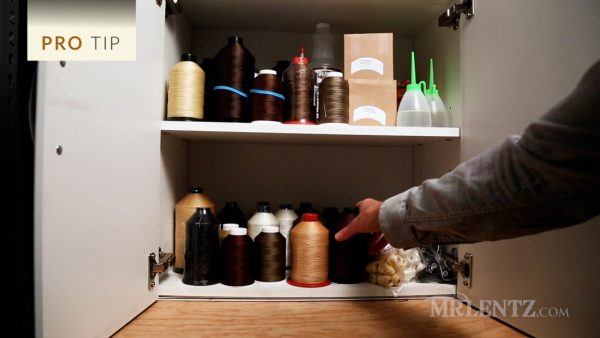
There are many types of thread to choose from. Stick to one type and thickness. Set your machine up for it and leave it alone.
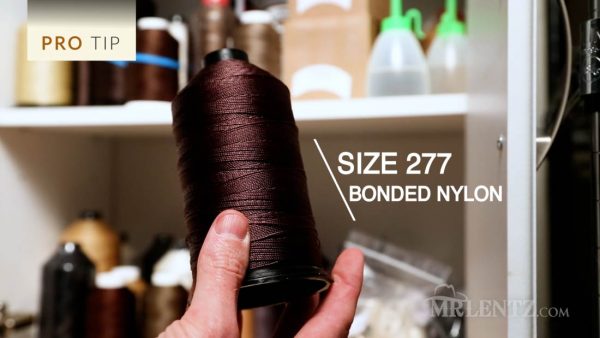
I use size 277 bonded nylon thread on both the top and bobbin thread.
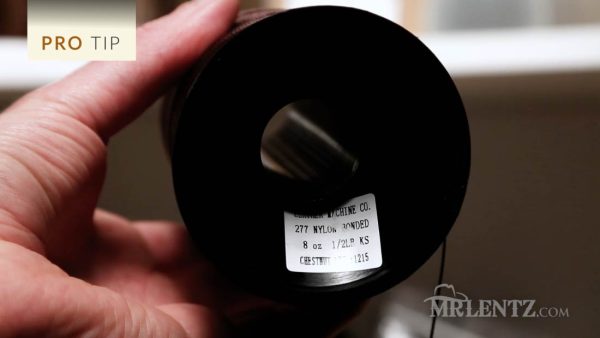
It’s thick, looks nice and the machine loves it by thread and half pound to 1 pound spindles from your machine supplier. It should be consistent and work well on your machine.
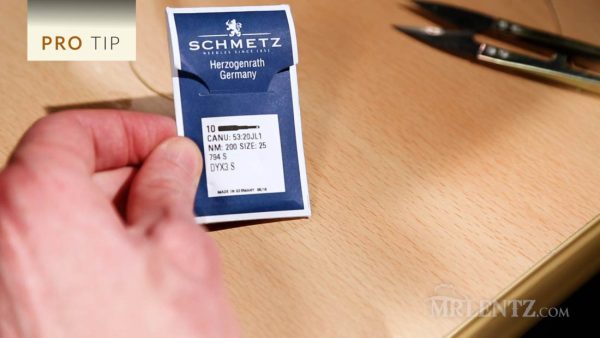
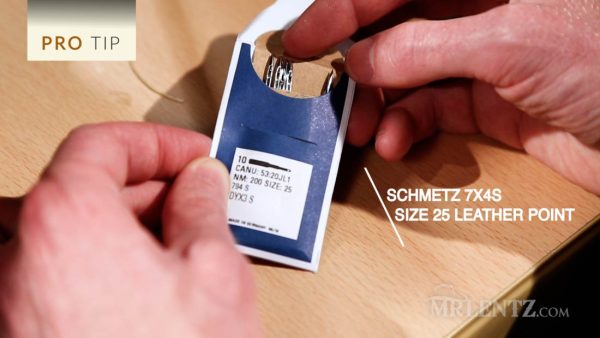
With size 277 thread, I use a Schmidt’s 7X4S size 25 leather point needle.
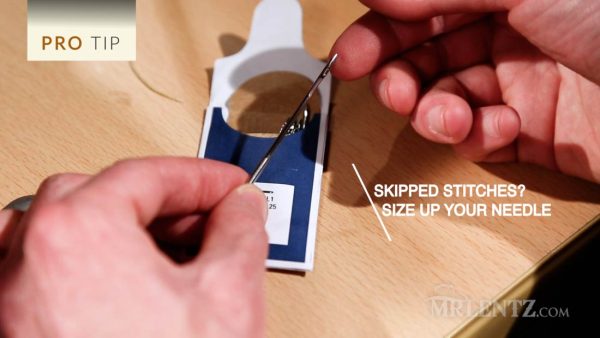
If you’re using thick thread and have skipped stitches, try going a size or two larger with your needle. Your needle needs to be sharp to work correctly. Fraying thread and skipped stitches are a sign of a worn out needle tip.
Setting up the Bobbin Thread
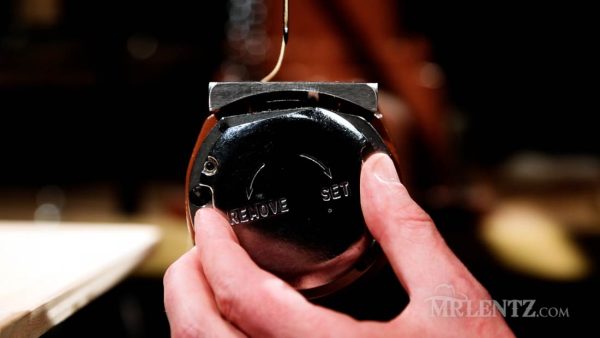
Now onto the bobbin thread. Twist the plate to open it.
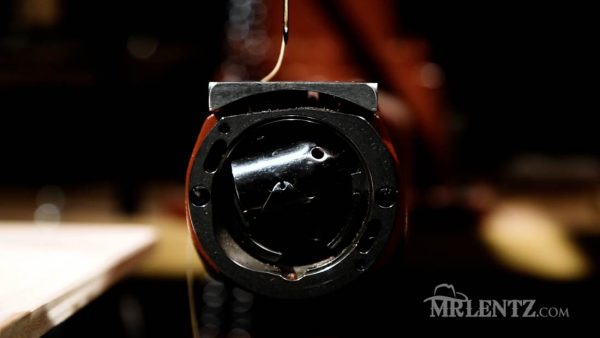
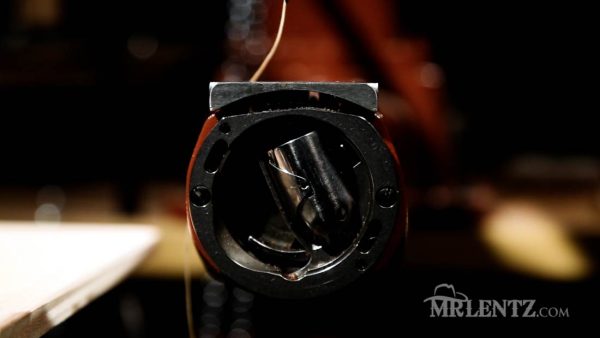
Adjust the hand wheel to help the bobbin case face upward.
Then pull this little tab to release it.
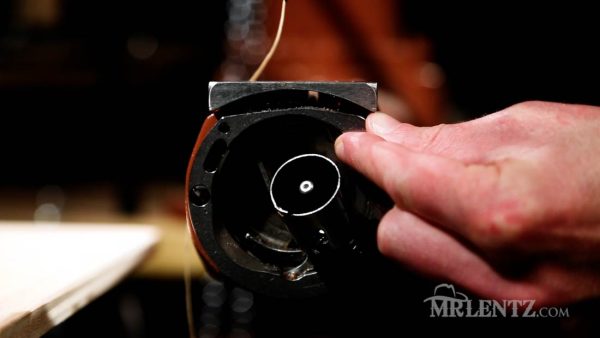
Take your bobbin thread and leave a few inches hanging off the back.

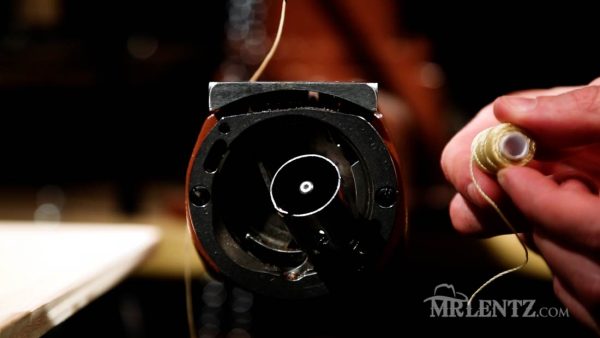
Place the bobbin thread in the case…

and pull the thread through the small slot on the case…

and into the groove.
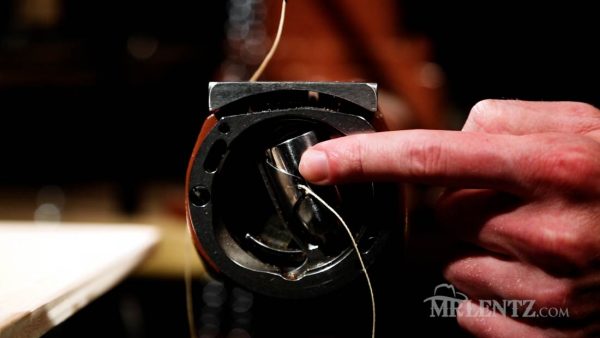
Snap the case shut.
Grab your top thread with light tension and use the hand wheel to advance the machine forward.

The bobbin thread will pop up through the plate and you can use a screwdriver to help it through.

Place the cover back on.

Now let’s take a quick look over things to make sure the thread isn’t caught anywhere. You want to catch any mistakes here to prevent ruining your leather project.
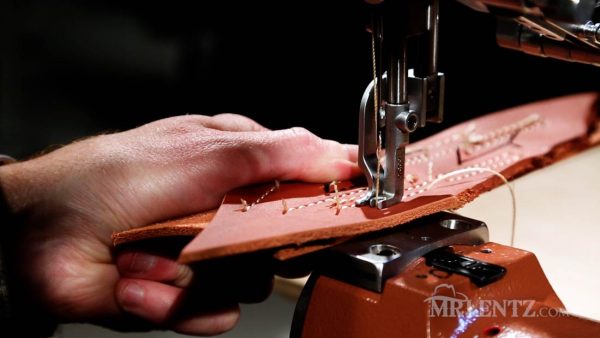
Next, grab a piece of scrap leather around the same thickness as your project and sew a few inches.
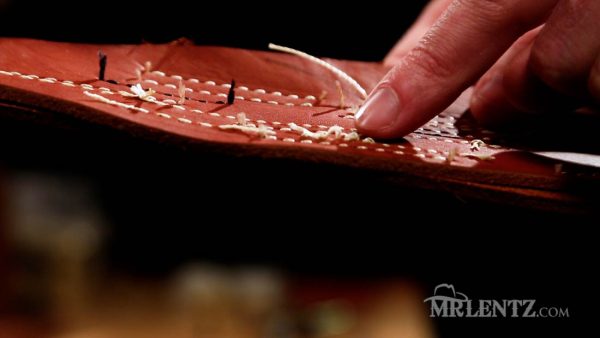
take a look at the top and bottom thread. If it’s tight, you’re fine. If there are any loose stitches, you likely have a thread cut somewhere or need to adjust your machine tension.
Pro Tip: Sewing Thick Leather
If you’re having issues sewing thick, dry leather, you may need to lubricate your thread or the needle itself.
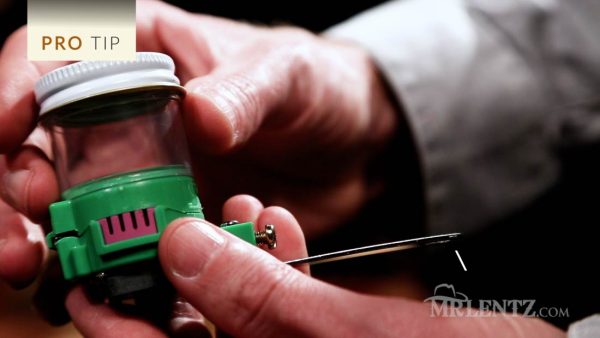
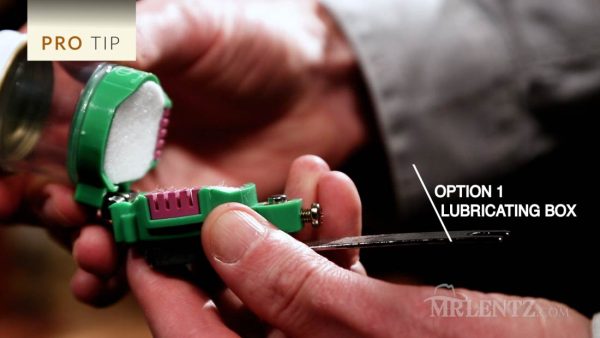
This is one option, a lubricating box where the thread slides through oil before entering the leather.
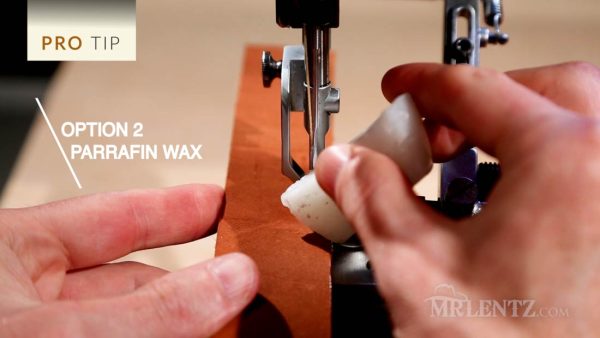
I prefer to just use paraffin wax directly on the needle as needed. The needle gets hot while sewing and the wax will melt right onto it. You can use it this way on an as-needed basis, making it a bit easier for smaller projects.
All right, that about does it. Make sure to watch my other videos on everything fromWallet making to belts, bags, holsters, accessories, and more. I’ll see you next time.