
Everything
Insulating the Workshop
Aug
Not hardly two months have passed since we first moved into the new workshop and things had to be packed up again! This time I only had to move everything about 30 feet away though, so not quite as big of a deal. The workshop is currently getting some new insulation installed. Can’t be working out there in the dead of winter without it! It would be quite a miserable undertaking to try and weather a Pacific Northwest winter without heat. Waxes and oils would harden up and dyes would freeze solid. 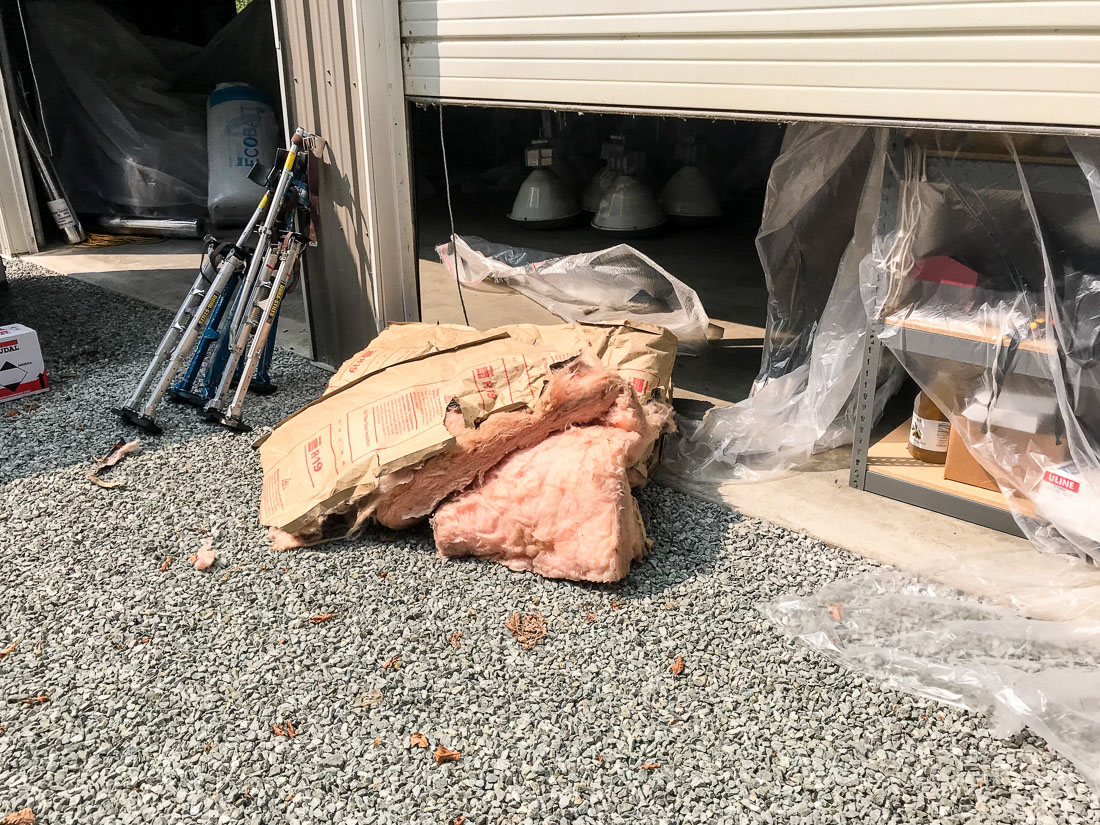
The first step was to take out some randomly placed older insulation, a cheaper and common variety of R-19. Unfortunately a few pieces showed signs of mice in them so I have been going around the perimeter sealing up entry points with expanding foam or weatherstripping. Hope that does the trick, but I can imagine it might be an ongoing battle out here in the woods! Luckily we’ve been spotting a neighbor’s barn cat in the yard recently, maybe his hunting is going well.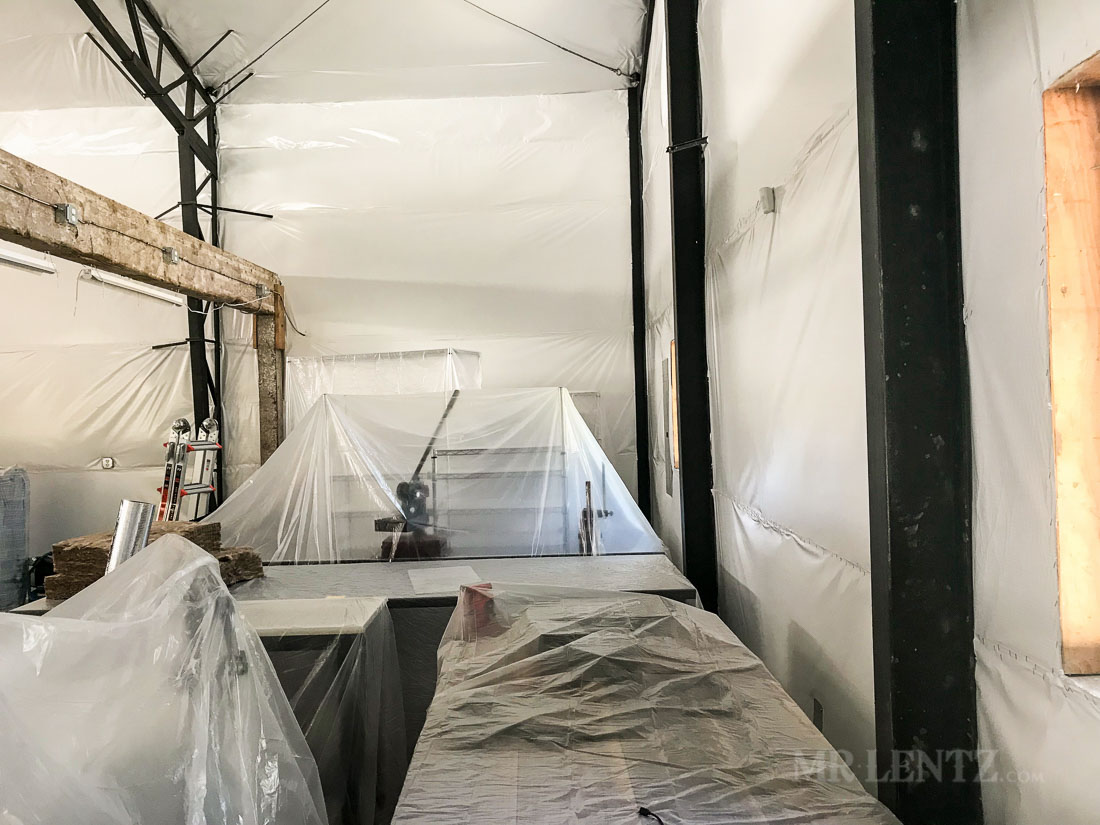
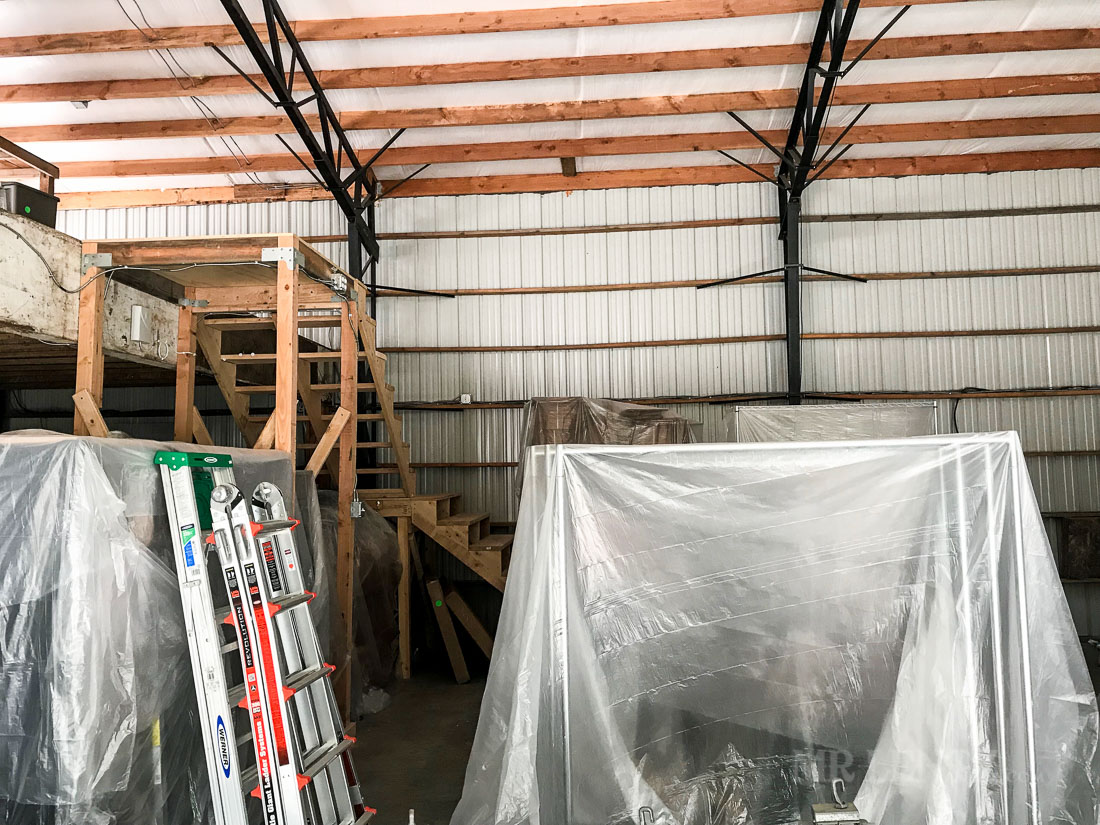
Above you can see just the leftover empty tables that couldn’t be moved. I wrapped them up in some thin plastic sheeting to help keep the fiberglass dust away.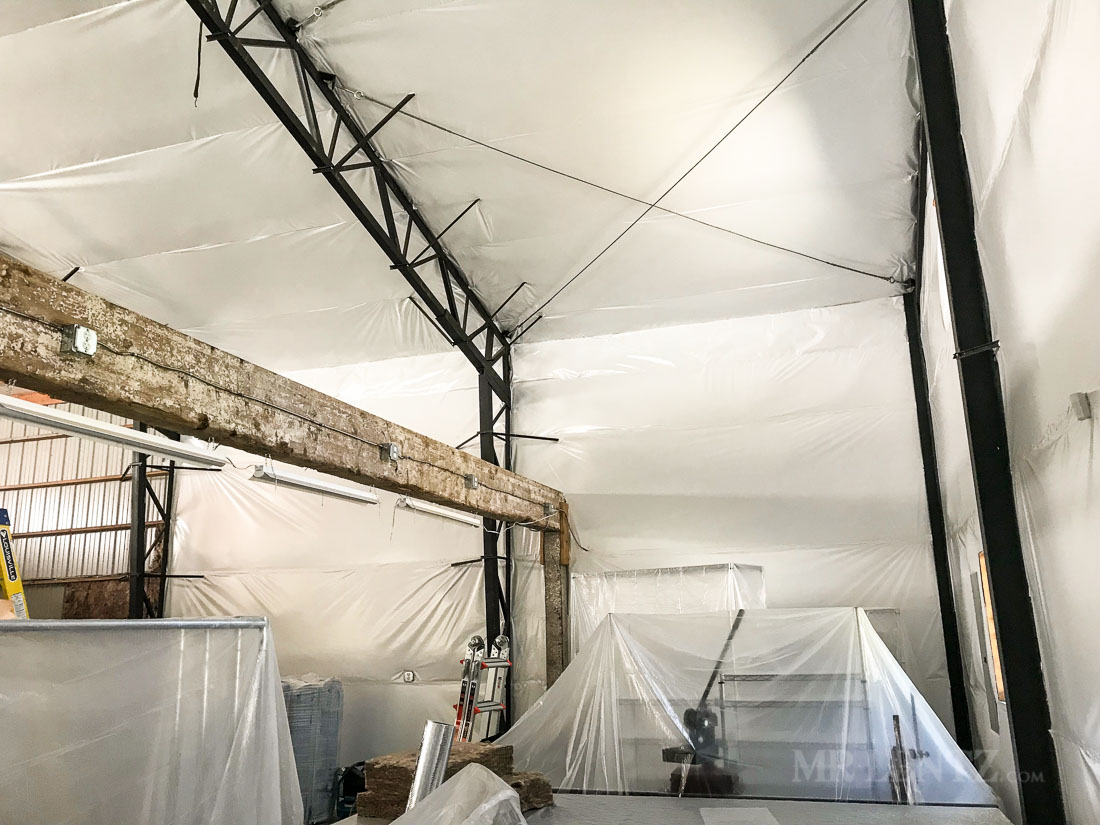
I decided to go with R-21 in the walls and R-25 in the ceiling. It was only slightly more than the cheaper option and looks to be much higher quality. The R-21 is actually slightly thinner so it fits into the wall much better without pillowing out.
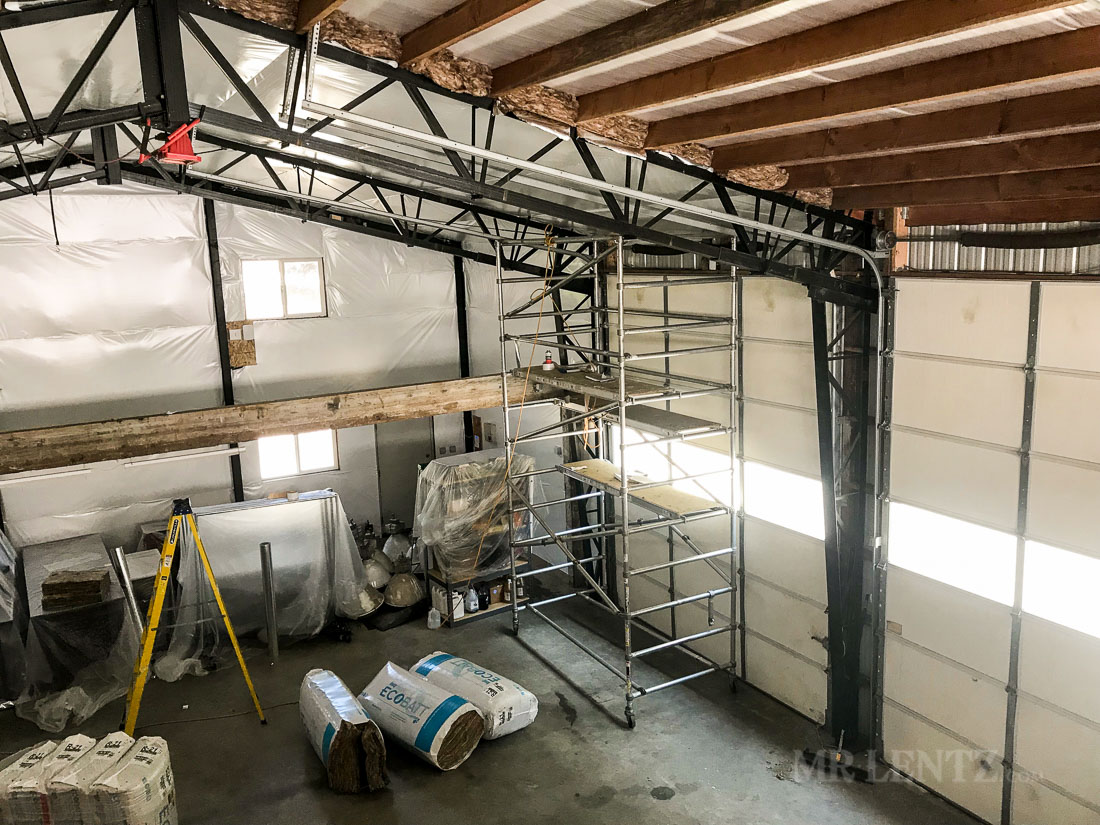
After the insulation is put in, the guys wrap the walls in WMP vapor barrier. I opted to go down to the floor with it since it is going to take me quite a while before I put up some plywood or boarded walls. On steel buildings like this – the vapor barrier goes on the inside facing wall and the insulation is installed right up against the steel panels. If you heat a building like this without it, the building will ‘sweat’ and condensation will pour down the walls.
Unfortunately for the installers – they only have a metal scaffolding which means hauling up the insulation piece by piece for the ceiling is a pain in the butt. I am just glad I decided not to try it myself, as it looks to be very tedious work with a material that is not much fun to work with. Sealing up the walls with WMP looks very time consuming as well as they make their way around every oddity on the wall including outlets and cracks and corners.
Hopefully only another day or two left on this project, I have had to shut the shop down in the meantime and can’t wait to get things rolling again. Then I can finally set up my lighting in the workshop as the days slowly begin to shorten.