
How to Sew Leather By Hand Using the Saddle Stitch
When you are ready to sew your leather goods project together, it’s important to know the basics of the saddle stitch method. If you follow the simple step by step method shown in the following photos and short videos, you’ll have a nice looking stitch line and a very strong bind. If you are on this page – you will have likely already completed the ‘How to Thread a Needle for Hand Sewing‘ tutorial. If not, then click those words to head back one step. First things first – the Saddle Stitch is the ‘go-to’ stitch when hand stitching any leather item. It involves using one long piece of thread with a needle attached at both ends. This in effect will double up the stitches and provide more friction in the stitch hole, helping to prevent rapid failure if the thread were to break.
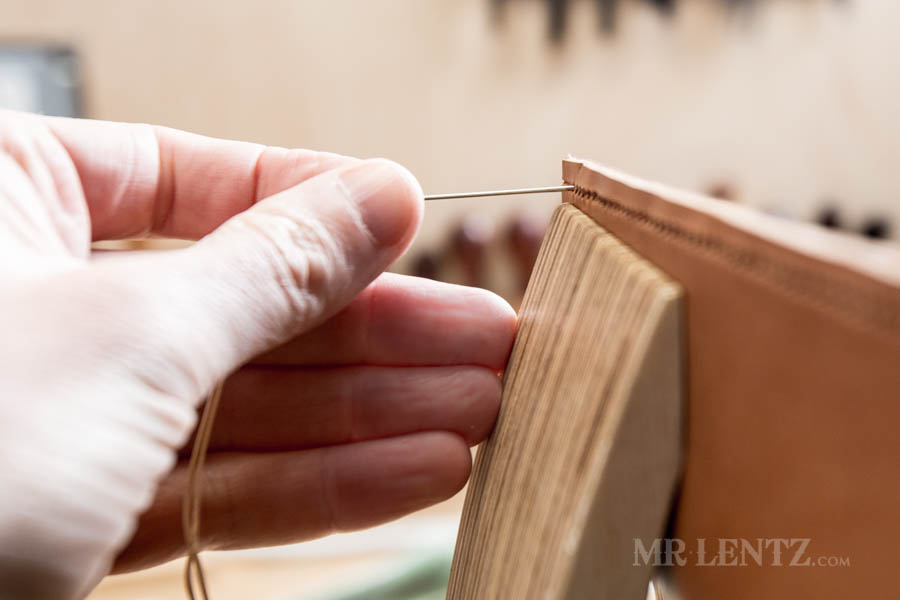
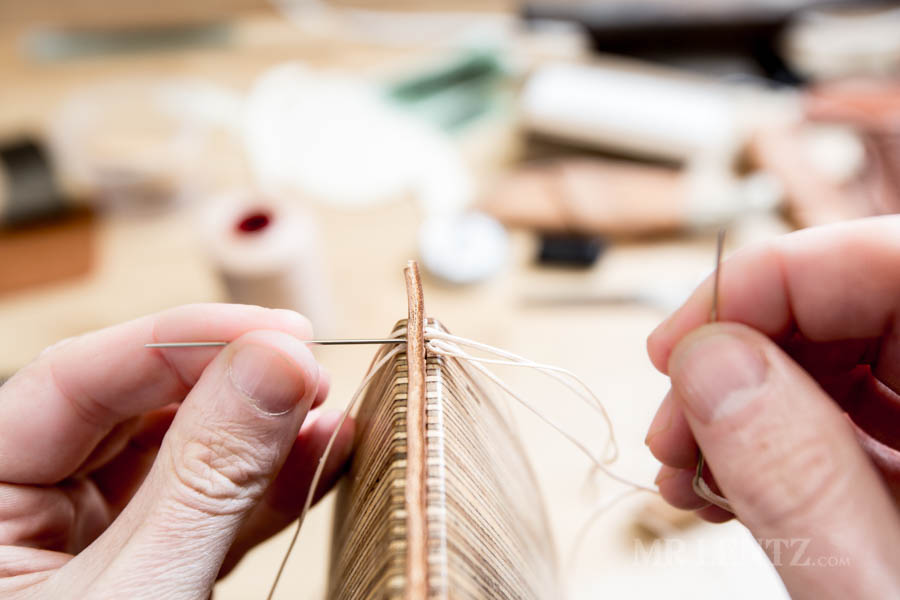
Well – let’s get on with it shall we! Above I have clamped my leather into the stitching pony. For this example I glued two 3 oz. pieces of leather back to back, cut the edge straight on both, then pre-punched the holes using a diamond chisel at 8 stitches per inch. At some point I will stick another tutorial up here on how to prep leather for stitching in case you don’t have the hang of that quite yet. I am starting at the end of the leather, on the left hand side, and will be sewing towards myself. These directions can also be completed stitching away from yourself as well, but to keep things simple, I would just copy what I’m showing here. Insert your needle into the first hole and pull it through. 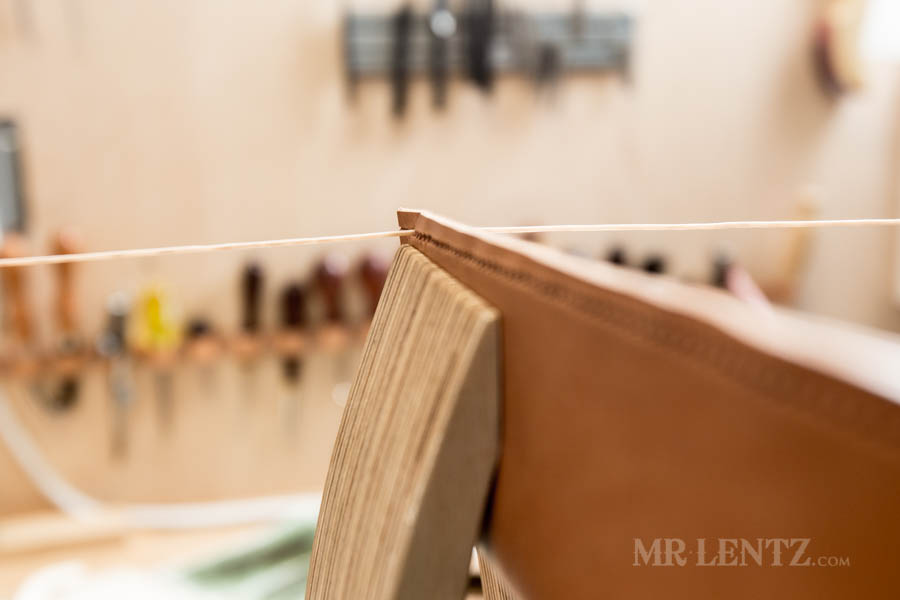
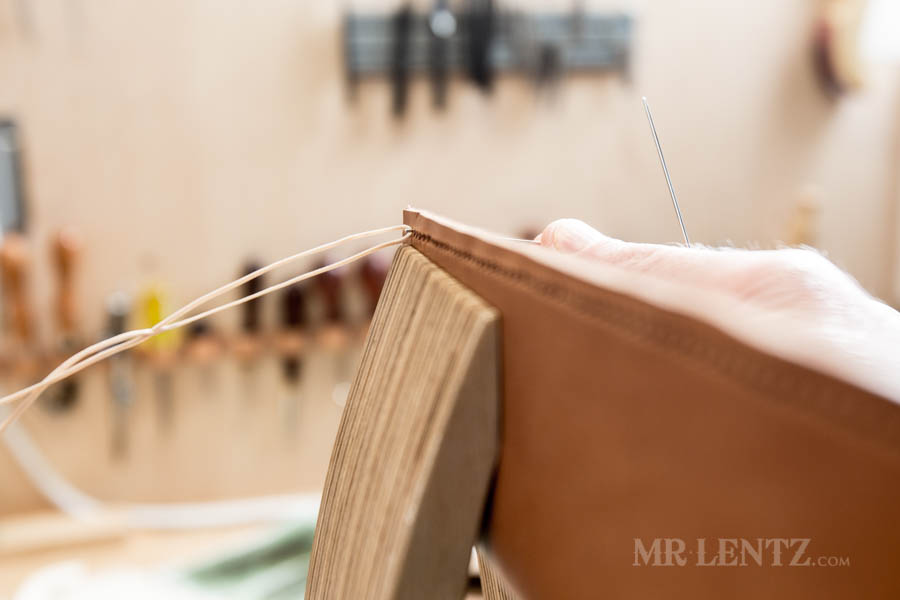
Pull the thread through the hole so that there is an equal amount of thread on each side of the leather. You want your thread centered more or less. Below are two quick videos showing the saddle stitch, and if you are looking for more step by step instructions, keep scrolling down for the specifics.
In the video above I am stitching my way down the leather. You may choose to watch these videos after following the photo instructions below, but I thought I’d post it up here first for those who like to jump ahead!
The video above is taken from a camera attached to my forehead. It’s a slightly different perspective, but it may help with a bit more detail on each side.
Ok – once your thread is centered, you can now take the needle on your left hand and find the next hole towards you.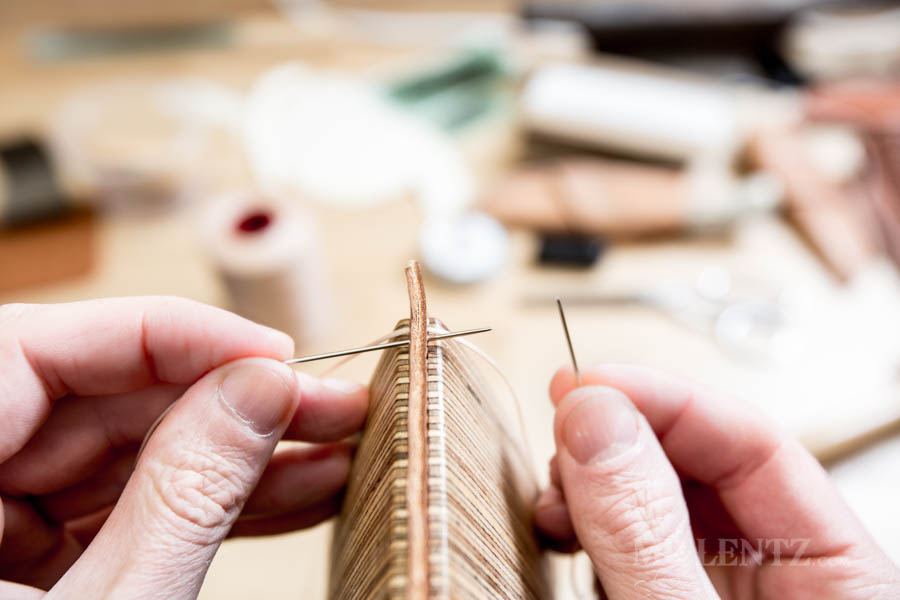
Push the needle through the hole. I might add here that pre-punching your leather with a diamond chisel will save quite a bit of time. It is not the traditional method used – diamond awl punching holes as you go – but it sure is a heck of a lot easier. On thicker leather, such as knife sheaths, holsters, gun belts and some bags, you may choose to pre-punch one side with a chisel and finish the hole with an awl while you stitch. Thicker leather may require that…but that’s info for another tutorial in itself!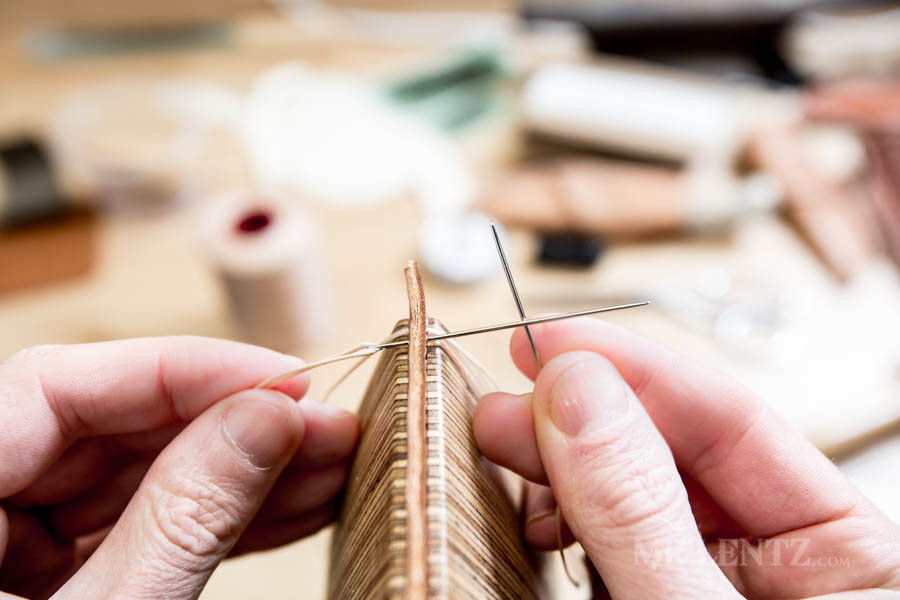
Keep the right hand needle behind the left needle being pushed through and for a cross shape with both.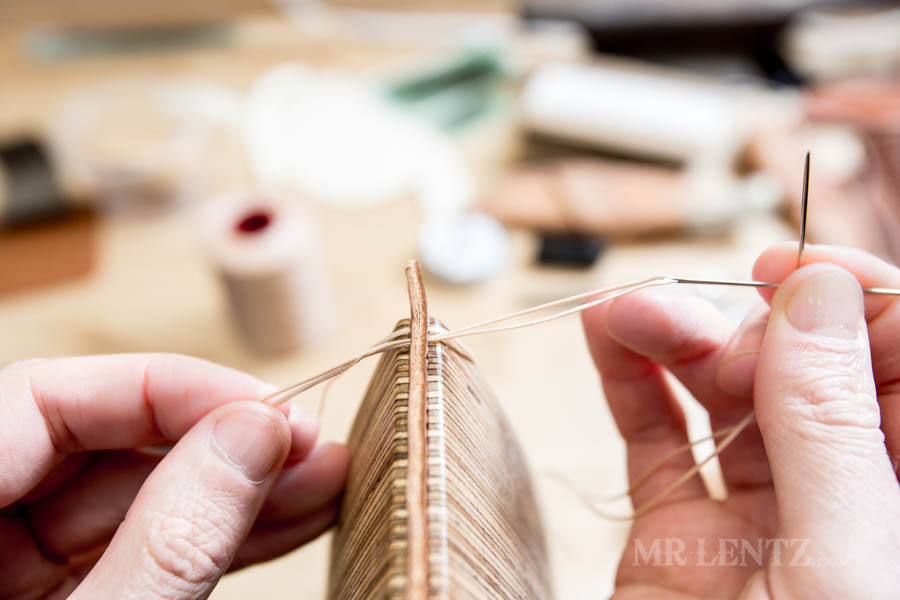
Pull the thread through until the loose tail is through the hole. The tail is the end used to attach to the needle and should be flopping around. Keep the needles in the cross shape.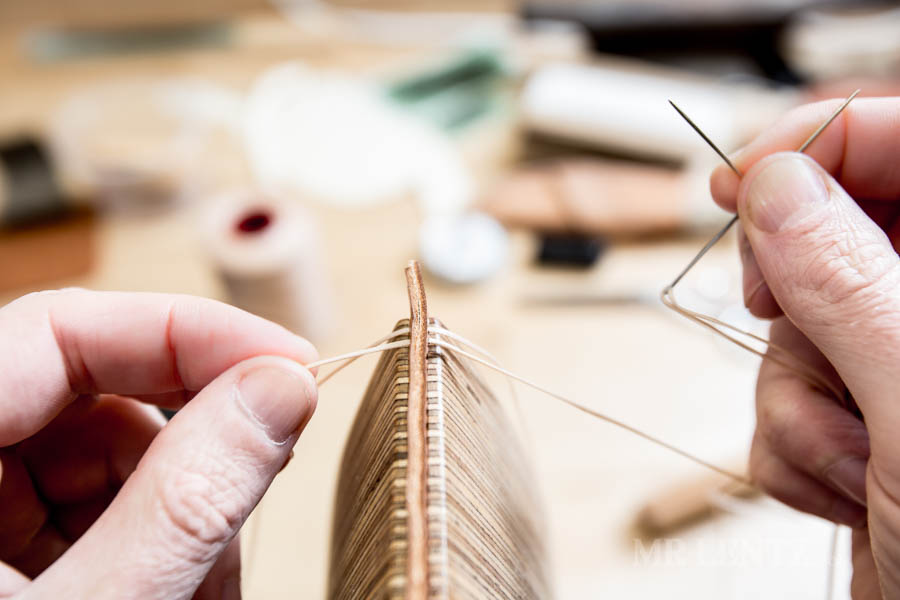
Now grasp the thread on both sides and gently pull towards you. You are creating space for the right hand needle to pass behind the thread. Rotate your cross so that the right hand needle can be directed into the same hole that you just pushed the other needle through.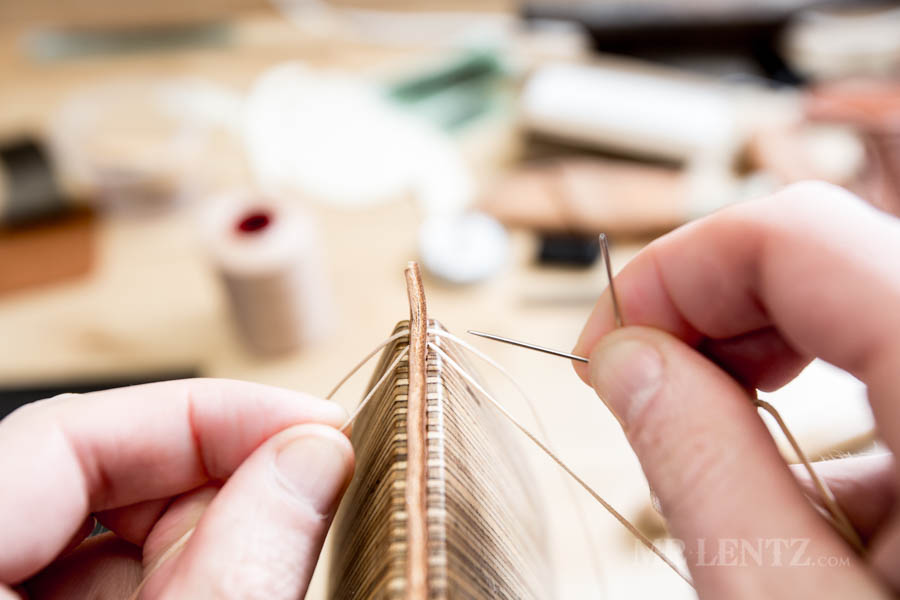
I tried to break this down into as many photos as possible!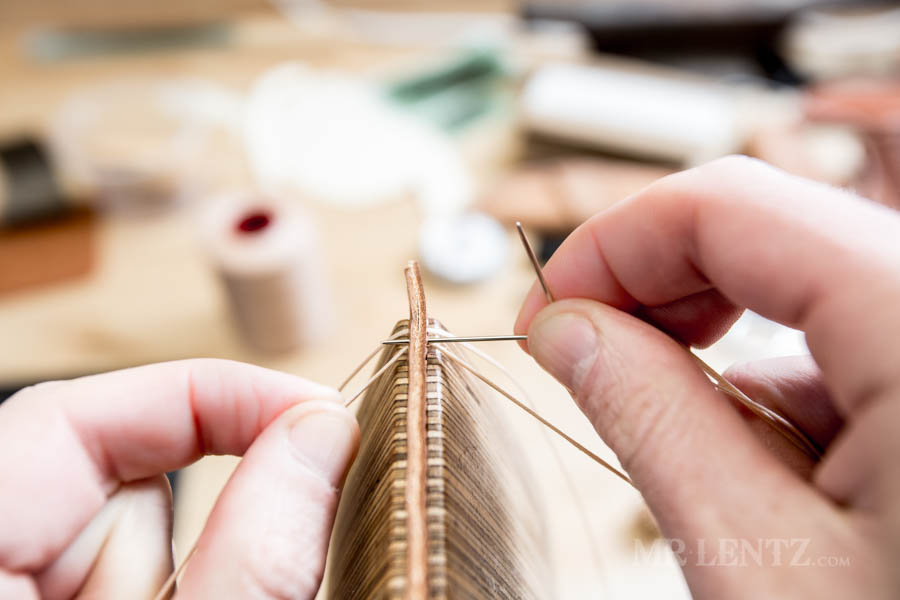
Still pulling on both sides of the thread, feed the right hand needle into the hole and behind the thread.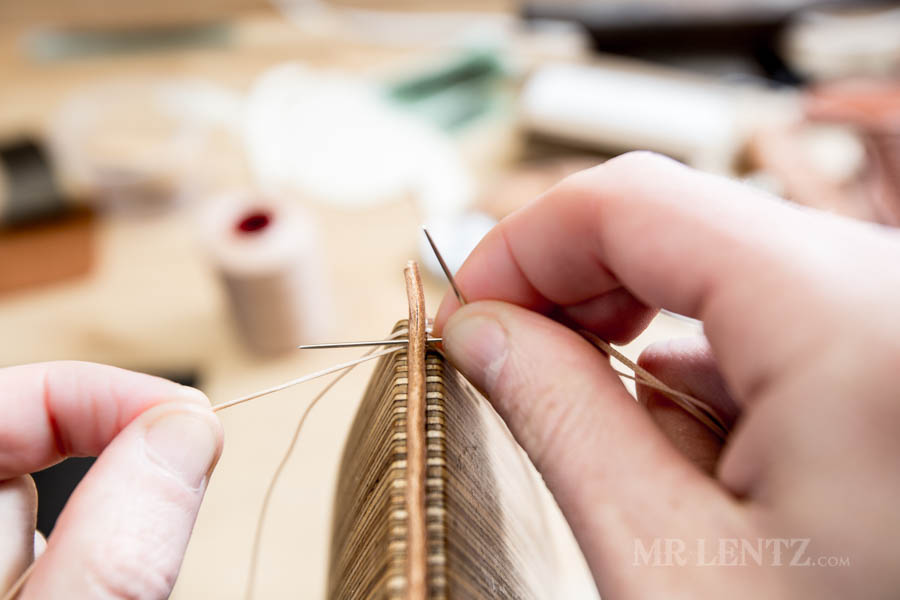
As you feed the needle through to the other side, also pull the thread on the left at the same time. This will ensure that you have not pierced the thread with the needle. If you did pierce the thread, it does happen now and then – just pull on the left side until it pops off the needle. No big deal! If you don’t correct that error though…it will be a big deal, trust me!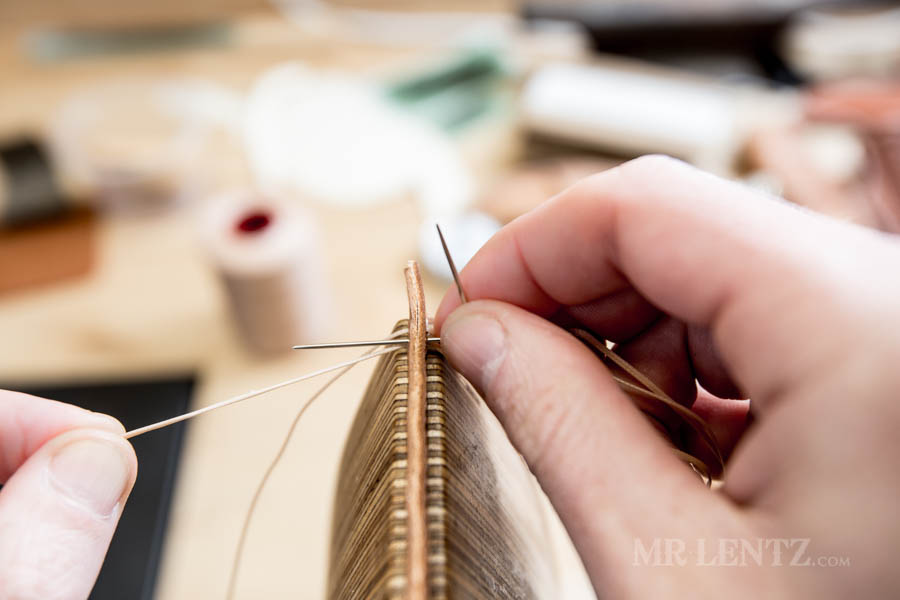
Now grasp the needle from the left hand side and pull it through.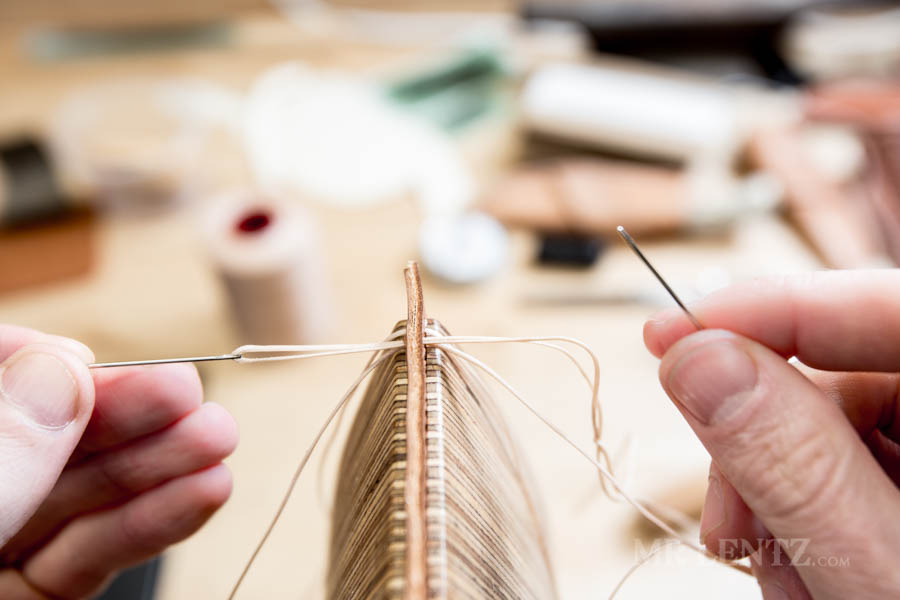
Keep pulling.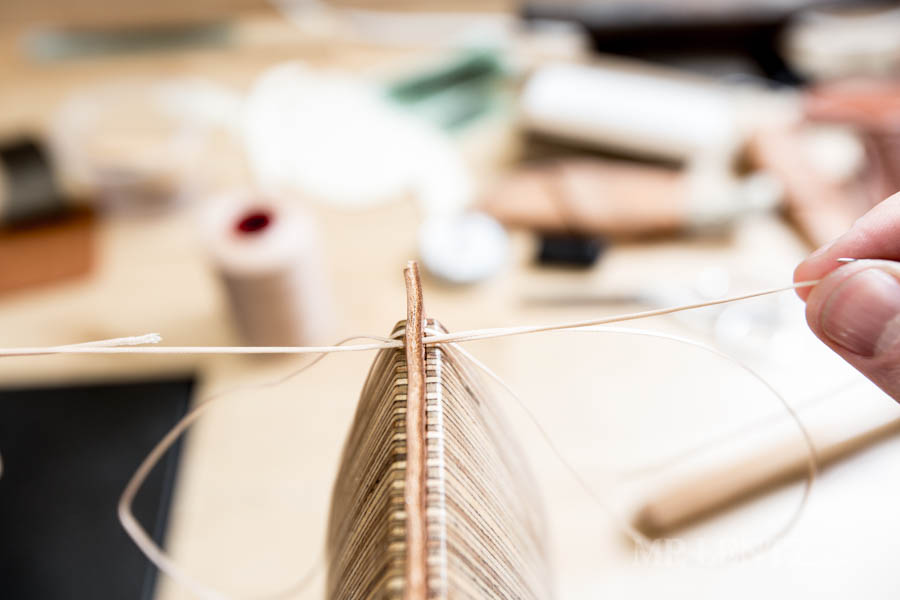
Pull a bit more, but never pull tight simply by grasping the needles. This will eventually cause the thread to come off your needle. Instead, grasp the thread itself and pull.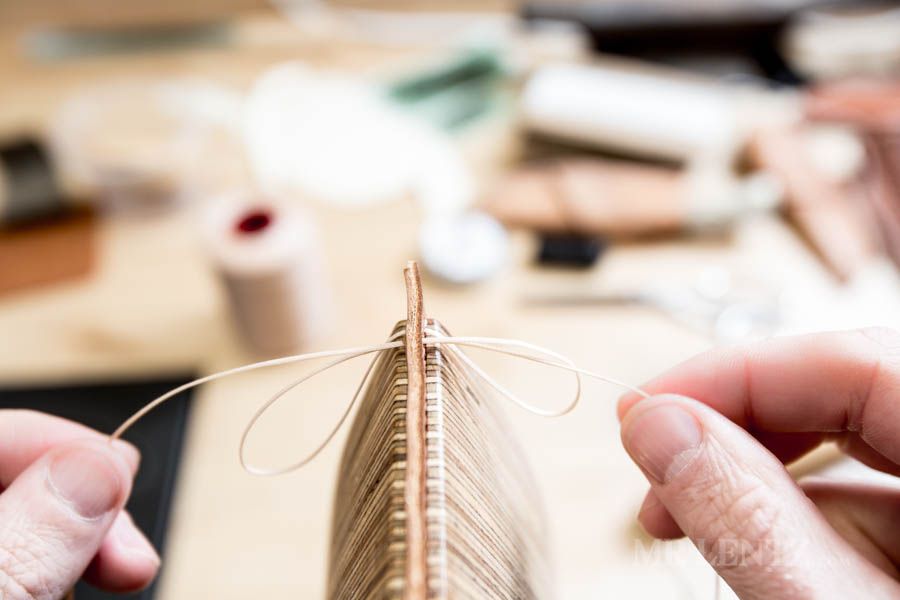
Pull a bit more.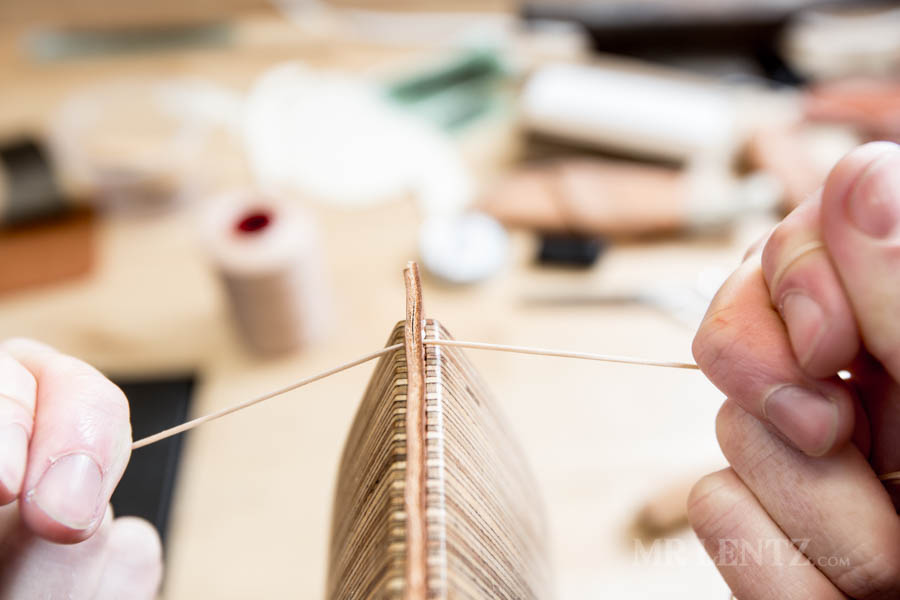
And while grasping the thread you can pull it snug. Thinner leather will warp a bit if you pull too tight. Thicker leather tends to need a nice tight pull.
Now just keep repeating thos steps and you can work your way down an entire line of stitches. As long as your holes are punched consistently, and you follow those steps exactly, then you will have a very nice repetitive stitch line without any variation in the look. Beginners tend to make one of two mistakes – either their holes are not punched in a nice line, or they mixed up a step when sewing such as feeding the needle in front of the thread on one or two stitches instead of behind.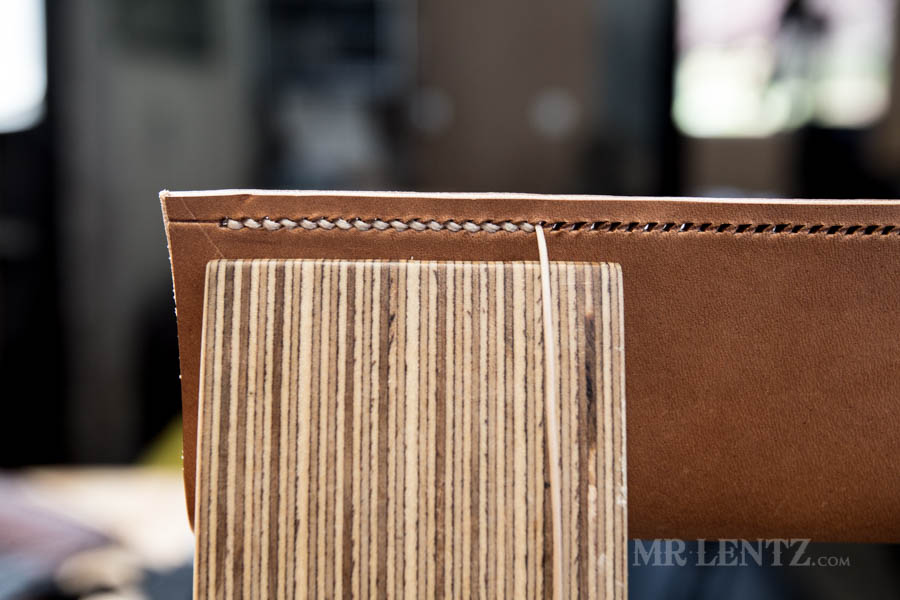
As seen from head on, here is a hand sewn saddle stitch. By the way – no machine can do this stitch as far as I am aware.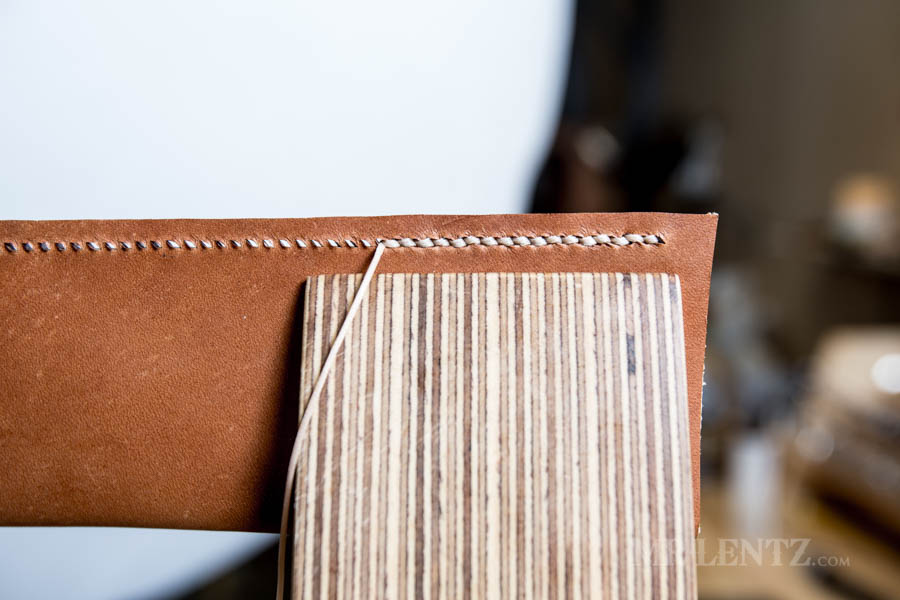
The backside of your stitch line will always look a bit different. I found this has to do mostly with how the leather is punched. By punching the holes from the other side, you tend to push leather through and make small bumps on the backside. These irregular bumps can cause a slight warble in the stitch. This can be fixed however using two different methods. The first is to use an awl to push the leather back from the backside, into the hole part way…a skill that will take a while to really get the hang of and works better on thicker leathers. The second method is to us a stitch wheel that is used to mark where the stitch holes will go, and roll it over the stitch line, compressing the thread and evening out the look. It’s kind of like magic, but it works.
Before you get to that point though, let’s finish this stitch by backstitching a couple stitches to help lock it all in. This is covered in the next tutorial. If you have any questions so far, please feel free to post in the comment section below, I typically respond in less than 24 hours. Thanks!
Previous Tutorial - Thread the Needle
Thanks for the help. I’m just getting started on my leatherworking journey
Thank you so much for the great tutorial! Your step by step verbiage finally got it to sink in for me.
Of course – glad it helped!
that looks great, I have been looking for information how to make my stitching look as good as yours. Sometimes It looks good sometimes it looks like trash.
Perhaps this does tell me how, i just didn’t realize. not sure lol
This was _the_ tutorial that properly taught me how to saddle stitch! Many others I tried reading were not nearly as clear (the detailed steps and abundant photos helped). One thing though, I’ve generally not been able to hold the needles at a cross as advised here. More often than not the needles are too slippery, and combined with perhaps slightly smaller-than-ideal holes, make it too difficult to grip the needles that way. So after pulling a needle clean through I’d just let it drop and pick up the thread to feed the other needle behind it – then pull that needle clean through and let it drop. That way I am able to grip the needles better.
This was absolutely the very best tutorial that I have seen online!