
How to Finish a Saddle Stitch by Backstitching
When you finally finish that line of stitches on your leather project, you will need to back-stitch a few stitches to help lock in the thread and prevent it from unraveling. In this short tutorial I will show you the quick and easy method to finish a stitch when sewing leather goods. If you haven’t read the Saddle Stitch Tutorial, you should go there first by clicking the link.
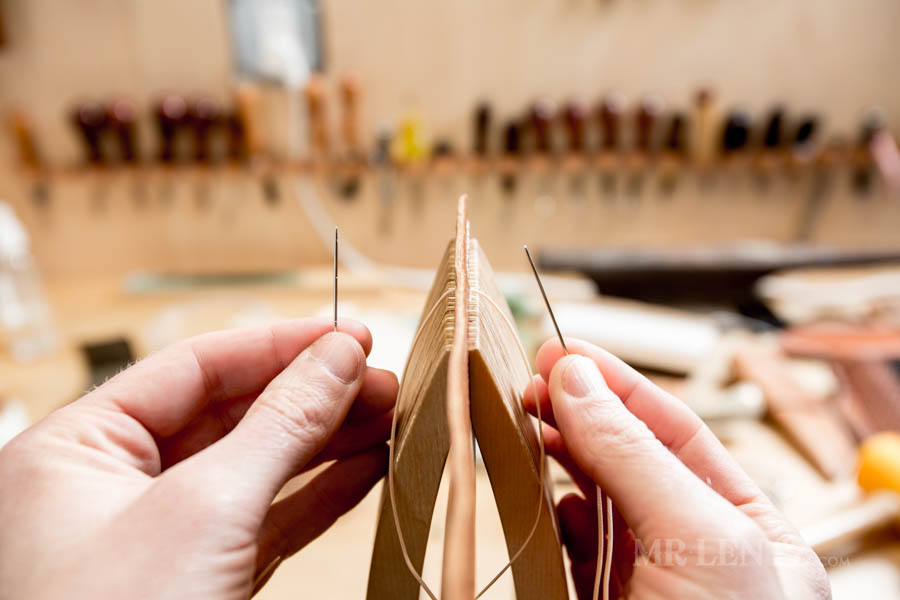
When ready to finish up your sewing, grab each needle in each hand.
Starting with the right hand needle feed it into the next hole going away from you. It may take a bit of work to push through depending on many factors including thickness of the leather, size of hole, thread, needle type, glue used, etc.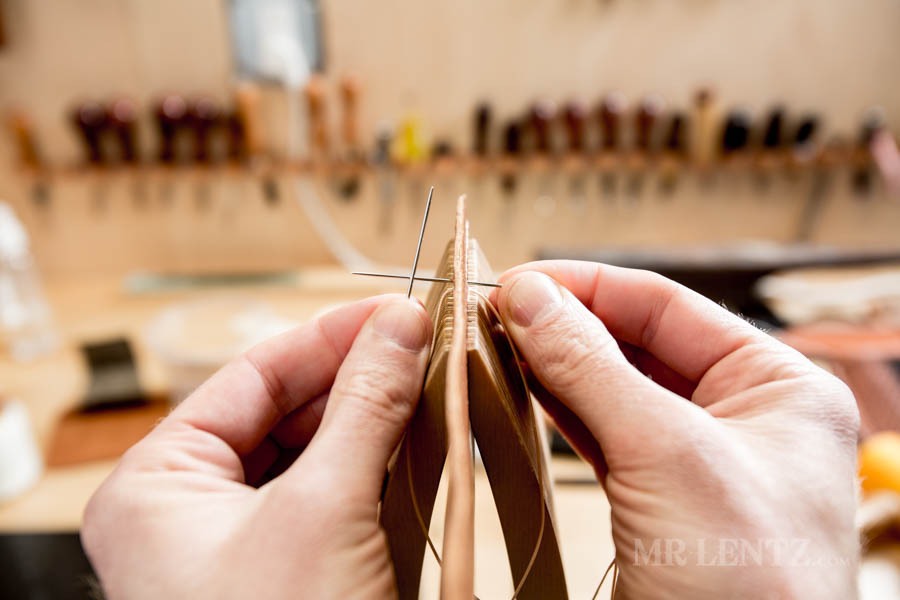
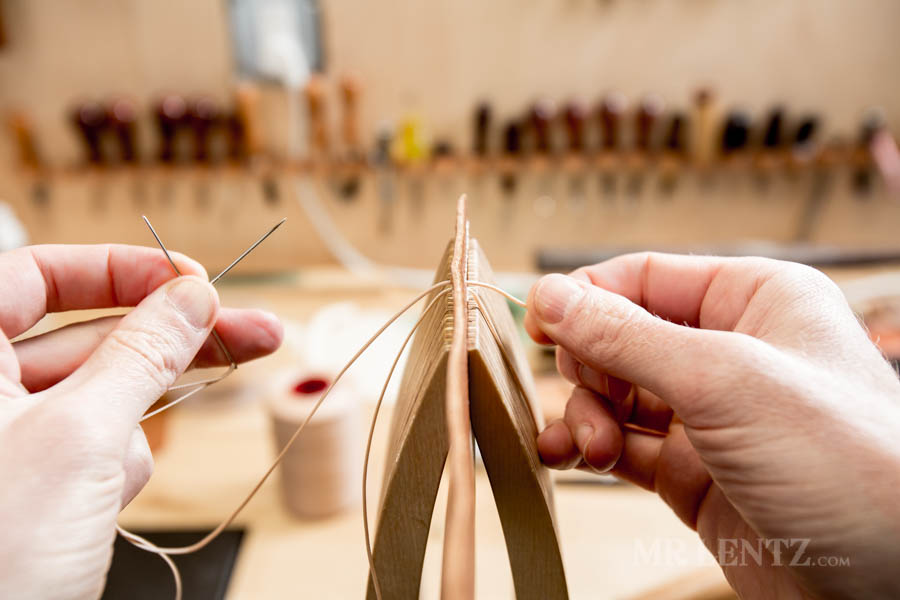
The left hand needle should be in front (closer to you) as the right hand needle is pushed through the leather. Form a cross with both needles.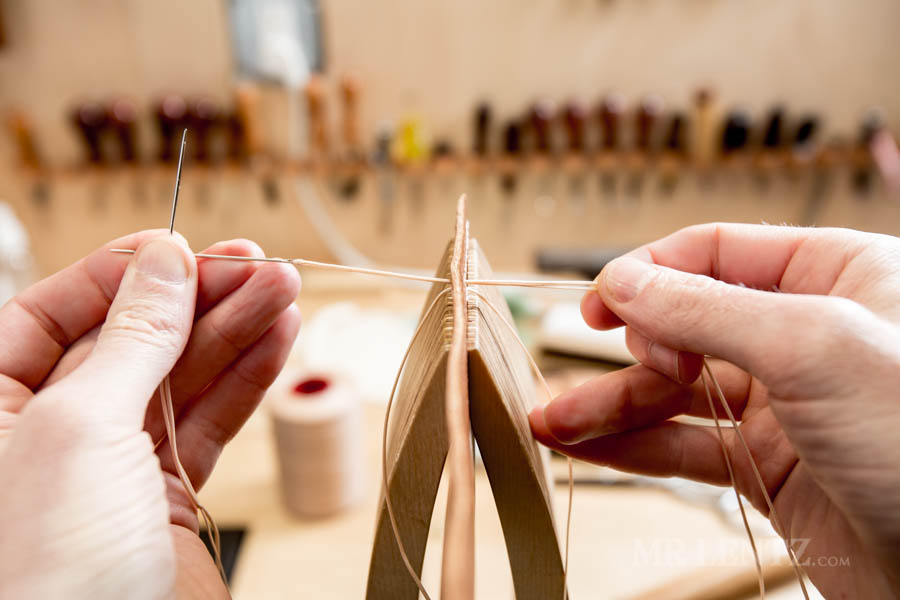
Pull the needle all the way through until the loose tail is through, but not the entire length of thread.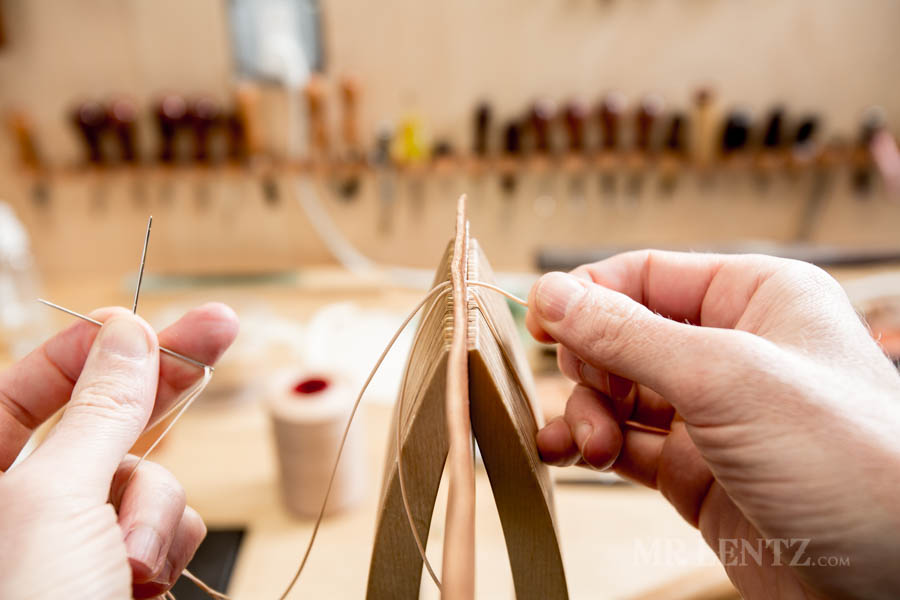
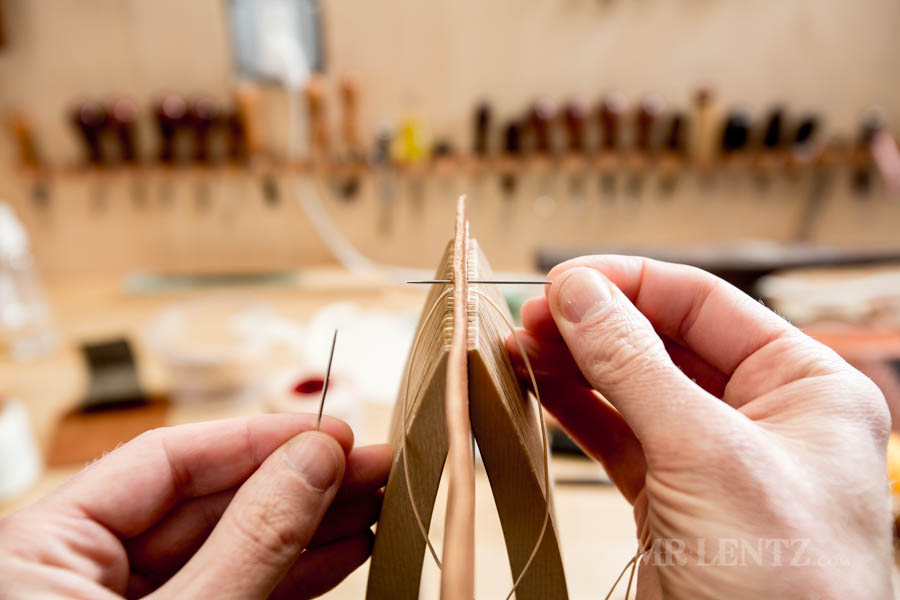
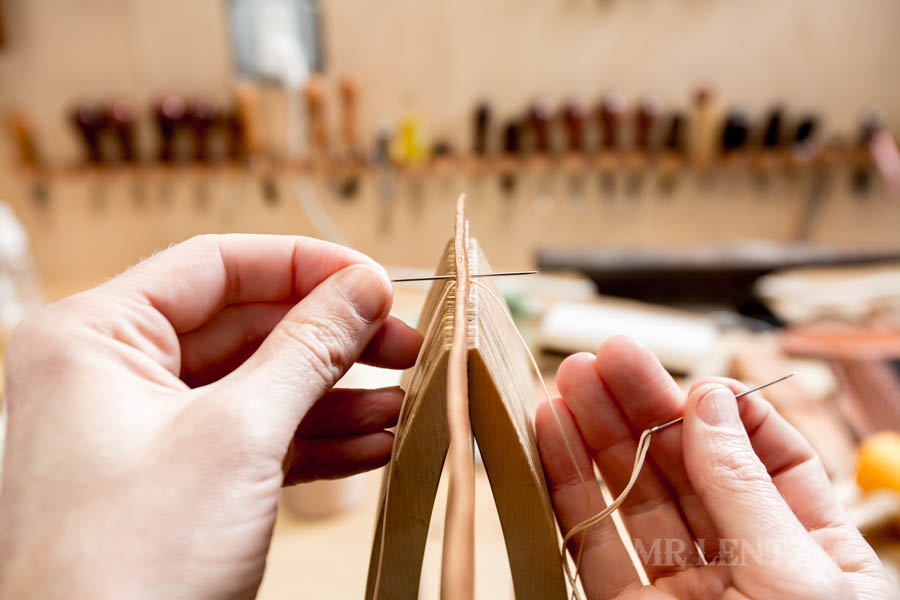
Rotate the needles so that the left hand needle is ready to insert into the same hole as the previous needle.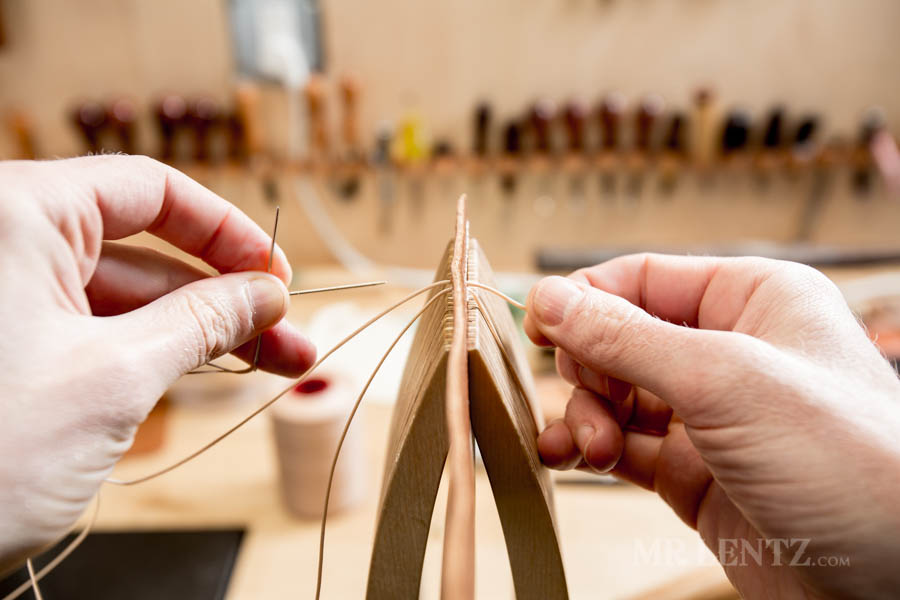
Before pushing the needle into the hole, grab the thread from both sides.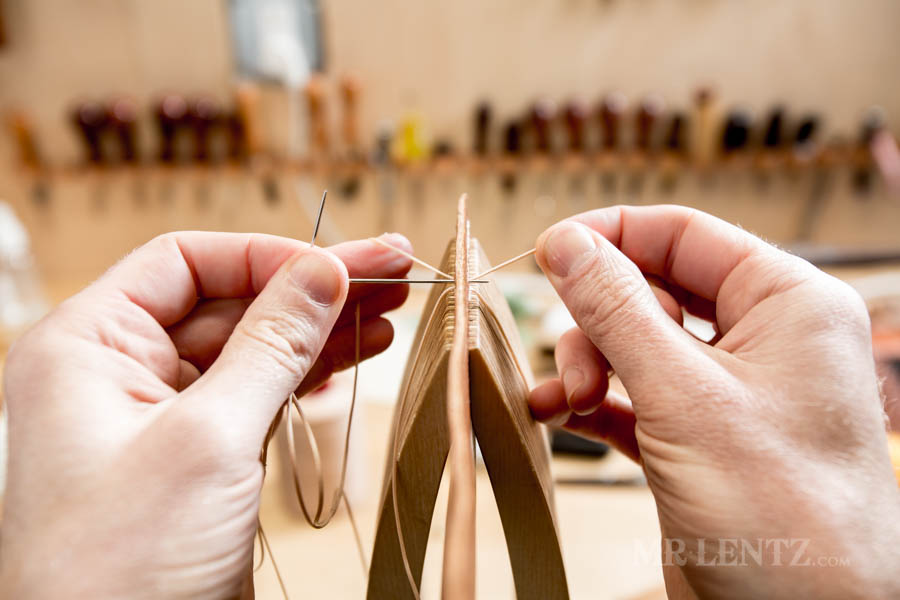
Push the thread away from you and feed the needle just behind the thread.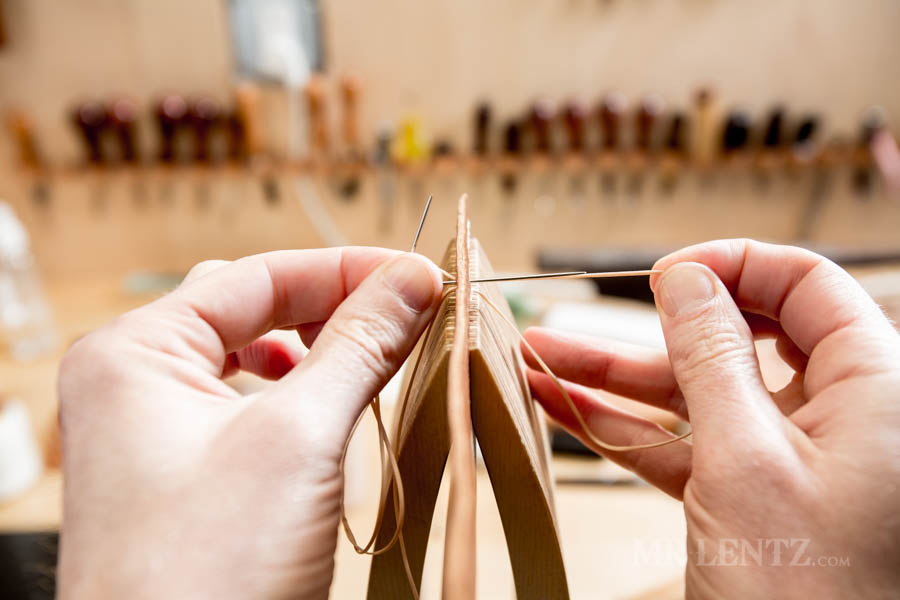
As you feed the needle into the hole, pull the thread from the right hand. 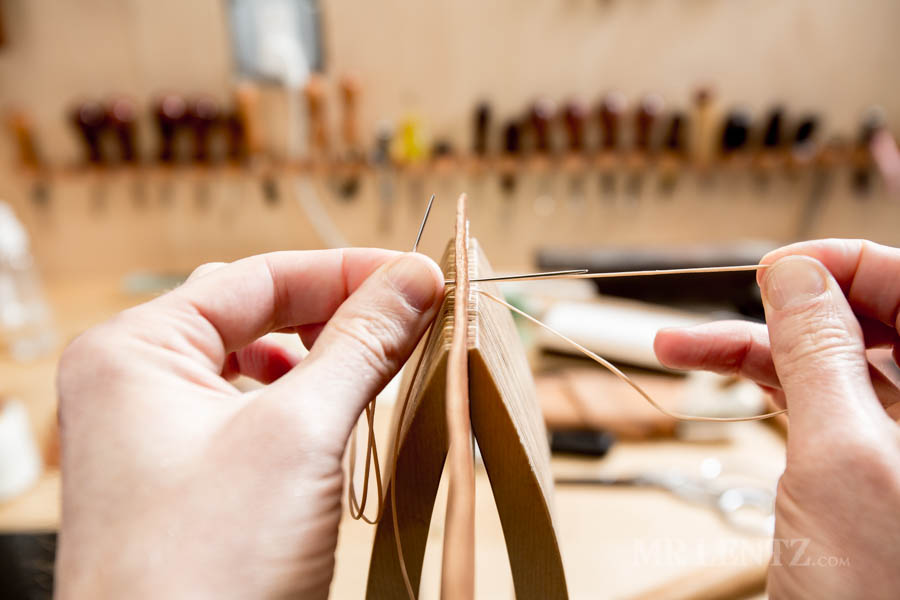
Pull the thread about 2 needle lengths to the right. This will assure you that the thread is not pierced on the needle. If it is, then this method will fix things quickly.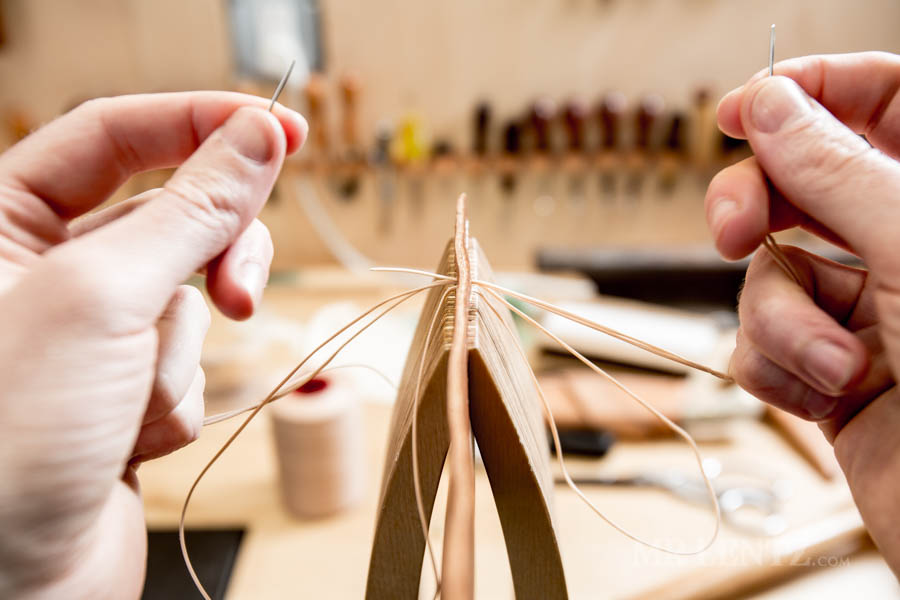
Push the needle the rest of the way through and pull the threads using your pinky fingers (not using the needles themselves for tension).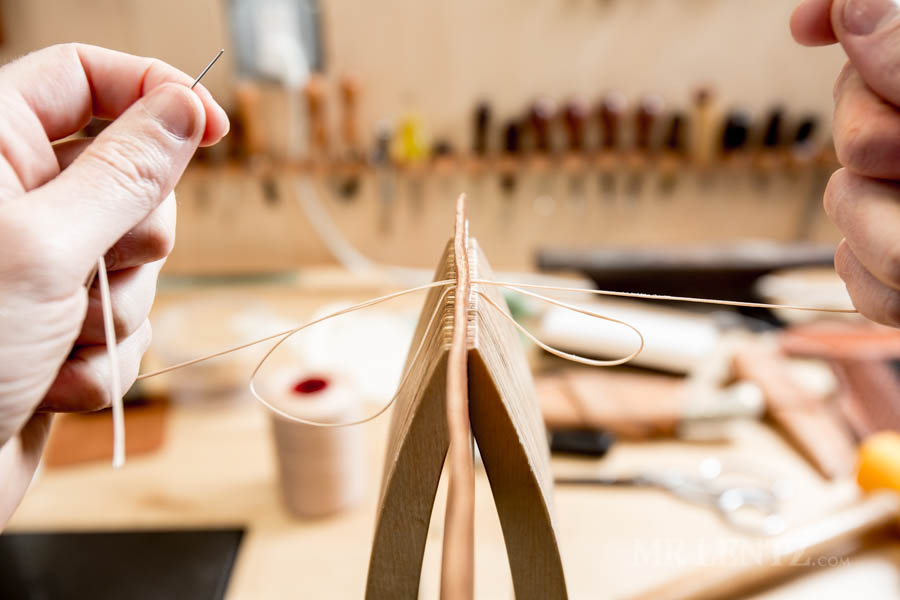
Keep pulling.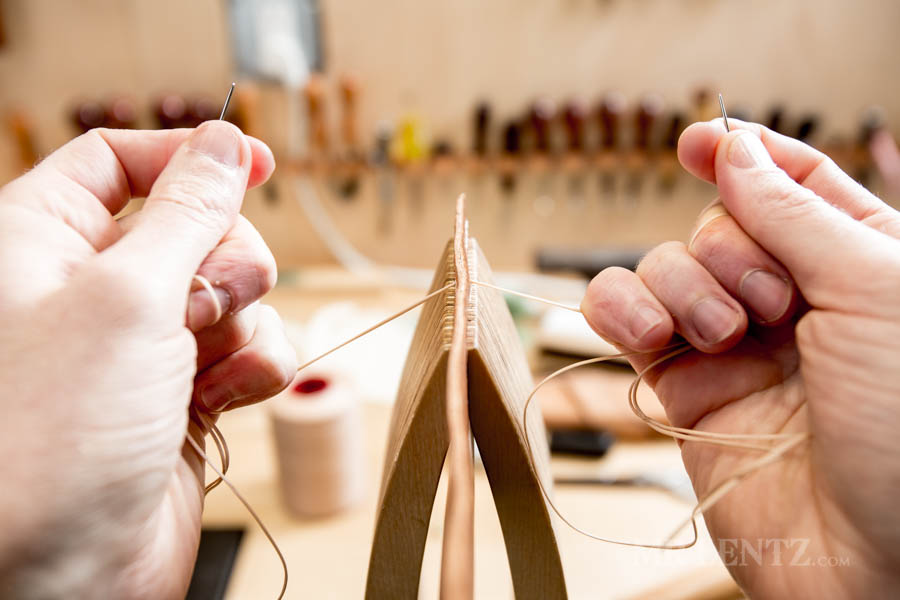
Pull until snug.
That completes one backstitch, most of the time you will only need to do one more backstitch. In which case repeat the above one more time. If you want the item to be extra secure you may opt for 3 backstitches. Go ahead and complete however many you would like before continuing. Below I have a short video showing the backstitch in practice, take a look – it may make more sense in video form:
The final step is to end both needles on one side of the project (usually the side facing inward). This helps hide the thread after you snip it. In the case above I am passing the left hand needle through the leather once more using the next hole further from me.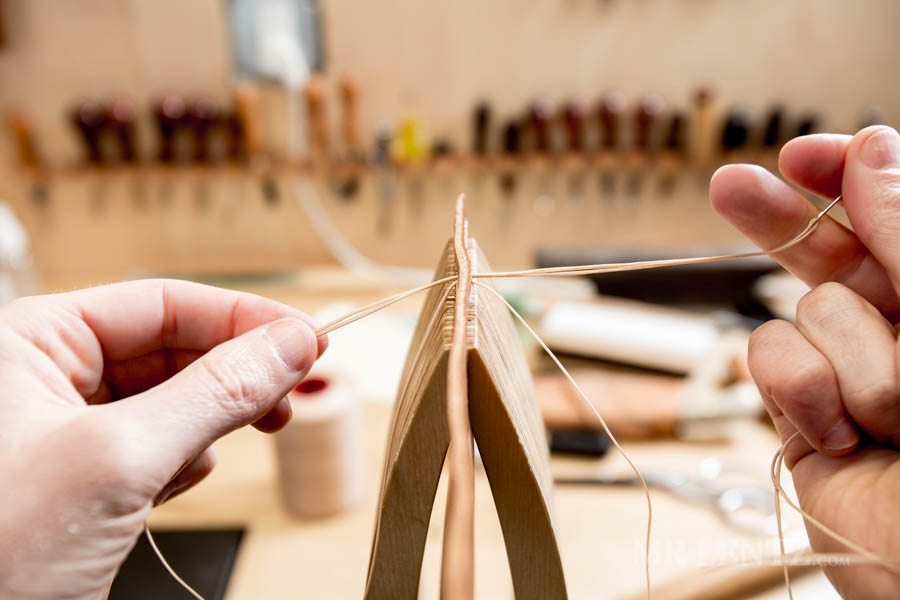
Pull the thread through the hole.
Keep pulling.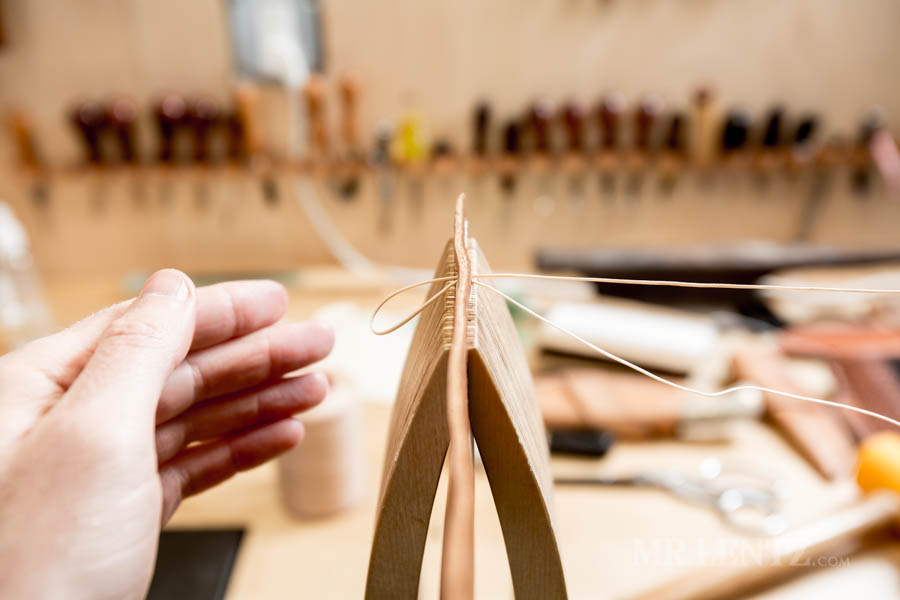
Pull a bit more. 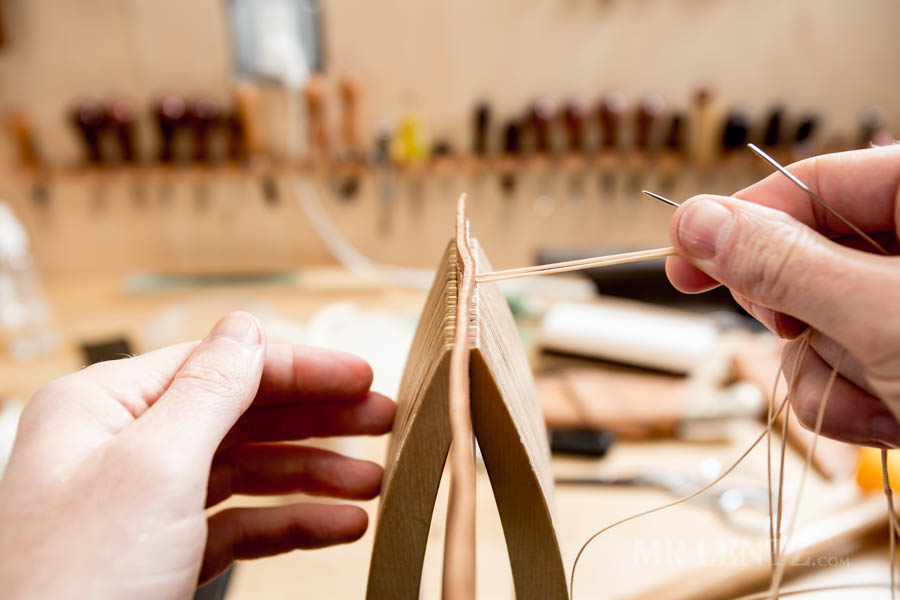
Snug up the thread and grab your scissors.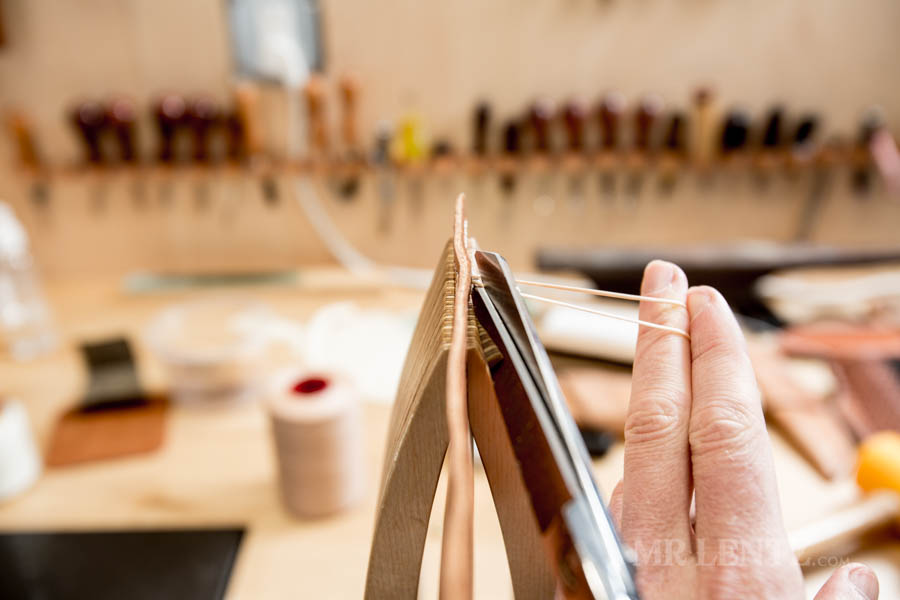
Go ahead and cut the thread leaving a few millimeters on each.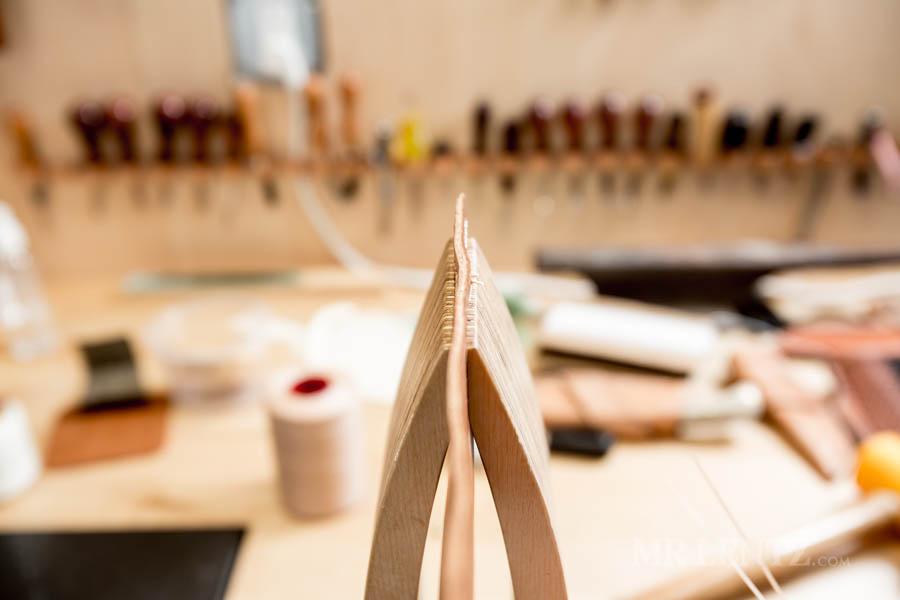
Here is a very exciting photo of some snipped thread.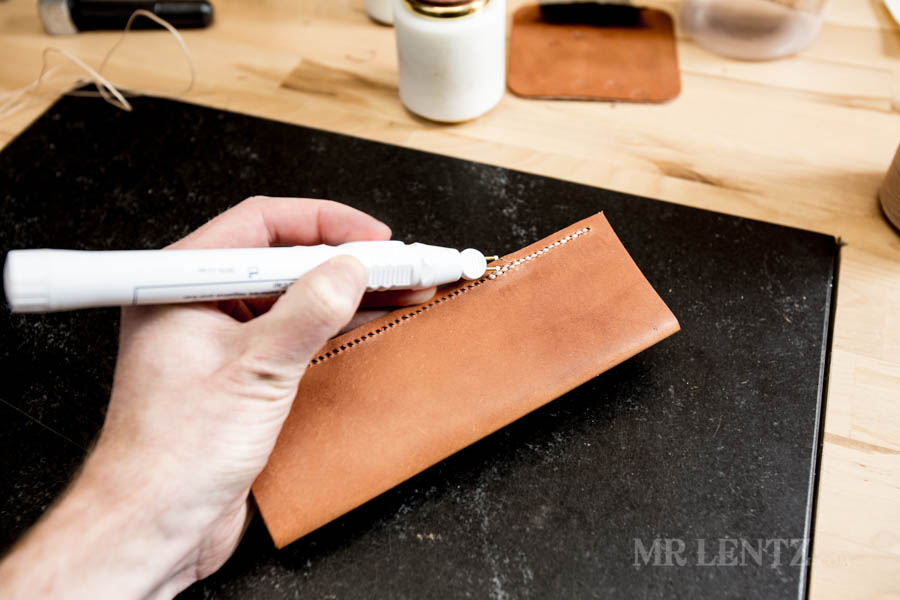
I find using a specific thread burning tool to be much easier to burn off the final bits. Some use a lighter, but this can accidentally singe the thread further down the line, causing weakness in the stitch. 
Thread burning works great with polyester and plastic based threads such as this Ritza Tiger Thread. It will keep the ends from fraying, and if you melt the tips a bit, a small ball of hardened thread will form – making it difficult to pull through the stitch hole over time. That’s about all there is to a backstitch, if y’all have any questions, I am happy to answer them in the comment section below. I typically can respond within 24 hours. Thanks!