Everything, Philosophy, Tutorials, Wood
How to Build a Picnic Table
Oct

As September fades back and the rest of the country prepares for the cool and refreshing fall winds… down here in the Desert Southwest we are just arriving at the beginning of our summer. It’s hot as hell right now, and there’s nothing better than eating outside on a handmade picnic table where at least the breeze can catch you.
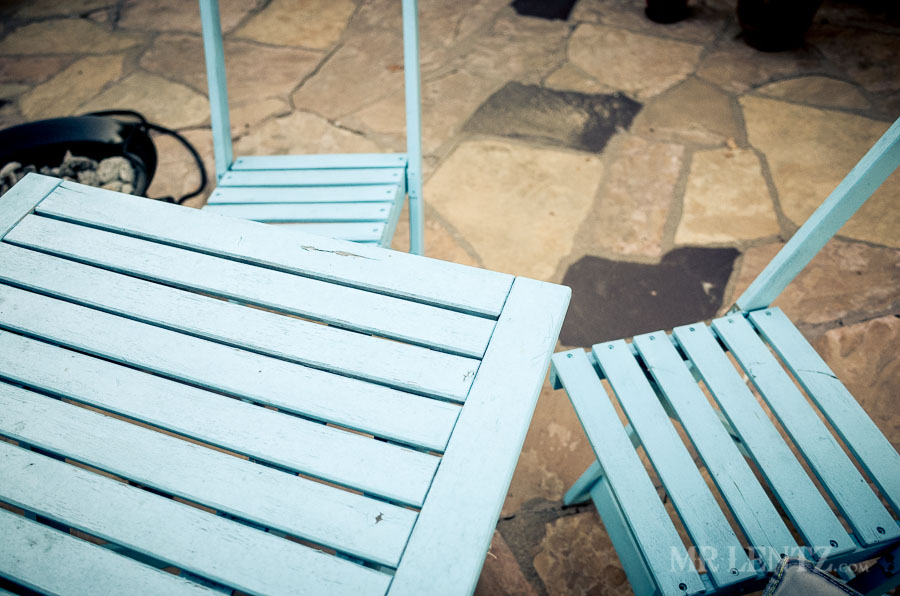
The yard has been a bit, um, a bit too dainty with this tiny blue petite folding table to act as our only source of outdoor comfort, so let’s dive on in to a simple picnic table build first featured on Popular Mechanics website, link here. I will be following the plans pretty closely, except for making the table and benches a bit longer. Let’s get on down to it.
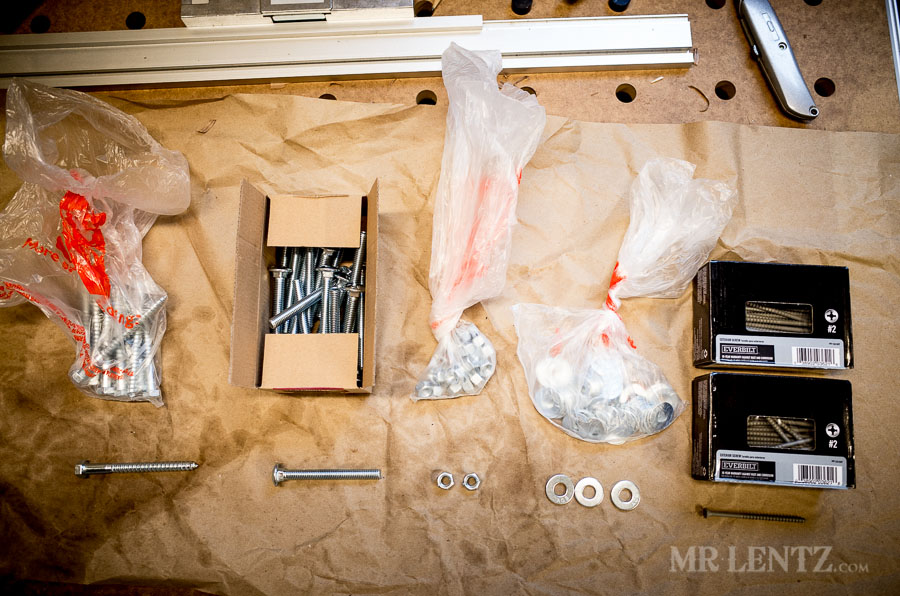
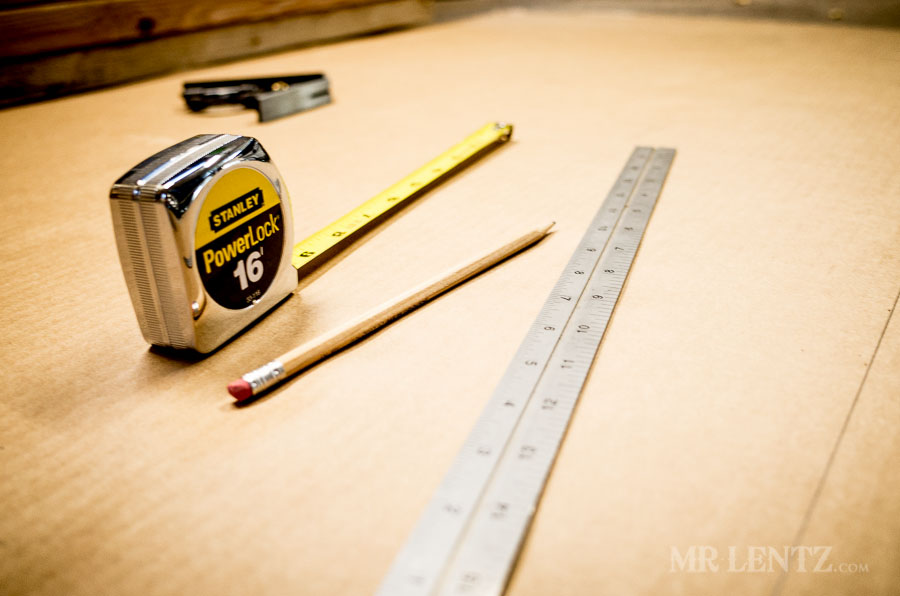
First off here’s all the hardware you will need: 12 of 3/8 carriage bolts, 12 of 3/8 nuts for the carriage blots, 24 washers for the carriage bolts, 6 of 3/8 lag screws and 6 washers for the lag screws. Then get a box of 3.5 inch exterior screws. There’s a number of different head types – I chose the phillips since that’s what I’m used to, though I am sure there is a reason they developed the star shaped head – maybe I will be lucky enough to find out why in a few minutes!
Like this post so far?
I spend most of my free time creating tutorials like this to help those like yourself get into leatherwork and woodworking, or get better at it. If you'd like to support my efforts, consider checking out my handmade leather goods shop and purchasing a gift for yourself or a loved one. It's readers like you that help keep a small U.S. business like mine going strong, so -thank you!
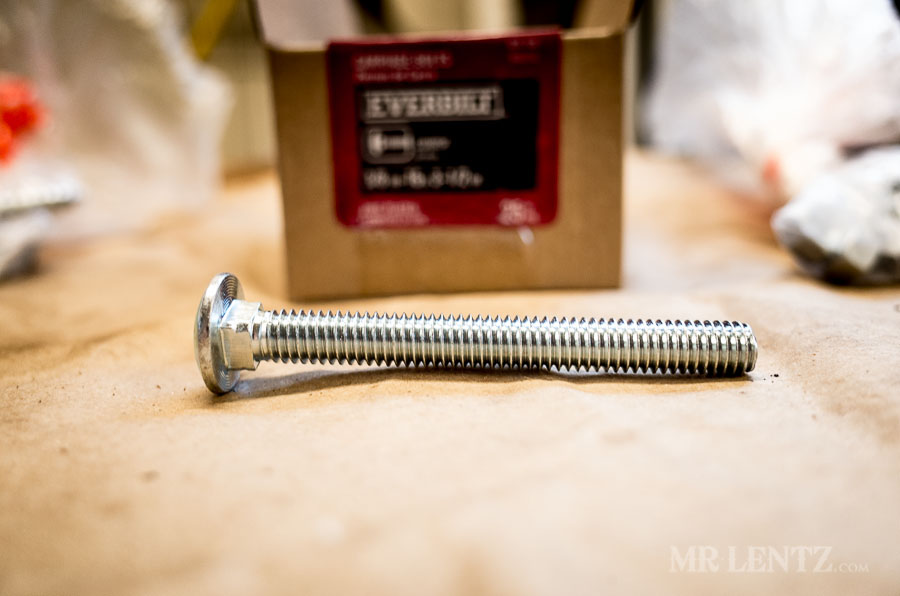
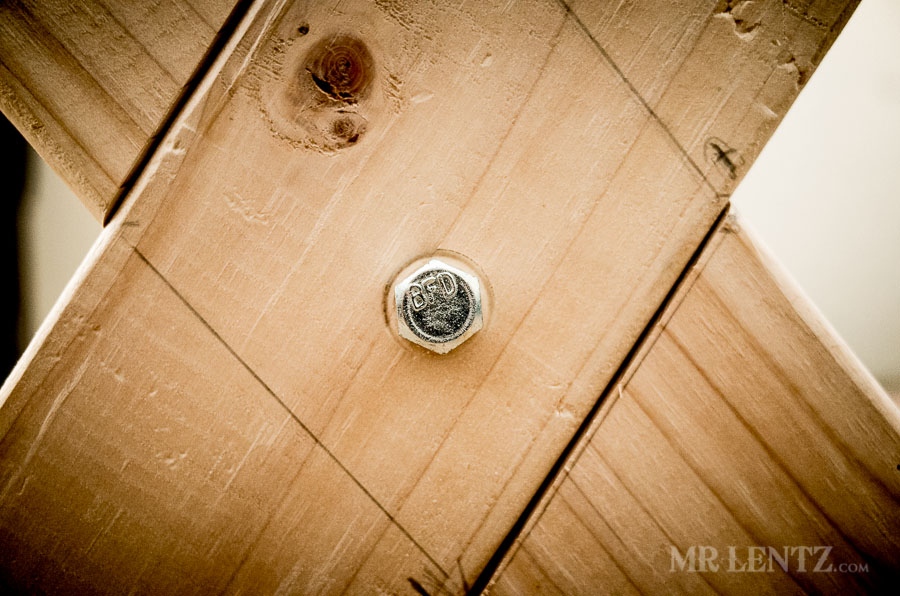
For reference this is a carriage bolt.
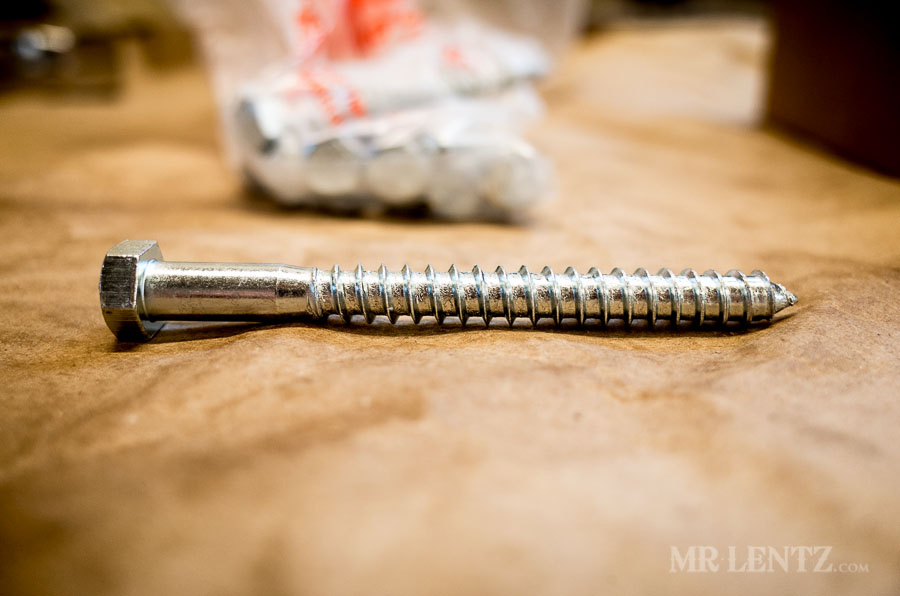
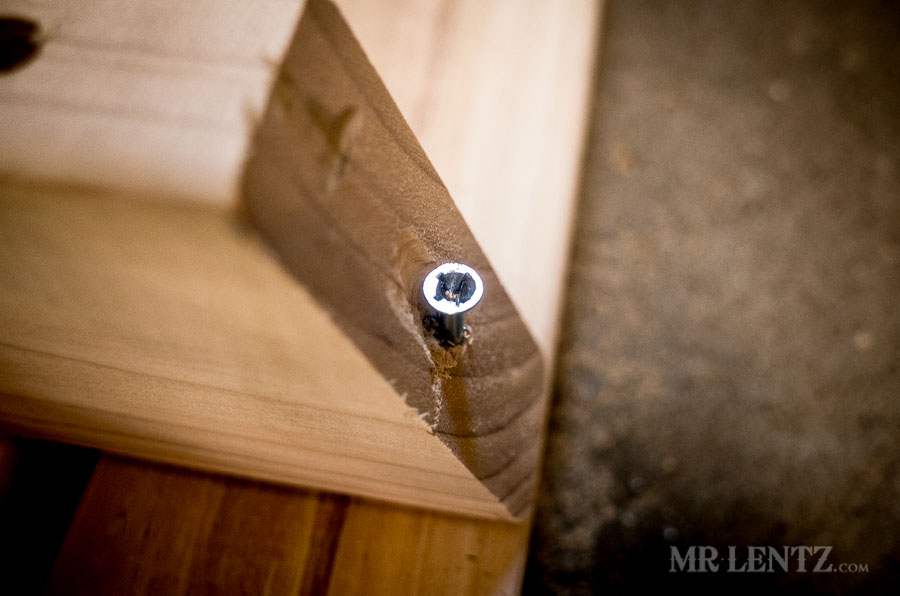
This is a lag screw.
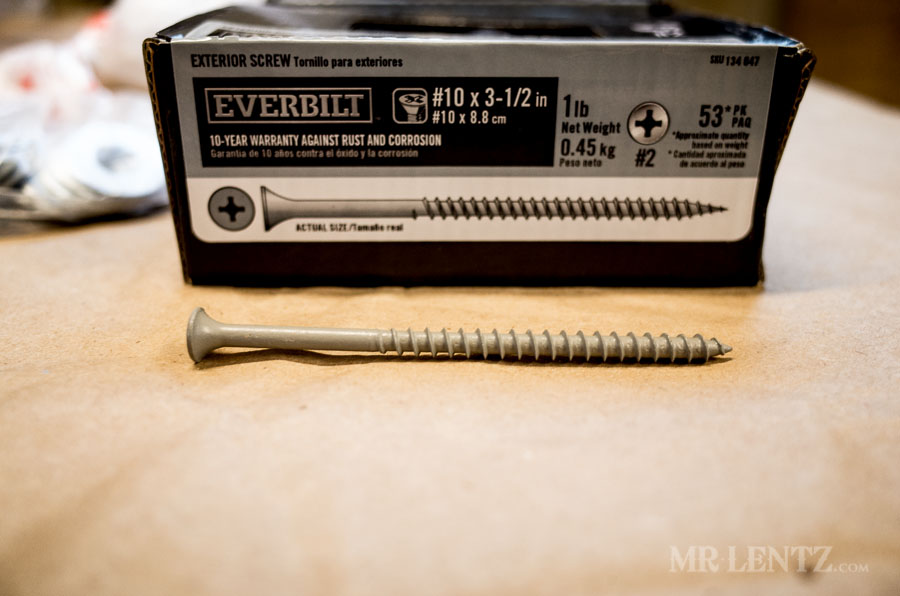
And this is a deck/exterior screw.
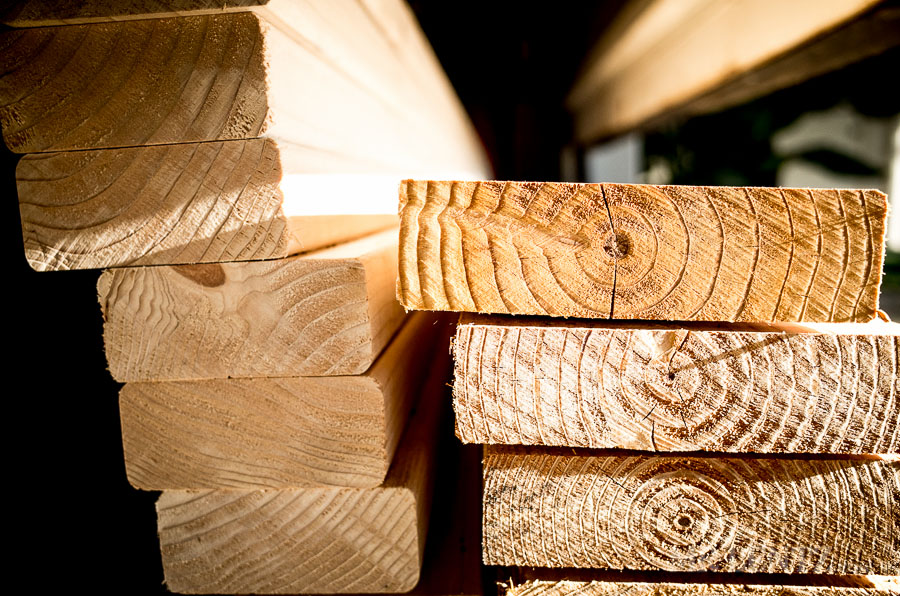
For the wood I chose douglas fir or yellow pine. I think the 2x4s are yellow pine. Just get some cheap stuff that isn’t all warped. I spent a good 30 minutes checking out all my pieces and digging through the pile at Home Depot before I got a decent selection.
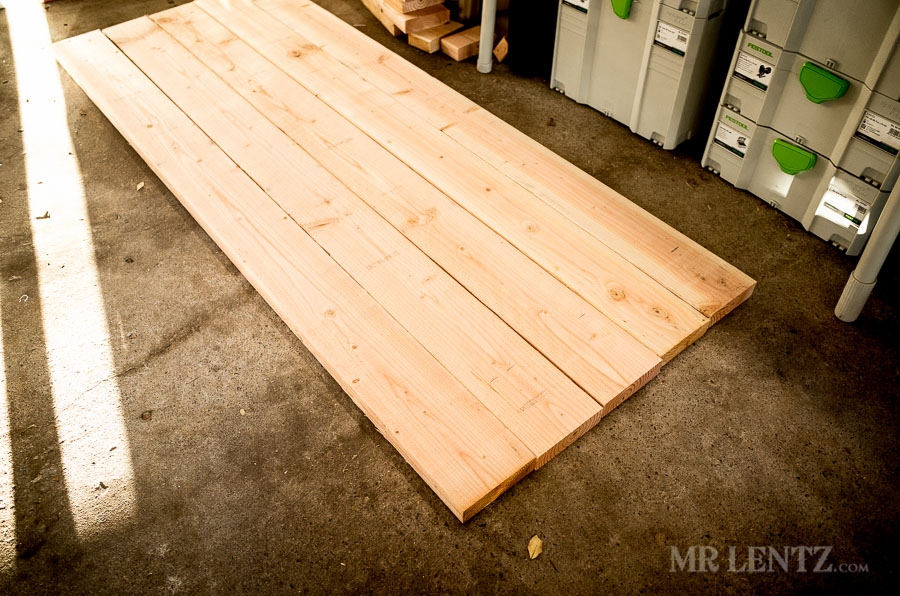
I purchased 10 pieces of 8 foot long 2×4’s and 6 pieces of 8 foot long 2×6’s. That should be enough plus an extra piece or two for the guaranteed screw up that comes in every hand built project.

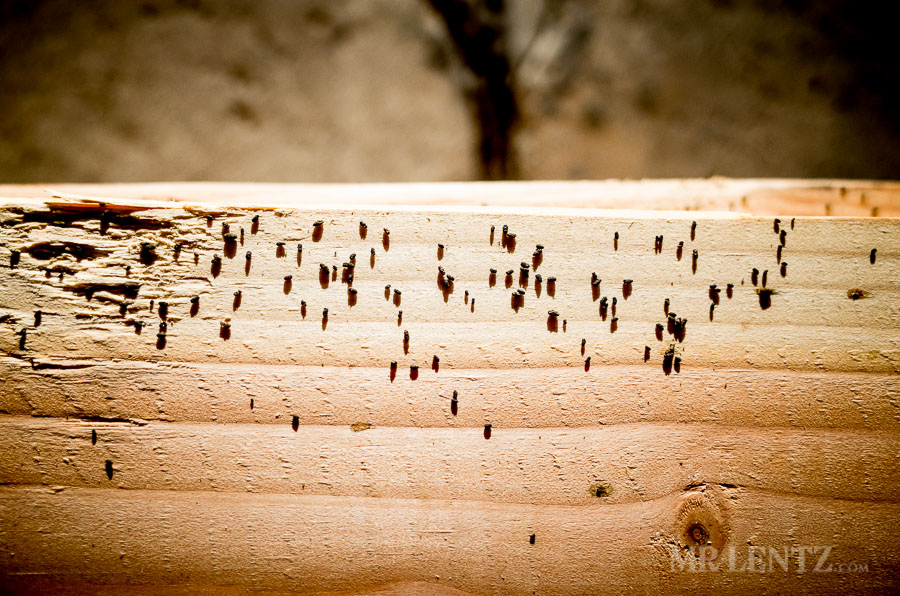
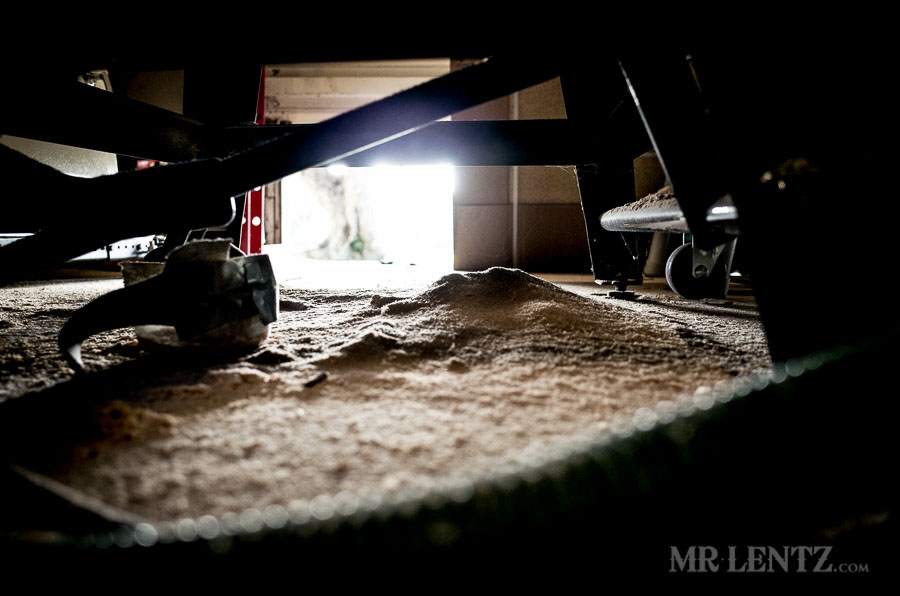
I left the wood in my garage for a week and the crickets must have had a serious party on them, here’s their aftermath.
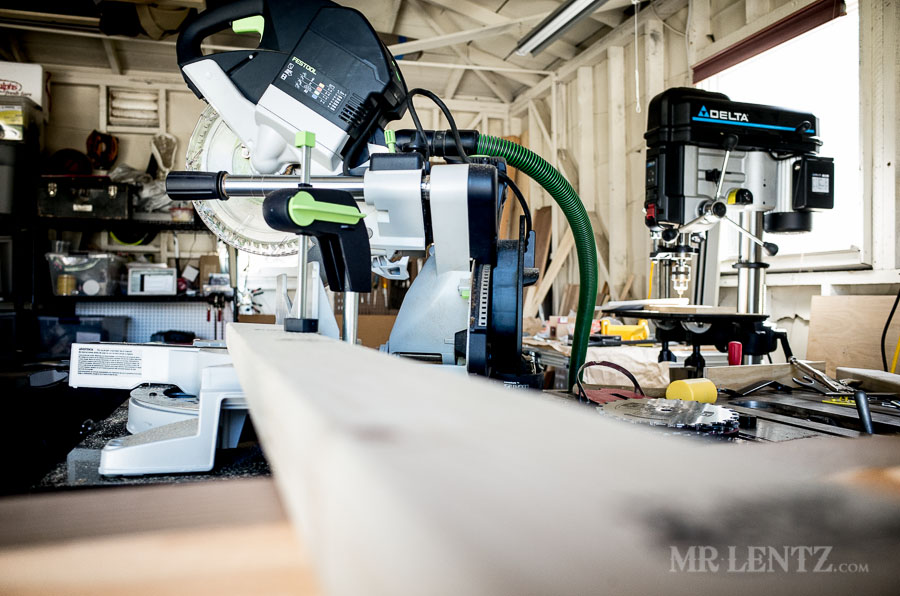
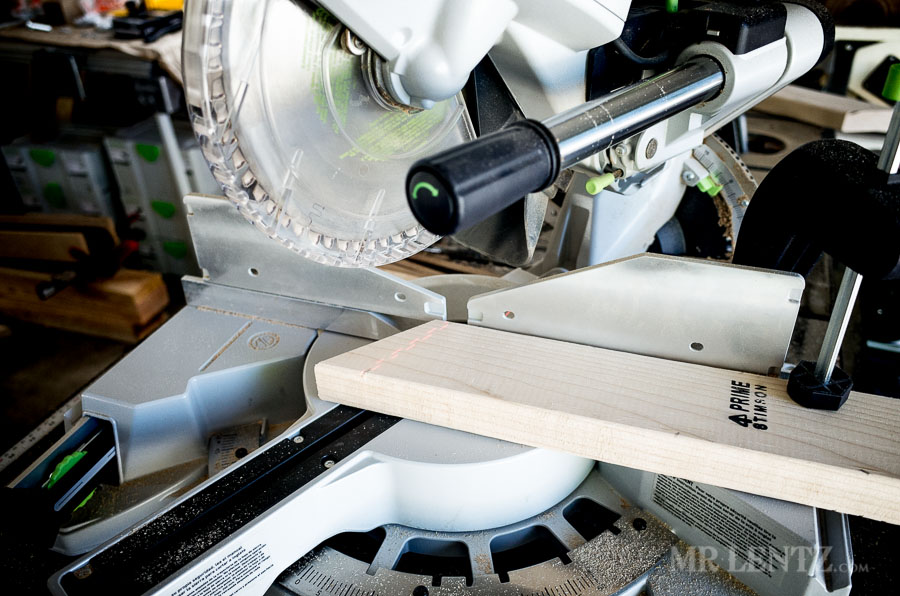
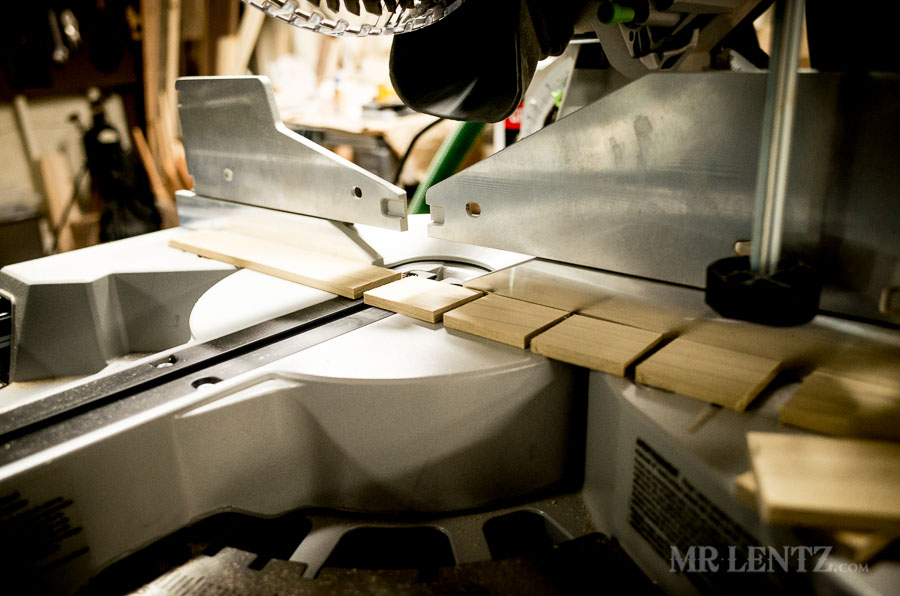
Time to measure and cut. I took 5 pieces of my 2×6’s and measured out 72 inches in length and made a cut mark. Taking care to cut off any ends with splits in them, best to start fresh, I say.
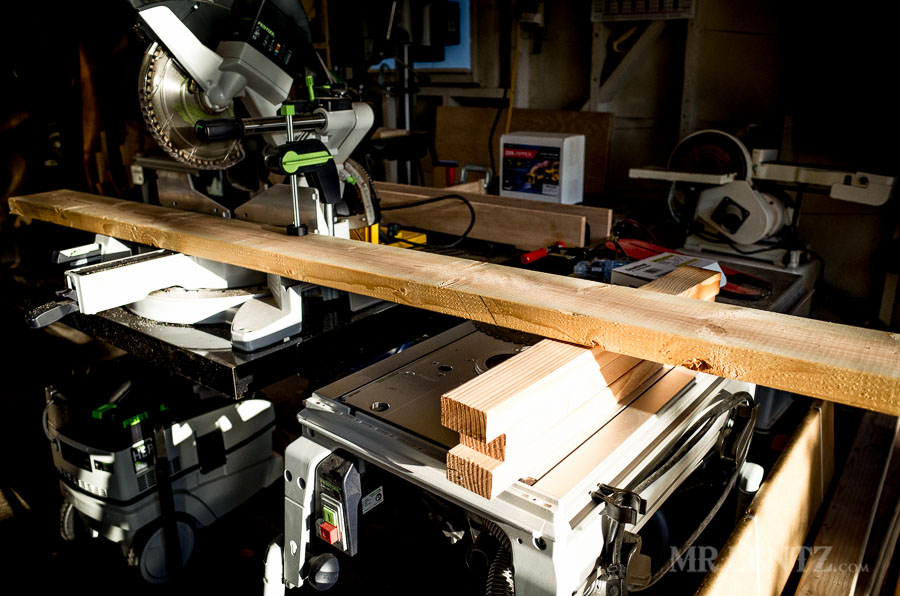
I threw these pieces up on the miter saw and helped stabilize them with my router table at one end and some scrap wood. And just as I was about to make the cut, I remembered that I had originally marked them all to cut at 66 inches, but I wanted 72, so I remarked. Ahem – this is why you usually buy 1 extra piece of wood!
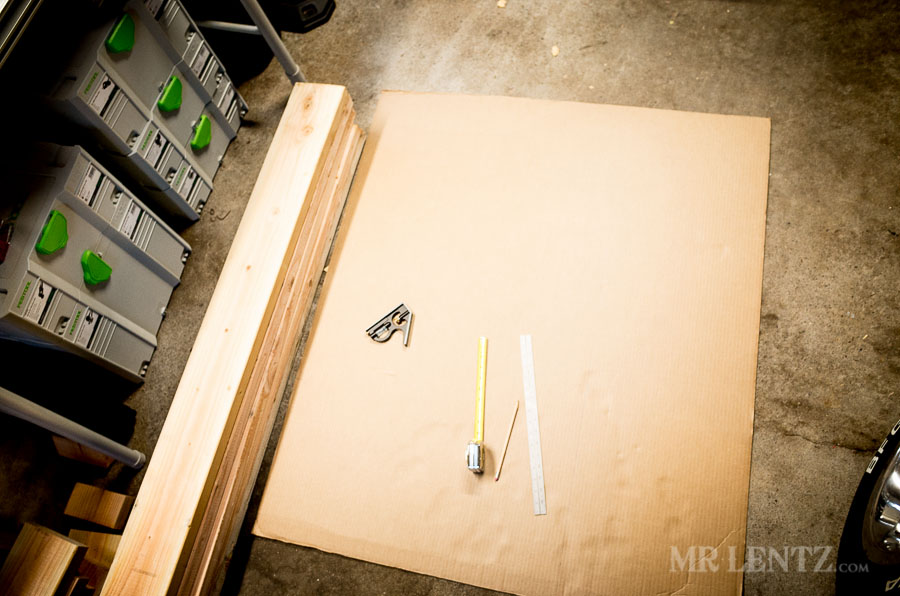
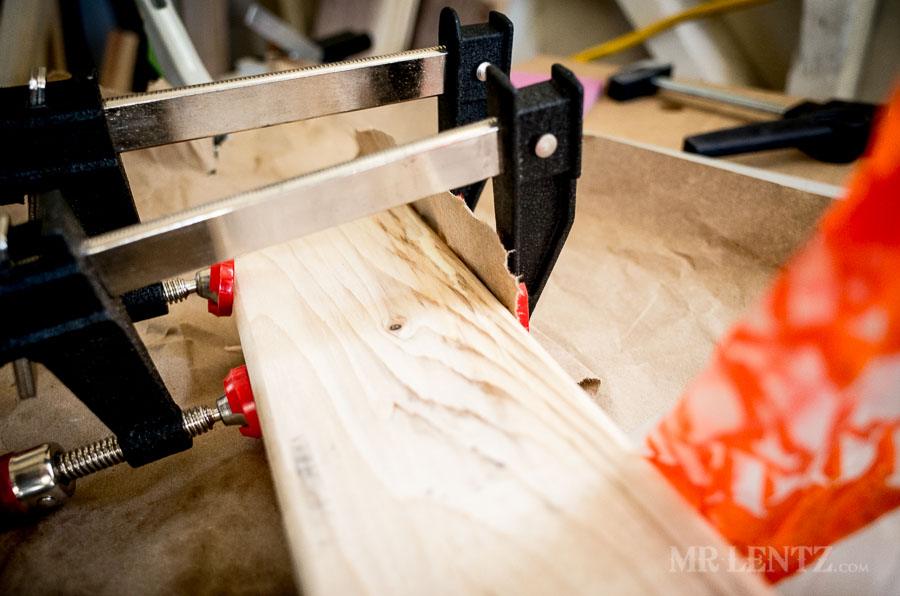
After the table top is cut, I made a template out of cardboard to make measuring the leg lengths and angles very quick and easy. Here’s that Popular Mechanics link again. Basically draw a perfect (the best you can) 28.5 inch x 27 inch rectangle. I did it by measuring every 10 inches and making a mark, that way I could connect the dots with a ruler and draw a straight line. Do the same for the bench legs pattern, it’s a 16 x 11.5 inch rectangle.
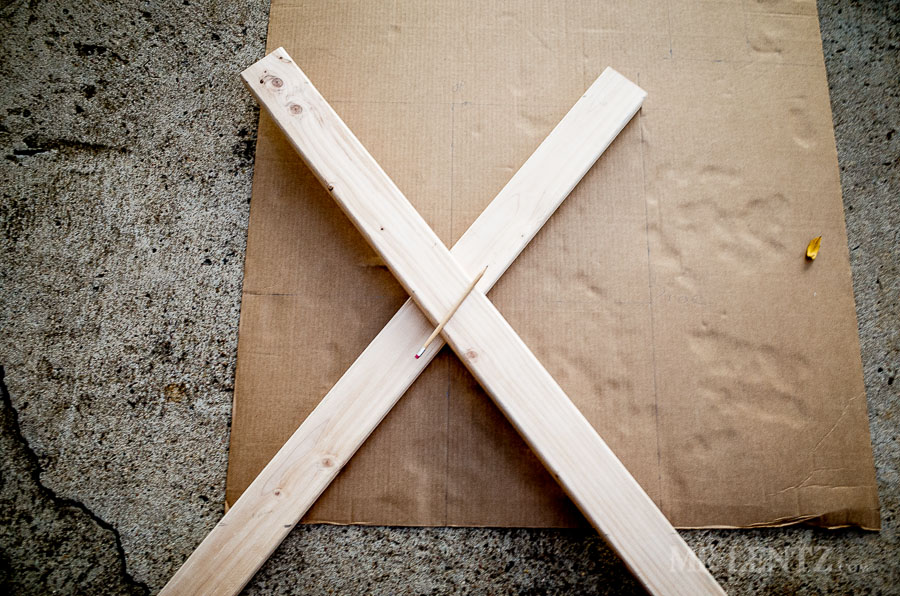
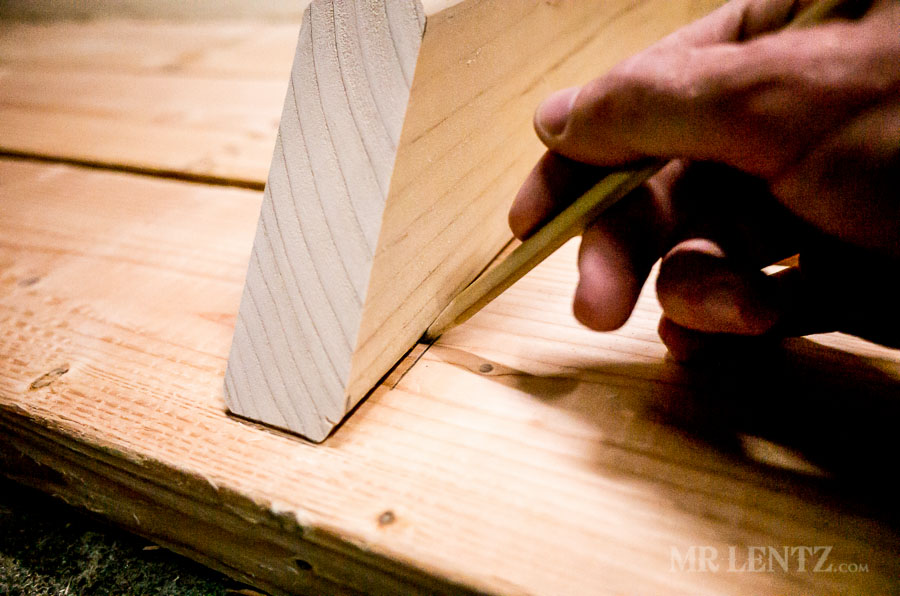
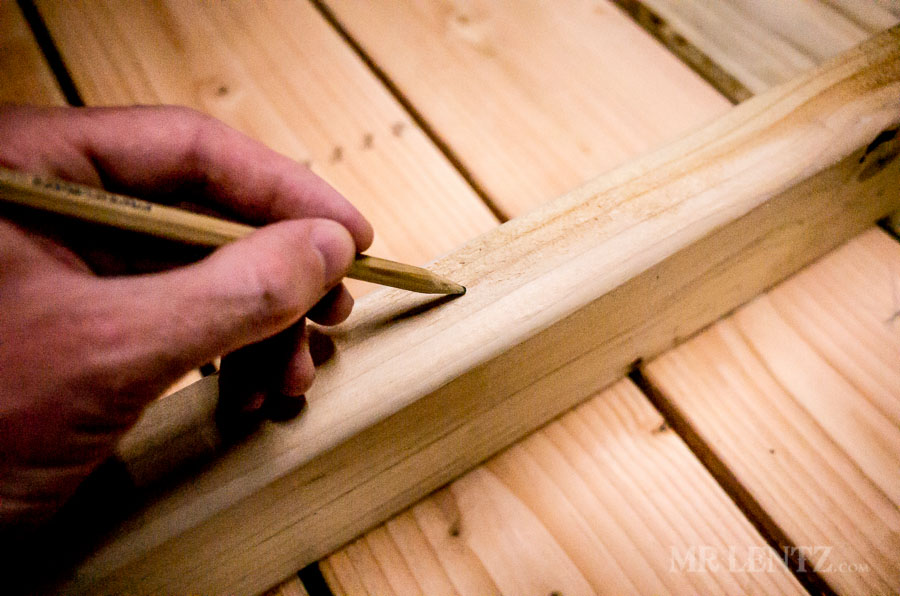
Now if you take a close look at that Popular mechanics drawing you can place your wood into the pattern exactly as shown, and mark up the cut lines for the tops and bottoms of the legs, the lap joints where the legs cross, and the table cleats. I took that pattern a step further and made a line dividing each rectangle into four equal parts, (table legs – 14.25 inches x 13.5 inches, Bench legs 8 inches x 5 3/4 inches). Where these lines intersect your wood when laid down on the pattern is where you will put a mark for the lap joints. Then connect the appropriate marks and viola.
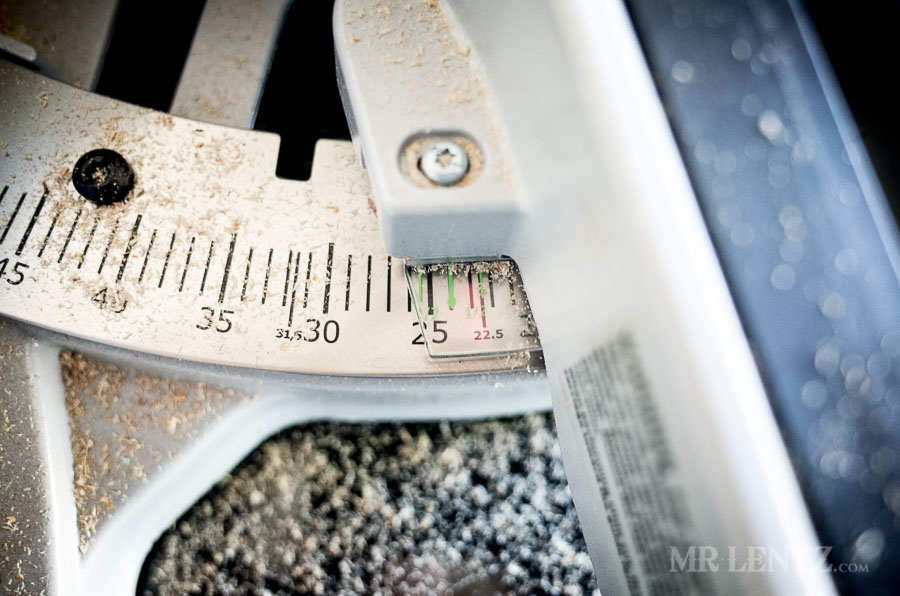
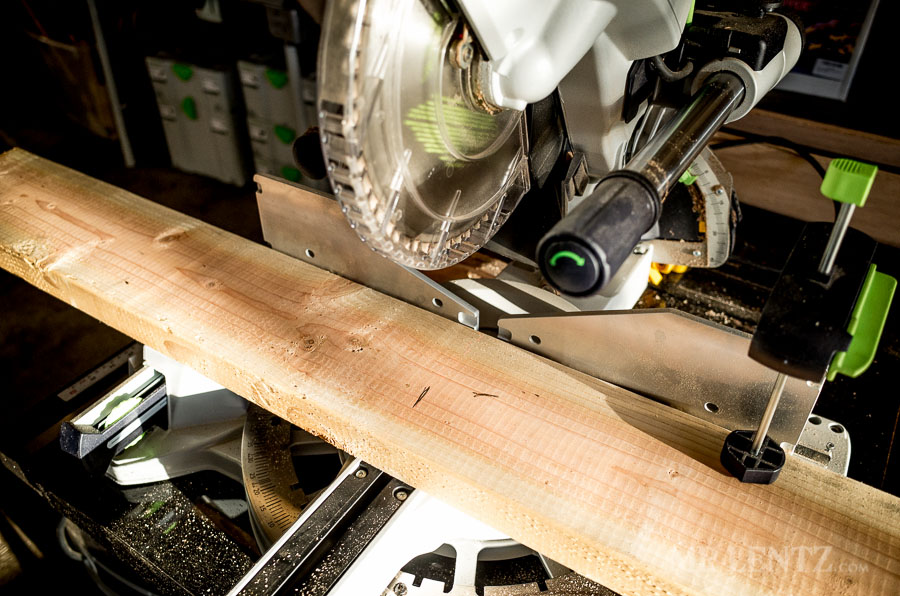
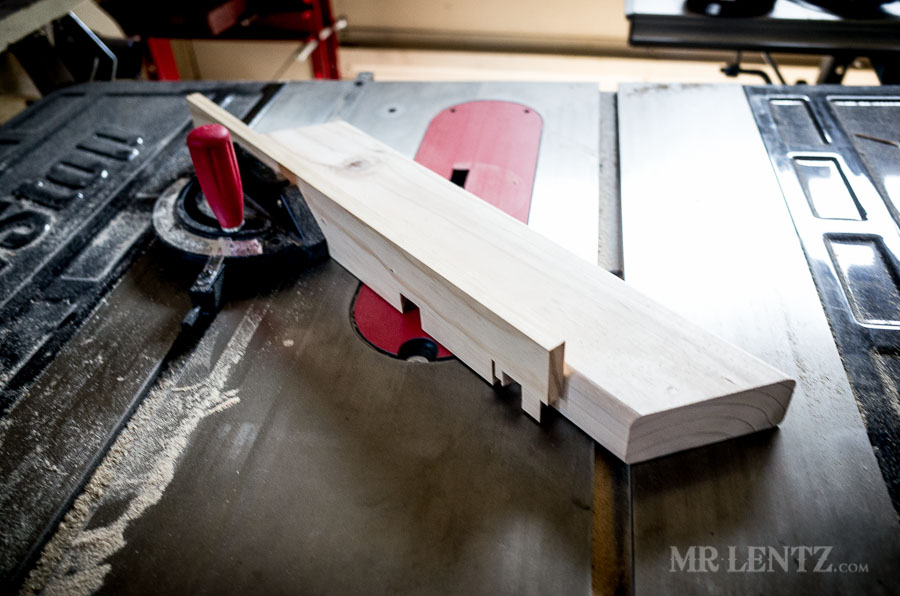
Next, I cut everything on the miter saw. The table legs were cut at 38 degree angles. The bench legs were cut at 24 degree angles.
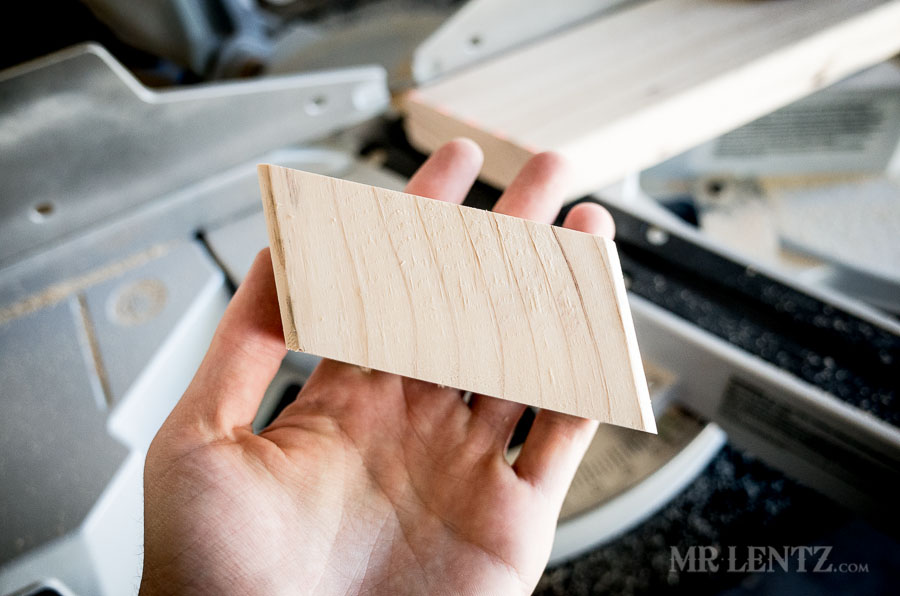 A rhomboid. Now on to cutting the lap joints.
My tablesaw has a mind of its own, and apparently a life of its own as well. While I had not used it in the last two weeks, somehow the brake cartridge deployed onto the blade. It’s a SawStop tablesaw – the kind that shutdown instantly if it senses skin contact. Whose been touchin’ my saw?
Anyhow – with a new brake ordered, I am stalling my progress hoping it shows this afternoon so I don’t have to manually cut the lap joints. Which – in fact is not that hard, you just use a handsaw or regular tablesaw blade and cut multiple grooves 3/4 inch deep across the entire marked joint area. Then use a chisel to bust out the parts. The fun part is that you get to do this 12 times over. On every leg piece for both the table and benches. On this hot western summer day, I just might rather sip a cold drink instead while I wait for the postman.
After cutting out all legs and cleats, I measured out the braces for the table and benches. The braces (as seen in the Popular Mechanics diagram) are cut at 45 degree angles. The long side of the table brace is 24 1/8″ and for the benches it’s 14 7/16.
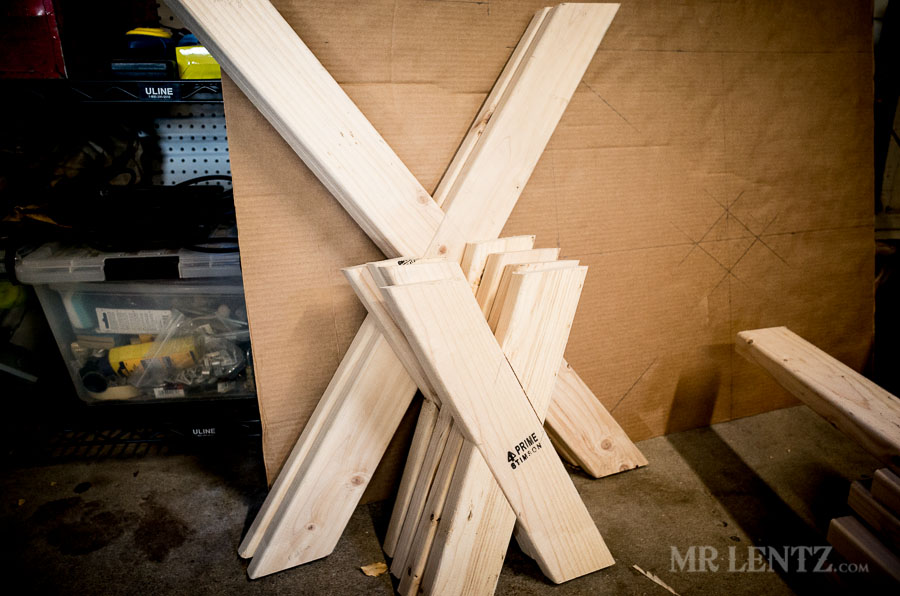
I cut two braces for the table, four total for the benches and now I am gettin’ low on wood.

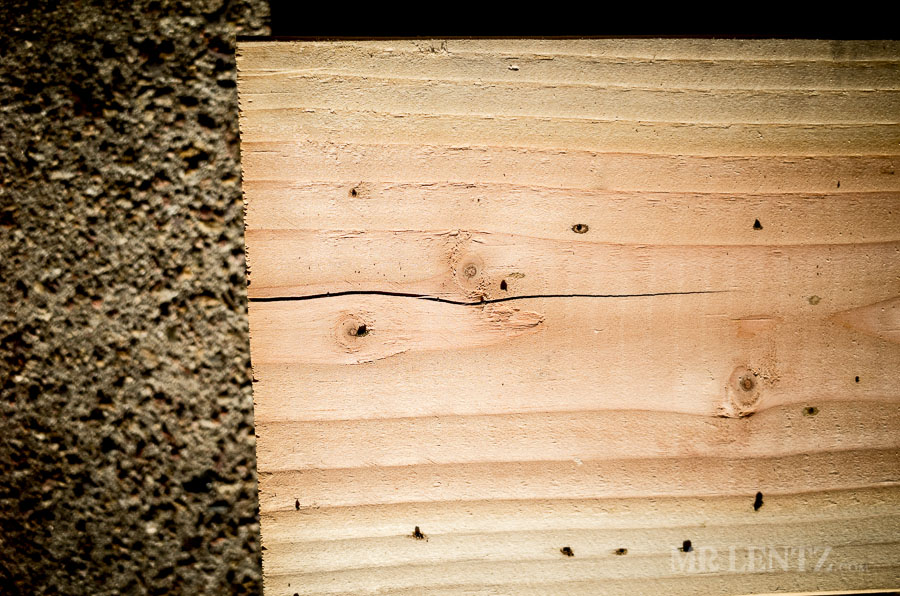
After cutting one of the braces I noticed it had a significant splinter down one side several inches long. Low on wood – I decided it was time for a repair. I filled in the splinter with Titebond glue and clamped it down. Should be enough to hold it, or keep it from spreading.
Well, I didn’t even have enough time to sip my cold drink when the new tablesaw brake cartridge showed up. That means it’s time for lap joints.

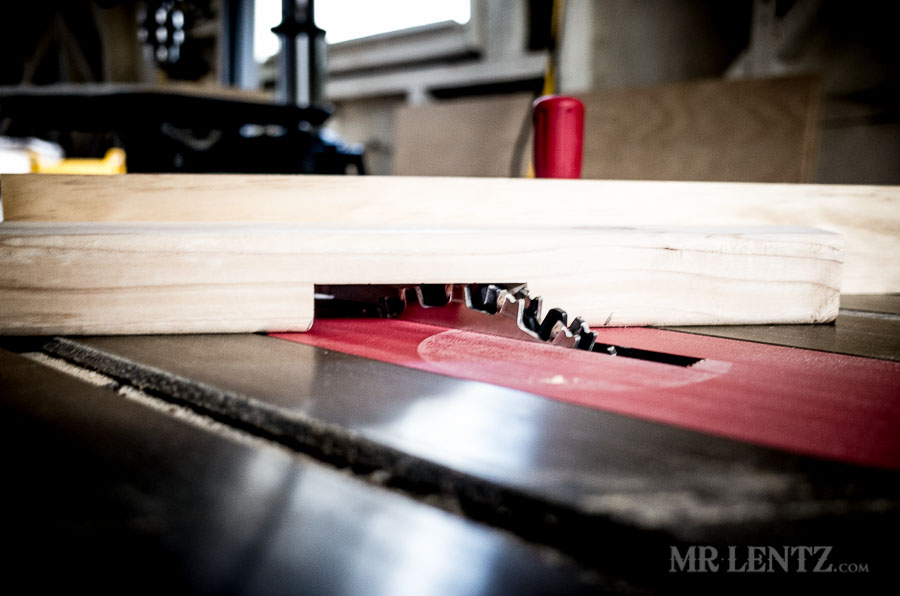
Using the cardboard template I had roughed out the lap joints on all legs. Now I just install my dado blades into the tablesaw, bring the height up to 3/4 inch and use a miter gauge to push the legs through at an angle, taking several passes to cut a full lap joint. A good way to do this is to bring the blade height up to 3/8, make a pass through the entire joint, then raise it up to 3/4 for a final pass.
The dado blades made fairly easy work of this, though it still took some time to make several passes. In hindsight I might have opted for the handsaw/chisel method simply to reduce the amount of sawdust that spread throughout the shop.
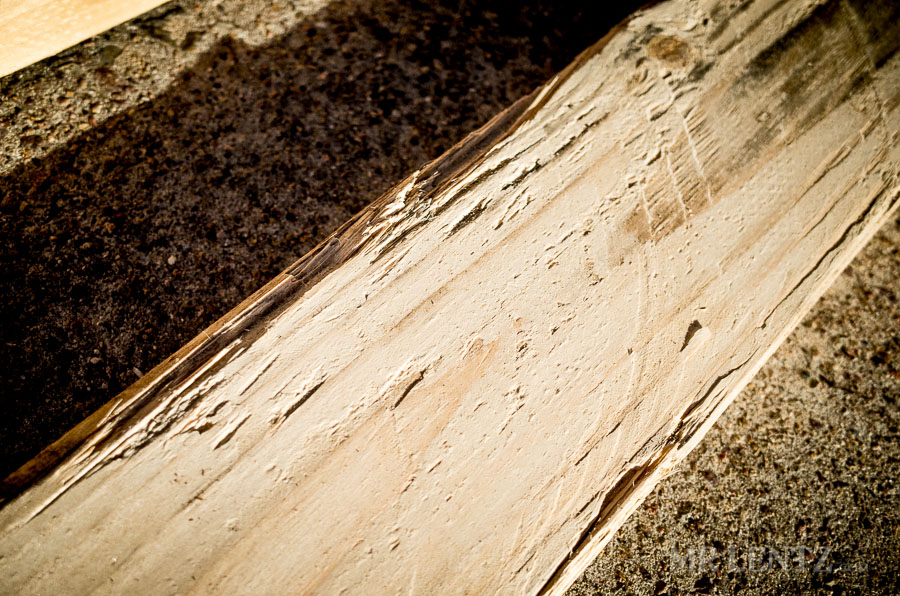
 Here’s the aftermath. It’s kind of like the Sahara Desert for my partying crickets.
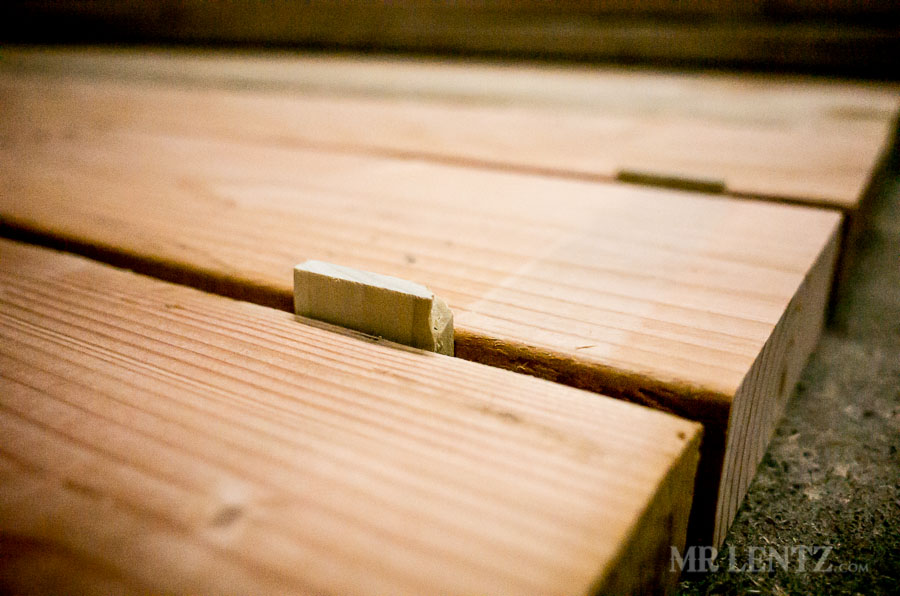
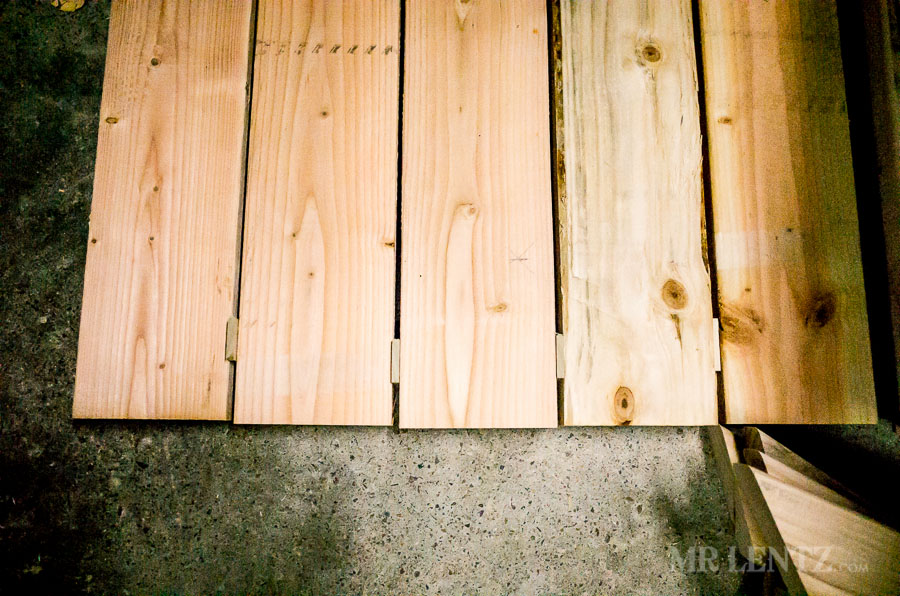
Next I laid out the table top boards on the ground and cut 1/4 inch shims to space out the boards before connecting to the cleats. This helps give the wood room to expand and contract in the heat/cold and humidity. If you don’t do it, you risk the boards butting up against eachother, warping, and ripping loose from the screws.

I placed the cleats 7.5 inches in from the edges, why – it felt like the right placement to get 6 people in the table without the end people straddling a leg. You know how we all hate straddling those picnic table legs. I then made sure they were all centered and marked their position with a pencil.
Then I marked two holes on the cleat for each board allowing two screws to hold it in place. This allowed me to do my drilling on the drill press, a much easier task.
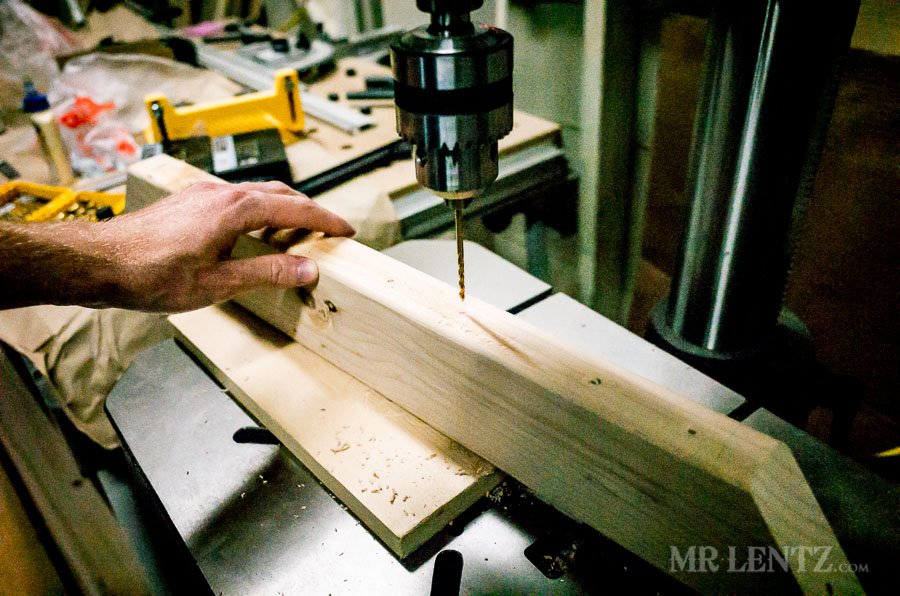
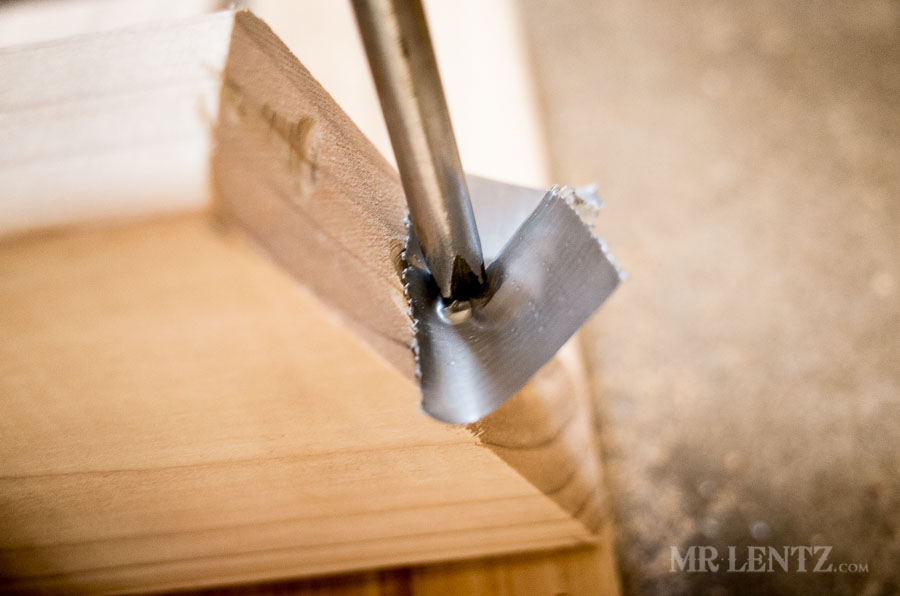
On the drill press I first drilled the small hole that the screws will grip, then I made a counter sunk hole with a 3/8 ” bit to a depth of 1 1/4 inch.
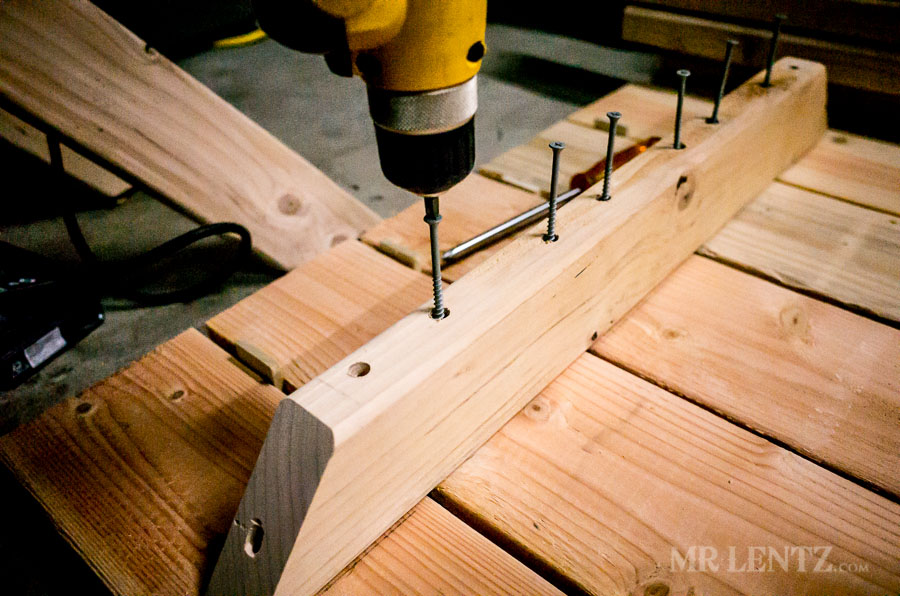
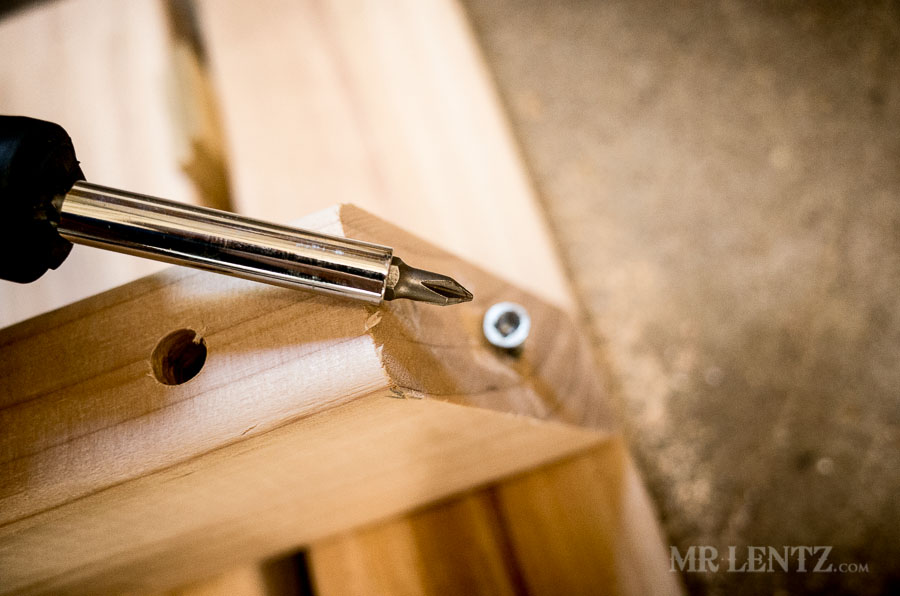
Next I drove the screws in with my drill, but not all the way! Do the final 1/2 inch or so with your handheld screwdriver, to prevent the screw from busting through the top. The ends of the cleats get shorter screws, maybe 2 inchers instead of the 3.5 inch deck screws.. Luckily for me the garage was only 95 degrees when I did this so I only lost 6 pounds in sweat.
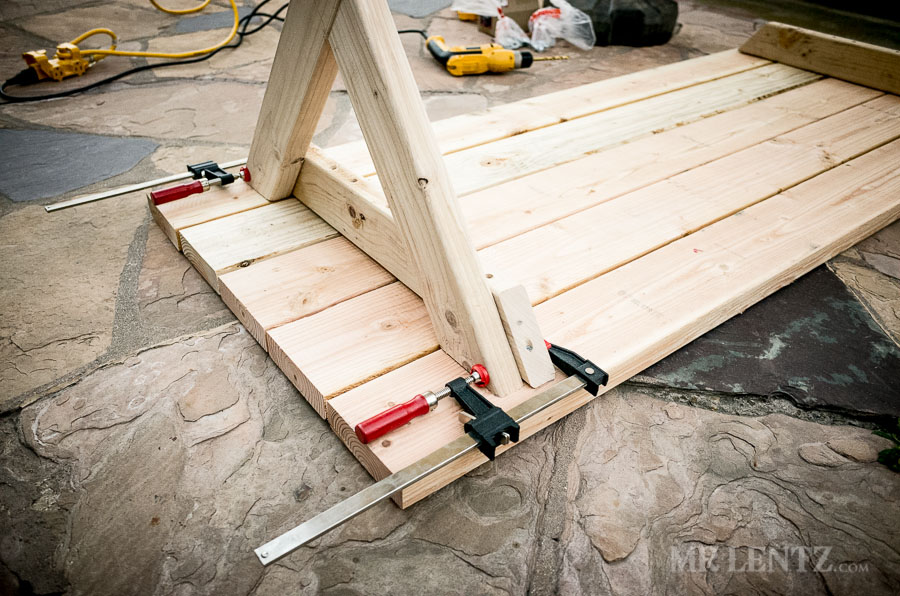
Next I brought the table outside for leg assembly. I fit the legs together at the lap joints and clamped them to the outside of the cleats. I attached a 3/8 inch drill bit and made a hole in each leg through the cleat as well making sure to dodge the screws.
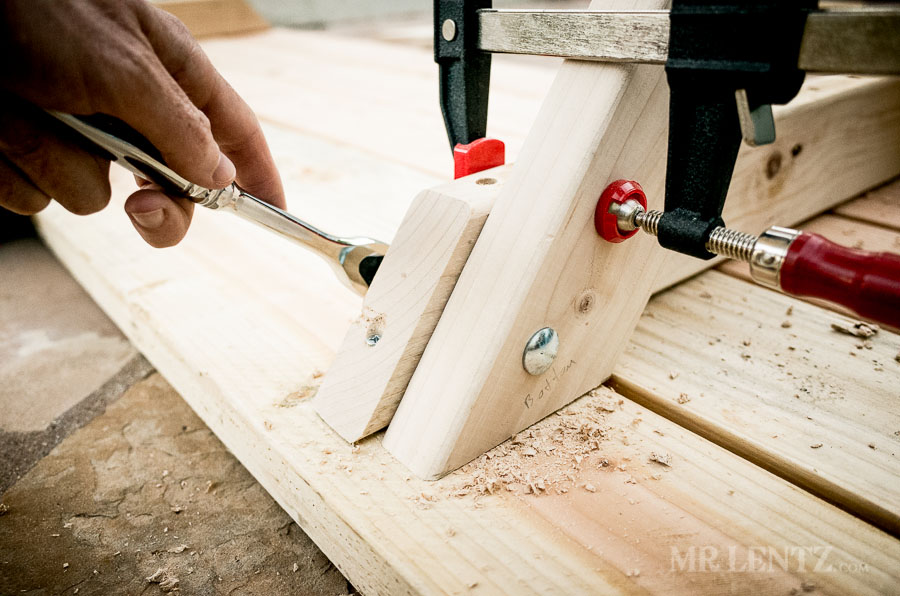
I put the carriage bolts through the holes, added a washer and a nut and tightened them down. Did the same on the other table legs as well.
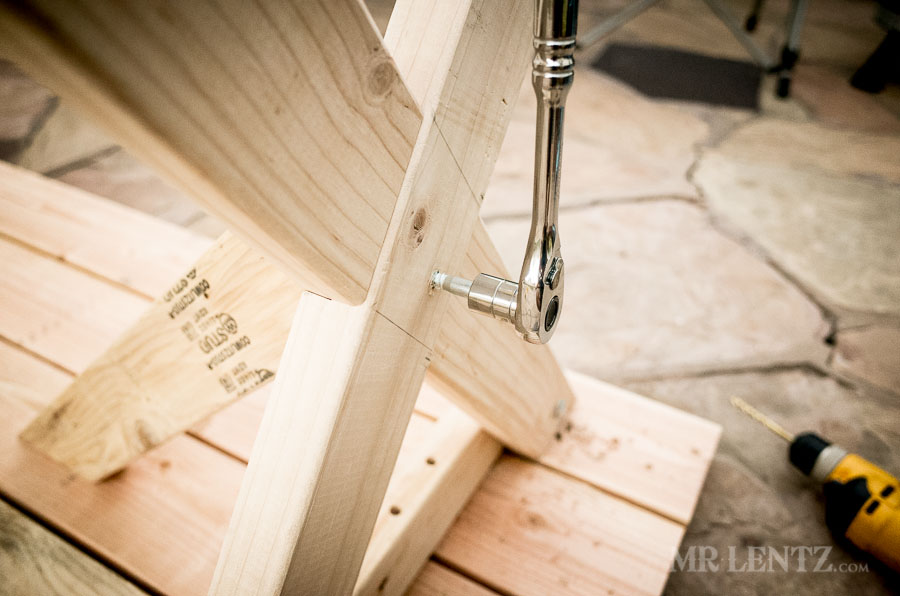
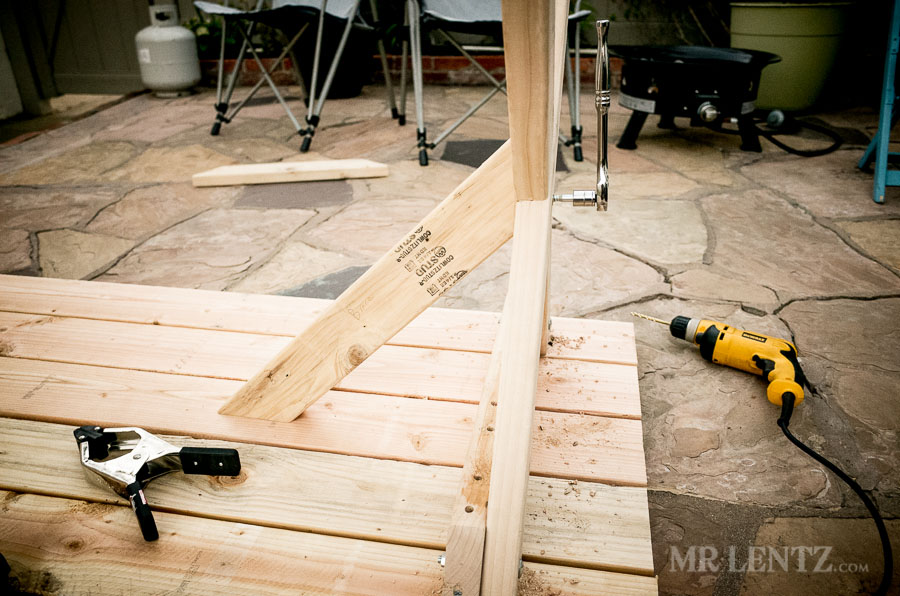
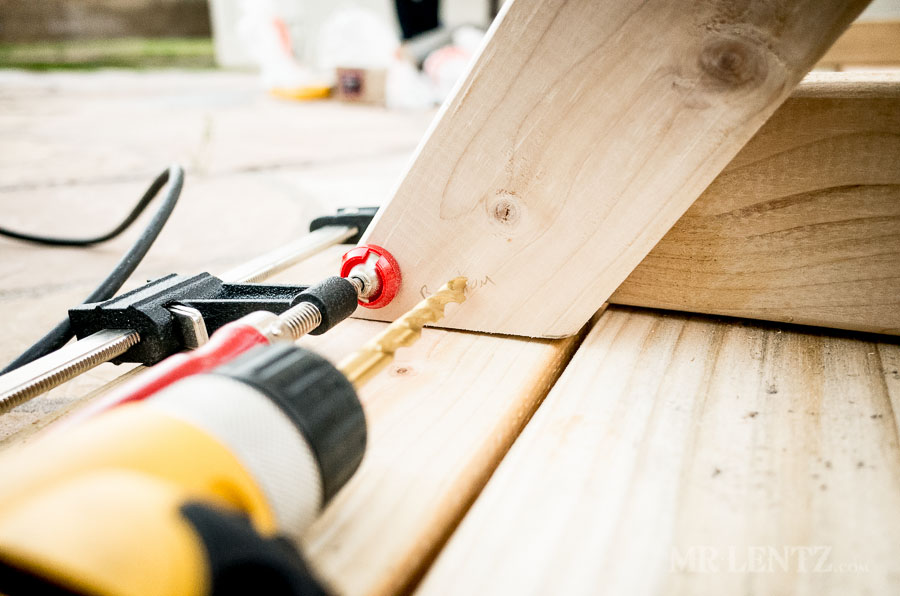
Then I put a 1/4 inch drill bit in and drilled through the middle of the legs and into the brace, but not all the way through. Next I threw a lag screw in there and tightened it down. Try and make sure things are square before you drill the holes and hold it all together tightly.
Of course, after all that tightening, I forgot to put a washer in there, oh well, still works! Next put a screw through the other end of the brace to secure it to the table top.
Now just repeat the same on the benches, except use 1/2 inch spacers on the boards. I ran into a bit of trouble on the first one when using my drill to get a 2 inch screw into the end of one cleat. I stripped it clean and couldn’t tighten or loosen it. Well – there are a few tricks for this, the first, and easiest, is to just slap on a piece of duct tape over it to help fill in the gaps, then use the screwdriver and give it a shot.
Well, that didn’t work so well for me – so then I tried a different screwdriver with a smaller bit, and hammered it into the screw before trying to get it to budge… That didn’t work either.
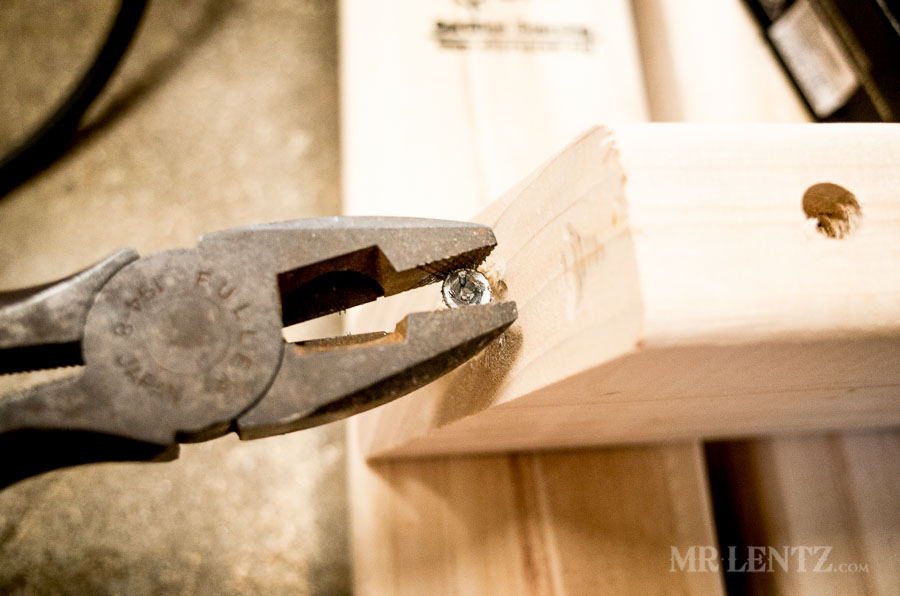
Next, I grabbed a wrench and managed to get a good grip on it to turn it. Repeated that for about 5,000 times and it came free.

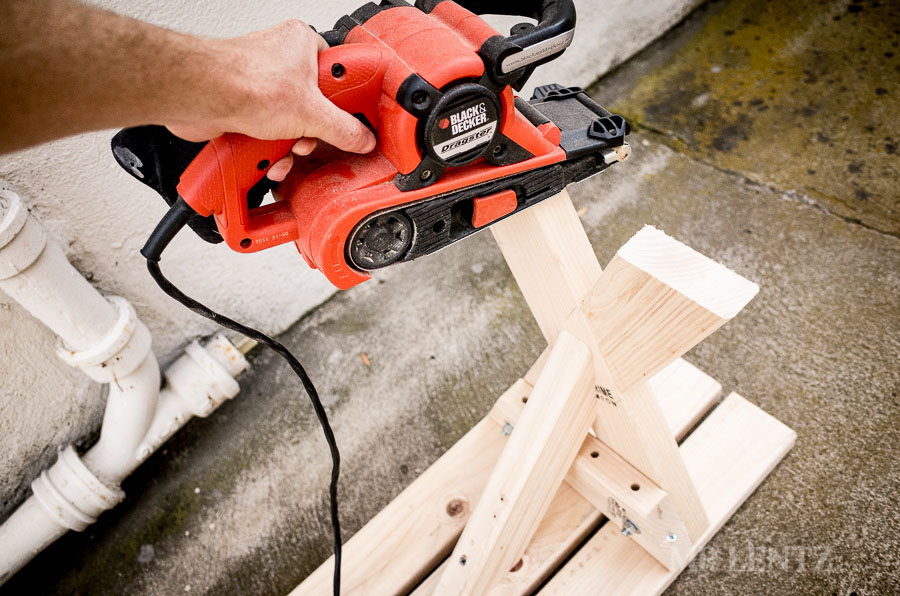
After finishing up with the assembly of the benches (there were a few challenges with those screws on the edges of the cleats, so take care when doing them), I brought the benches outside to a level surface. And of course they wobbled. Carefully checking which legs were longer, I marked the approximate amount of wood to take off and used a belt sander to quickly remove some wood. I then flipped it back over and checked for wobble again. This took me 4 or 5 tries before finally getting it fairly even, but it works well now.
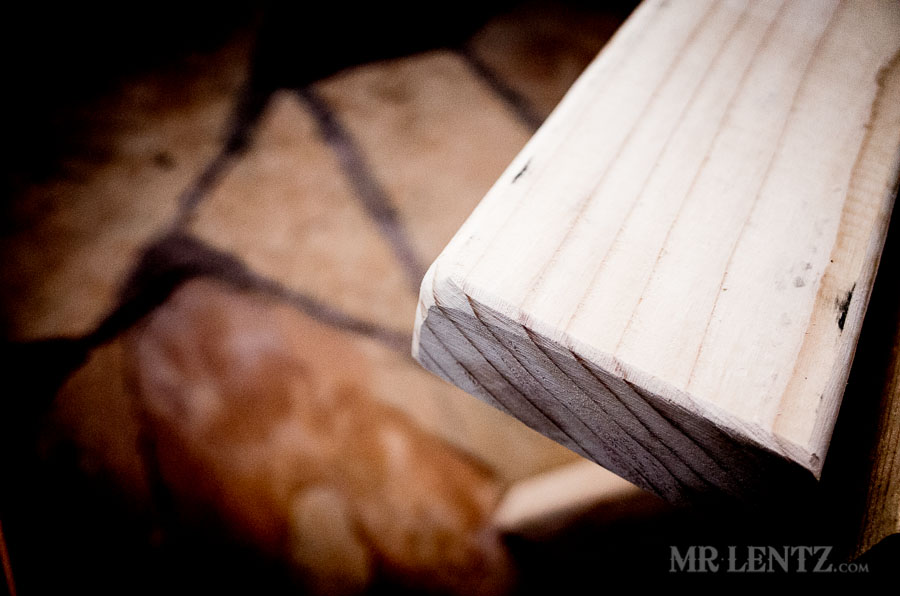
After leveling the benches I then used the belt sander on the bench tops and table to take off the coarse parts of the wood, sharp edges and splinters.
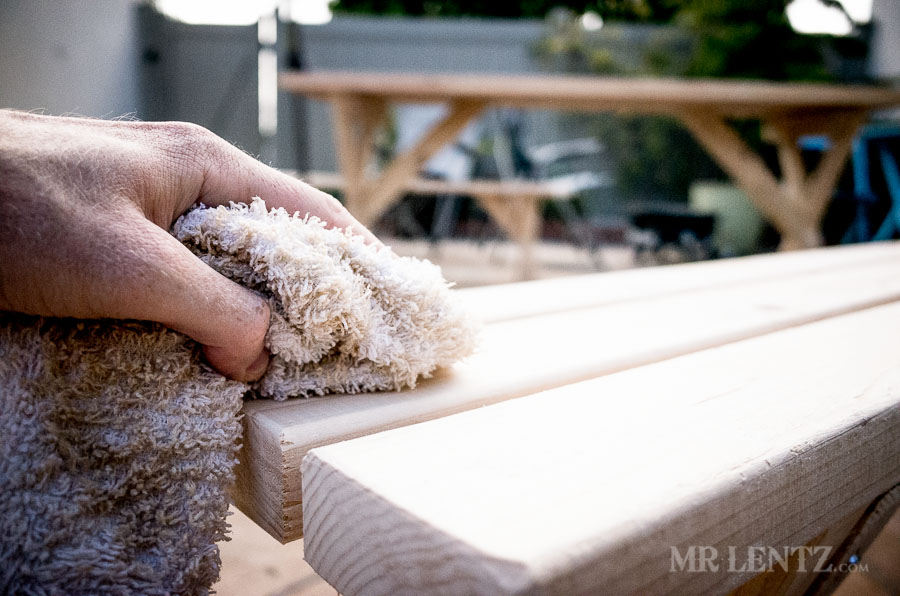
I then wiped the tops of everything down with a damp rag to raise the grain, and waited for it to dry.
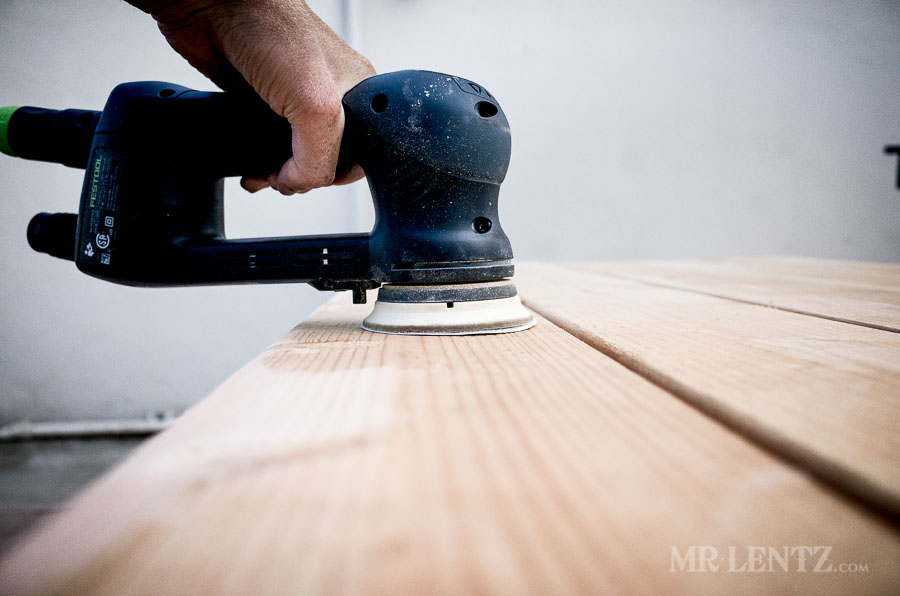
Then I brought out the random orbital sander to bring the wood back to a nice smooth finish. I put a 120 grit on there. I didn’t quite get to the tabletop that day and the next day it was going to rain, so I covered up the table and brought the benches inside…
As it turned out I didn’t do a great job covering the table and the top ended up getting pretty wet. So I left it to dry for a few more days before hitting it with the sander. Luckily no warping occurred.

Once sanded down, I wiped everything clean with a soft rag to get the dust off. Then I grabbed some Thompson’s Water Sealant specifically because it would not stain the wood any color, nor leave any type of finished look. It simply makes the wood water resistant while allowing the wood to grey naturally. I prefer the natural aged look wood gets when sitting outside in the sun, and in the Southwest – this shouldn’t take too long. 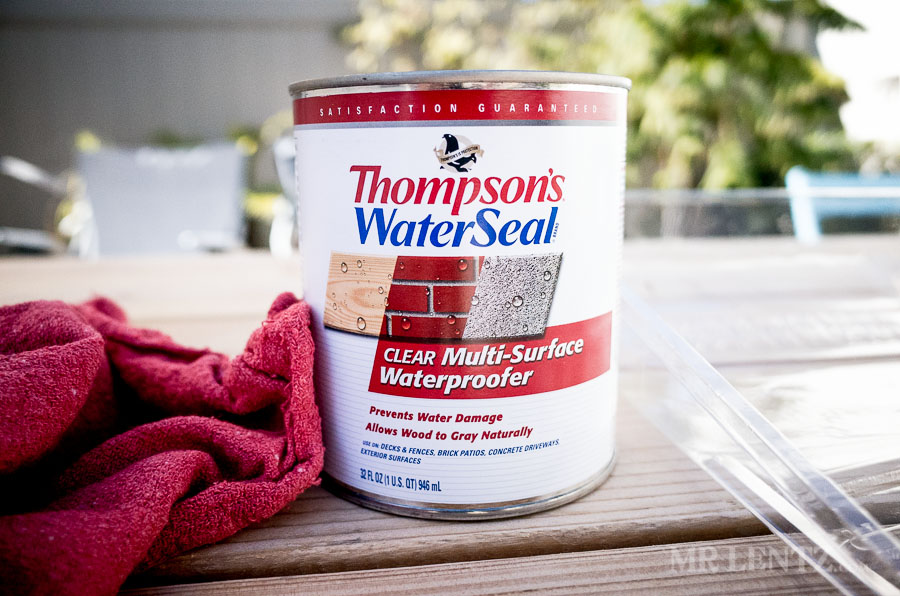
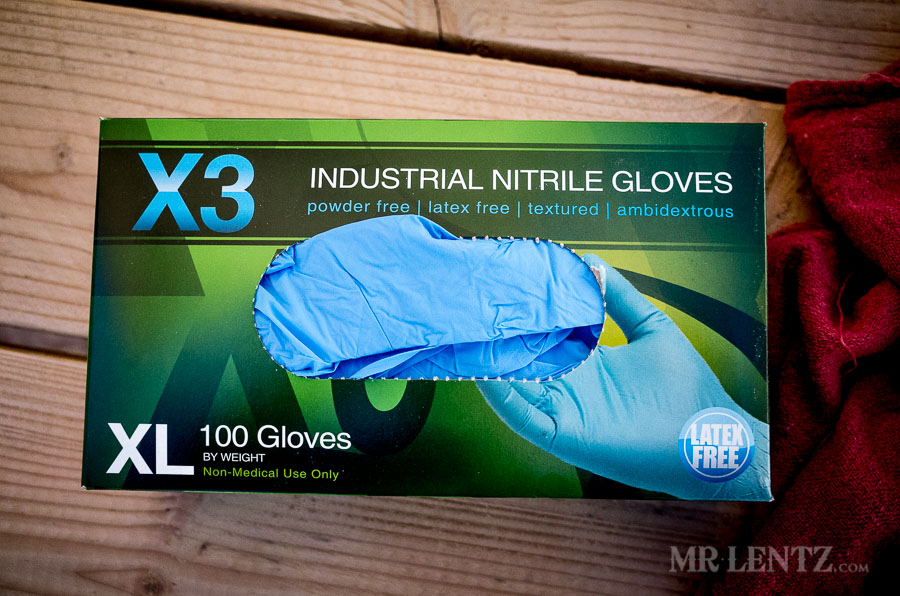
Protect those hands.
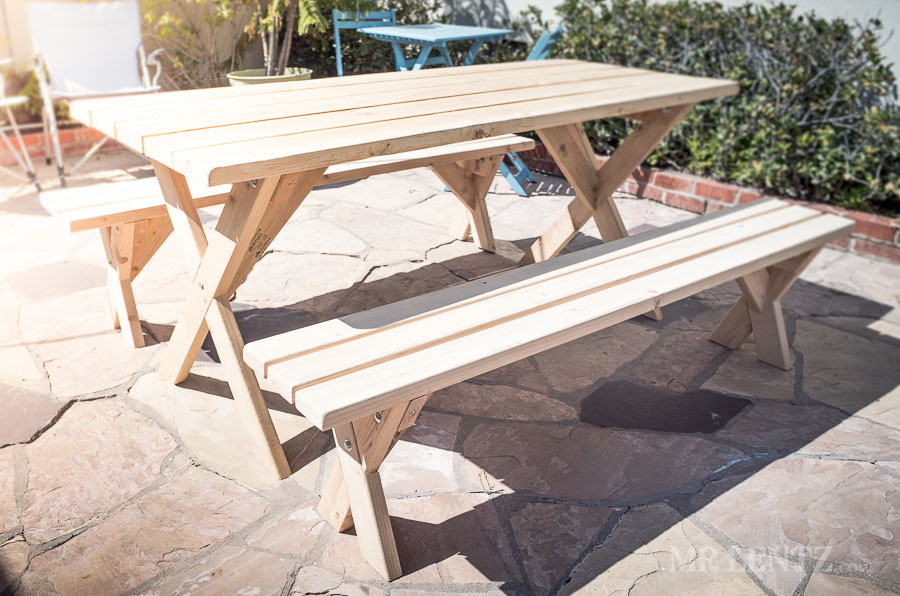
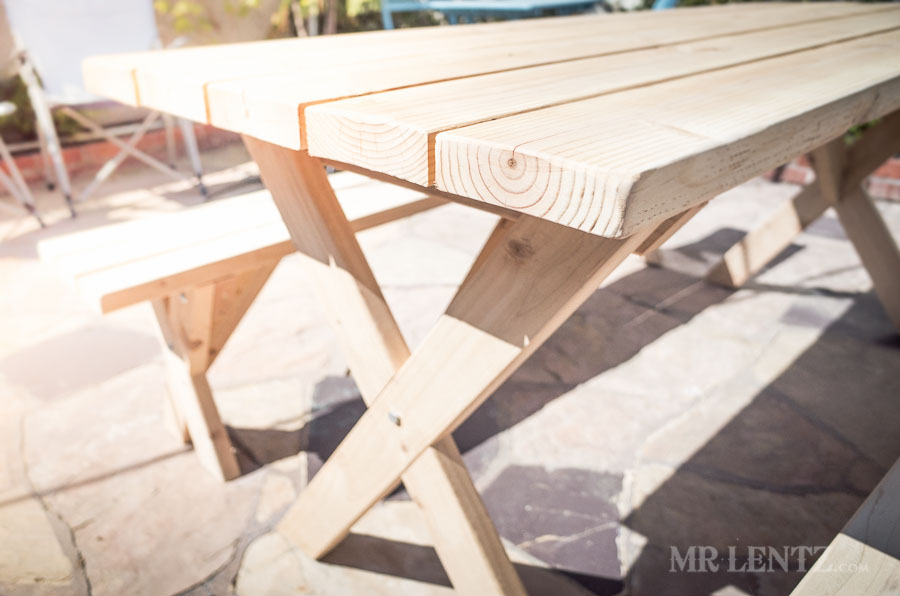 Here’s the finished table, though it looks unfinished – it is all sealed up. I will post a few more photos once the greying effect takes place in a few months. Overall I thought htis would be a 2 day project, but due to me only having time in the evening to work on it, plus several problems that came up while working on it as well as the extreme heat…I finished it after about 2 weeks. If you have all day Saturday and Sunday, you could potentially get this done in one weekend, but then again – what’s the hurry!
READER'S FAVORITESVIEW ALL