
Everything, Philosophy, Tutorials, Wood
How to Make a Simple Cutting Board, Step by Step

Jun

This is possibly the most minimal and simple cutting board you can make with the least amount of tools and know-how. Before I get to the tutorial, let me begin with the story on how it all started. About a year and a half ago I returned from my journey through Central and South America with a nice lil’ gal. We happened to return 1 month before Christmas and thus were expected to give eachother a fine present in traditional American style. Now – I have a tendency not to go along with societal expectations, but rather do what I feel is right…and something about Christmas never really felt right. The expectation of buying some electronic gadget, or fancy clothing, or other general meaningless knickknack – didn’t really seem genuine. In the end it usually adds up into an ‘arms race’ of families and friends spending more and more every year. If you go back and give less one year – our society has taught us to notice that and put a feeling of shame on it. And what happens to all of that junk in the end? I think most of it goes into storage units, attics, closets, and landfills.
Well I had had enough of that and decided to start something new. The new rule, halfheartedly yet optimistically agreed to by my girlfriend – that nice lil’ gal that she is, was that we were to make something by hand for eachother for every major gift giving occasion. Over the past year or so this has proven to be quite the challenge…as a handmade gift takes much much longer to give/make than one bought online. (Our last Christmas gifts were finally presented to eachother this June!) Both of us are learning that in order to create certain things – new skills need to be acquired and knowledge of certain tools needs to be gained. Every gift we have made so far has so much meaning and thought behind it as well as a boatload of memories of how much we screwed up while making them. It is a lot of fun and I would recommend it to everyone out there looking to make life a bit more interesting. So far on the list – a wood and glass night light, a leather purse, a tree stump drill bit holder, fine art drawings, wood and steel noteboards, and a walnut pencil, oh and this cutting board below…now let’s get on down to it.
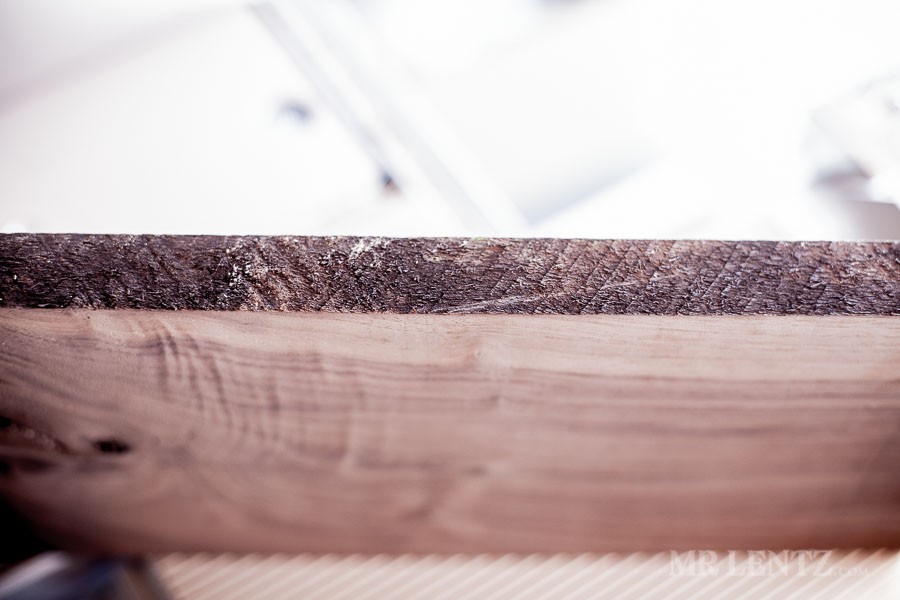
I went to my local hardwood store, not the big name brand places…but a smaller guy with a huge selection of many species not normally seen anywhere near a Home Depot. I looked over every board of Walnut, my favorite due to it’s darker color and nice grain patterns. It’s important to look down the long edges of the board to see how straight it is. The straighter from the get go…the easier it will be to work with. No board is perfect, but it’s best to get one that’s close. I chose this piece because it was pretty straight, and also it had a nice light color near both edges, with a dark contrast in the center.
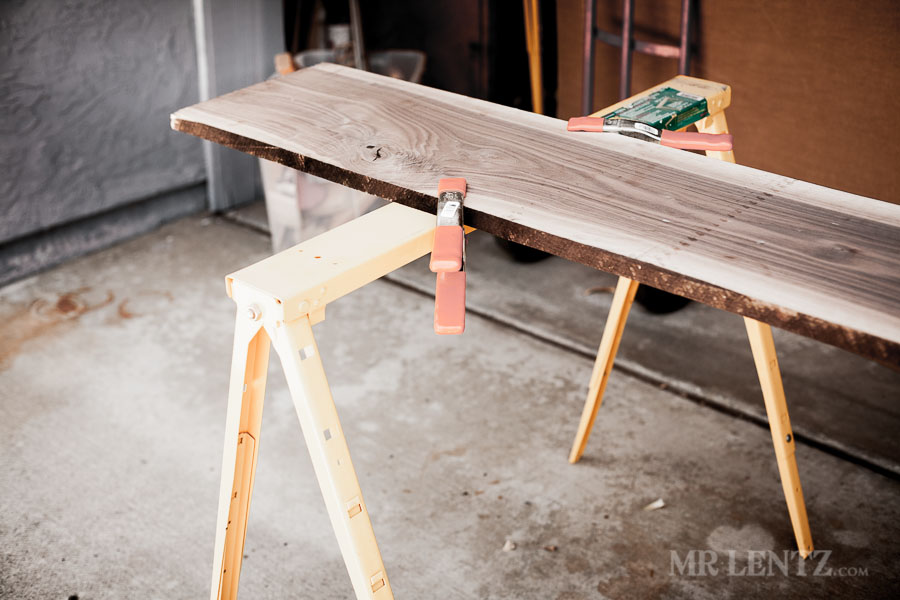
The board itself was about 10 feet long and about 1 inch thick – so it was a little unruly getting it strapped onto the car in gusty winds…and luckily it didn’t rip my roof racks right off. At home I clamped it to a pair of saw horses to prepare for the first cut.
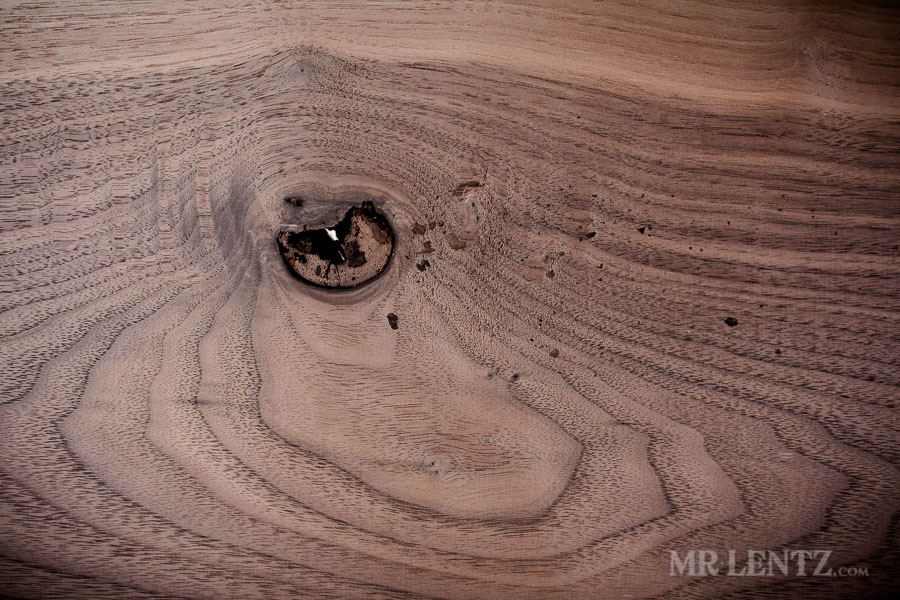
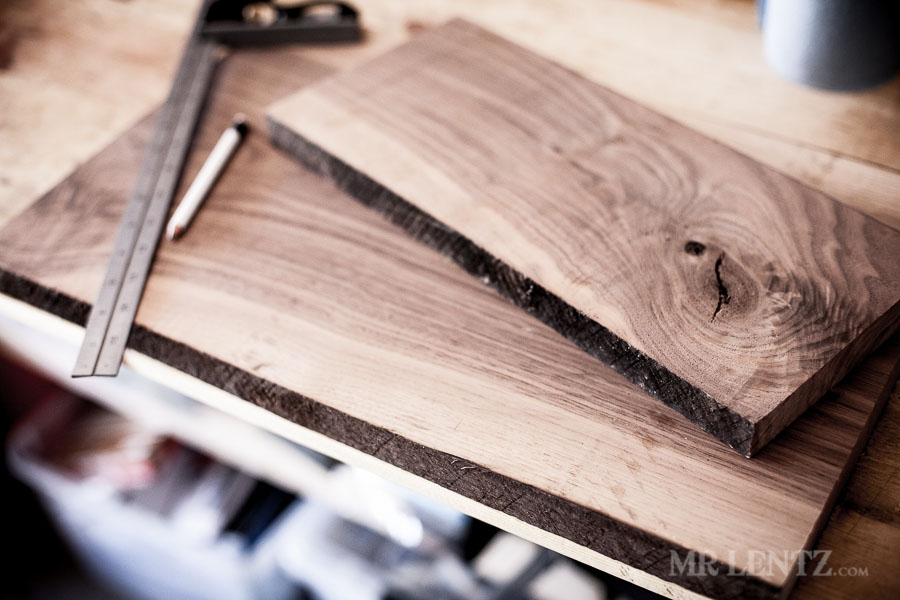
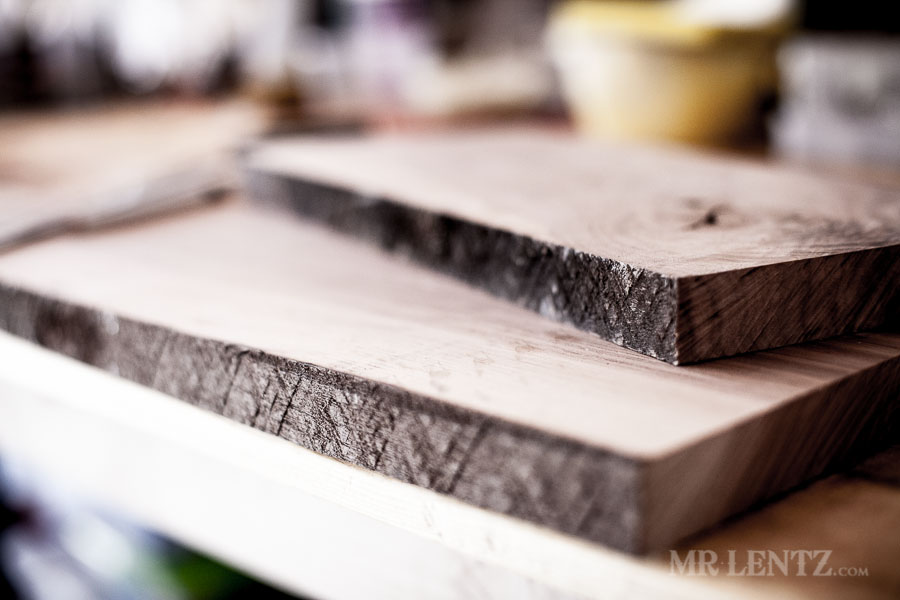
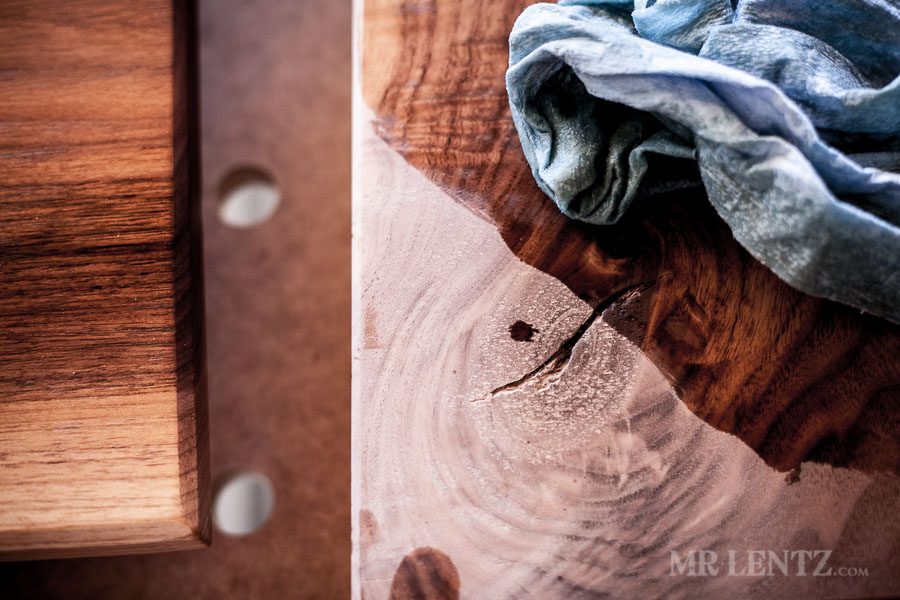
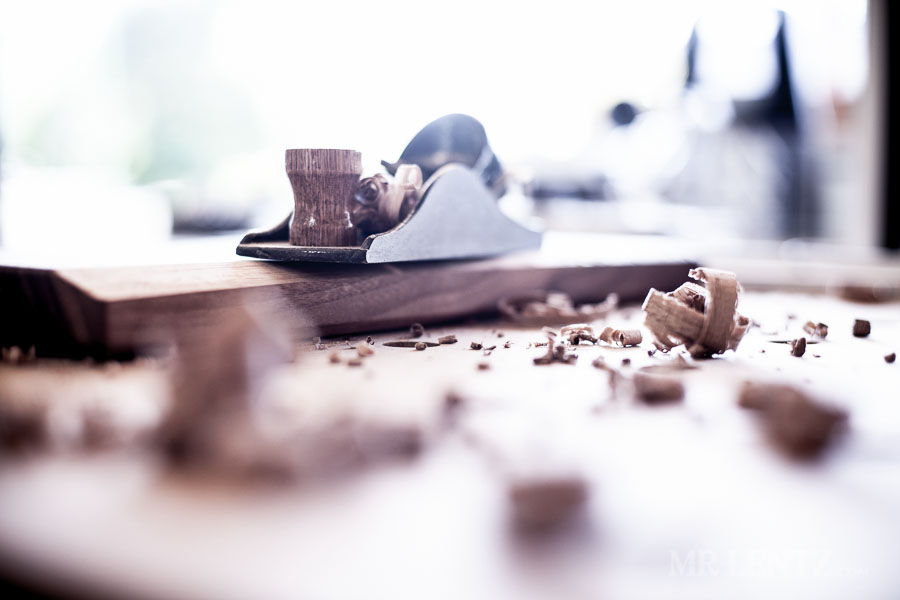
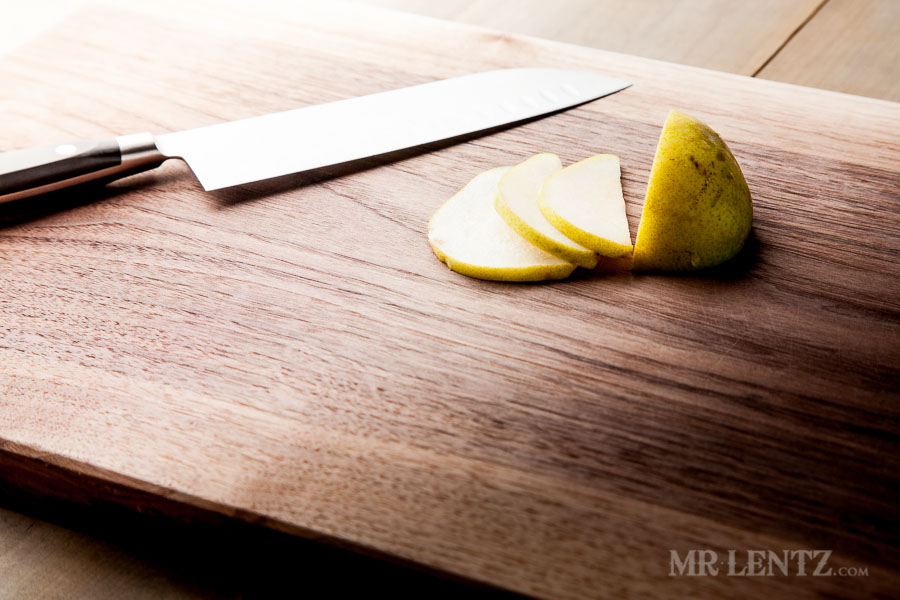
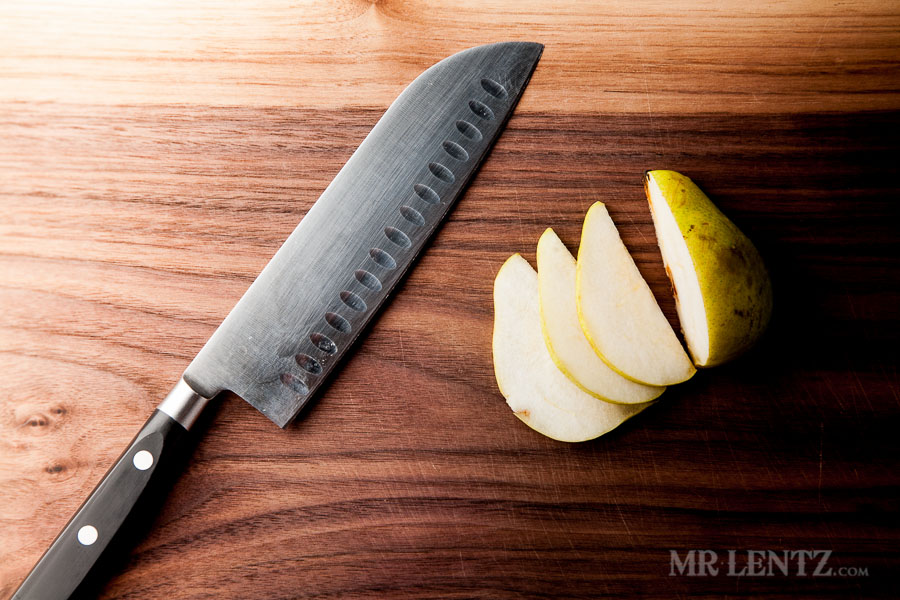
Looking over the wood I decided what section I wanted to be the cutting board based on the pattern and knots. In a cutting board you can have the knots in it for show, but it may cause trouble down the line when that board gets wet and dries several times. The knot could pop out. I liked this knot a lot though so I decided to make a small cheese board out of that section and use a clearer section for the cutting board.
Like this post so far?
I spend most of my free time creating tutorials like this to help those like yourself get into leatherwork and woodworking, or get better at it. If you'd like to support my efforts, consider checking out my handmade leather goods shop and purchasing a gift for yourself or a loved one. It's readers like you that help keep a small U.S. business like mine going strong, so -thank you!

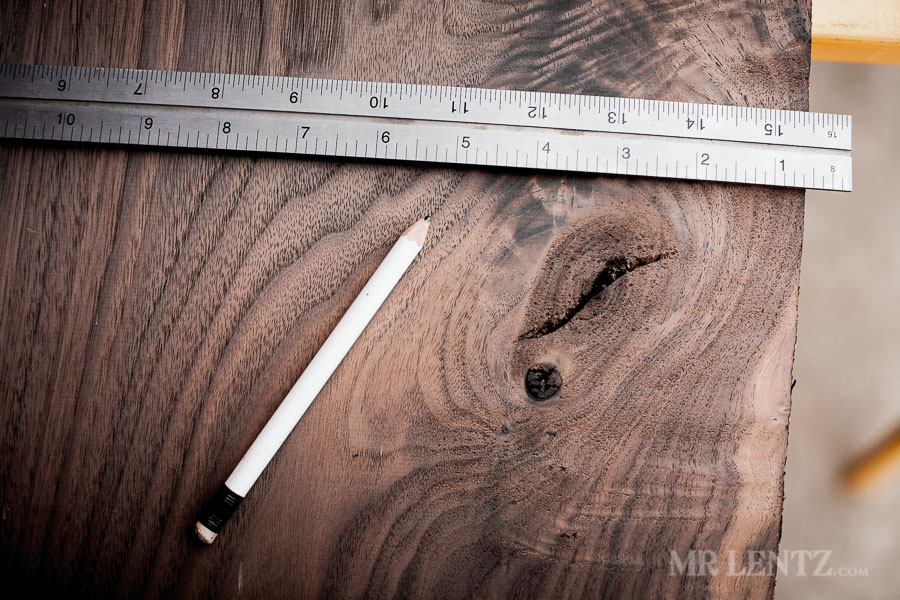
I used a square to mark the cross cut of the first piece – later to become the cheese board.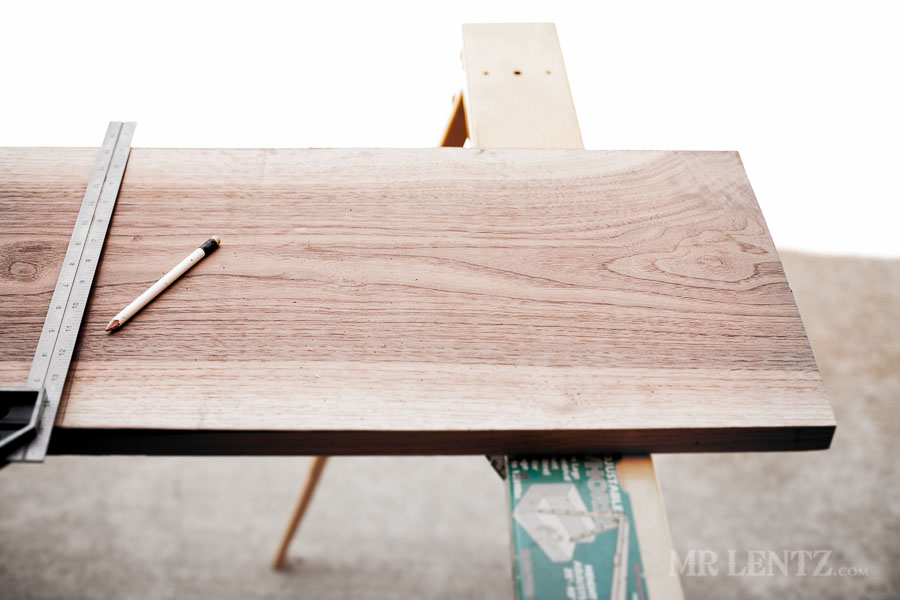
Once the cheeseboard section was cut, I measured out the length needed for the cutting board. I did this more by feel – eyeballing it to see what dimensions looked best. I then marked the crosscut with a square and sawed away.
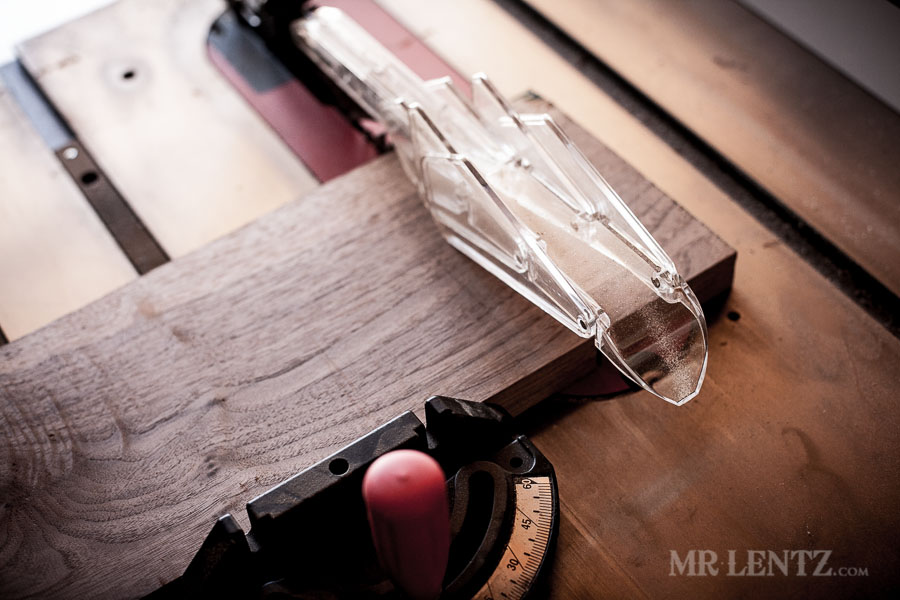
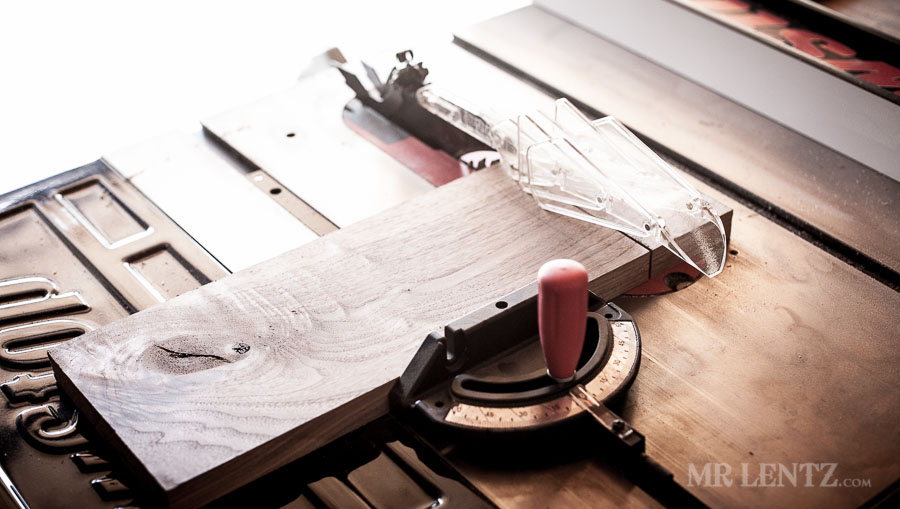
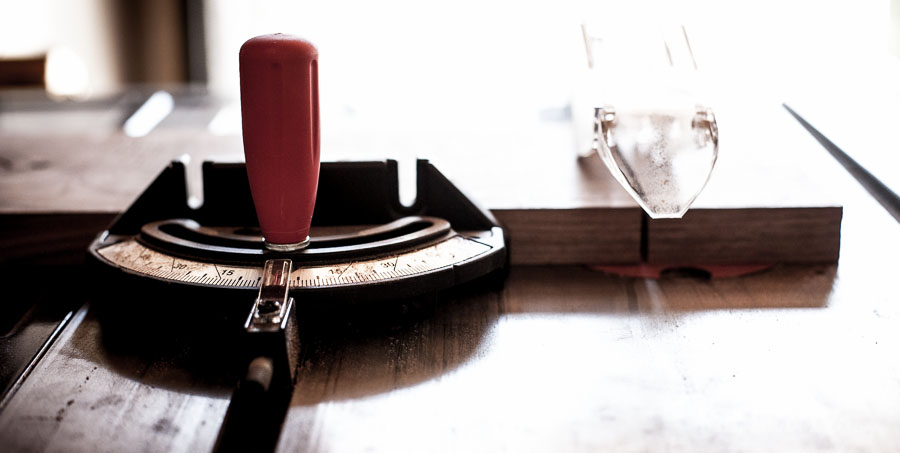
On the tablesaw I made a ripcut (length of the board) to get the cheese board width down to size. You can also do this with a handsaw and a bit of sweat. Shown above and in the next two photos is the cross cut for the cheese board to get the length right. I held the board up against the miter gauge to slide it into the saw. In general it is safer to use a crosscut sled for this part…but again these cuts can all be done by hand with a handsaw.
[envira-gallery id=”56382″]
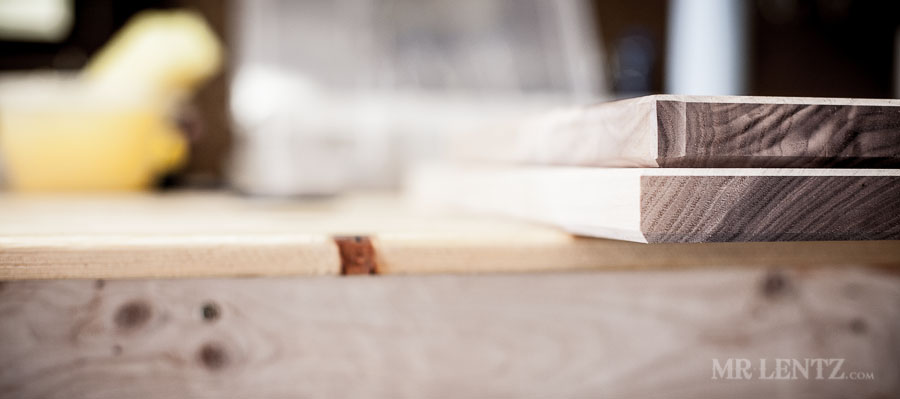
Once both pieces were cut down to size, I then had to take care of the rough edges that came with the board as well as those from the table saw.
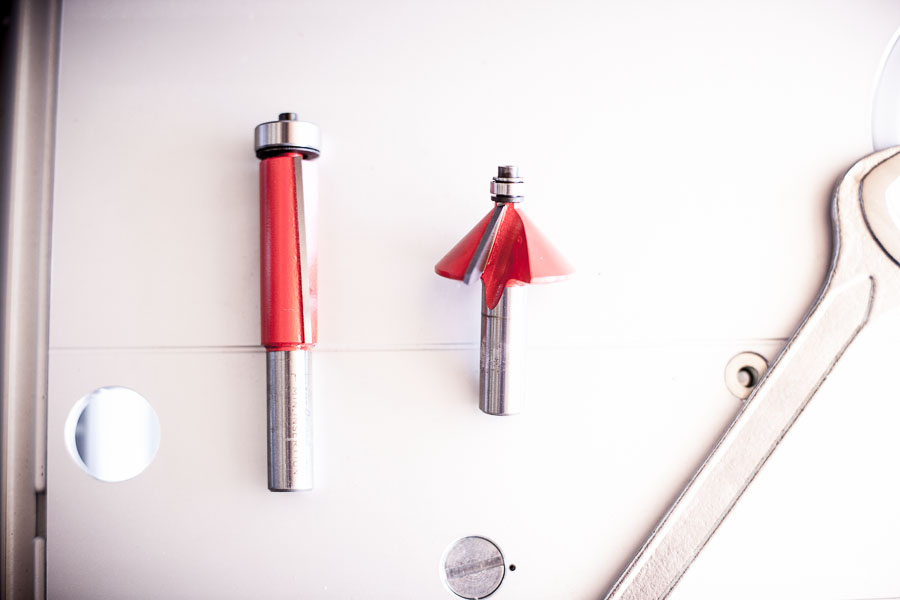
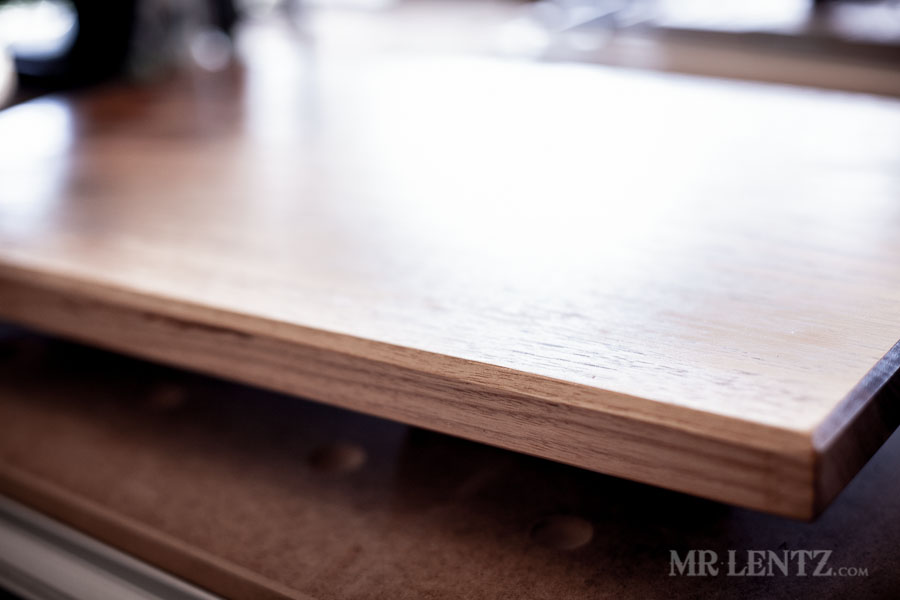
The fancy way of smoothing out a rough edge is to use a router table like a jointer with the bit on the left. The simple way with a bit more work is to use a hand plane or even just sand the heck out of it for a while. Since I am into learning new tools and techniques I finally set up my router table and easily fed the boards through, cleaning up all edges in seconds. In the photo below you can see a divot on the top board where the tail end of it fell into the bit too much. I need to do a bit more research to figure out why. The next bit on the right above, it to cut 45 degree angles into the corners of the boards, giving it a nice bevel and protecting the edges from splintering with heavy use.
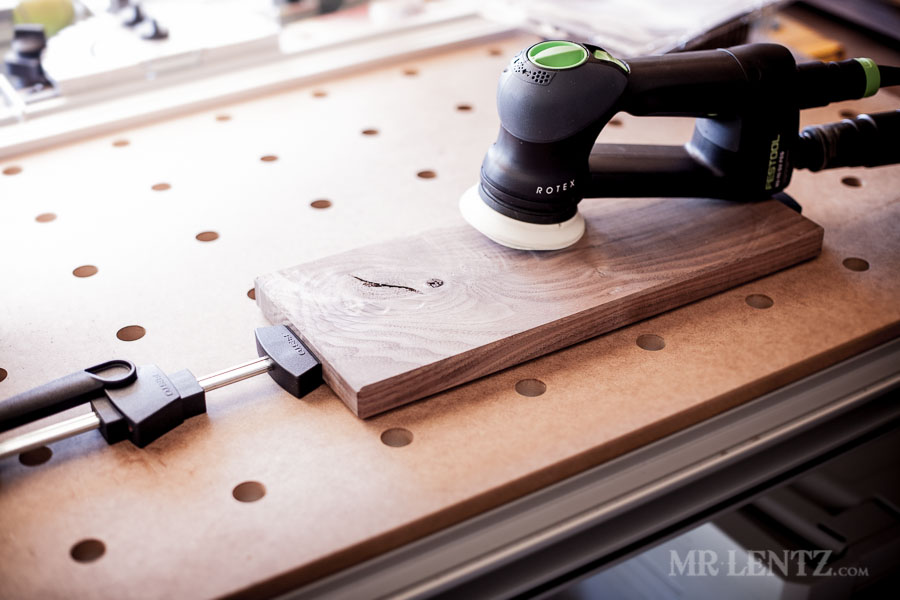
I hate hand sanding, it is slow and monotonous…that’s why I acquired this electric hand sander which makes it easy, fast and fun. The sander hooks into a vacuum so there is virtually no dust at all. I used a 120 grit initially to sand out any major markings in the wood, then switched to 320 grit for smoothness. Again this can all be done by hand with the basic sheets of sand paper…but you may regret your sweaty pits.
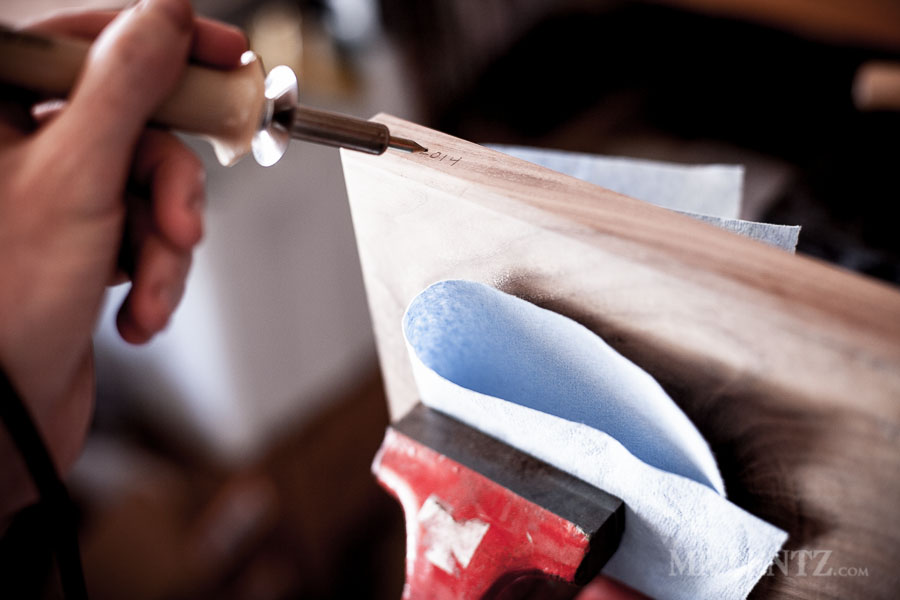
For a little custom touch I used a wood burning tool and personalized the boards. It’s always the small things that make handmade goods priceless. If you do anything like this – make sure to protect the wood while in a vice, by putting a soft cloth between the wood and metal.
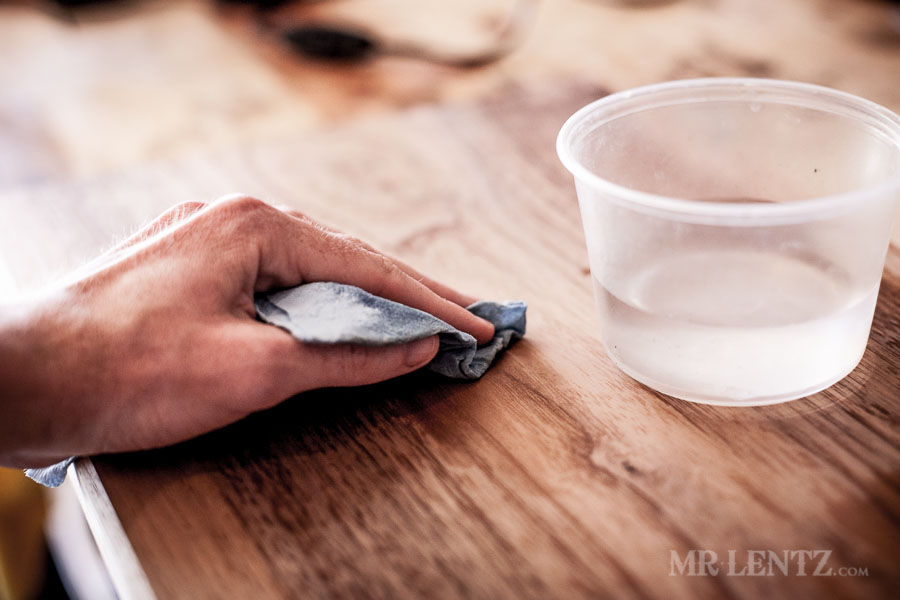
At this point I wet the wood on all sides to raise the grain. I then dried it quickly with a heat gun. Raising the grain allows you to re-sand everything back down to a super smooth surface. This is very important on a cutting board that will get wet – as you want it to stay as smooth as possible afterwards.
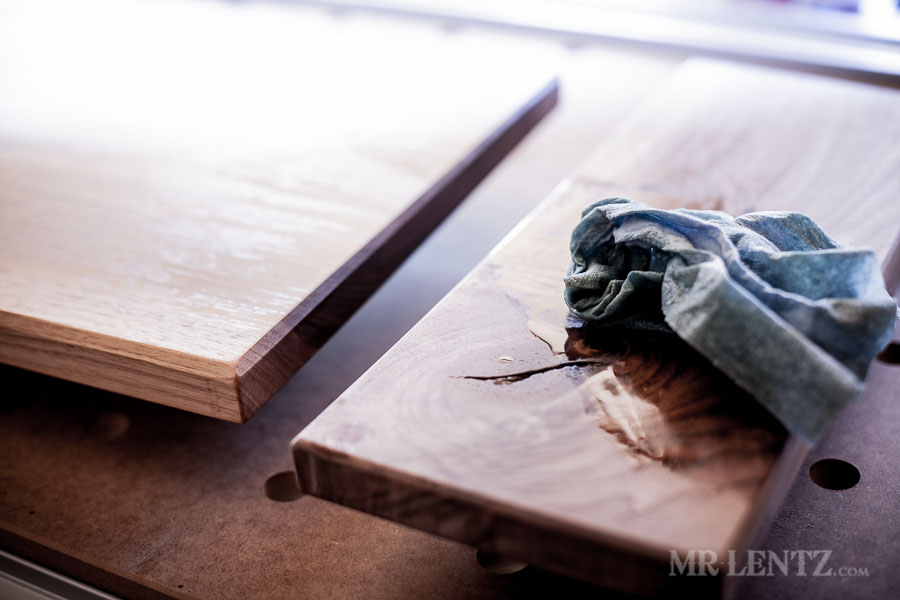
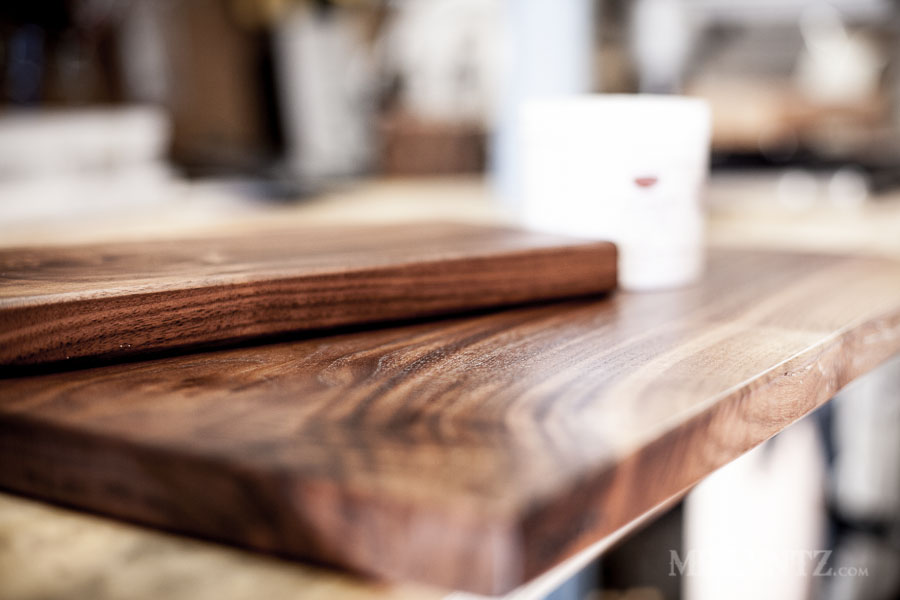
After re-sanding everything I applied a healthy coat of all natural walnut oil with a soft cloth.
This is always my favorite part for the reason seen above.
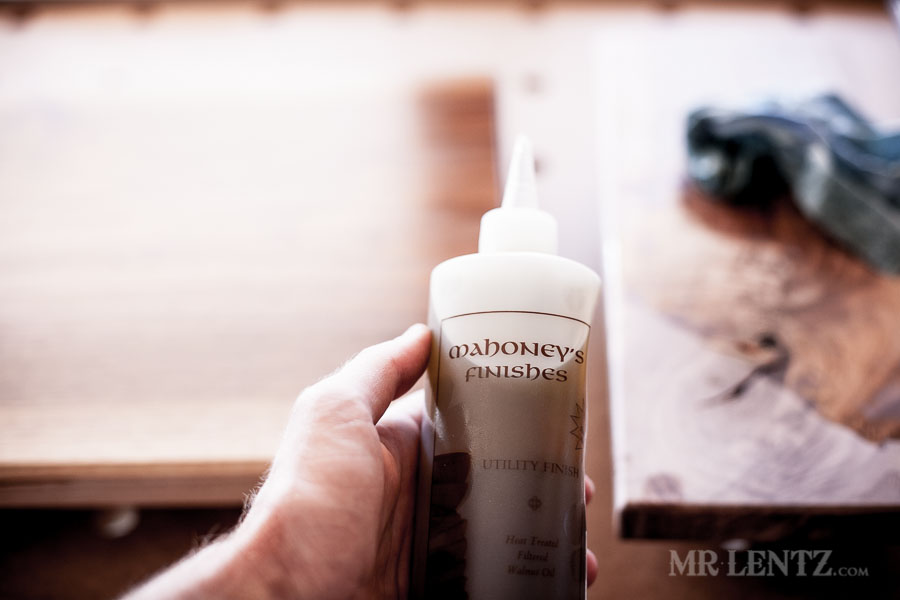
Here’s a great brand of walnut oil. After applying I let it sit for a day to soak in and dry out.
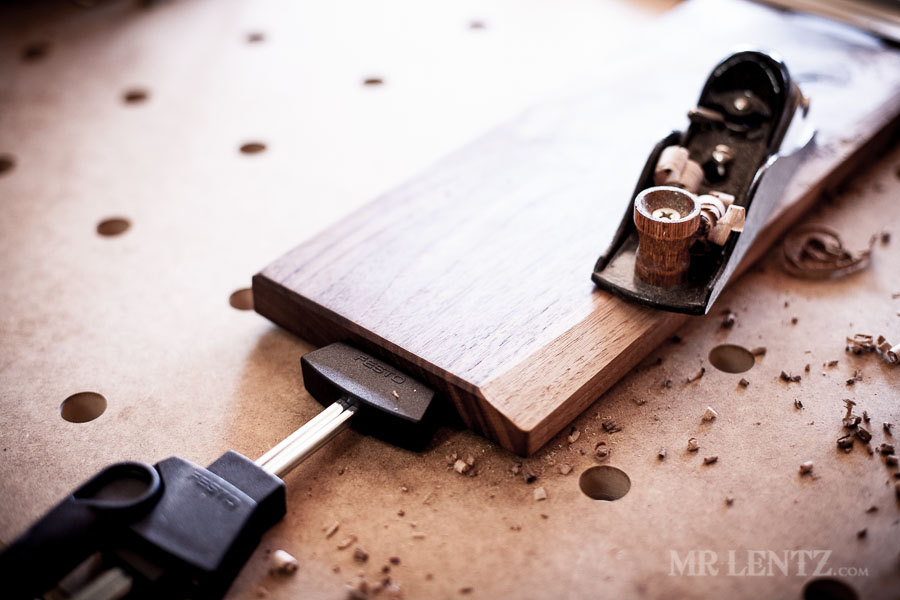
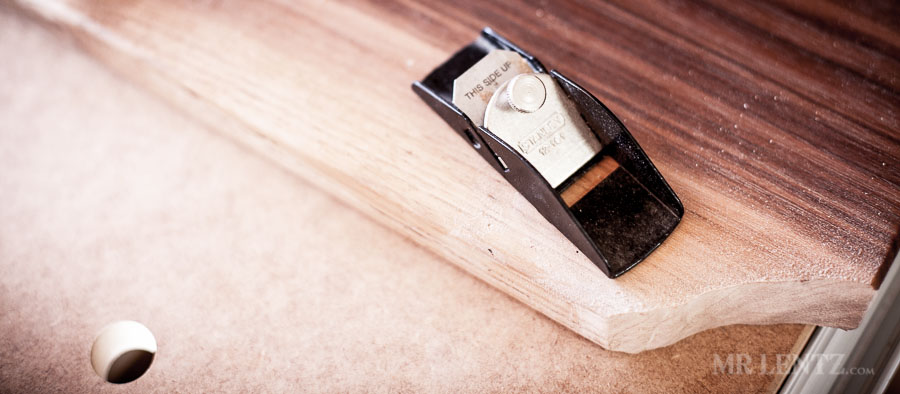
I then took and objective look at both pieces and realized that something was wrong. They were too straight and uniform looking. I needed to add more of a handmade touch. I decided a good way to do this was to add a subtle angle into the edge of one side of each piece. For this I used a hand plane and it was easy work. You can also use a piece of sandpaper attached to a wood block. For the cutting board – I didn’t make this angle go too far in so as not to disturb the practical useability of the board.
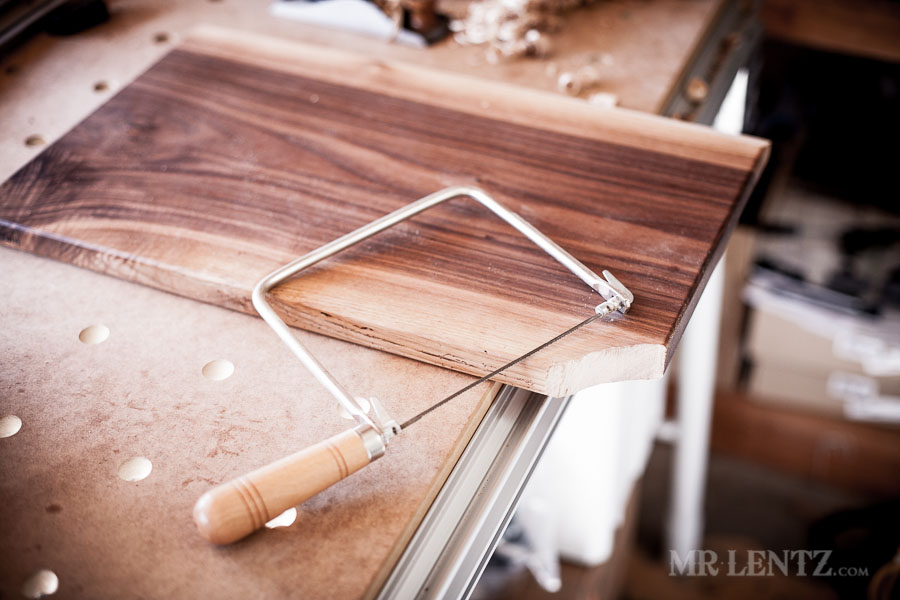
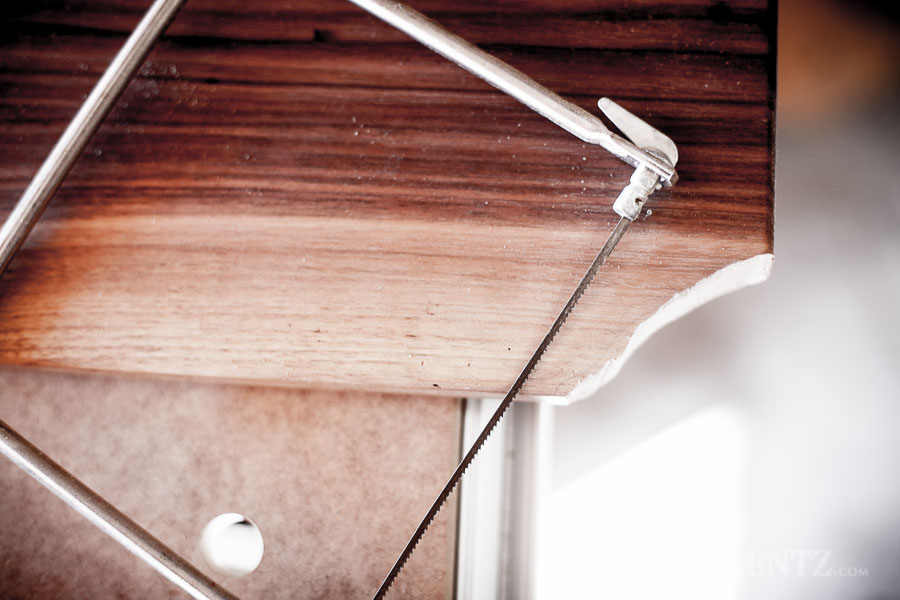
The cutting board needed something more. Again the straight edges bothered me. I think this is a result of using a machine to cut/smooth out the edges versus a handsaw and sandpaper. With machines you get almost perfect looking pieces. To stray from that I decided to add in a natural looking corner using a coping saw. by using a coping saw I was assured that I would not be able to cut in a straight line and the cut may look more natural.
After doing this I had a slight heart attack. It was a big move and on a nearly finished piece, I wasn’t completely sure I wanted it after I did it – but it was too late.
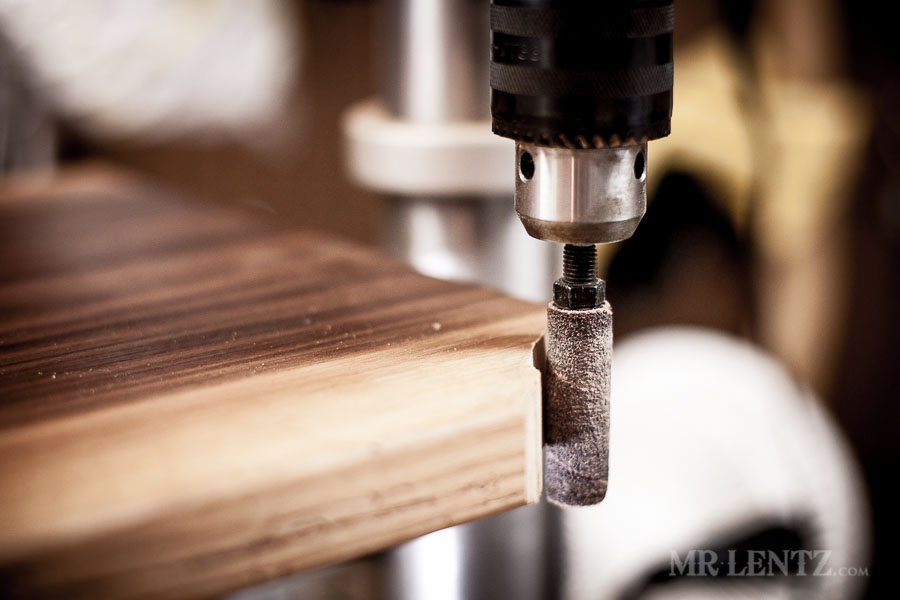
In my drill press I put a cylindrical sanding bit in place and used it to tidy up the cut corner.

To create a bevel on the cut corner I used this mini plane…which did nothing but rough up the edge…so I stopped using it. Sanding worked fine at this point and once I was done sanding it all down I decided the heart-attack-causing cut grew on me and I was happy with it.
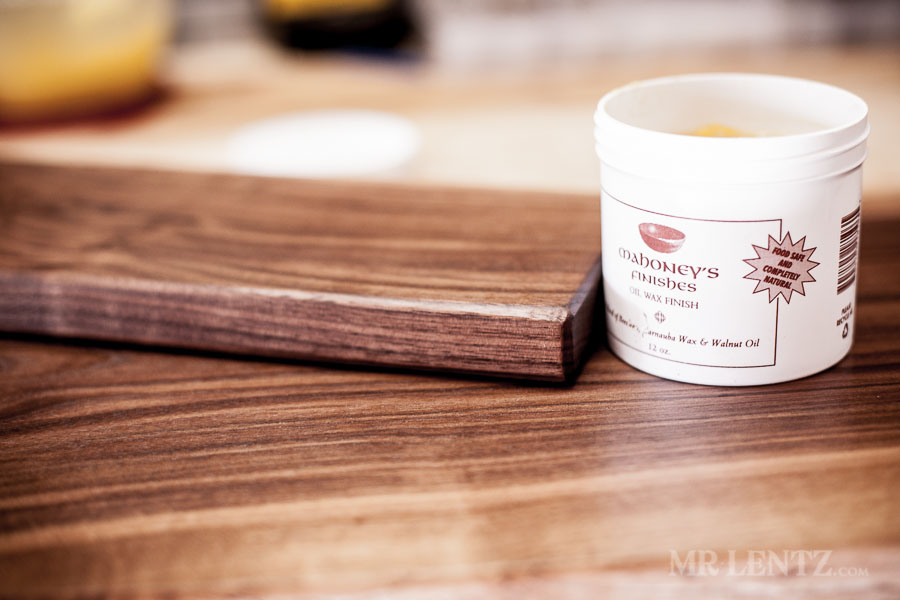
As a final step I used a walnut oil, beeswax and carnauba wax mixture to coat the entire sides of both boards. This brand is food safe and looks great when it is all rubbed in.
On hindsight – I don’t think the wax is entirely necessary as it feels like it washed off within a fe uses. The oil however is very important to protect the wood in the long term. You should re-apply every month or two to keep the wood from warping or cracking.
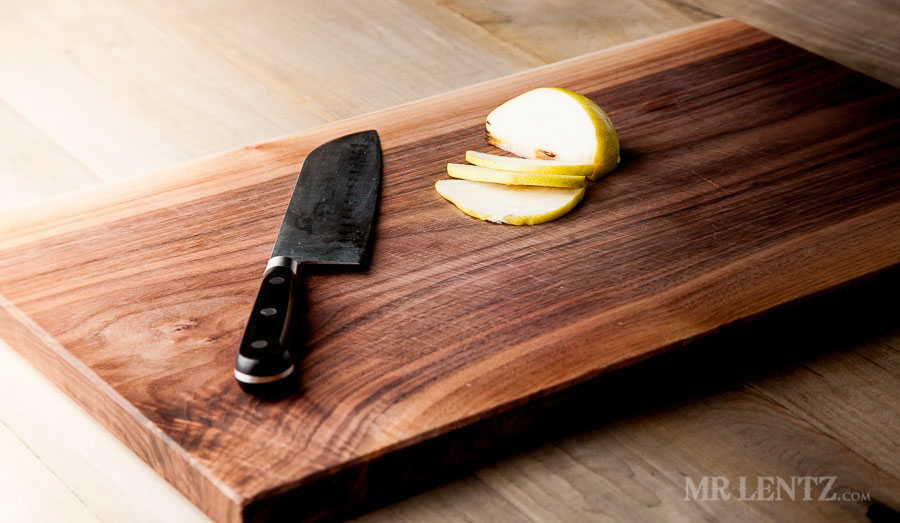
 I hope you enjoyed this simple tutorial on how to make a cutting board. I have quite a few other how-to articles and tutorials on this site, so check around.
Let me know waht you think and if you have any questions in the comment box below.
READER'S FAVORITESVIEW ALL


Love this!
This project is absolutely gorgeous! I have featured it on my site! Check it out here:
http://www.diylookbook.com/wooden-cutting-board/
What a beautiful chopping board. Love the photography too 🙂
Thanks Paula!
i love beautiful hand made cutting boards beautiful wood
Thanks Virginia!
awesome
I’m thinking about making this for christmas for my boyfriend! Is this board easy to clean? Just slightly concerned about cleanliness of it since cutting boards need to be super sanitary!
Beautiful work!!
Hi Kelsey – it is very easy to clean. Just like any regular board. Over time if it gets a lot of cuts in it – you can always re-sand it down then re-apply a fresh coat of oil.
My husband bought me a hand made walnut cutting board and I used it once and felt like the wood came up-almost like it never had any oil/wax misstate put on. After reading this, could it be the maker didn’t raise the grain? Could I raise the grain myself following your instructions from that point on??
Hi Jayda – it’s hard to tell without a look, but you probably could moisten it, let it dry, then sand it back down again with a fine grain of sandpaper. Though careful to be sure they didn’t coat it with anything else that could get into your food!
What the hell does “RAISE THE GRAIN” mean …exactly. In your opinion. If you don’t mind me asking. Please and thank you!
Hey Mickey – Raising the grain is a process of sanding your wood down with a medium grit sandpaper, then wetting the wood with water, let it dry, then you will notice the grain of the wood has risen. You can sand this off with a fine sandpaper. This gets your wood extra smooth.
Thank you so much for posting this!! It’s so infirmities and super inspiring!!
I’m attempting to construct an island counter top chopping block, and I really want to make a checker board pattern. I’m unsure if I can stain the wood to create this effect and have a safe chopping block. Any suggestions would be much appreciated
Hi Sary – I would definitely not use a stain for any surface you plan to use for food. It will ultimately come off into your food. It is better to select a wood with the natural color you prefer and just use a natural oil to keep it in good shape.
To make a checkerboard pattern, alternate a light wood (like Maple) and a dark wood (like Walnut, Purpleheart) in equal amounts, glue up then slice into strips across the bands of colour. Flip every other one and re-glue into checkerboard pattern.
Thanks Peter – I actually avoided that style as well as other combos simply because of the glue. I can deal with the simplicity of the board, the minor warping that can occur – to avoid glue touching my food. Might be nitpicky but hey, you never know!
Sir I’m Currently working on this very product for my daughters home warming gift. I’m using hard wood maple recover from a pallet and I left the nail holes in it to personalize it. It’s knotty. Sanded to 120grit so far. Then I made a tin foil baking pan just bigger than my maple plank. It’s only 3/8″ thick. Covered it in all natural linseed oil. I putter in the oven. Set it for just under 225 just near boiling temp. Then I put in in to heat up. Expand the wood molecules with the heat of the oil for just a couple minutes. I was scared to do it longer. For it is my own theory. But it looked fantastic when it came out. It dried a day. I fine grit sanded it to 220 Now I’m going to finish coat it with room temp oil. But my question to you is. Should I do the water raise the grain move before my finish coat of oil? Sir.
I forgot to mention I also wanted to use the boiling oven oil soak was to sanitize the nail holes. The metal nails darkened the holes. It looks great. So I wanted it to be safe as it was pretty. My hind sight wood be to give it a full 5-8 min soak. For complete oil saturating sanitizing effect.
Honestly – I would stay away from pallet wood for anything that will be used for food. You never know if it was treated with chemicals to prevent rot while being used as a pallet.
thank you so much for sharing this! been looking for an autumn project and as a family chef these will make great gifts. thank you for your generosity.
Absolutely! My pleasure
I was looking for a project to do with my 8 year old grandson as an intro to woodworking. I think this looks perfect. Thanks!
Hi Norma, Yes this is a great project for you both! I am considering updating the tutorial at some point, but it is very easy to follow as is.
Is the oil in place of a food safe sealant? Could I use both?
Hi Angela – since I can’t be certain what is put into food safe sealants I would err on the side of caution and use something readily available and that is known to be food safe. That’s why the oil is a good choice. You can easily re-apply it every so often.
How do you know if the wood is food safe? I just went to Lowes and bought a piece of pine but I’m worried it isn’t food safe.
Thanks!
That’s a good question! Your safest bet is probably to ask a manager in that department where you picked up the wood. It can be difficult to tell if the wood has been treated or not. Sometimes woods can be sprayed with insecticides or other anti-rotting agents for long-term storage. A safer bet would be to go to a local small hardwood shop vs. the bigger box stores. Or if you have one around – a local sawmill, both of those options usually have guys that know their stuff!
Pine is food safe. Walnut, however, is not. I like maple boards, myself, but other food safe wood are beech and olive to name a few. Unfinished is best for it’s natural antimicrobial properties, cracks and warps don’t hurt anybody, but shouldn’t have much damage if properly cared for (no soaking, no chemicals, no soap unless something oily you are trying to wash off, and letting dry properly). Sorry, Mr. Lentz. I had to chime in as proper wood education is not common knowledge.
Actually Crystal – the research on Walnut suggests that it can be food safe unless you are a horse (toxic to them), a small plant (will slow their growth rate), or specifically allergic to walnut (or nuts). Some notice a bitter taste in their mouths when sanding walnut but the science is not quite there to show that it is not recommended for cutting boards.
Thank you Mr. Lentz for addressing the walnut (juglans nigra) issue in cutting boards. As a grower and harvester of walnuts, trees and their cousins the hickory tree (carya ovata) and it’s nuts, your answer confirmed that your knowledge about wood is superlative.
I’m super interested in making these as a Christmas gift. We have some local small shop hardware/lumber stores, & lowes/HD. What wood do you reccomend? Just as long as it’s not been treated w unsafe chemicals to food?
I would recommend the small shops – especially if it is a hardwood store. The guys there would have a better idea of what to get since they know where its coming from.
I went with Cherry wood, as that was best option (the walnut wasn’t wide enough for me and I didn’t want to glue anything together). There are some very small slits (I hate to say holes) in the cherry wood. Not many, but some. Will those get filled in with the oil? Or should I fill those in somehow?
Hi Erik – That’s a good question. Usually you would use wood filler, but since a cutting board is for food prep I’d stay away. Can you use a sander and smooth out the holes, or try cutting a section of the board where the active cutting area is nice and flat, and the holes can be more decorative? That’s my first thought.
Wow! I decided to try to make my own cutting board because I found a place nearby that sells live slabs of woods so I googled and thank God for this tutorial with beautiful picture. Thank you Mr. Lentz for sharing your knowledge and expertise! Gave me a good idea of what to give my girlfriends for Christmas. I hope I do it right and well, and as beautiful as the one in your pictures. God bless.