
Everything, Leather
Stamping a Leather Belt (Part 2)
Mar
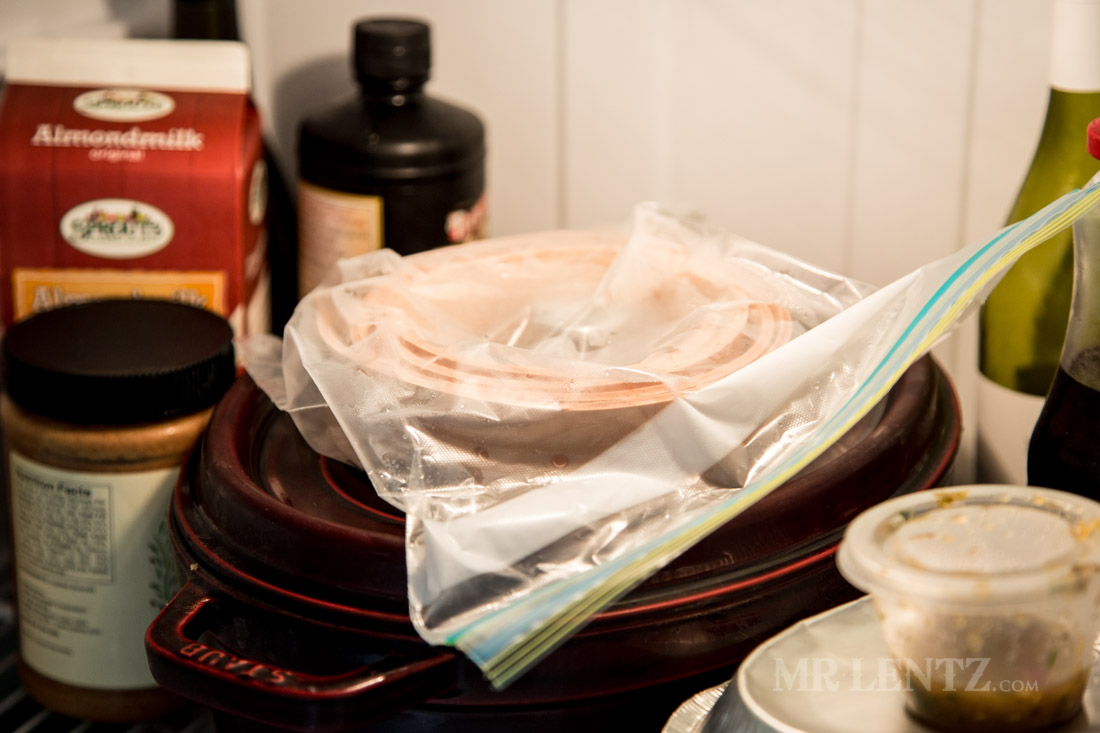 So it’s been a few weeks and I decided to go ahead and finish this stamped leather belt project. You can read the first part of this follow-along here: Part 1. Typically with leather tooling and stamping you want to try to finish your project up in one or two sessions in the same day or two. Well, I started on the first section of belt, then had to put it off for a bit – so I placed the damp belt in a plastic bag, and to prevent mold…I put it in the fridge next to the salsa.
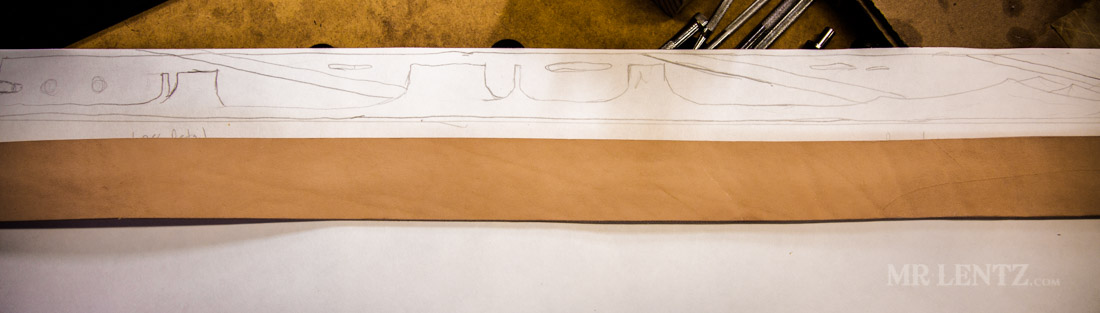
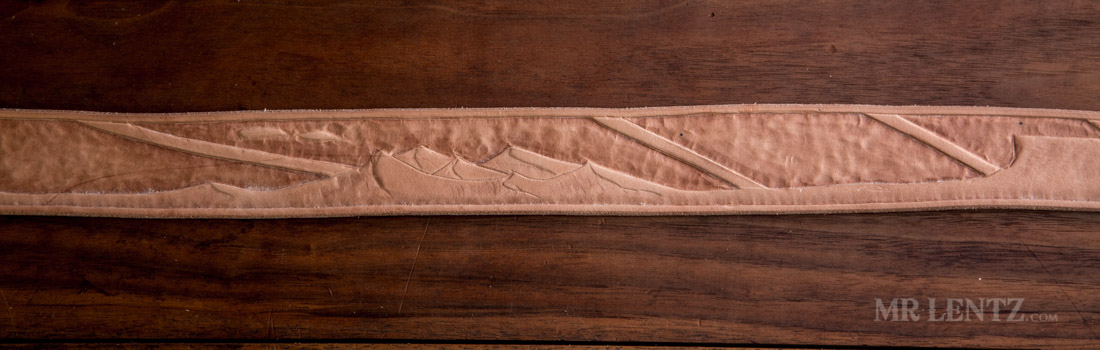
Unfortunately it sat there for quite some time and lead to some complications which I will explain further down.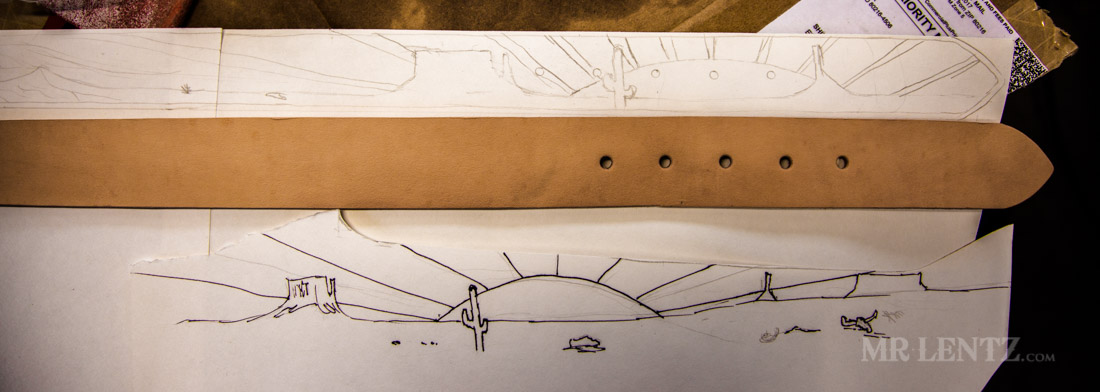 I originally did a test stamping on a scrap piece of leather and realized my design was a bit short of course for a full length belt. I would have to stretch my desert scene out quite a ways. The drawings appear light in the photos, but basically I added some sand dunes, and more bluffs.
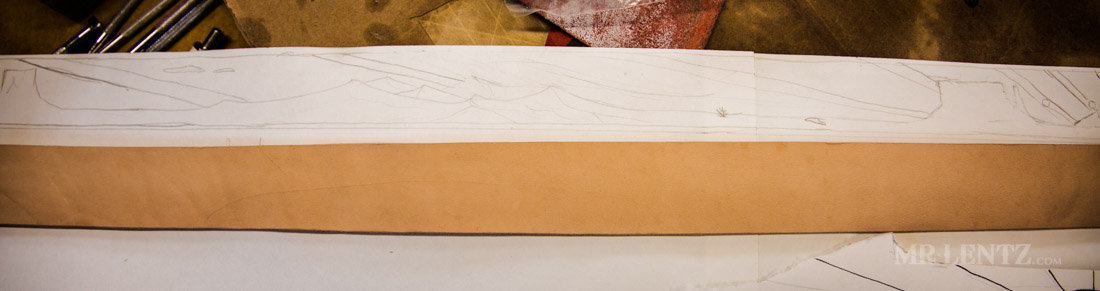 .
.  .
.  Above shows the beveling of the edges made while the leather was still ‘cased’ or damp in the middle but dry to the touch. After beveling both sides, the belt had a nice rounded edge that could then be sanded with a fine grit sandpaper and burnished to a smooth finish. I saved those last two steps as the very final steps in this project.
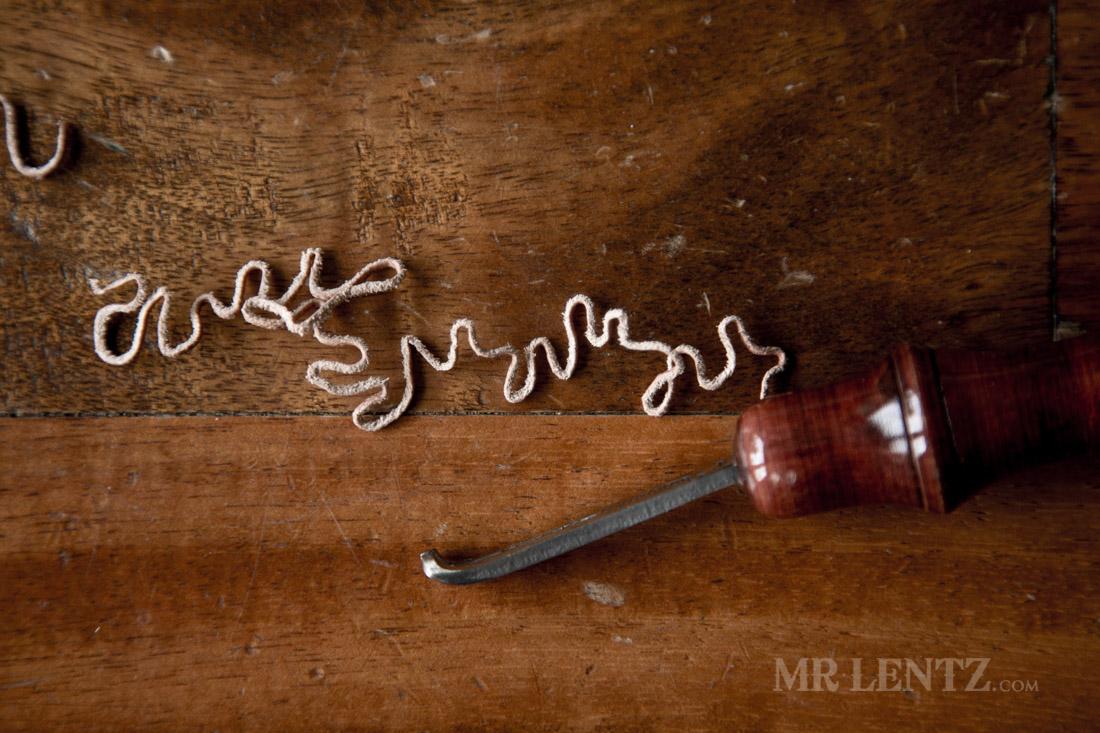 .
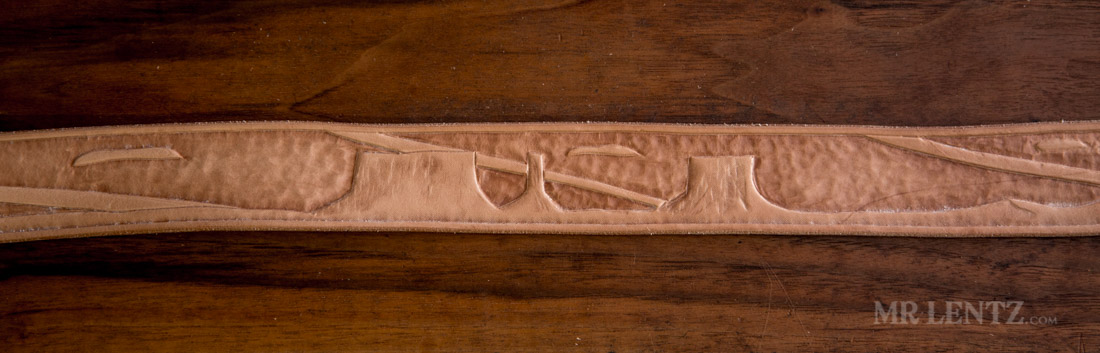
. 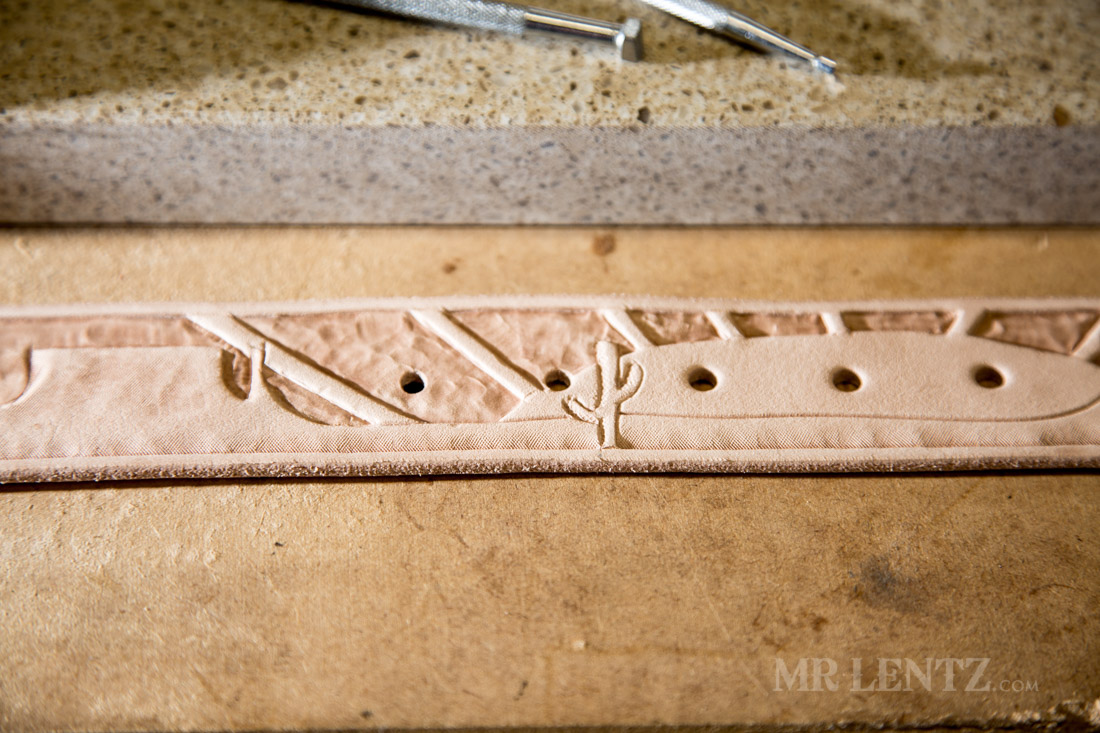 Here’s a good start to the front of the belt, very similar to my test piece. I added a little texture to the bottom portion to make it slightly more interesting. This being my first tooled belt, I didn’t want to try anything too complex, plus I love simplicity.
 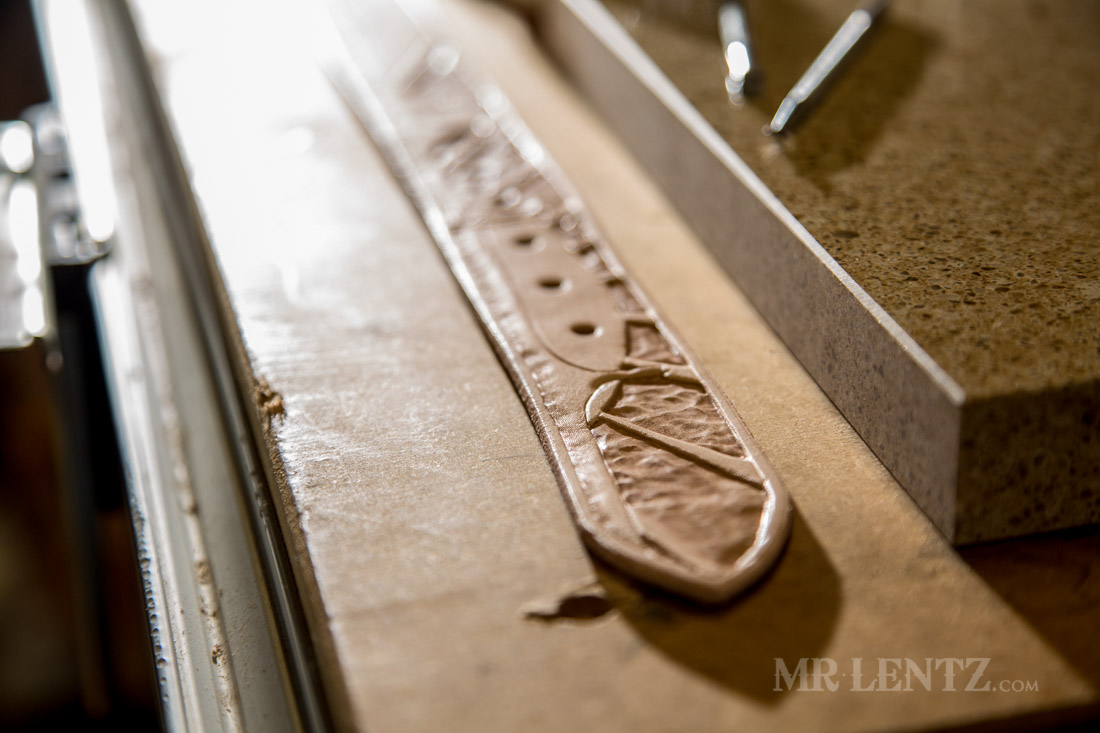 .
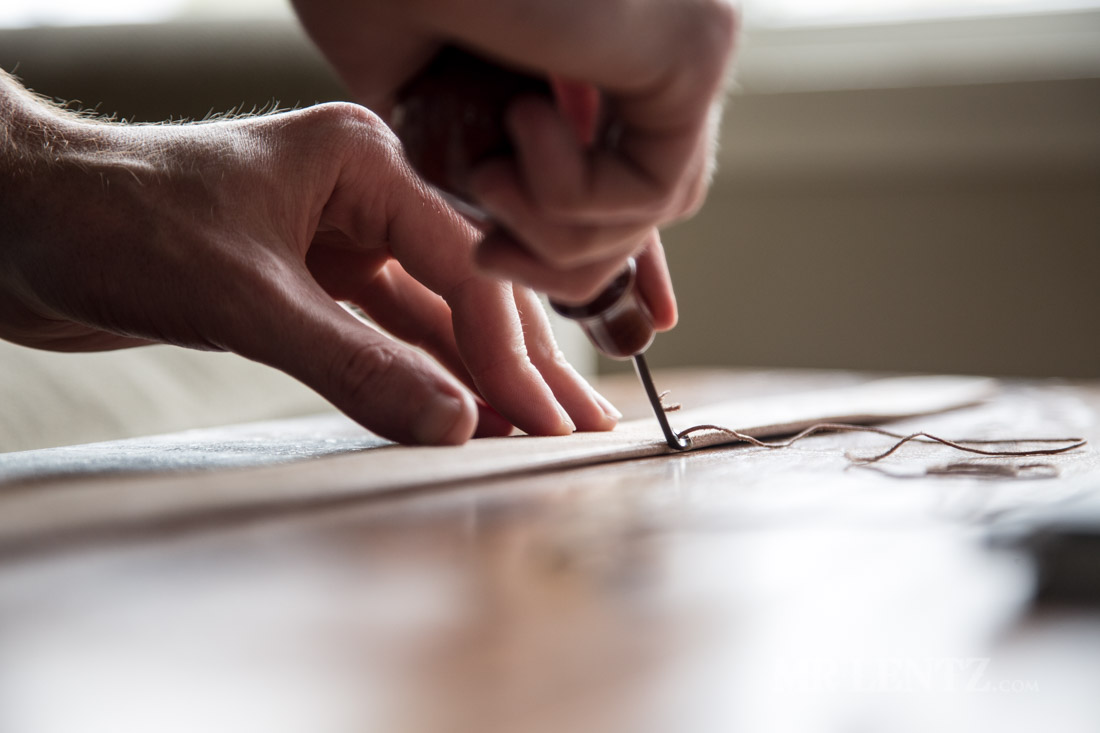
. 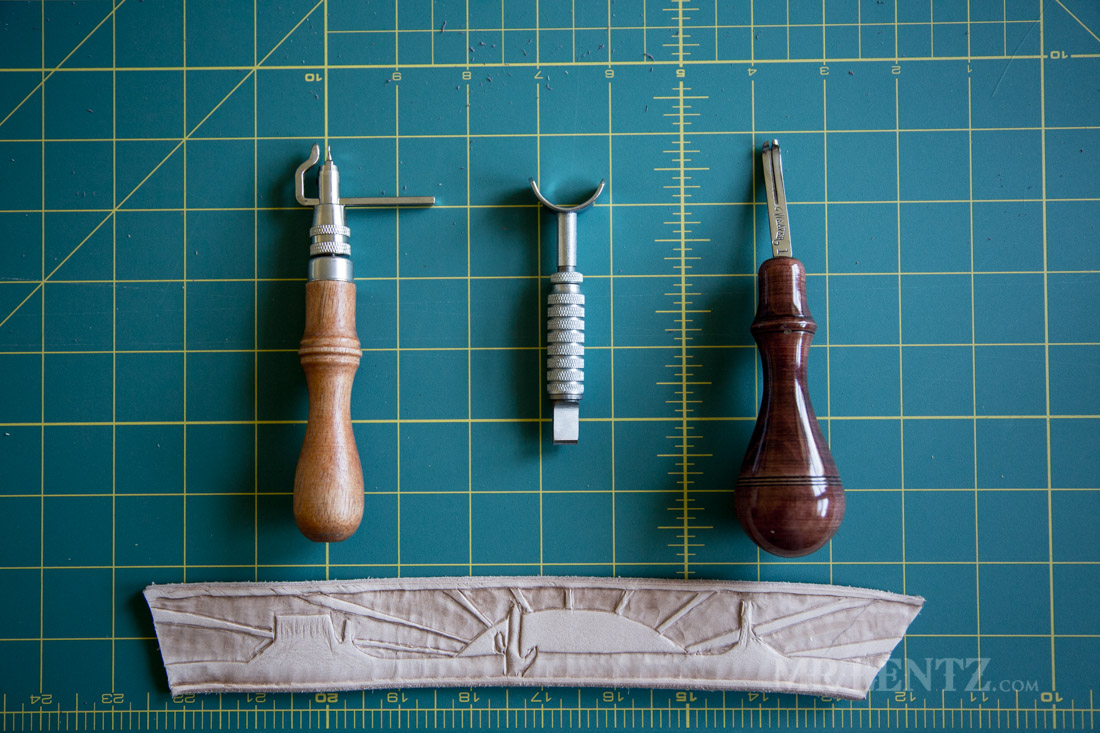 Here are some other tools I am using besides the stamps. On the left is a marking tool called a creaser that will make a parallel line next to the edge of the belt. I used it to rough out the border. In the middle is the swivel blade, I used this to basically draw out the entire piece. It’ll make a nice grooved line and can turn in tight spaces. On the right is the edge beveler, a #1, which is a very small bevel.
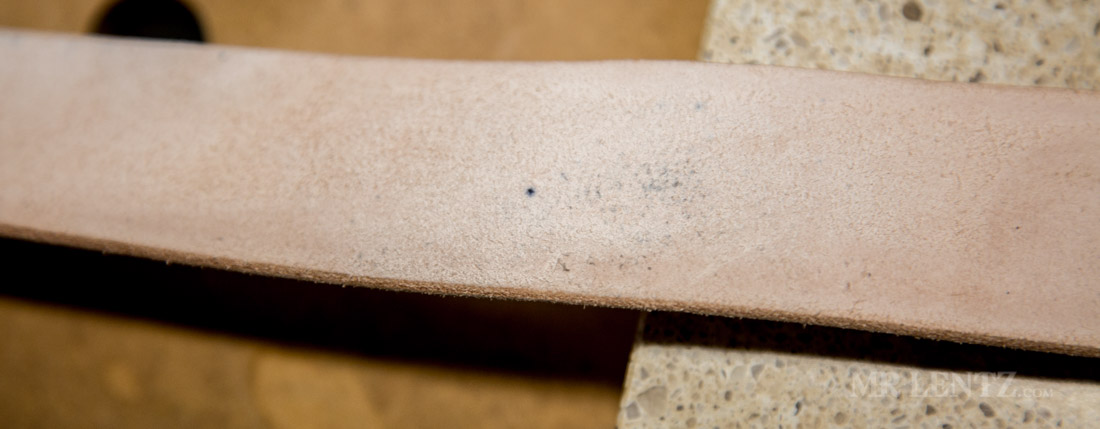
 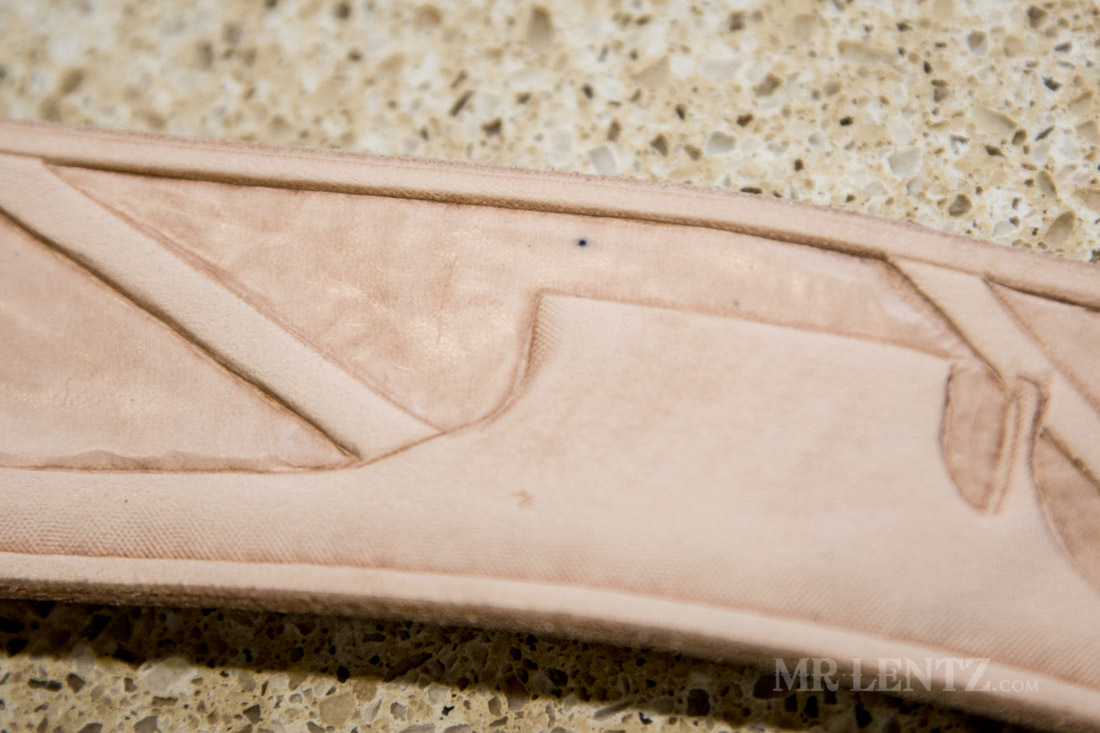 So, there it is. The small blue dot that caught my attention after leaving this project damp, in a plastic bag, alone in the fridge next to the salsa for a week or two. At first I figured it was just a discoloration in the leather, but as you will see below, a few other spots appeared.
 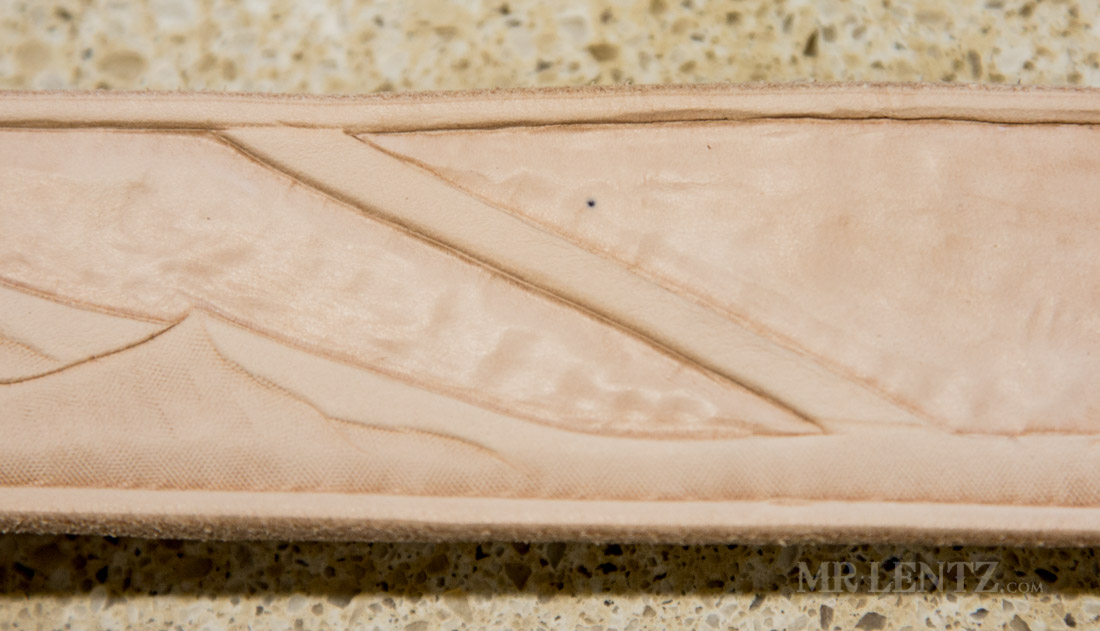 .
.  .
. 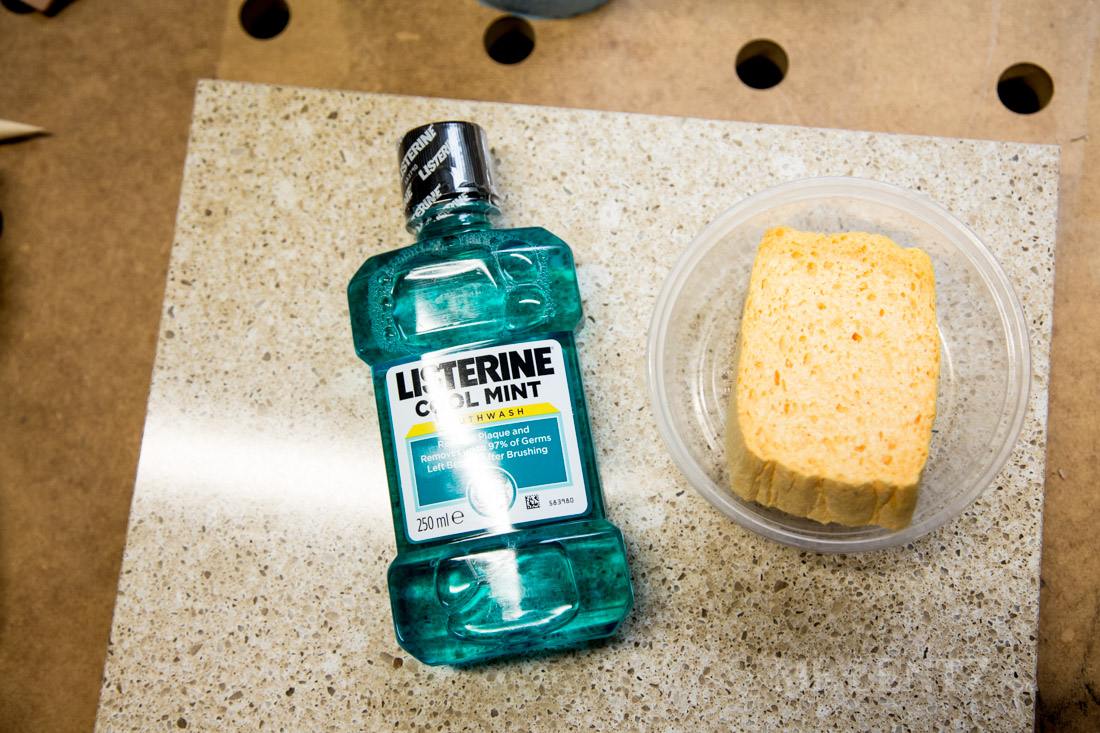 It’s unfortunate when you’ve spent a few hours on a project only to have it grow mold, but luckily there’s still some ways to fix this. First and foremost, prevention is the best solution. When wetting/casing your leather you can use water with a splash of Listerine in it. This helps the leather resist mold growth..and has the strange benefit of making your piece smell minty fresh. I wasn’t too much of a fan of the second part, but the smell seems to have gone away after a few days of wearing the belt. Another option is to use water with a drop of dish soap in it. Well – of course I realized all this after I had cased the belt, so I decided to completely dry the belt out to halt the mold from continuing to grow. Then I re-cased in my listering/water solution. Finally I crossed my fingers and hurried up with the stamping.
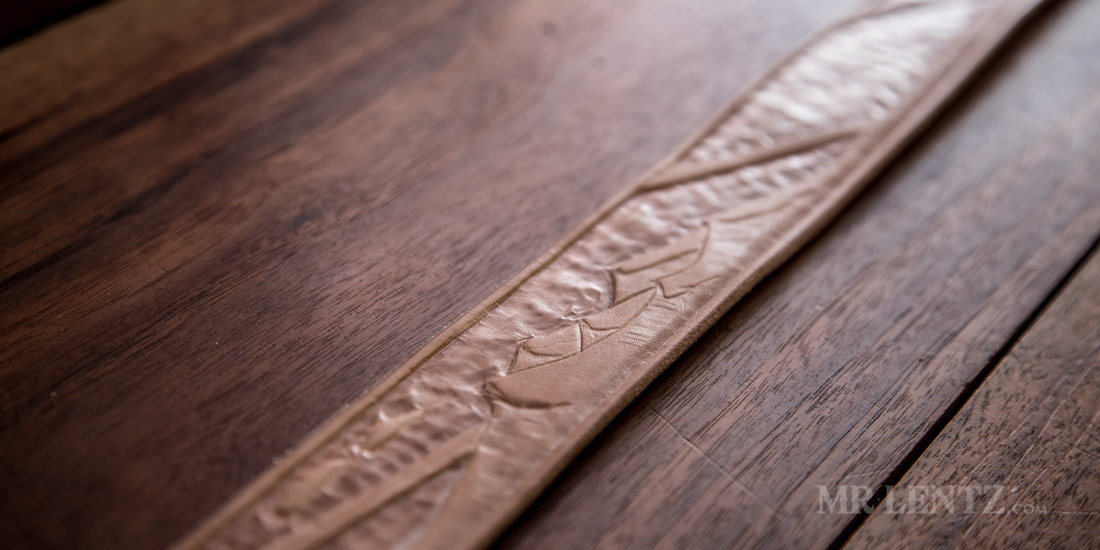
 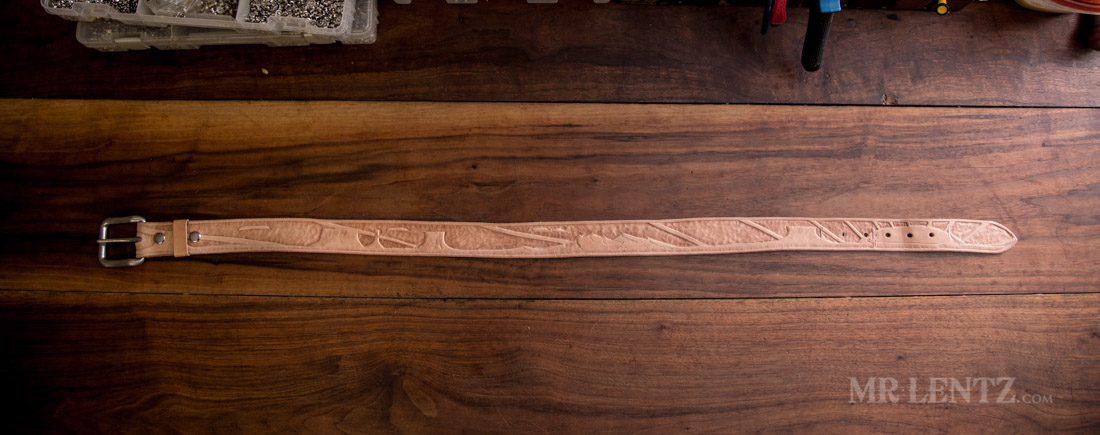 Here’s the entire belt after many hours of repetitive stamping. There’s probably a good several thousand stamp marks on here. I mostly used beveling stamps to press the backdrop in. I used a few other stamps to put some texture on the bluffs and ground. Below you can see the closeup shots.
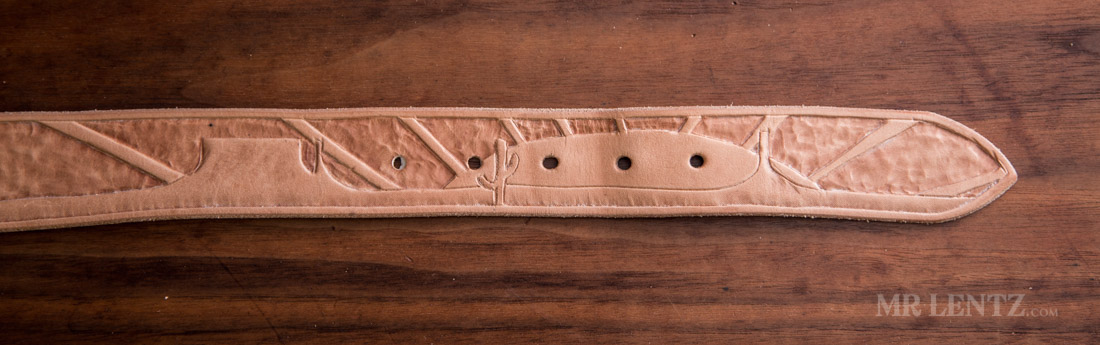 .
.  .
.  .
. 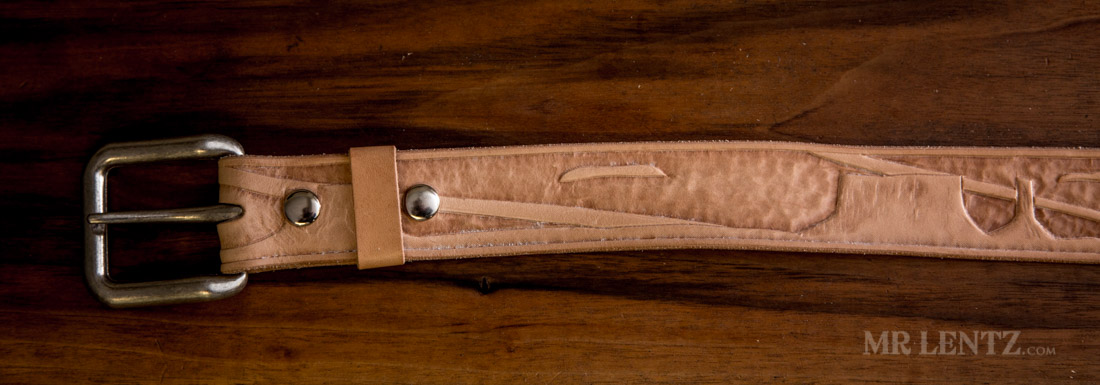 . The final step I took is to put a decent amount of oil on the belt to make it soft again from all the casing, plus to help darken the leather a bit. I then rubbed on my own leather conditioner which has a lot of nice higher-end wax in it. I then sanded down the edges with a fine grit paper and burnished using a drill press mounted cocobolo wood burnisher.
I wear this belt every day now and it’s a great feeling to own something handmade like this that took a lot of effort to make. Life is better with fewer things that have more meaning, versus more things that are cheaply made. If you have any questions about leather tooling – post in the comments below. Cheers!
WHAT TYPE OF OIL GO YOU USE TO MAKE IT SOFT AFTER CASTING?
PAUL A. GIOIA
paul_gioia@yahoo.com
Hi Paul – you can use a variety of different oils. I use my own handmade mix that I have tested over the years. The simplest solution is just a good quality olive oil, though there are many other combos.
Sir, What would you clean the hand prints (finger oil stains) prior to staining this nice leather belt?
WJ Buzzsaw/leather
Hi Wayne – If you are going to put a darker dye on it, you may not worry about the fingerprint. If it is a concern, I would test out Fieblings Saddle Soap. This is a product designed to clean up veg-tan leather. Just note that it can darken the leather a little. Personally I would test things out on a scrap piece before using it on a belt to make sure it has the desired result. Good luck!