
Everything, Leather, Tutorials
Building a Leather Tooling Table – Part 2
Feb
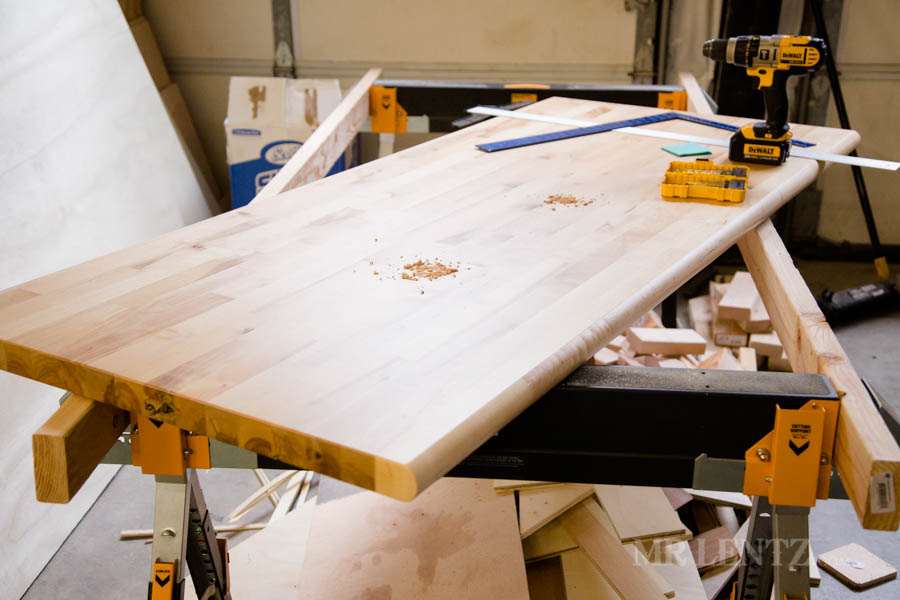
With the maple butcher block top delivered, I decided to finish building my leather tooling table. This isn’t a true butcher block of course, it’s the modern cheaper kind that most are familiar with. True butcher blocks are glued together with the end grain facing up. That old style of table top was actually commonly used in leather shops in the past. If I could find an affordable one I would have used it instead – you can cut right on top of those tops with ease. You can find Part 1 of this build here.
Measuring the Insert
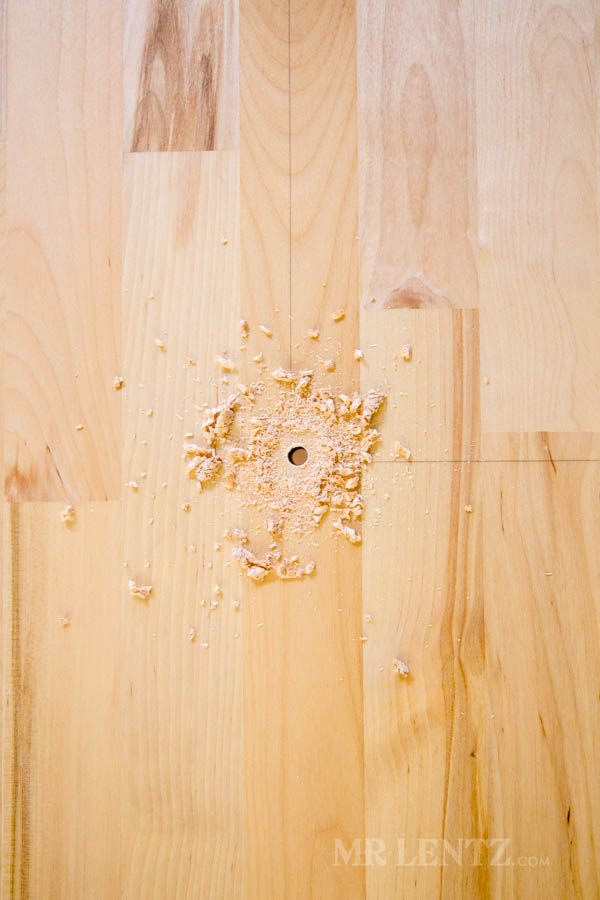
I was a little wary of cutting my brand new maple top. I wanted to make sure I got the measurements correct because there would be no going back. I must have measured and remeasured many times then double checked those measurements too! The bottom line is this – it should fit right around the granite block and the block should reach out barely past the edge. To allow for a bit of error I measured things just over 1/8″ wider than for a perfect flush fit. That gave me room to play if something was slightly off, plus I know it to be easier to make the first cut than to go back and make a second adjustment cut. I drilled two holes at each of the corners where the granite would go to help prevent overcutting.
Cutting the Top
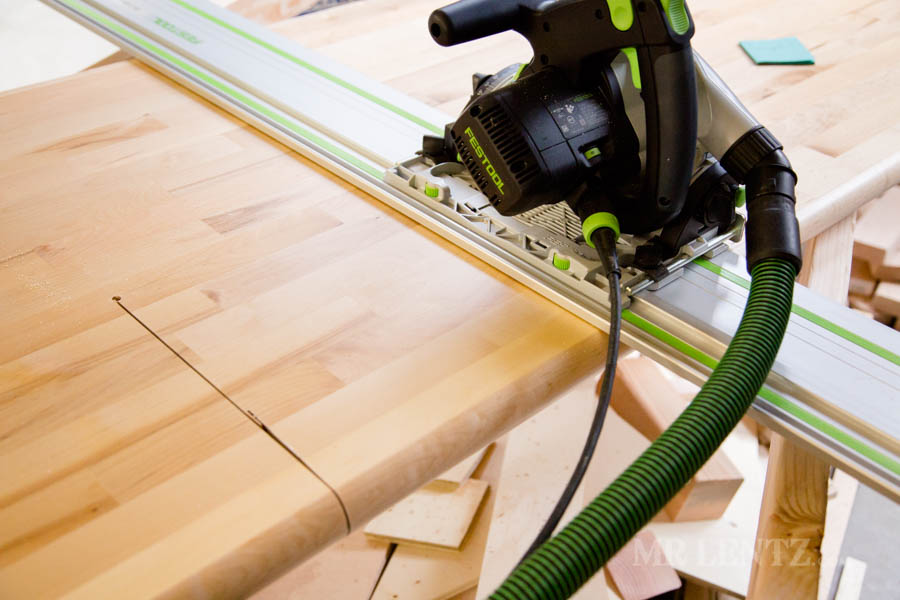
At first I tried a jigsaw (not shown), and realized a few inches in that the blade would cut through the 1 3/4″ top…but on the up-stroke it went above the bottom plane and caused the saw to veer off course and cut an angle, whoops! So plan B, which should have been plan A was to use the track saw on a track and gently ease into the cut, getting as close as possible to the drilled holes. And no – I am not sponsored by any of the tools shown on these posts! Any brand will do.
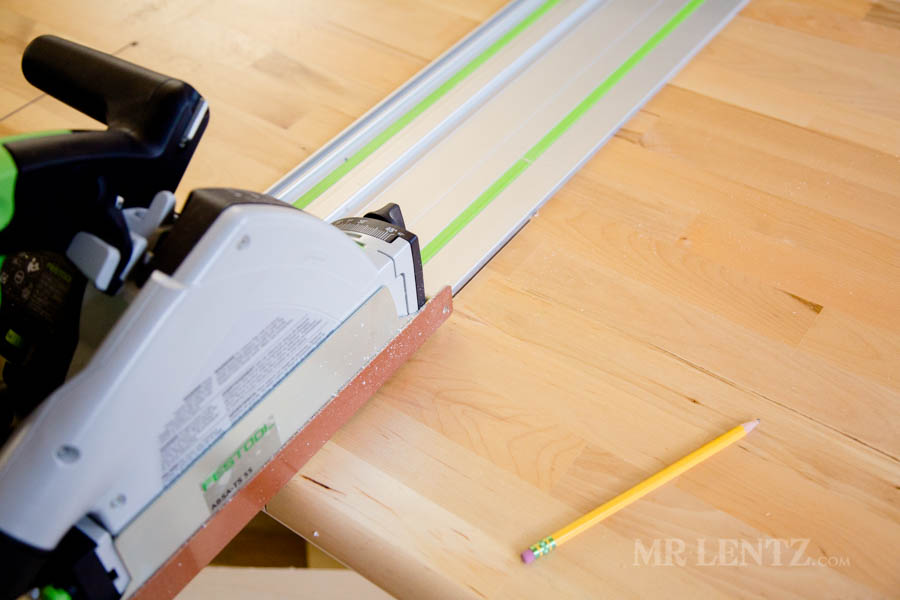
The track saw made easy work of cleaning up my first unfortunate cut with the other saw.
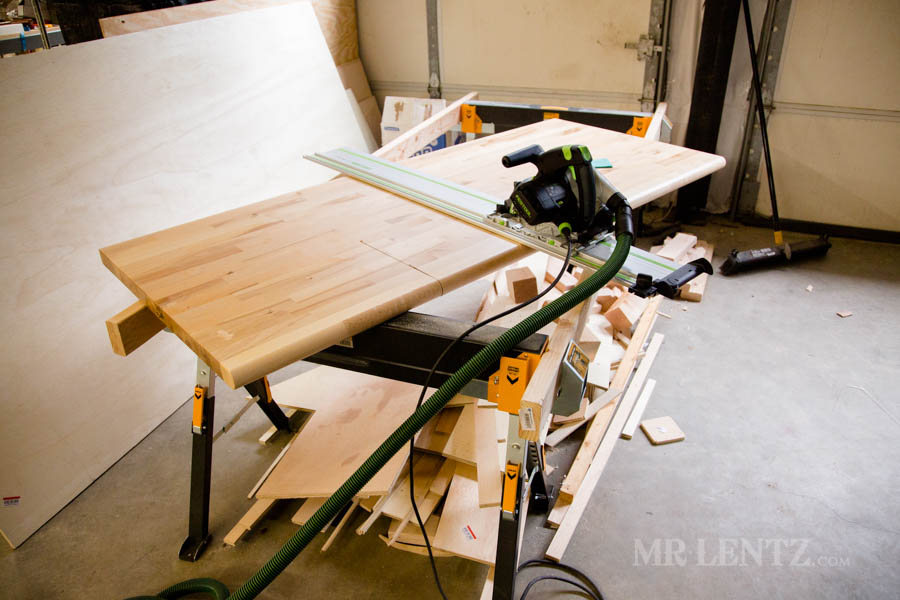
Cutting the back section was the hardest since it was a plunge cut and I was apparently too lazy to set up the stop to keep the saw from jolting backwards during the plunge. I went slow and things went fine. To cut the final inch or so on each edge I used a fine tooth hand saw. Let me tell you something – invest in a nice long, fine toothed hand saw – you will thank me later. Many years ago I only used the cheapo ones from the big box store and had a hell of a time making clean cuts. Life is easy now!
Finishing Touches
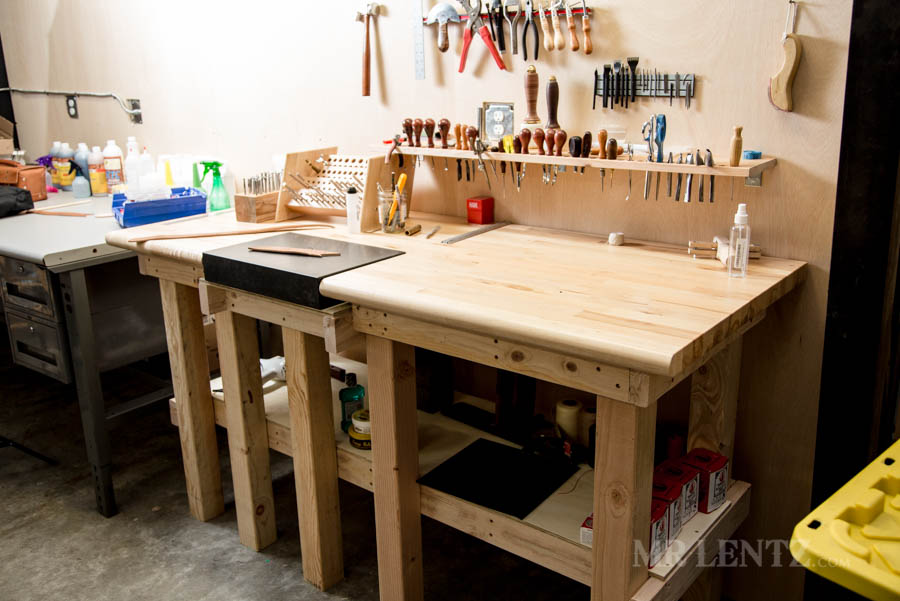
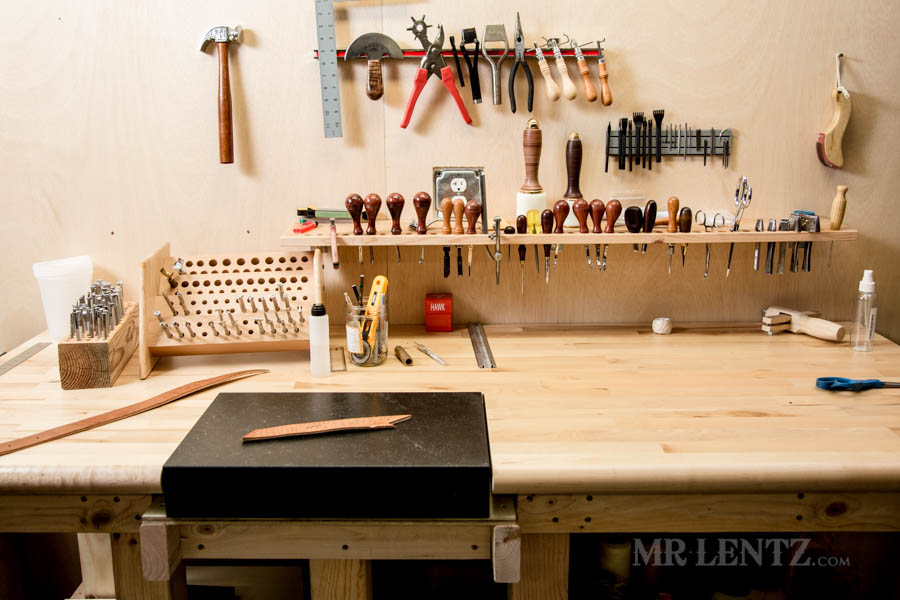
As a final touch I sanded up the edges to clean it up. I attached the top to the apron using small L-brackets placed in the center of the table. This allows for the normal expansion and contraction of the wood along the table apron. Everything fit quite nicely as you can see with one exception. I tested out a little stamping on the granite and realized the bounce issue needed more work. In the image above you can see the third leg I added with an additional crossmember. That was a quick fix. I also used a little help from some store-bought 1/32″ plastice wedges placed under the legs to balance everything. It is now officially a leather tooling table / tank.
Tool Storage

To help keep the tools organized and add more space I drille holes in a plank and attached to the wall with L-brackets. This actually turned out to be a very bad idea – you will read why in another post next week. The why includes 4 stitches!
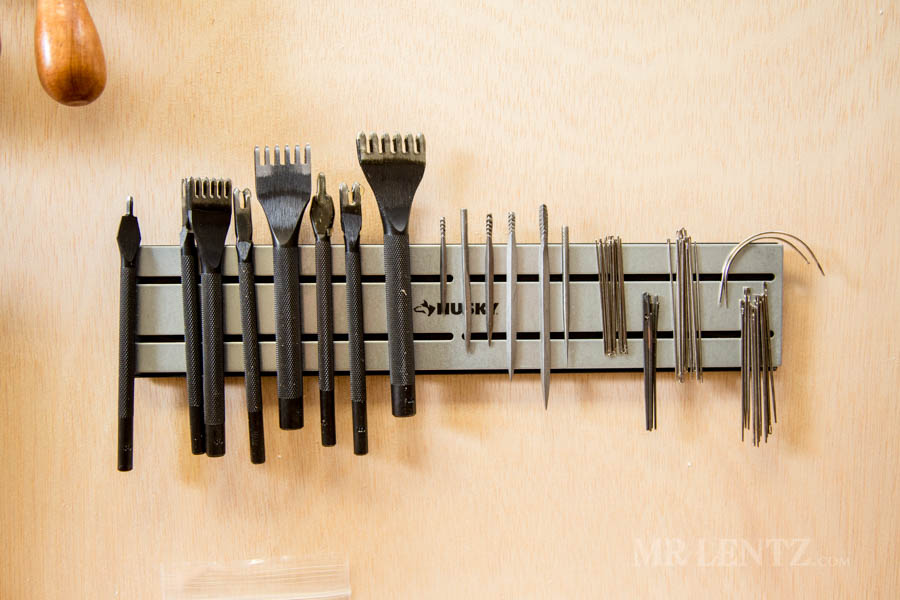
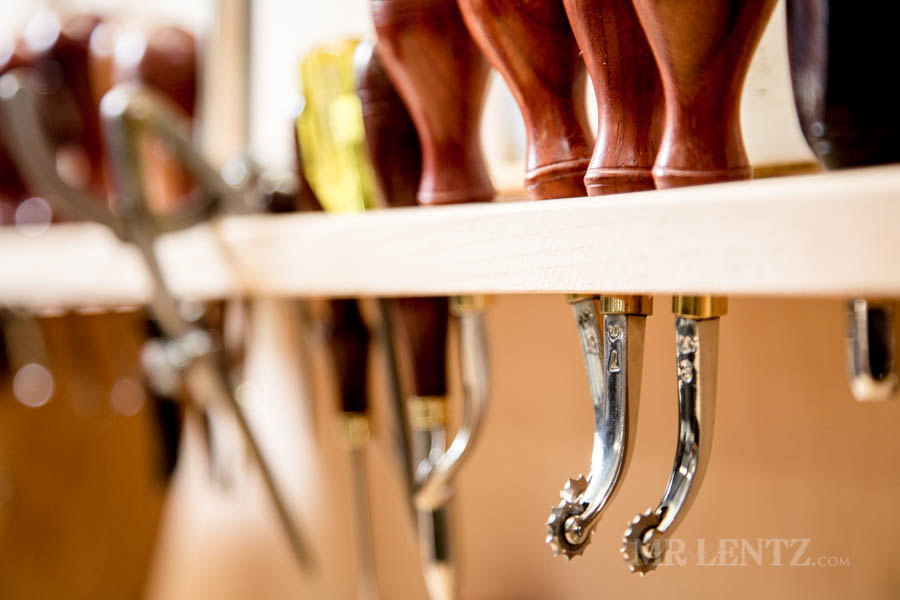
Magnetic tool racks are really handy to store some of the smaller items like needles. Although I am wondering if the single diamond awls might get their edges damaged from taking them on and off. I typically wont switch them out often, so it’s probably ok.
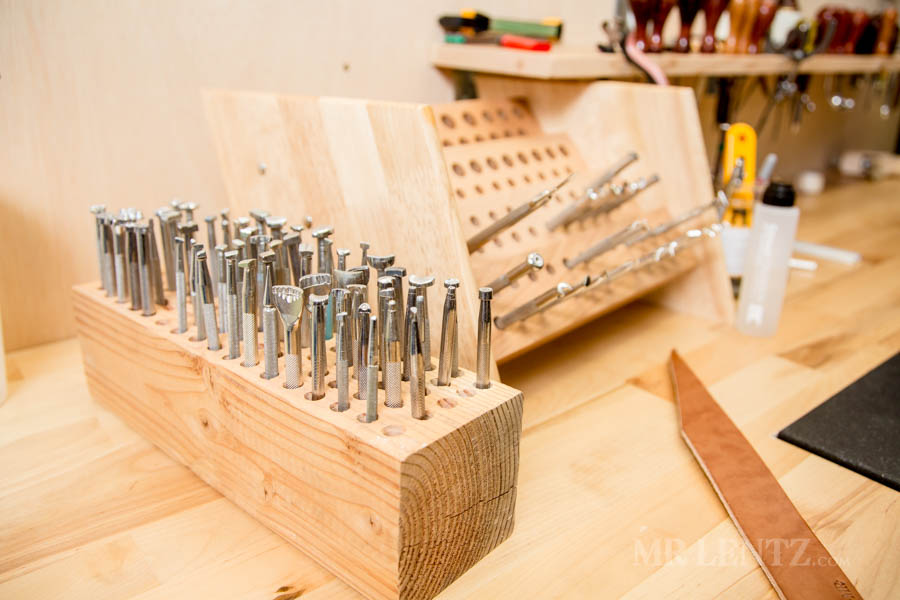
Here’s my old stamp holder I made in a hurry a few years back. They work better with an angle built in. The one behind it was purchased recently and while it takes up a bit of space, it’s much easier to see the stamps.
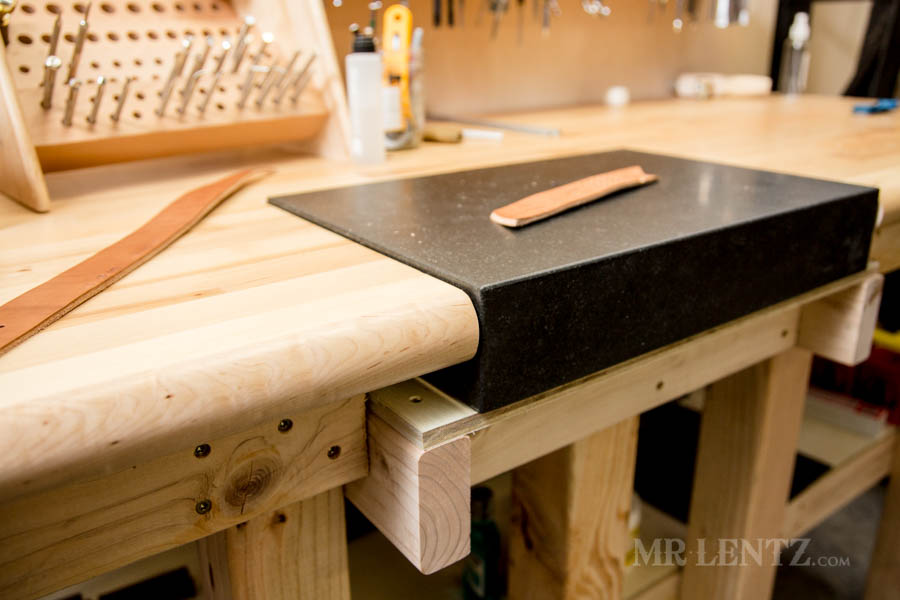
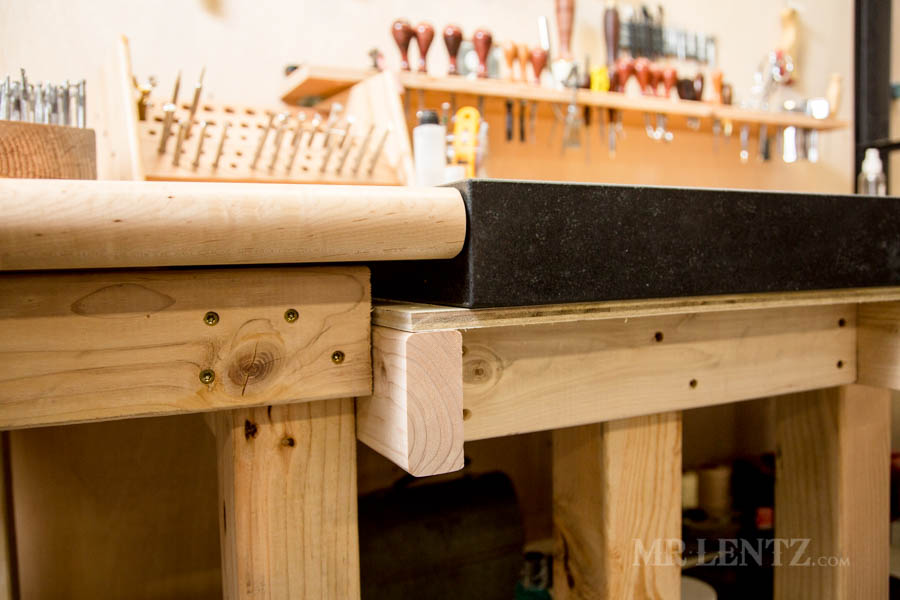
Here’s a closer view of how the granite block fit. It came out within the tolerances I planned for, so no complaints there!
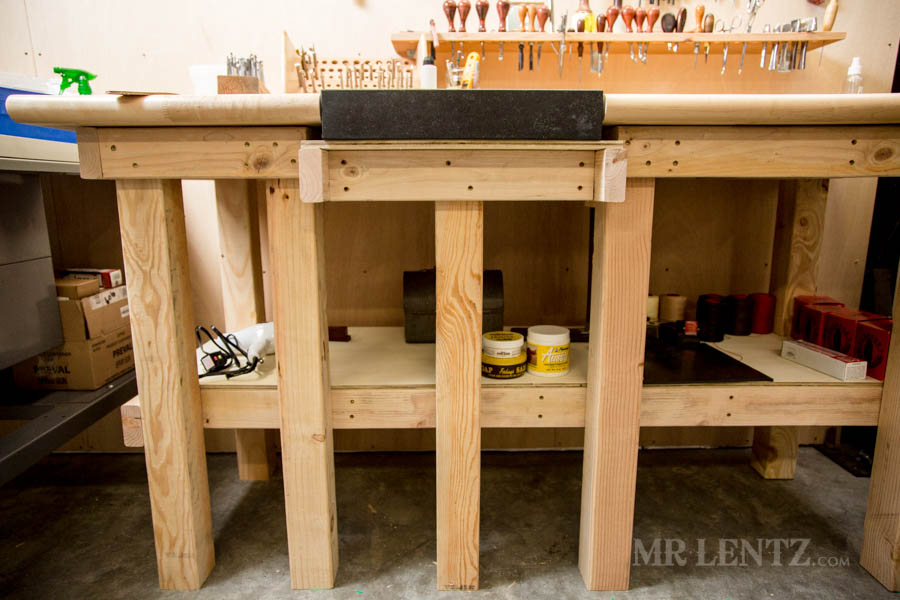
I am not the biggest fan of how many legs there are currently on this table. I thought about removing some and re-positioning…but at this point it works and I’d rather be working with leather.
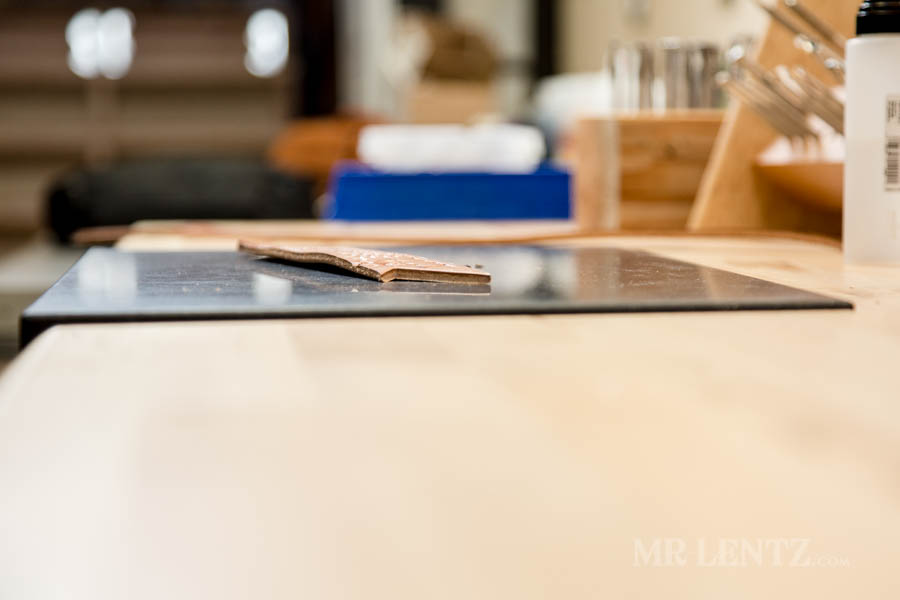
About an 1/8 to 1/4″ above the table surface. This was worth every second to plan and execute. It is much easier to work on a table like this.
If you have any questions about the build or are looking to build your own, please add a comment below -I usually answer within a day or less. Thanks for reading!
Very nice looking bench like the tooling holder thanks for posting
Where did you find the tooling block I got piece that was left over from my kitchen counter top but like thickness of yours much better
Thanks Chuck, I bought that block several years back on the big online retailer whos name is unmentionable here. The thickness helps with countering vibration due to its mass. I believe Grizzly tools also sells several of these block options too. Good luck!
Hi,
Maybe a dumb question to someone used to building stuff, but as a beginner: would the design of this bench change significantly if the recessed portion was dropped? I’m looking to build a simple tooling workbench, and would probably be content to have my marble slab resting on top
Thanks
Hi Zach, that’s a good question actually and if you are putting a heavy marble slab on top you want to make sure you do it right the first time! I am not sure myself, but I would try posting that question in a woodworking forum like sawmillcreek.org there seems to be a lot of experienced people on that forum. Good luck!
I am looking to build a workbench like this, and I have a piece of granite that is ~1/3″ thick, if I were to use a router to inlay it into the butcher block, would that be strong enough for hole punching, or would I need to worry about the granite cracking? Should I buy a thicker block of granite, such as the 3″ one you used?
Hi Nick, I would say 1/3″ thick is definitely too small. It may crack over time, but the bigger problem would be that the stone would not have enough mass to mitigate bounce. A thick stone gives a solid platform for a tool to hit once without bouncing back. It basically absorbs the shock. If your surface bounces, you will have a hard time getting good results when tooling leather.
Hi Mr. Lentz! I really like what you have made and am really gratefull that you shared it with us since it makes it much easier for someone like me that is new to this craft and needs to built something without much experience with leatherwork and how the table should be built. I am going about building one for my self, and was wondering what dimensions is the granite block apart from the thickness?
Hi Simon – that block measures 18 x 12 x 3 inches. I think it’s a great size for tooling.
Wow, never imagined such a fast response! Thank you very much.
Oh by the way, would you change anything now after you have worked at this table for a while?
Yes – I would probably re-think the two center legs in front just below the tooling block. They kind of get in the way of accessing the shelf below and I am sure there is a better way to engineer it with less! I am just not sure what that would be, because you do need something directly below the tooling block that has contact with the ground, otherwise you will get some bounce. Anyways – it is working well for me as is though.
I was thinking of having the tooling block on the side of the table, that way the legs dont get in the way, but if you dont have room to stand/sit on the side of the table that is not the solution. I guess that is what happens when we have limited space or budget and have to squezee the juice, its not going to be perfect in all areas.
Yeah – you are going to want space on either side of the tooling block for tools and for larger leather pieces to fit.
I am just returning to leatherwork after a few years and am building a tooling bench using a solid wood table. The design is eerily similar to yours. My problem is the height. How did you arrive at the correct height? I’ve been using the table as is: 30″ is too high even with an adjustable chair.
Hi Sherry – for height it will depend on whether this is more of a table where you do assembly work, or whether you use it for cutting, edging, carving etc. If for cutting etc you will want it at a height that is comfortable for you to have your work on and allow you to push down with your arms to apply pressure with your tools. Typically this means it will be slightly lower to give you leverage while working. If however it is more of an assembly table you will want it so that the top of the table top is at a height where your arms are at slightly more than a 90 degree bend. So maybe a 55 degree bend. This is more ergonomic for when you don’t need to apply force or use tools. Hope that helps!