
Everything, Leather, Tutorials
Building a Leather Tooling Table – Part 1
Jan
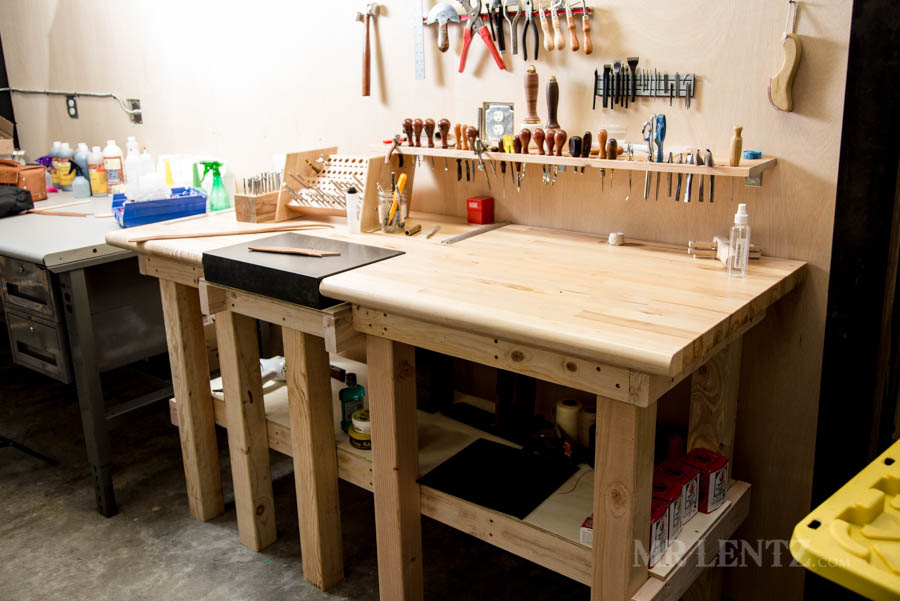
I’ve been wanting to build this leather tooling table for months now. There was a prime empty spot in the back of the workshop waiting to be filled in, I just needed to find the time to set aside for planning, buying materials and putting the thing together. It’s kind of a bare bones tooling table / workbench, but so far it has been working much better than my previous setup which consisted of laying out all of my tools on a table I use for many other tasks. Then, a day later, packing most of those tools back up so I can work on a different project.
The following is meant to be more of a follow along than a tutorial, so if you are looking to build something similar – I will provide tips and mistakes made along the way.
Designing the Dimensions
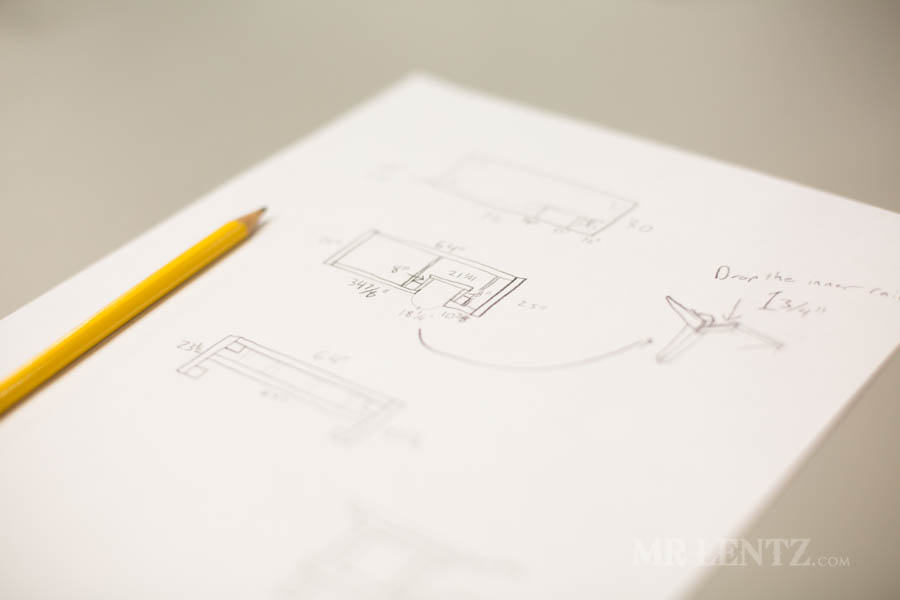
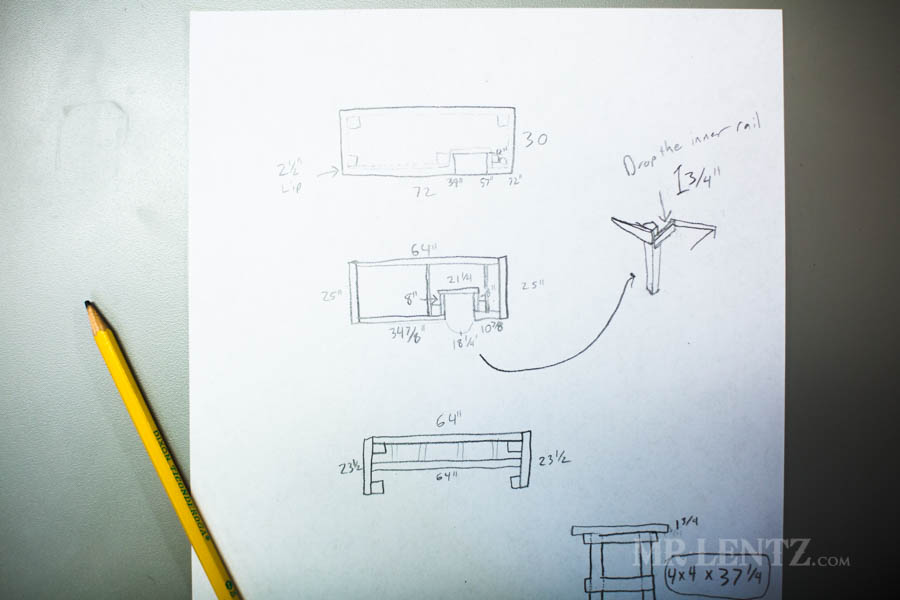
The first important part of any plan…is to make a plan. Originally I thought this table would be so simple I could piece it together as I went. Then I decided I wanted the granite block I use to stamp and tool leather – to be almost flush with the table top. This of course complicated the plan a bit and so a piece of paper and pencil came out and I went to work on the design. I knew I wanted a table top 30 inches deep because that’s a comfortable length to still easily grab tools off the wall. I also knew I needed it to be 6 feet long to fit in the space I had next to the dye and glue table.
Table Height
As for the height – from everything I have read – it’s best to plan it so that the top of your marble tooling stone sits at a height that when standing next to it, hitting your maul on a stamp pressed against leather…your elbow is at a 90 degree bend and the face of the maul level at the tool. In other words you want to be able to strike the stamp flatly and not hit it at an angle. Any higher or lower will cause a bit of frustration down the road as well as some overcompensating and soreness in your shoulders.
Without going into detail on exact measurements, the reference points above were enough to figure out how long to cut the leg posts given that the table top would be 1 3/4″ thick. The granite stone I am using is barely over 3 inches thick, so it would need supports for it dropped lower than the table skirt and attached to an extra set of legs to prevent bounce. For this part of the design I took my time, thought things through (and eventually made some measuring errors described a bit later!).
Cutting and Assembly
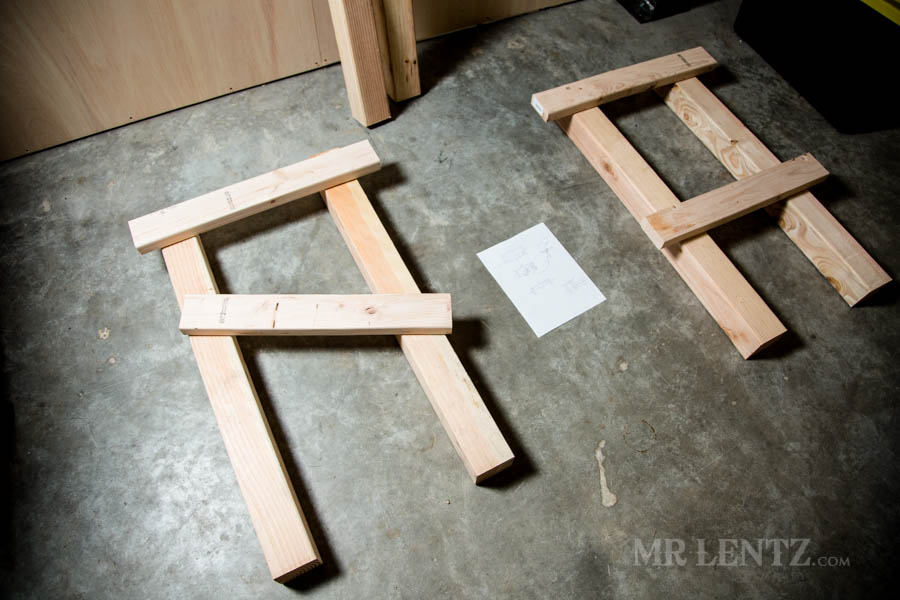
Cutting out the legs and apron/skirt are simple with a miter saw, just keep in mind there is a left and right side. The shelf support is usually cut flush to the front edge of the front legs.

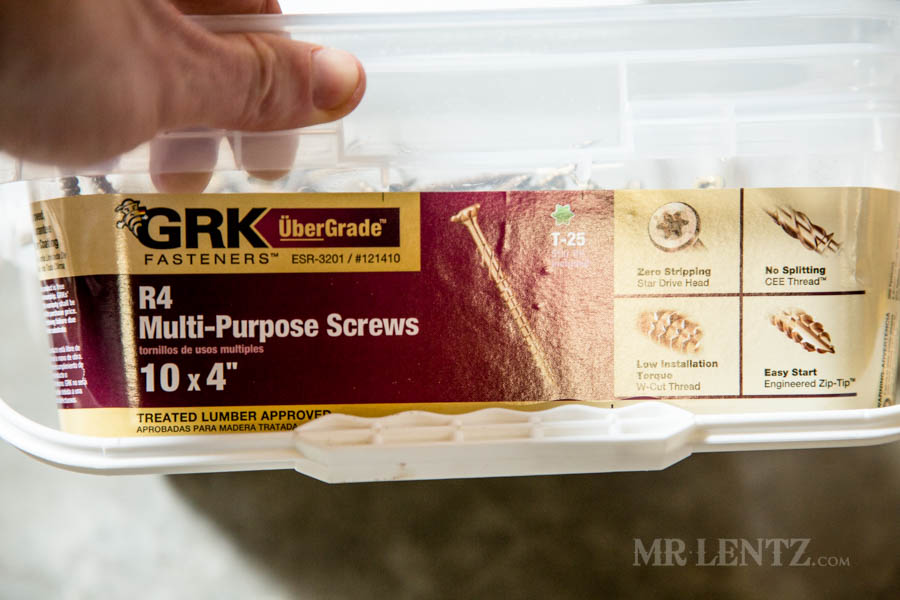
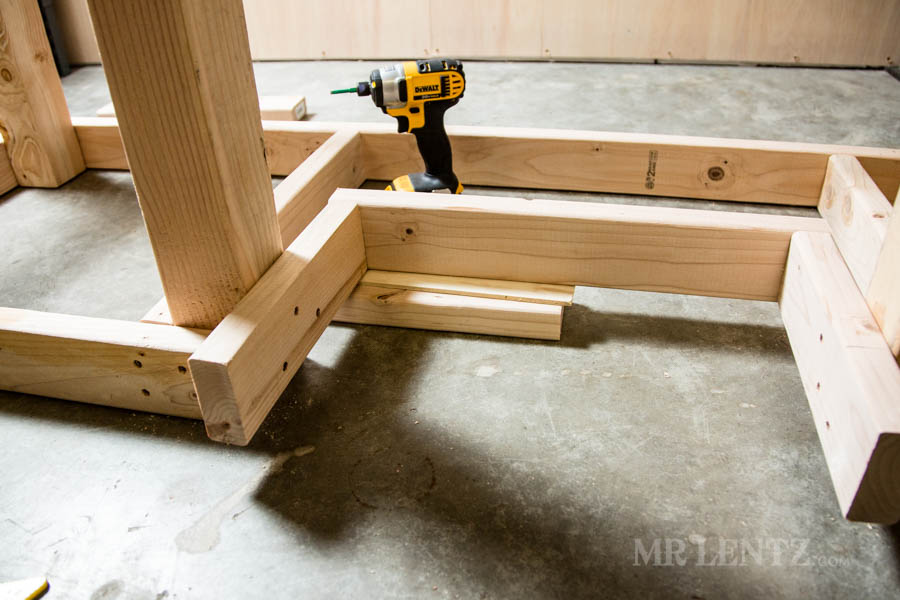
Gotta love the screws available these days – the #10 4″ deck style screws made things a breeze connecting 2x4s to the 4×4 posts. They need no pilot holes, self tighten at the end, and countersink.
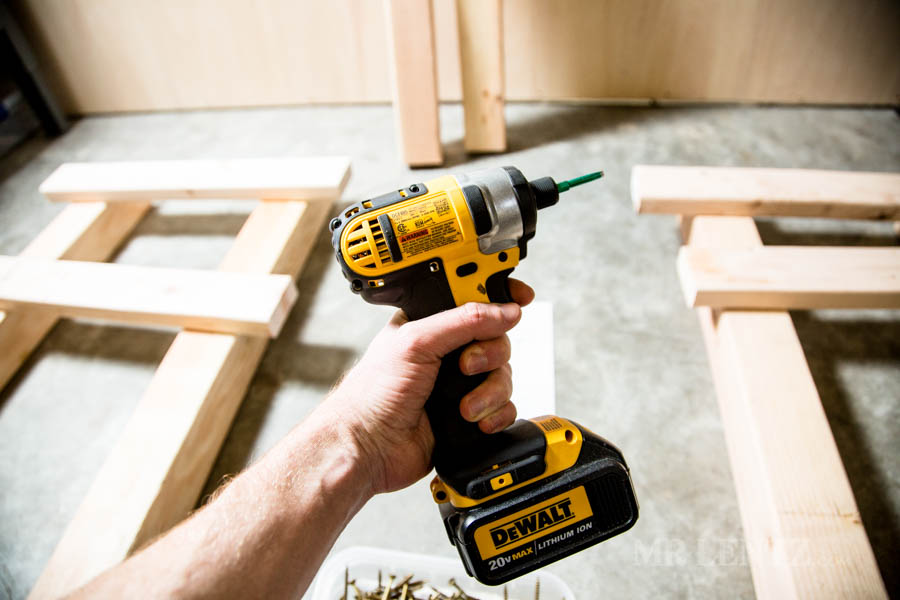
Unlike during previous workbench builds ( see: https://www.mrlentz.com/2013/03/a-workbench-for-every-craft/ ) I realized how much easier a hammer drill is to use for such work. I didn’t used to own one, but this one has paid for itself 100 times over.

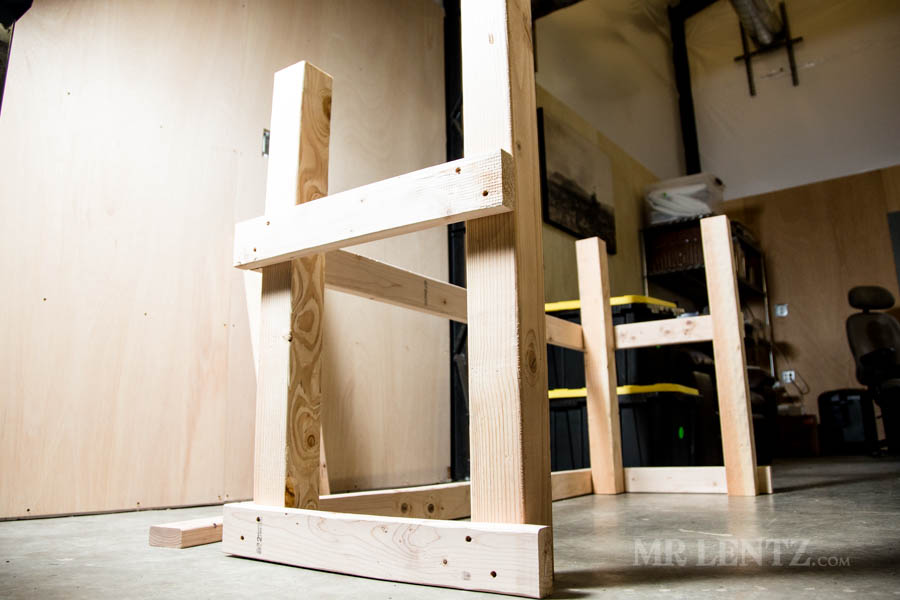
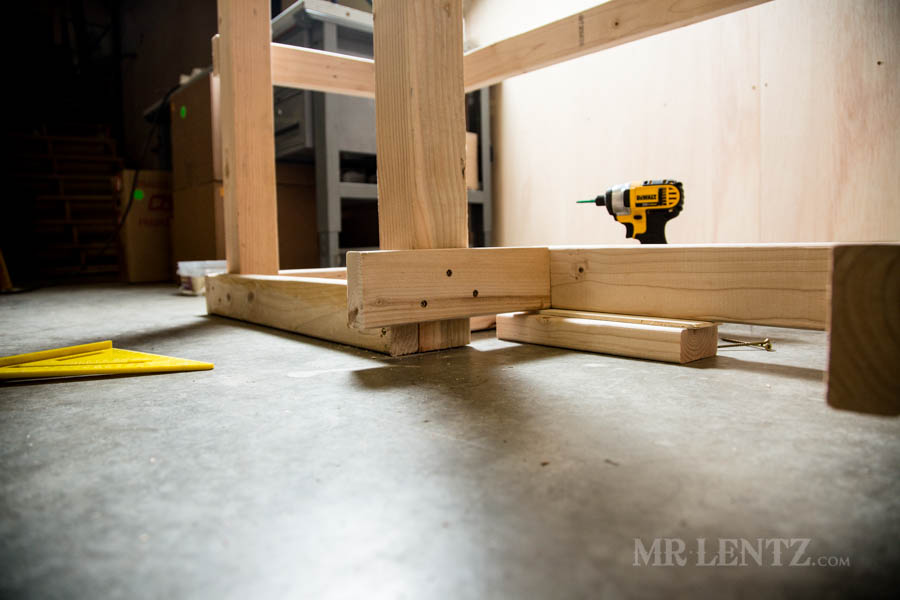
With both side supports built I laid them upside down on the floor to make attaching the front and back apron easier.
Planning for the Recessed Support
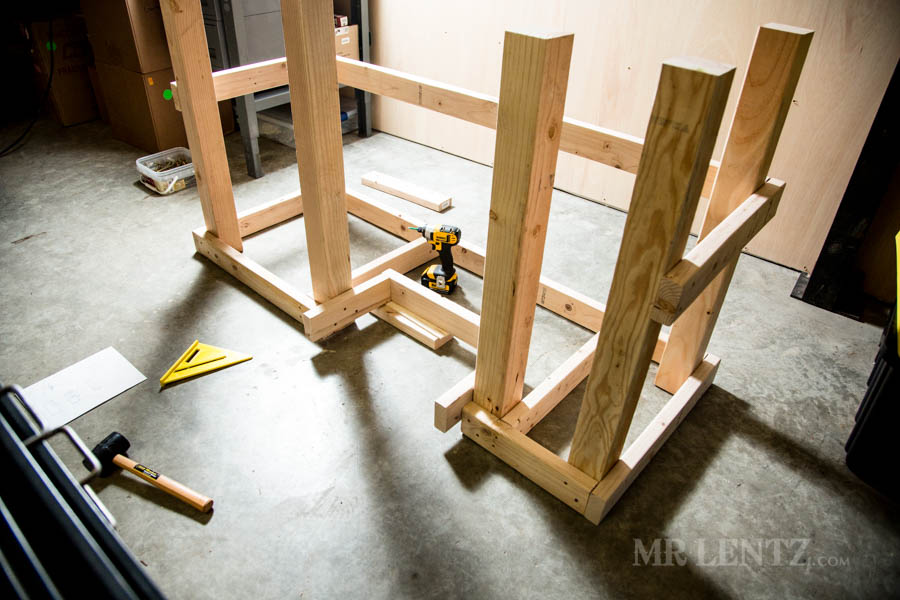
Initially I attached a full length apron to the front and back…then measured for where I needed the front cut to fit the recessed support for the granite block. I then attached the two extra front legs to the front apron…and used a reciprocating saw to cut off the front apron between the two extra legs.
Just a Few Errors
Now here’s where I made both measuring errors and design flaws that were only realized later when I completed the table. The first measuring error was the fact that while I had decided to offset the granite to one side of the table…I forgot that when measuring on the wood – the table was upside down and everything would be on the opposite end as planned. This actually turned out to be a blessing in disguise simply because on a tooling table (if right handed) you will use your left hand to select and hold your stamp and your right hand to hold the maul. So only stamps go on the left side of the table. You then use your right hand for almost every other tool, thus needing more space to the right to store them. In the end it worked out.
The way I designed the recessed support with two extra legs is probably the easiest way to go about things, but in the end it required one more leg added later, right in the center of the granite support. It was a bit too bouncy with the legs on the sides and only a bit of plywood holding the granite. If I were to build another table I would place the two legs evenly spaced underneath the plywood supporting the granite. Oh well, it looks a bit funky, but like I said – works very well!
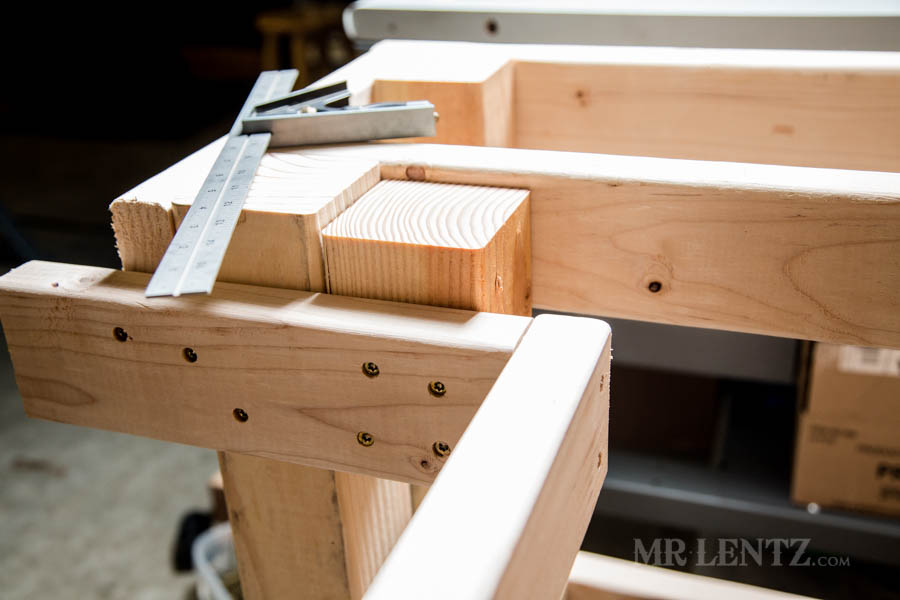
To help make sure the recessed supports were evenly installed, I placed a 2×4 on the ground with a small 1/4″ piece of wood to act as a jig holding things the right height.
I knew my granite block was just over 3 inches thick, but I didn’t want to plan the surface to be so close to flush that any measuring error would send it slightly below the surface. So I erred on the side of caution and allowed the support around 1/8″ in extra height.
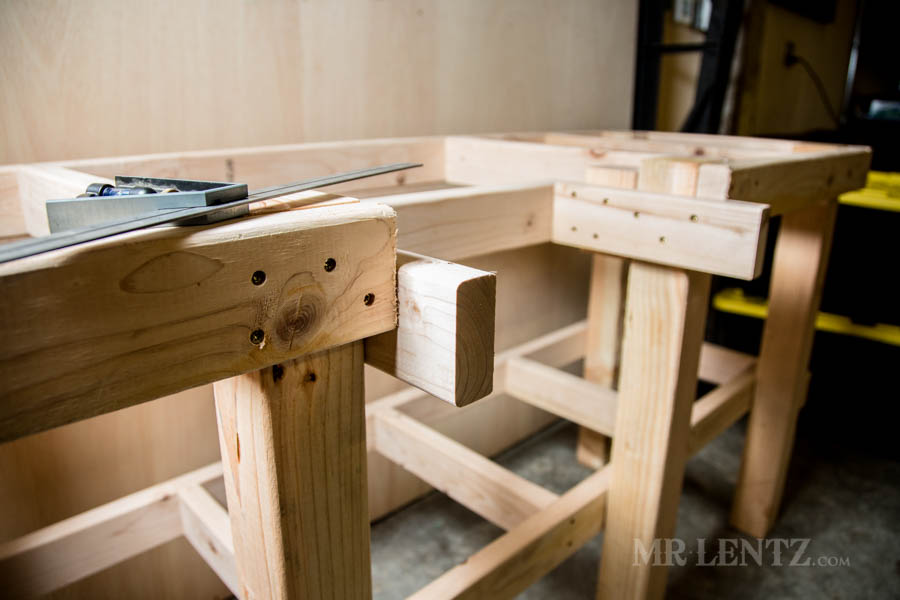
I also wanted the granite block to be just barely sticking out past the edge of the table, so the supports were installed with this in mind. Pre-planning goes a long way specifically for this recessed portion.
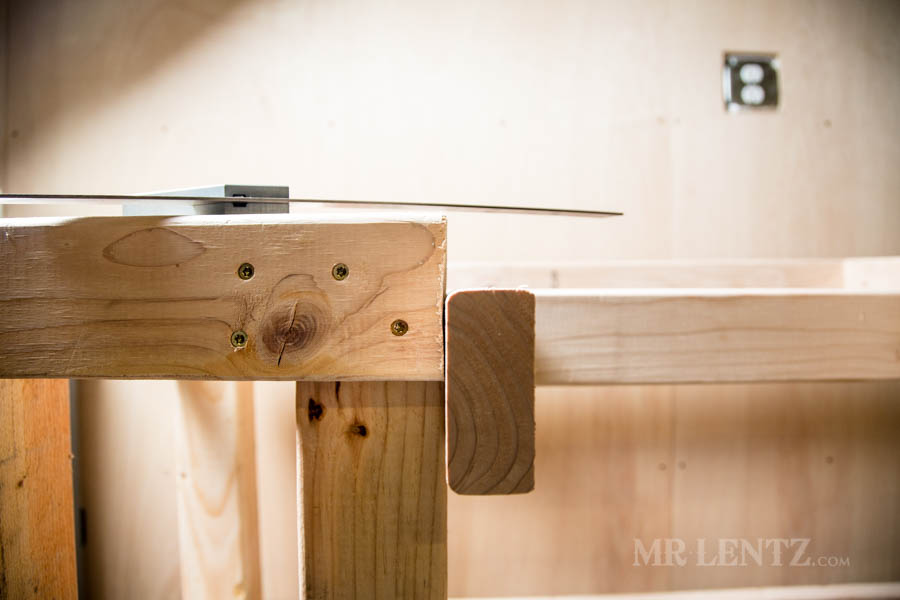
The sides of the recessed support needed a bit more to grab onto to I placed small 4×4 cuttings in between while lowering them a bit to keep from interfering with the table top.
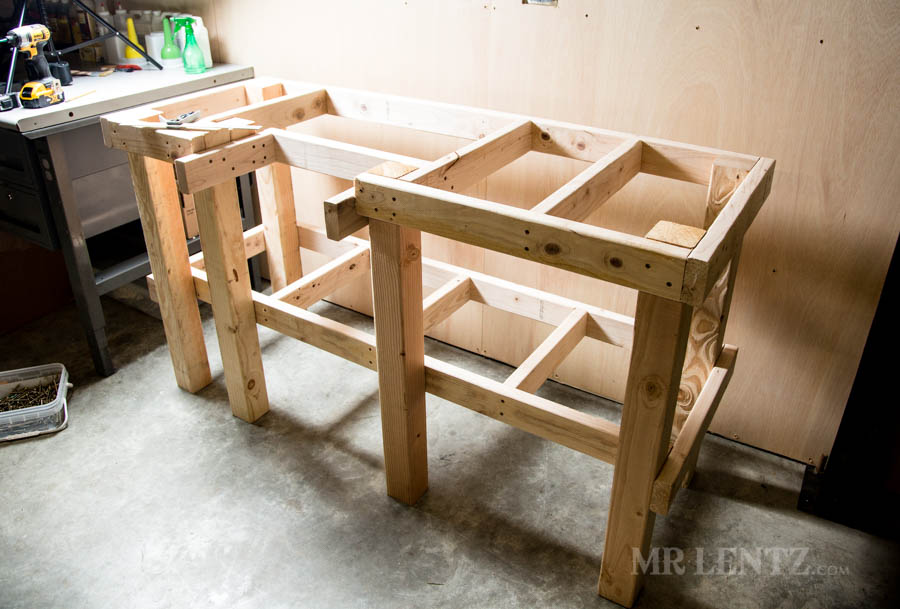
On all of the crossmembers I measured each as I went. There’s always a bit of variation along the way so it’s best not to pre-cut them to size. With the frame built I just needed to wait on my table top for delivery.
Choosing the Table Top
For a leather tooling table you have a few good options out thee and lots and lots of variations. One of the best and cheapest is the solid core door. It is typically the right size and has significant mass so as to reduce bounce if you end up placing your granite on top of it. You can also find granite counter seconds from countertop companies, they are usually free and located in bins next to their shop – ask first! It is extremely heavy if you get a table-top size and of course hard to build jigs onto. Smaller pieces can be had though and used like my example above. I ended up choosing a maple ‘butcher block’ style top. It’s coming pre-finished with lacquer which is supposedly one of the most durable you can get – time will tell!