
Jan
As it turns out the Pacific Northwest is a damp place! When you are in the leather goods business, the top priority is keeping those hides in good shape and in an environment that is temperate and dry. After moving up to Washington state last June we put the leather workshop into a steel building on the property. The building was pretty bare bones, just a large open space and your standard steel sheeting for walls. The priority once we got up here was to get the place insulated and heated – both for comfort and to help control the very humid air up here. Living in a forest probably makes that problem a bit harder to solve. It’s just always wet here and will be for 8 months out of the year. As time went by, the insulation went in, and heating was installed but the humidity remained…inside the building. Heating air will reduce the relative humidity but in this temperate environment in the PNW, you can have days in the fall where it’s mid sixties and 95% humid. What happens is that the damp air slowly makes its way inside to the slightly warmer dryer air. Over time I would see the humidity levels increase a few percent each day hovering close to 70%. You can’t keep unwaxed leather for a prolonged period of time at that level so a solution was needed.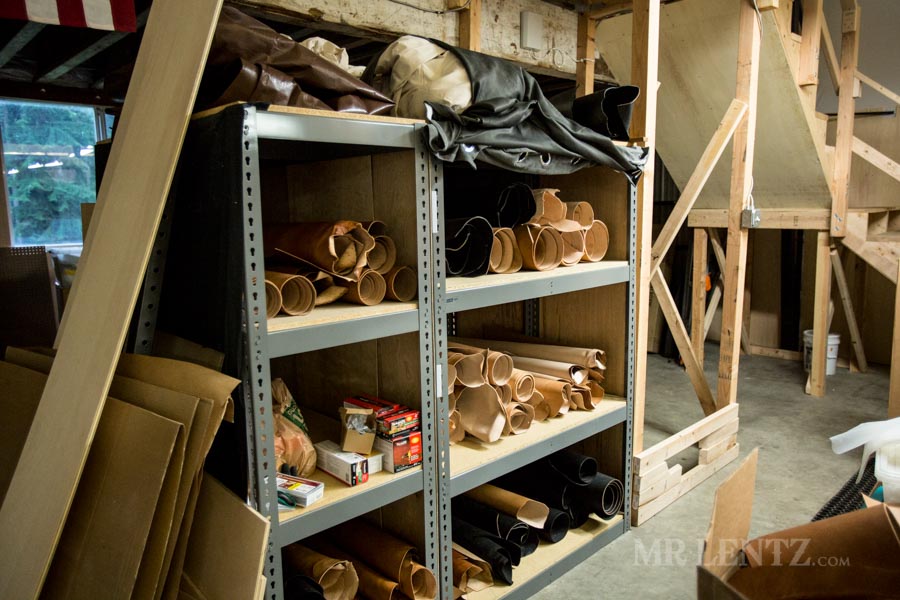
Since I started leatherwork I have been storing my rolled up hides on these steel and fiberboard shelves. It worked great in the Southwest, where it was dry enough to keep things in good shape. They also offered a portable solution for the numerous times the shop has moved (4 times in 5 years !). Up here in WA, this shelving style was not going to cut it. One of the main problems with it is airflow. Up here the damp air can just sit there undisturbed. 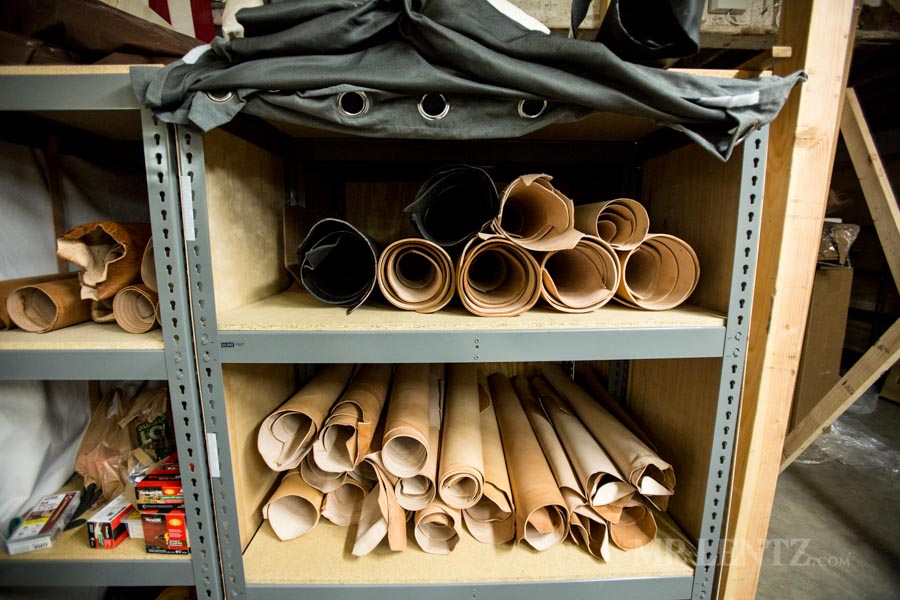
So, looking at these old shelves I decided to come up with a better solution to help protect my investment. The first thing to do was to get the whole shop dehumidified. I purchased a large ‘whole house’ dehumidifier and had it installed into the heating system. Now when the humidity in the shop hits 42%, it kicks on with the blower and blows dry air out the ducts. The dry air measures around 20% humidity and it mixes with the more humid shop air to bring things down a bit. It’ll drop to 38% and the system shuts off. So far so good on that end…but I needed something a bit more stable and I am not sure how well the system will hold up come warmer weather and high humidity (it’s winter now so the air is relatively dry). 
I have this space under the stairway that is kind of a dead area. Can’t do too much there except store things…so why not build the shelves into that space.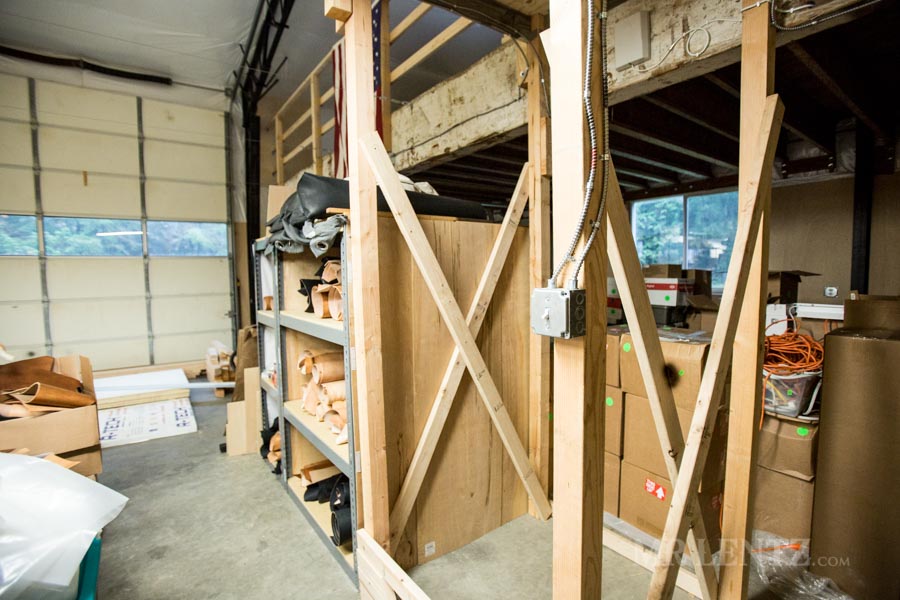
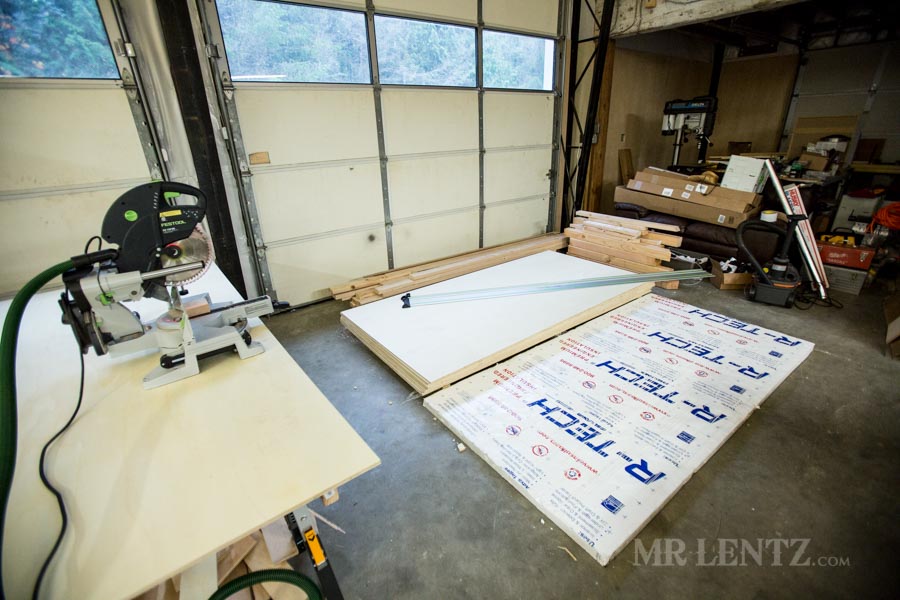
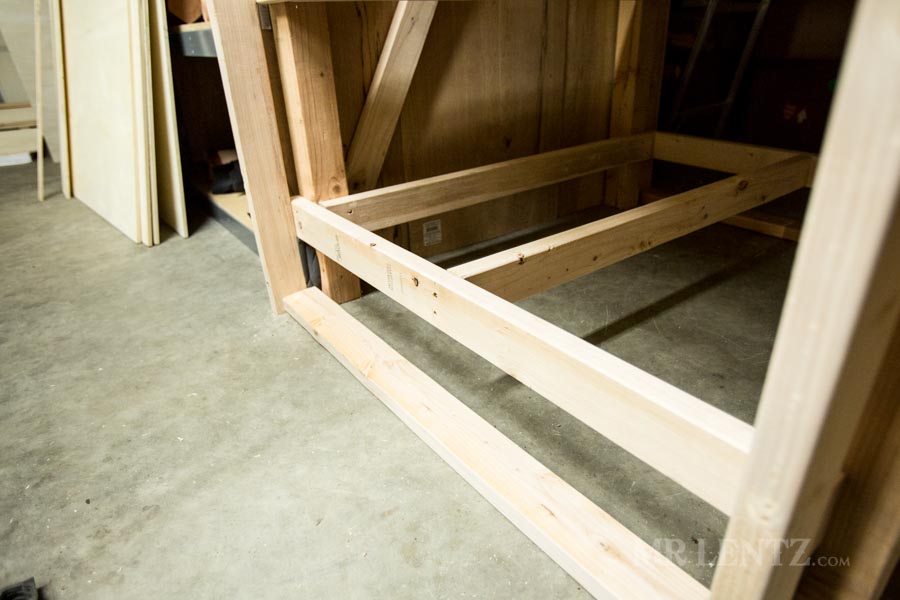
Since completing the walls in the shop, I still had a fair amount of plywood and lumber so I got to work framing things up. By the way – that foam insulation on the floor works great as a backstop for cutting plywood with the circular saw on the ground.
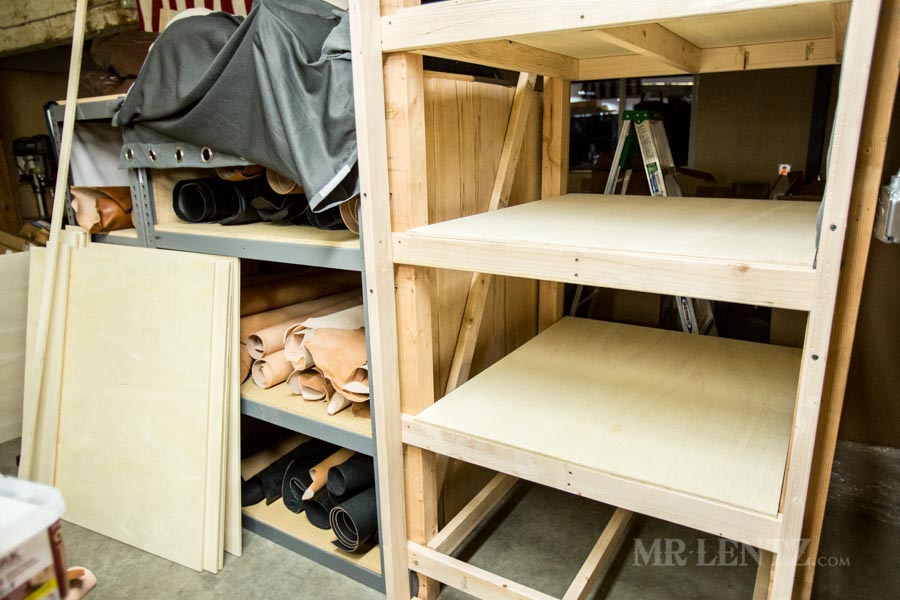
Above, the start of the shelving.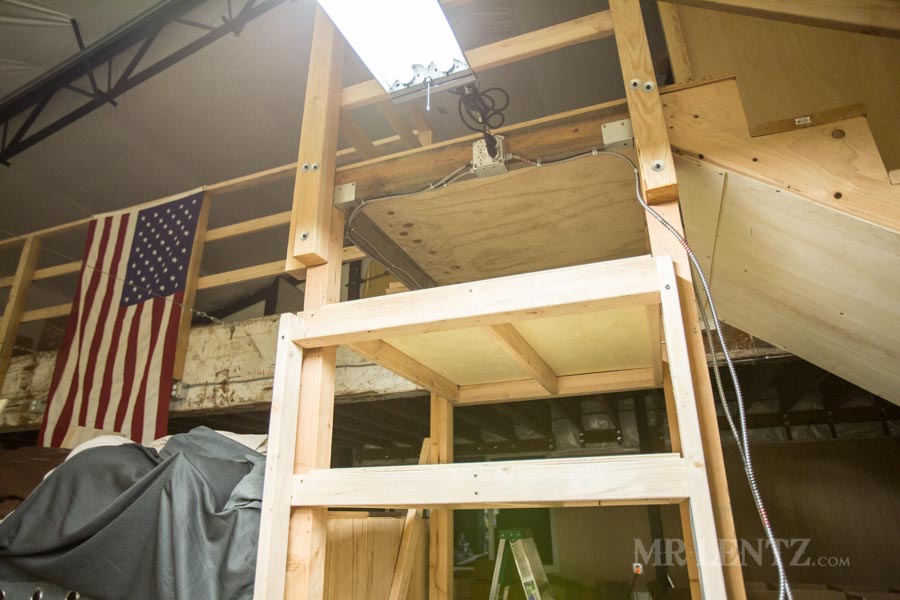
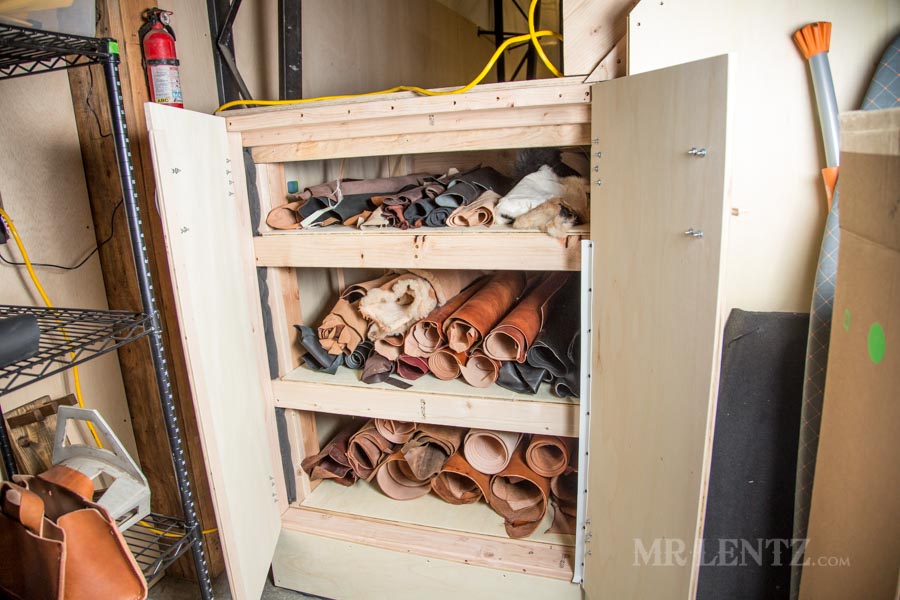
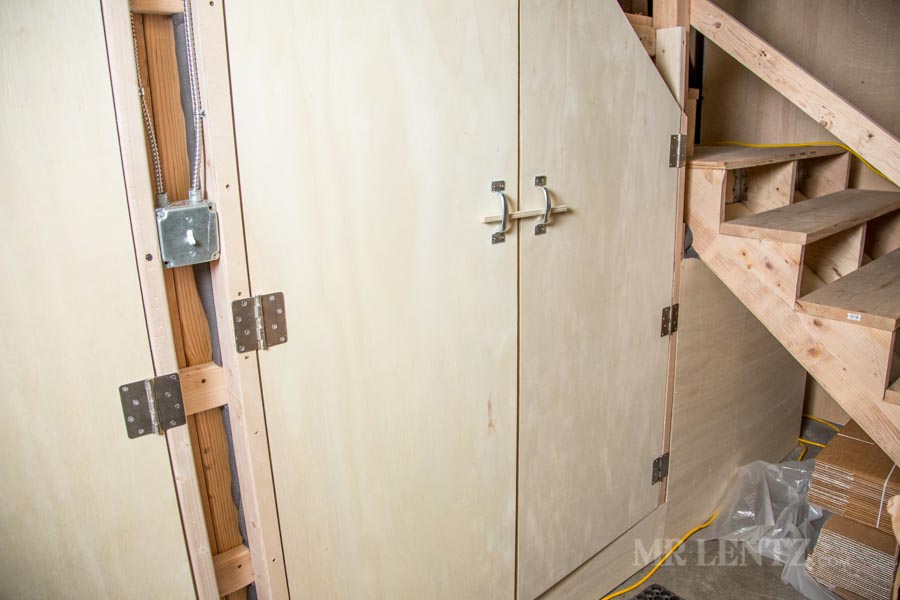
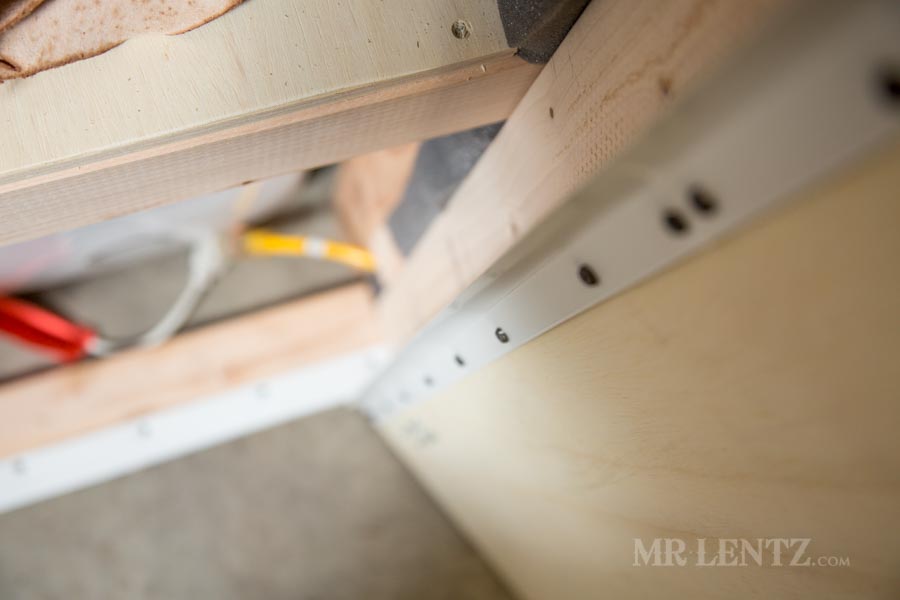
Here is my version of a cabinet door frame. I am not an architect by any means, so I typically just build things the easy way that makes sense to my brain, plus I really don’t want this project to last months! One of the bigger challenges I did give myself with these leather shelves is that they needed to have good airflow around them. I couldn’t just build the standard shelf, I had to create space around all sides of the shelves. As many know – light affects leather too – so it needs to be stored in the dark. What I had to build was a shelf system within an even wider cabinet. This way a dehumidifier and fan could blow air around all sides of the stored leather.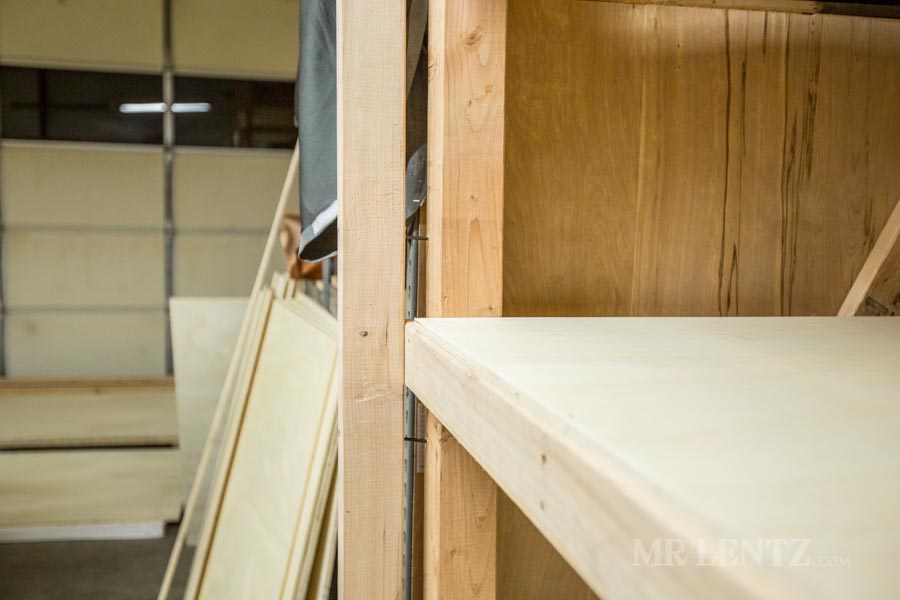
The frames for the cabinet doors were put in with this airflow in mind, so they come out a bit and allow air to pass on the front of the rolls as well.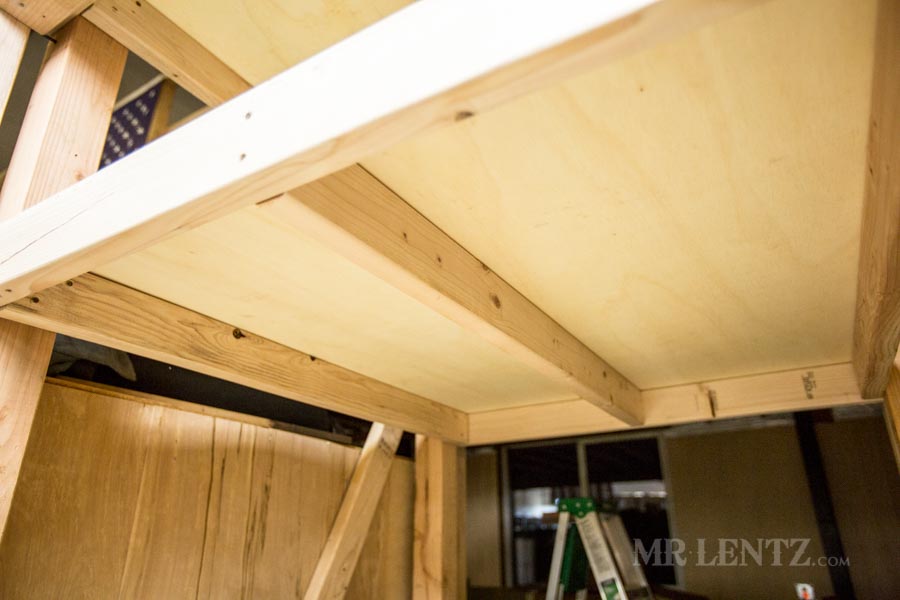
Every shelf gets a support midway.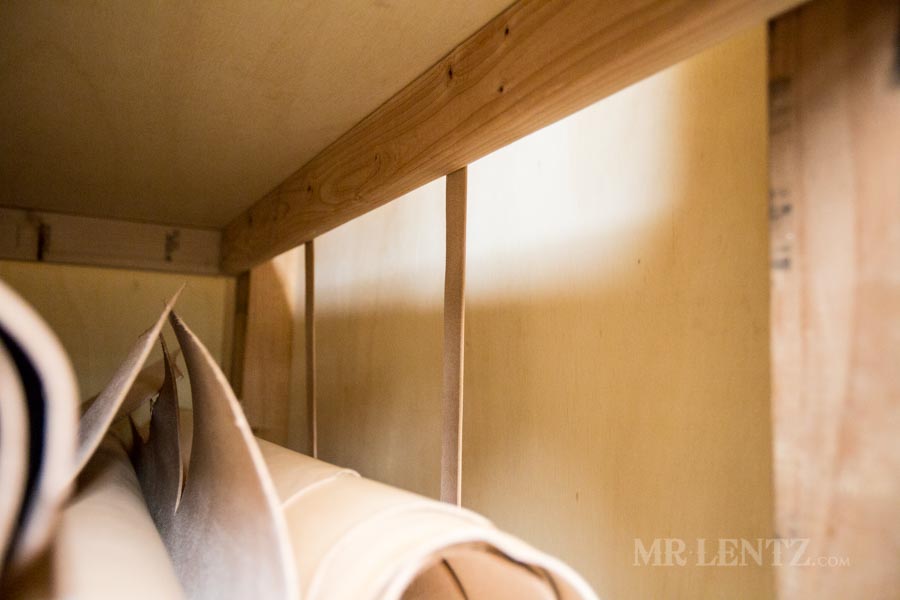
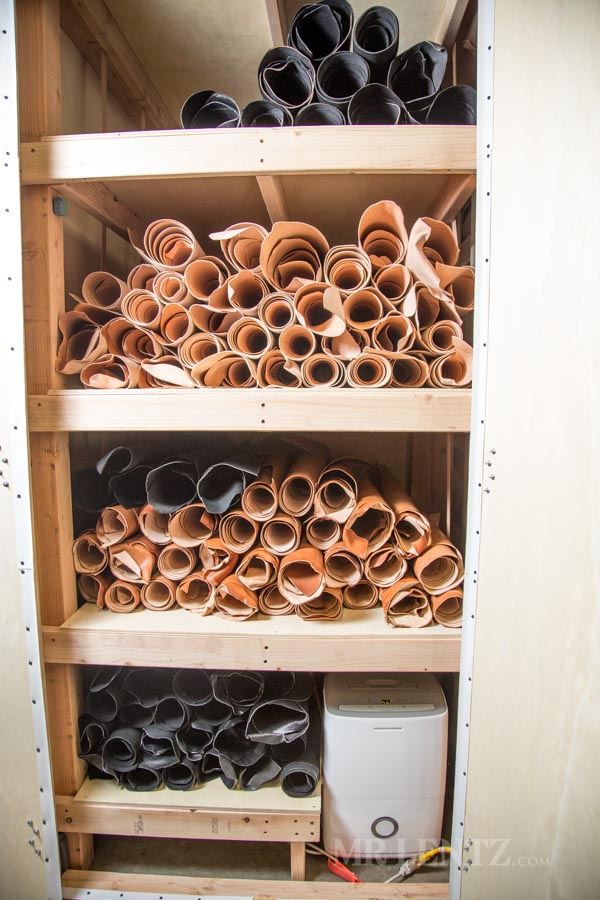
To keep the leather from rolling off of the sides of the shelf and into the ‘airflow’ space I used some scrap leather straps screwed down the sides.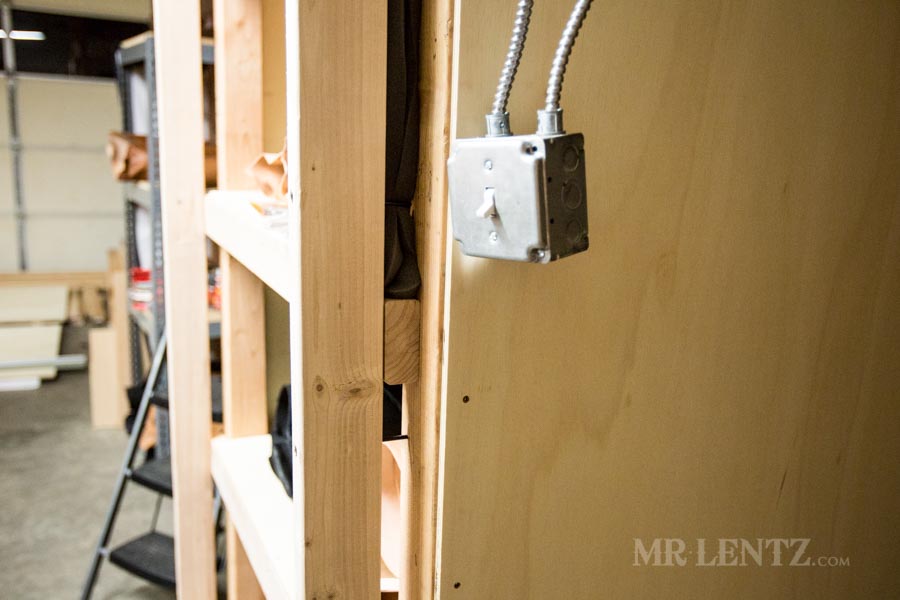
In the photo above and below there were a few inevitable spaces where there wouldn’t be a good seal. On certain parts I extended the plywood over the holes, in other areas I used foam weather stripping that typically is applied around air conditioners installed in a window.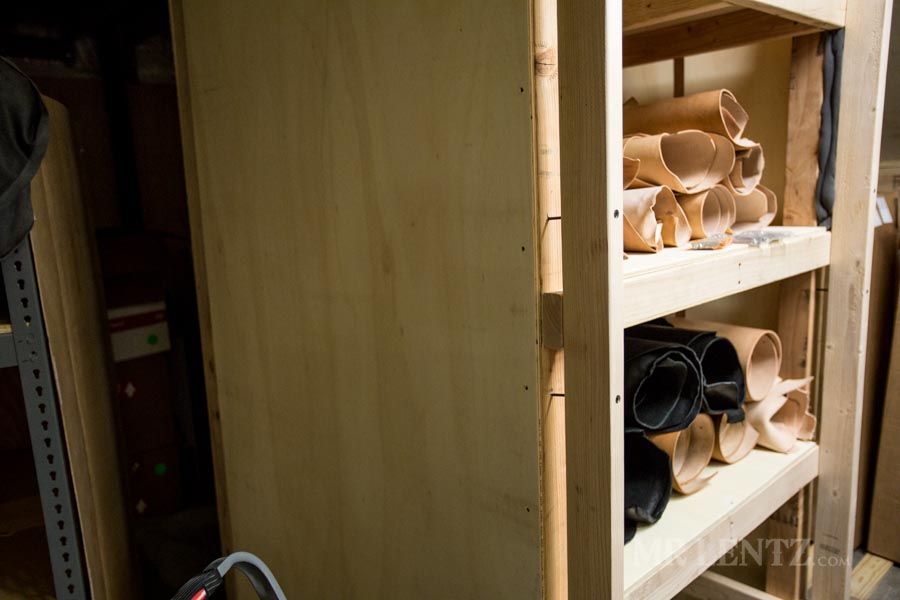
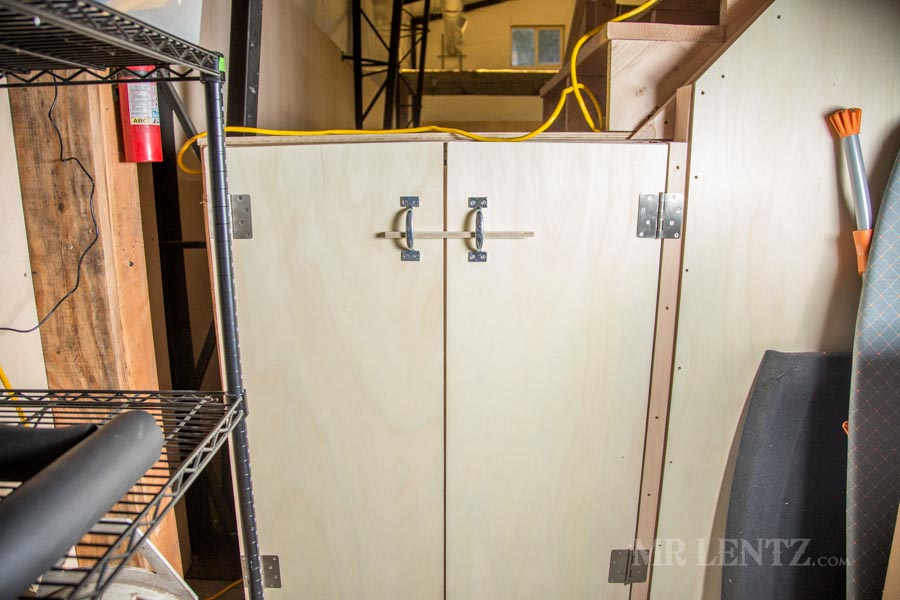
 With the first doors installed I would still need to find a latch mechanism to keep it all closed up tightly. As of this posting I am still looking.
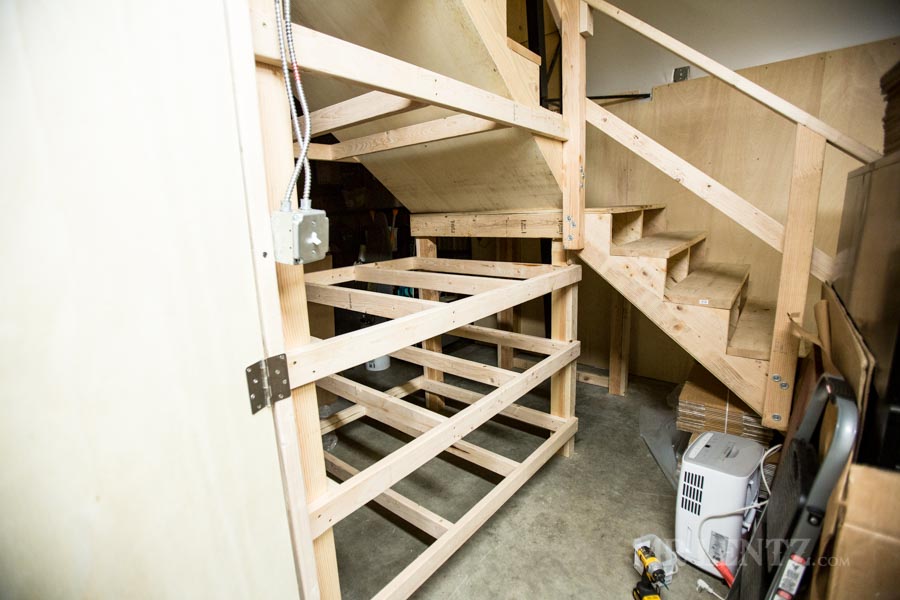
Continuing the build under the stairway I added extra bracing for these wider shelves. This section would later prove a little tricky to finish up due to the shape, width, and railing post in the way.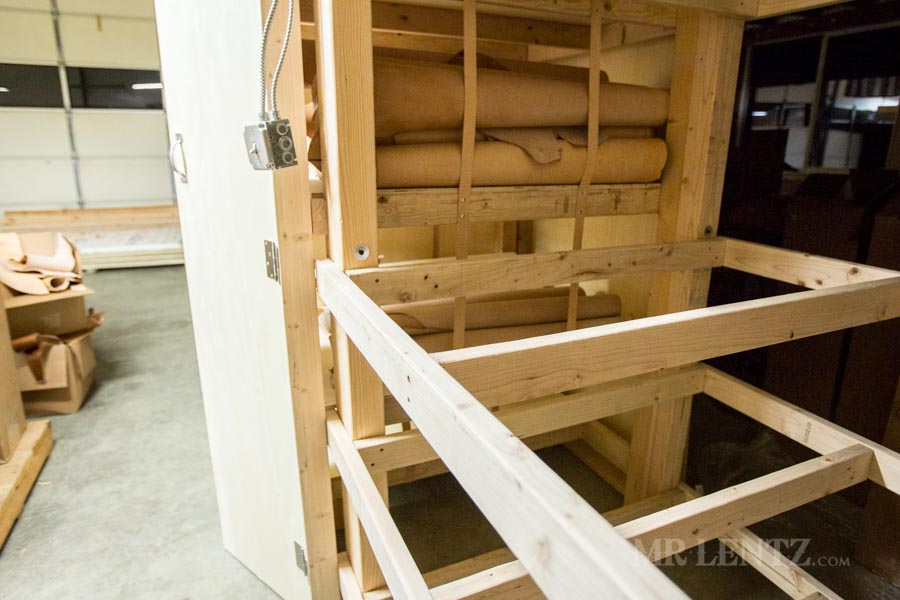 Here’s a view looking through two sections. The interior does not have walls, thus helping the air to blow around – only leather straps to hold the rolls in place.
All finished up with the second section and with most of the foam in place to plug up miscellaneous holes.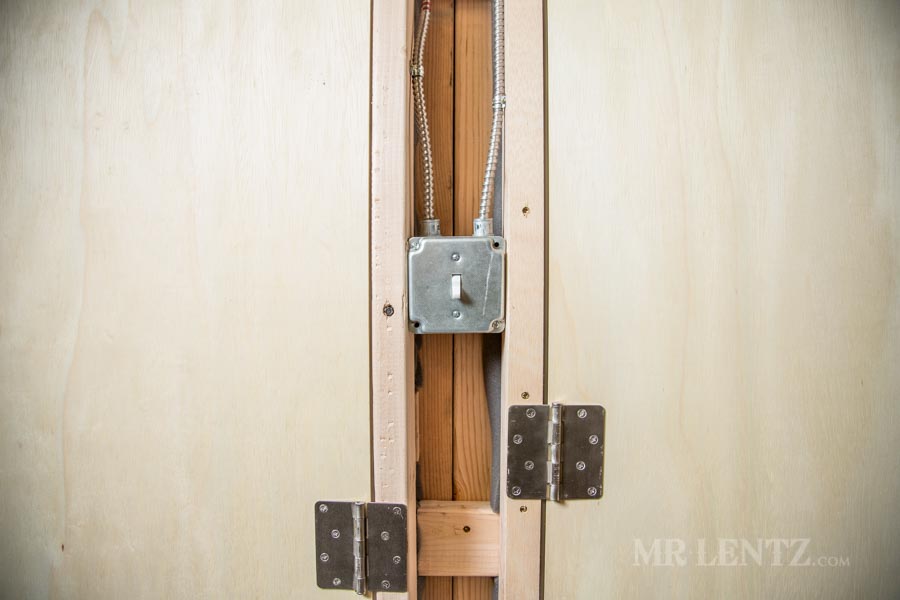
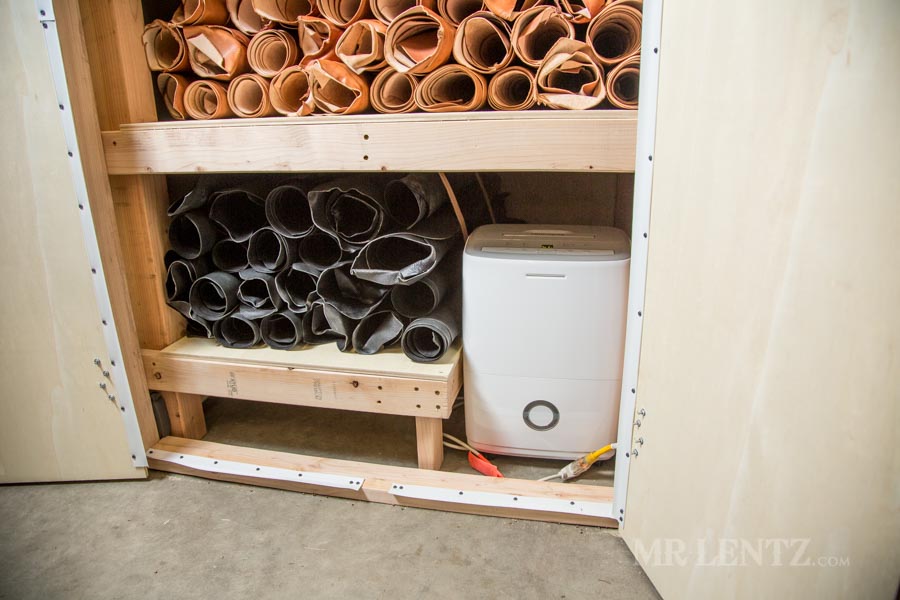
Looking in to the first section you can see the space I made for easy access to the dehumidifier. It’s a small 30 pint unit that should be able to easily handle the space and stay fairly energy efficient. Currently I have it set up to empty the water bin once a week or so. The next stage would be to install a PVC drain for continuous water drainage to the outside.
Above and below you can also see my solution for plugging the gaps in the doors to help seal things up. It’s a flexible door weatherstrip that sticks on…then I screwed it in place to help in the longrun.This cabinet doesn’t need to be perfectly sealed up, it’s not like a freezer unit, but it does need to be fairly well closed so that the dehumidifier isn’t always on.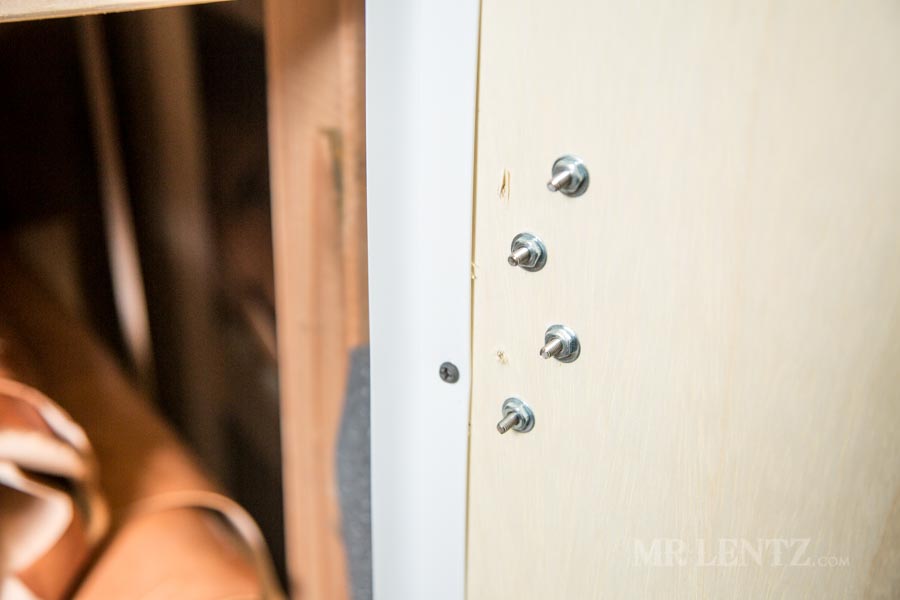

The foam weatherstripping really did the trick for harder to seal spots.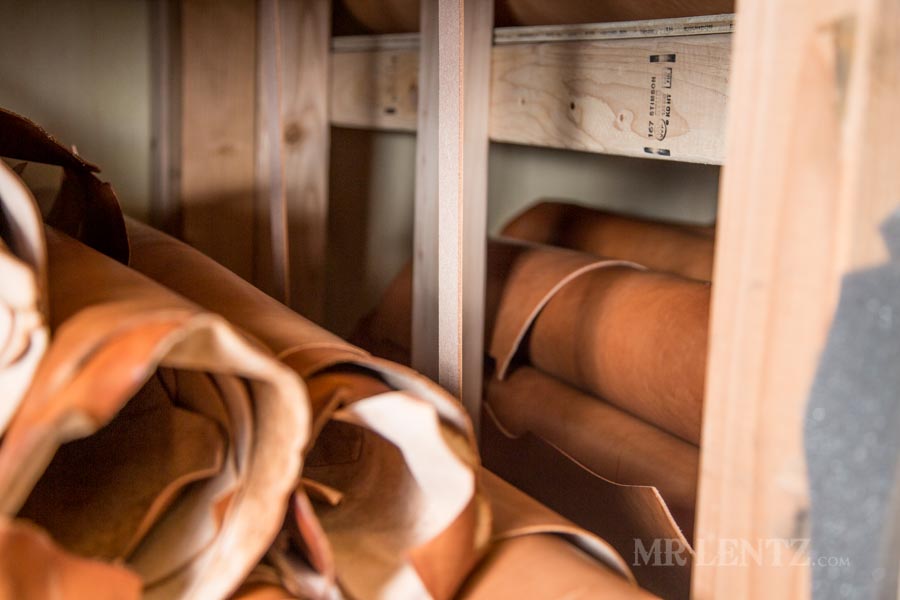
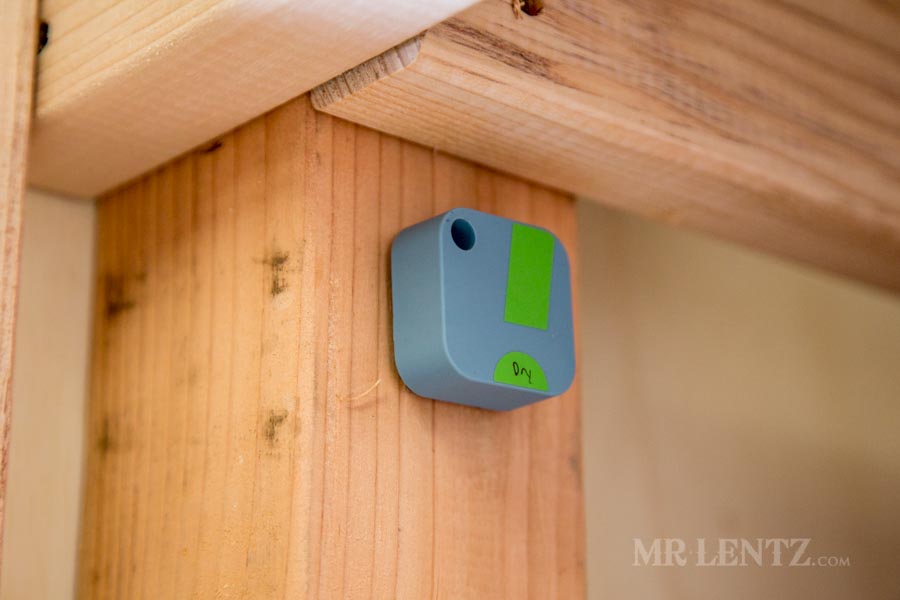
On the inside of the cabinet, at both extreme ends, I put a humidity sensor that records conditions and forwards to an app on the smartphone. I can now track how well things are working and get an alert if levels get too high. So far so good!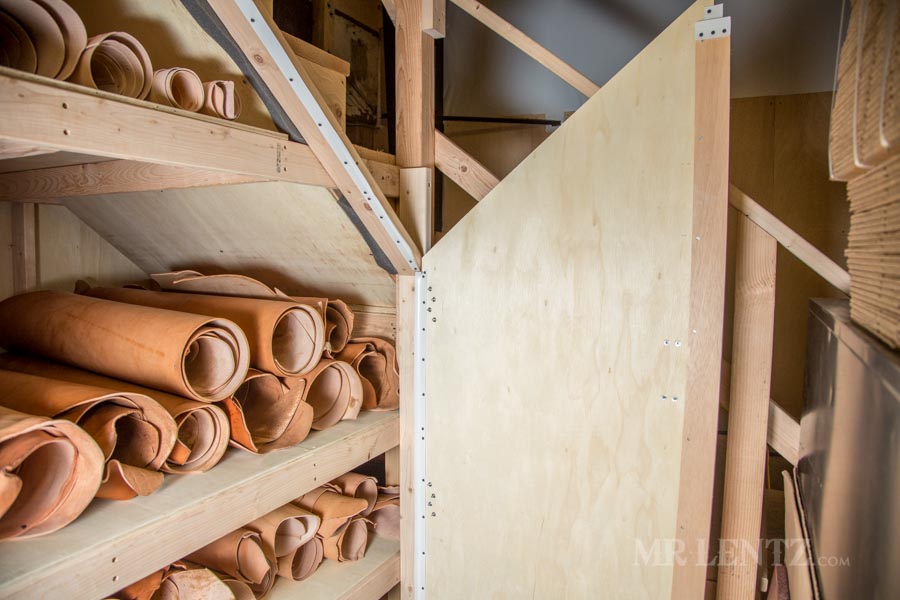
Using up all available space under those stairs I put another section of shelves under the landing.
This holds a lot of my misc. project leather. Some of it I have been holing onto for quite some time!
I still have a bit more work to do to get everything sealed up and latched nicely, but it looks like it just might work out well. Leather should be stored below 50% relative humidity and personally I think somewhere between 35% and 40% is perfect for long term storage. If you are looking to build something similar and have any questions, please post a comment below and I usually answer there within a day or two.