
Everything, Tutorials, Wood
How To Install Plywood Walls in a Workshop
Oct

Here’s a little tutorial on how to install plywood walls, but first… a little backstory. This summer we moved our leather shop up to Washington state and into a new workshop space. The workshop was bare-bones and definitely needed a little help, and part of what needed to be done was sheathing the walls in plywood. I chose plywood simply because I really only had two options… Drywall or Plywood. Drywall is notoriously a pain in the behind and I have no real experience with it. I also think drywall is not a great choice for a workshop since it does not function well in being able to install shelving, brackets and hangers wherever you need them. Truth be told plywood was actually my second choice. I originally wanted to install aged wood boards to lend a little character to the space, but reality dictated that this would be a poor choice due to non-uniformity in wall thickness, warping, smells, and insect infestation.
That said I suppose we should get on to it, so here’s a quick tutorial on how to install a plywood wall. Once you have these basics down for measuring, cutting to width, cutting holes for obstructions and securing…you can just repeat over and over until your project is done. Oh – for those with workshops in their garages attached to the house, make sure to refer to your local code to see if plywood is allowed. In many places you can use it – just not on the wall that is shared with the house.
PART 1: Tools and Materials
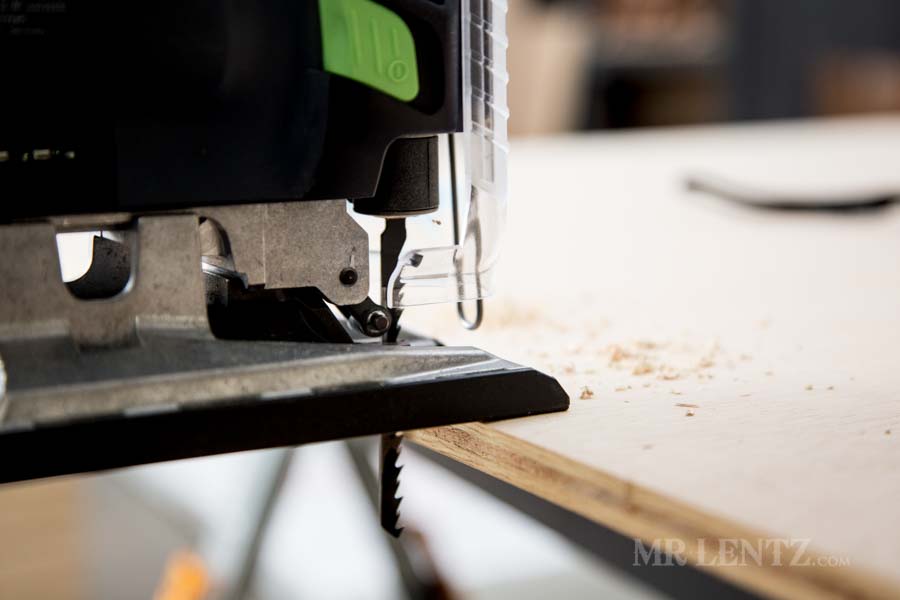
You won’t need much to get this project going. I should note that the tools I use, I purchased on my own accord and I do not receive any compensation for showing them off (similar tools from other brands will work quite well too). The image at the top of this post – from the top down I have a track saw and track (used to cut the plywood to width or length, or other odd angles), battery operated jigsaw (cutting out holes or other obstructions), deck screws #9 x 2″ length GRK brand, drill with bit for screws, drill bit slightly larger than width of the blade on jigsaw, work gloves, t-square 36″, pencil, notepad, measuring tape, protective glasses, thin wood shims (to raise plywood off ground level).

Then of course you will need to choose the right type of plywood. Typically most will base this on price, I did too since I had to purchase around 40 sheets of the stuff! I actually really dislike the look of the typical cheaper plywood you find in most home stores. It’s not the most pleasing stuff to look at. I ended up going up a notch in price for something called ‘Sande’ plywood. From researching it online it doesn’t appear to be the best type if you are building finer cabinetry, however for a wall in a workshop I think it will do quite well. A lot of people had issues with ‘voids’ in the plywood – that’s something you don’t want in a woodworking project. I ended up choosing this type for two reasons – it was still towards the cheaper end, and it has a very flat look to it. The grain pattern is not very pronounced so it kind of blends right in.
Like this post so far?
I spend most of my free time creating tutorials like this to help those like yourself get into leatherwork and woodworking, or get better at it. If you'd like to support my efforts, consider checking out my handmade leather goods shop and purchasing a gift for yourself or a loved one. It's readers like you that help keep a small U.S. business like mine going strong, so -thank you!

I went with the 1/2 inch version as this should be plenty thick for a wall and the weight is still manageable for one person to deal with.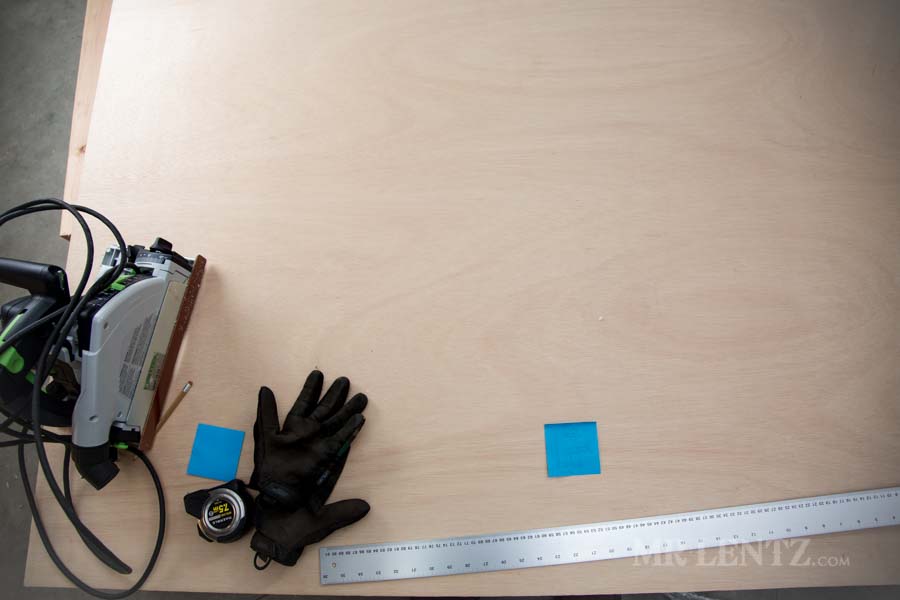
When you purchase your plywood it is best to leave it in the room where you will be installing it for 24 – 48 hours before beginning. This helps the wood adjust to the temperature and humidity level and will give you less problems down the road. I think you are supposed to lean them against the wall, but I didn’t do that – I have too many pieces and I felt that leaning them would create a bit of a bow in the wood.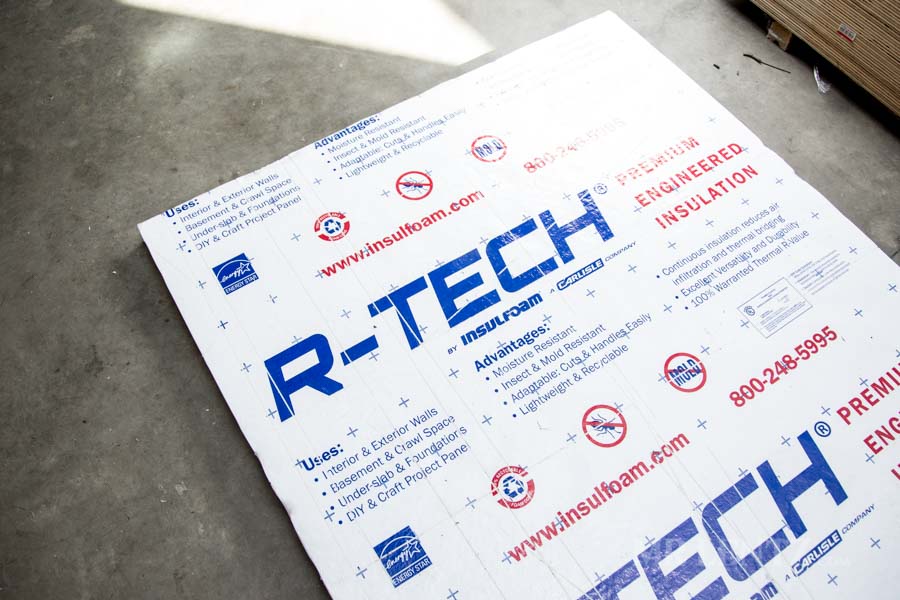
Here’s a nice little trick for cutting the plywood lengths and widths using a track saw… 2″ foam insulation. I used it as a sacrificial cutting board that I left on the ground. It makes the job very easy since you don’t have to lift the boards up onto a table every time and struggle getting things aligned.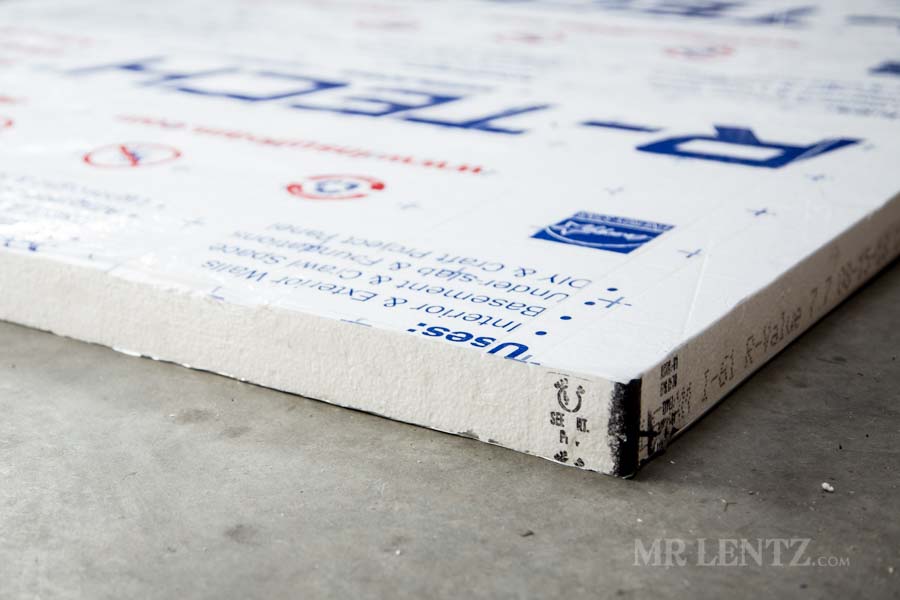
2 inch thick foam insulation should do as long as your track saw is set to only cut a few millimeters below your wood.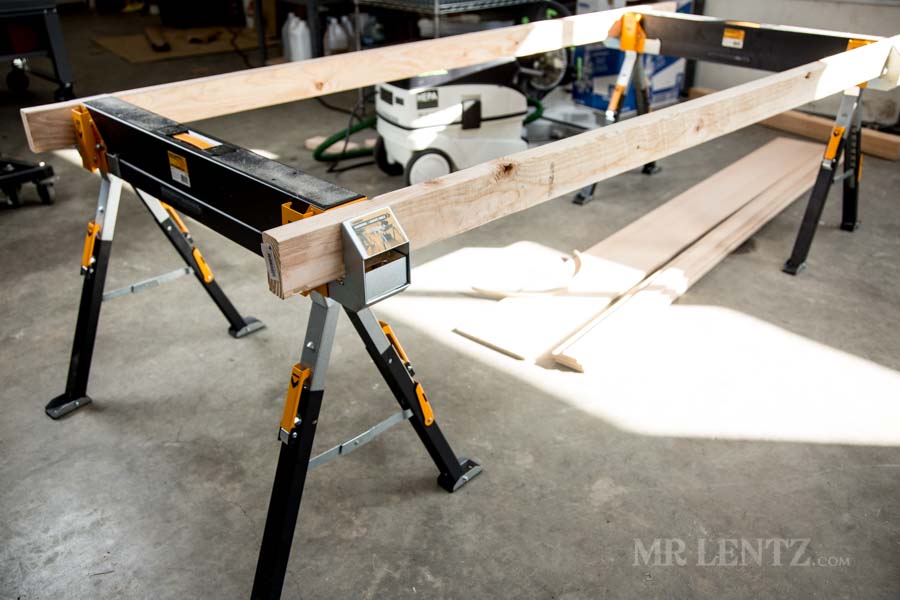
Another useful thing to have around, but not required, is two saw horses used as a table for the plywood. This aids in cutting out the holes with the jigsaw. If you don’t have sawhorses, you can always just lean the boards against the wall at an angle and cut holes out that way as well. Above I am using two Toughbilt sawhorses with two 2x4s as rails. These sawhorses work quite well as a table and the legs are adjustable.
PART 2: Planning for Obstructions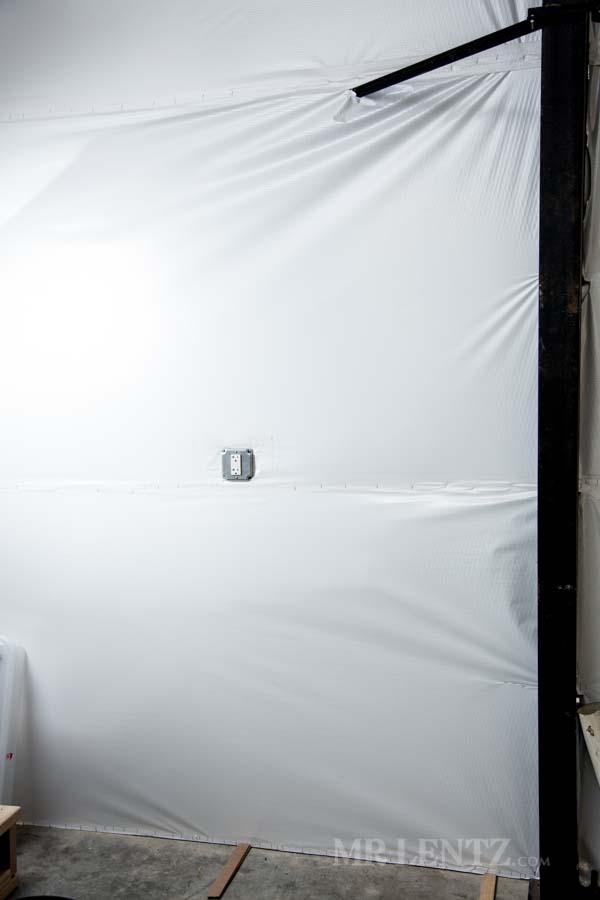
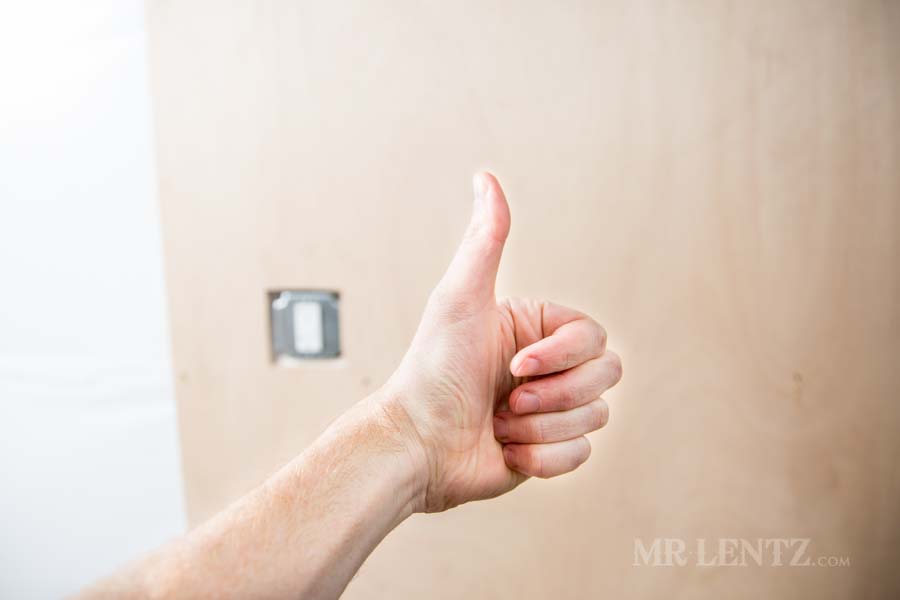
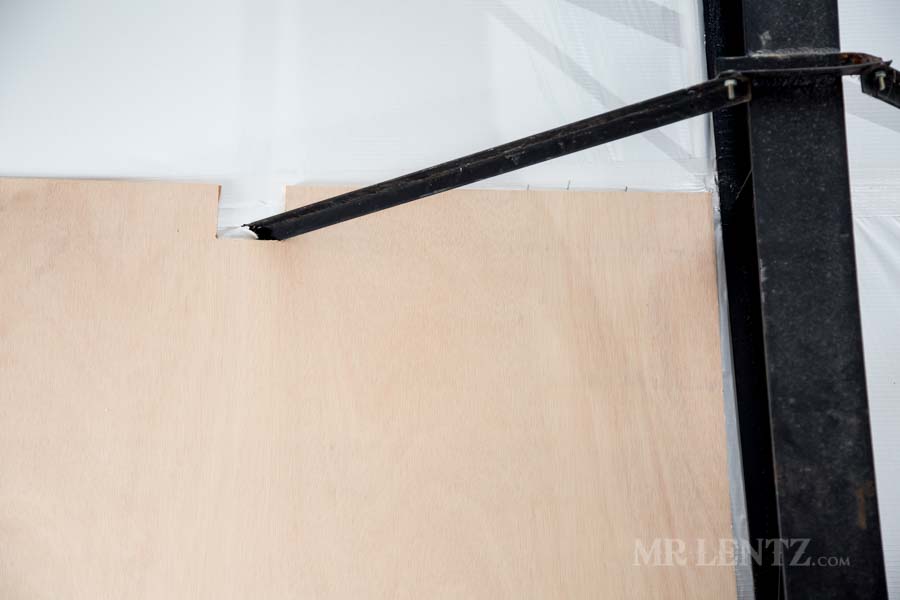
On every wall you will eventually come across an outlet, pipe, or other obstruction that you have to plan around. For this tutorial I chose a section where there are two obstructions. Above it the outlet we will need to make a hole for.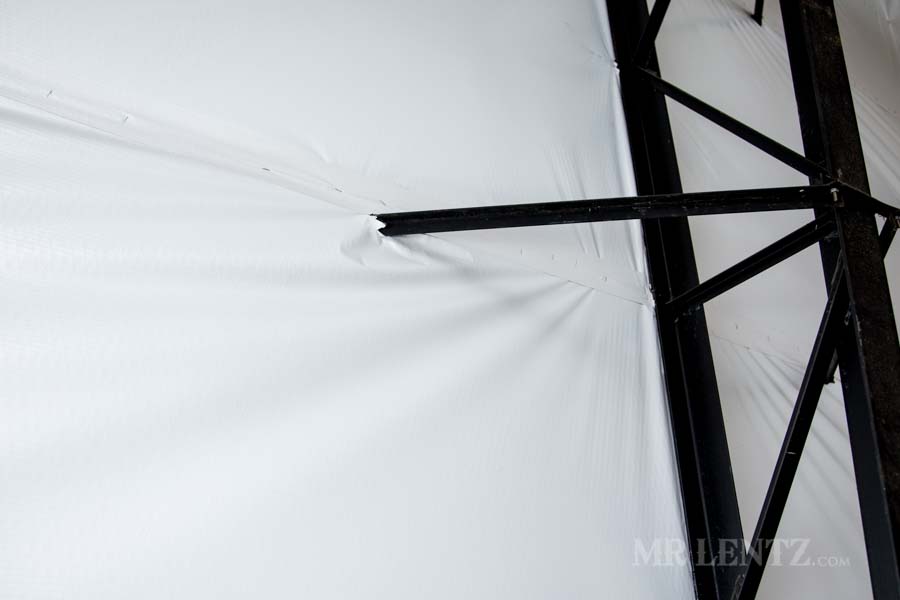
Just above the outlet is a steel bar that helps support the structure of the shop. The bar attaches just below the top most point where the wall will be attached. 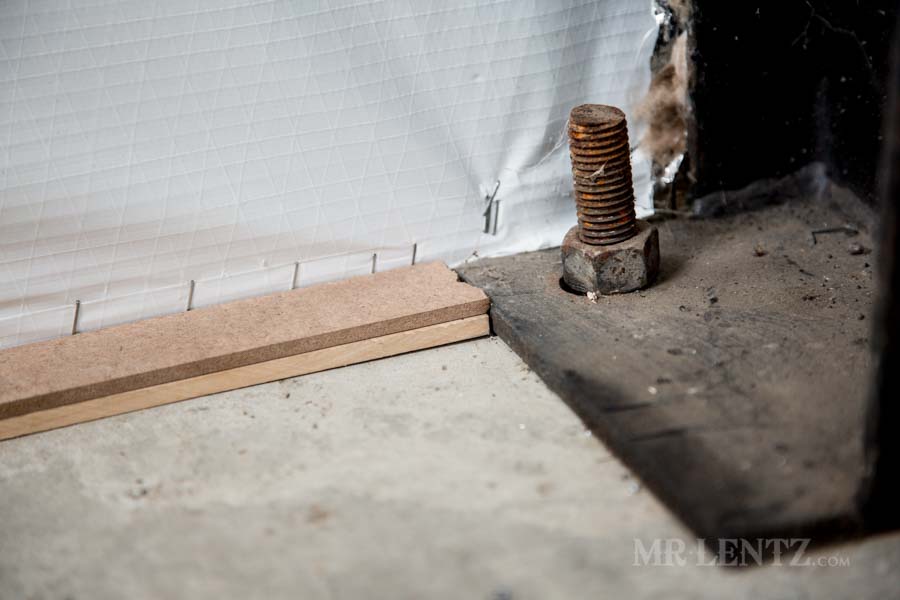
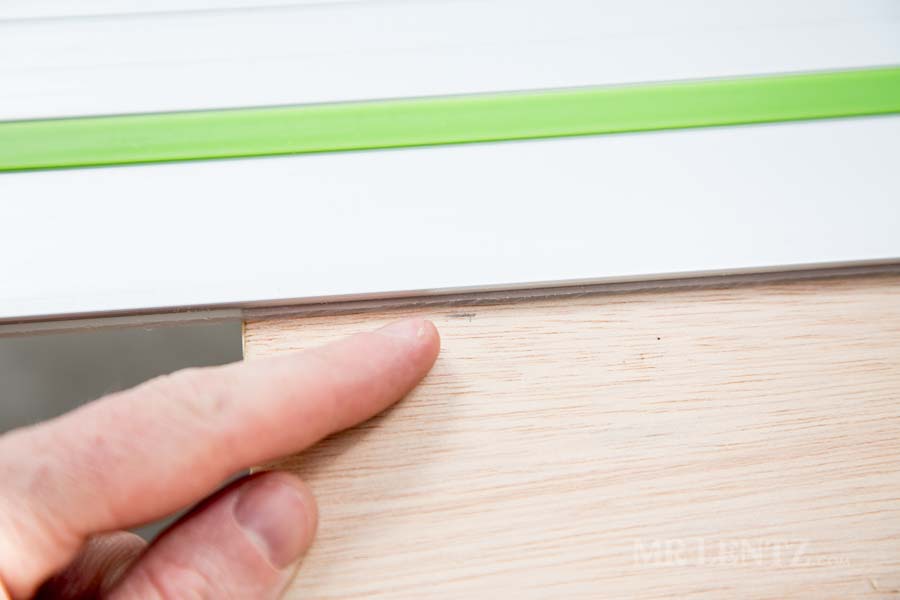
At floor level the plywood will need to rest on top of the steel base which happens to be almost a quarter of an inch off the ground. I will need to use wood shims to help keep the far side of the plywood above the floor so that everything stays level. You will want to shim all of your walls this way so that the plywood does not wick up moisture from the cement. It also helps if you spill something near the wall, it won’t go right up into the wood.
PART 3: Measuring
In my case I decided to cover the walls with plywood up to the 8 foot mark. This made sense simply because the plywood sheets are 8 feet long and I don’t have much of a need to cover the walls above that point. When you start the measurement make sure to place the shim right under any obstructions you will be making holes for. Above I placed the shim right below the electrical outlet – it’ll give an accurate height measurement since the plywood won’t touch the floor.
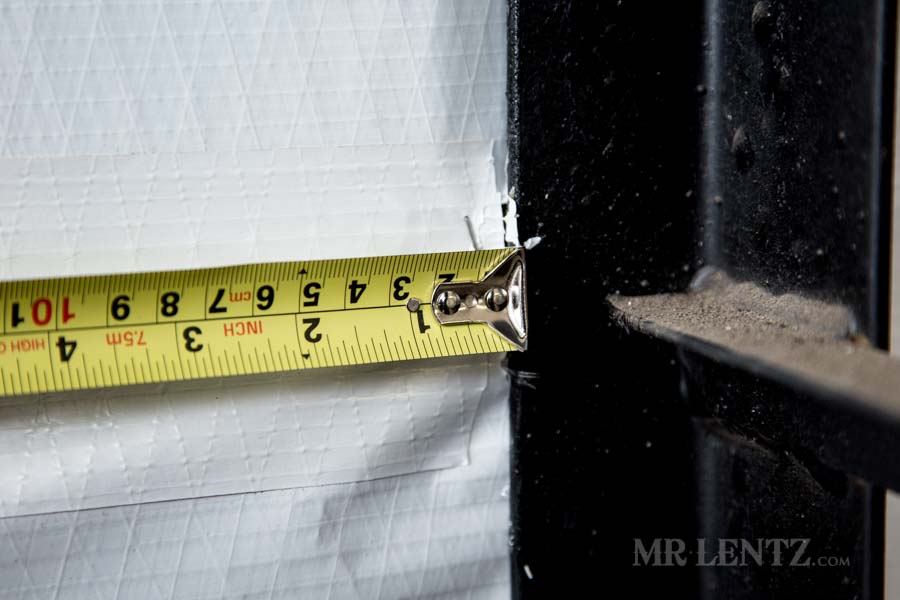
Using the measuring tape I placed it up against the edge of the steel structural beam where the plywood will start.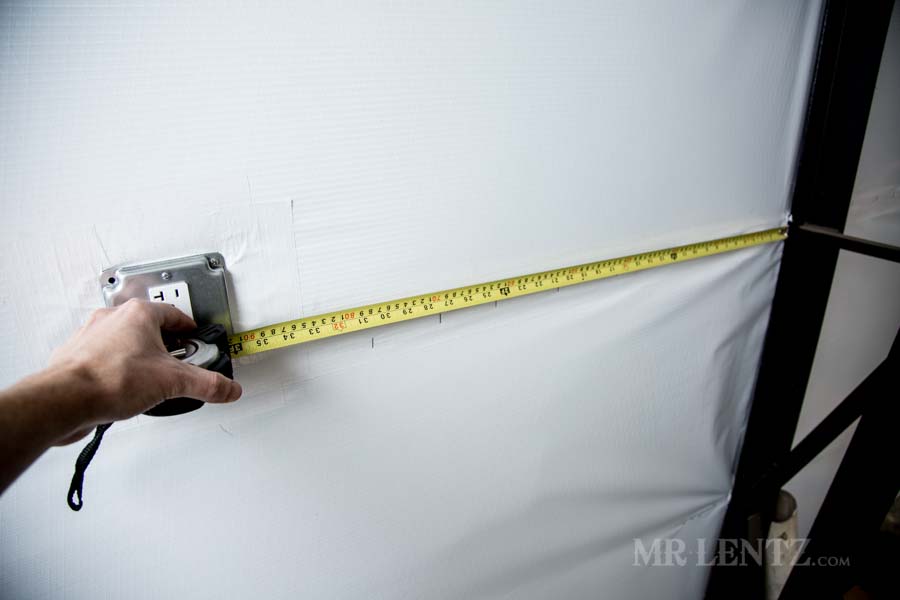
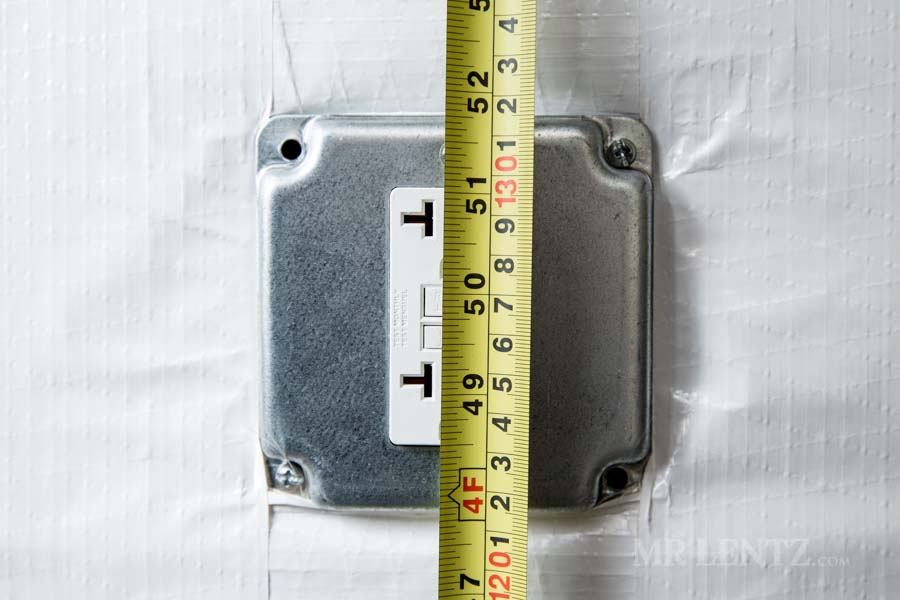
From there I measure out to about 3/16 of an inch from the edge of the outlet.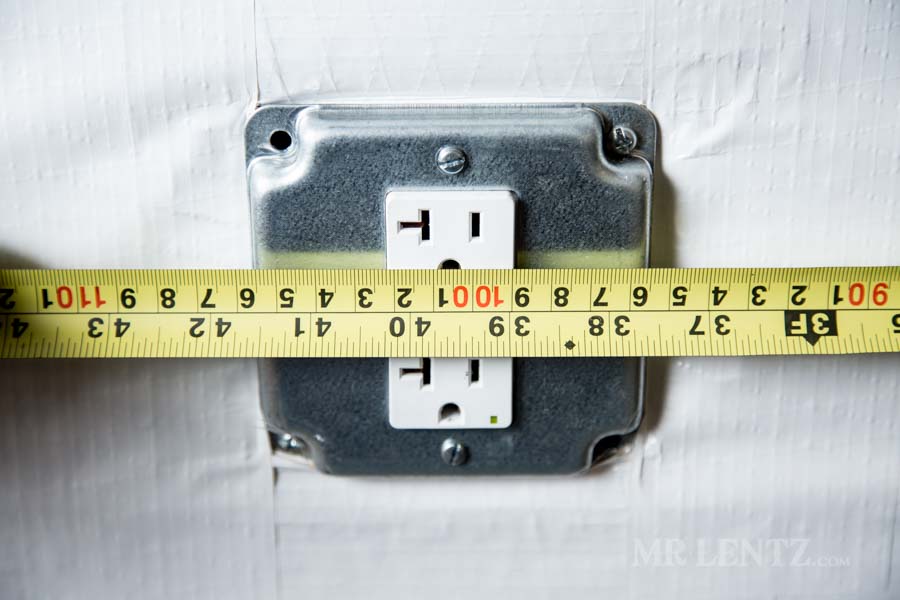
Then make note of about 3/16 of an inch beyond the outer edge of the outlet. These two measurements will give you a good hole width to use. 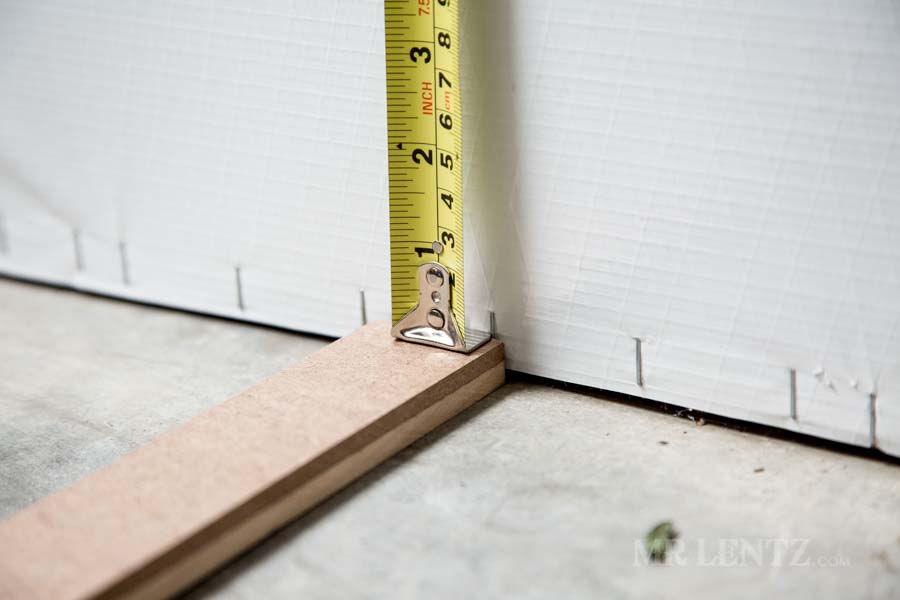
Next I placed the measuring tape on the shims that are about equal height to the steel base mentioned earlier.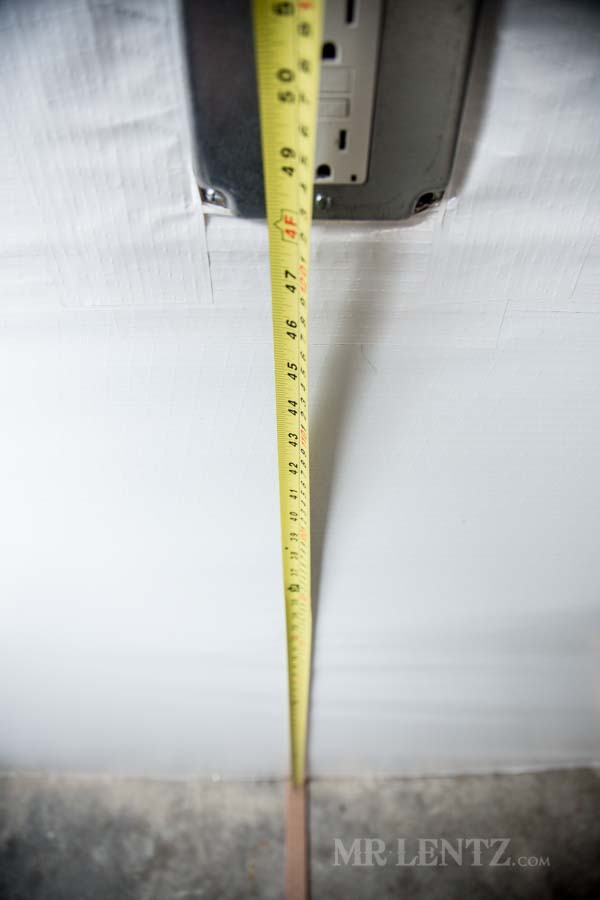
Measuring up from there I took note of 3/16 of an inch below the outlet and 3/16 of an inch above.
A stepping stool or small ladder comes in handy for measuring the next obstruction as well as when you will need to screw the plywood in at the top.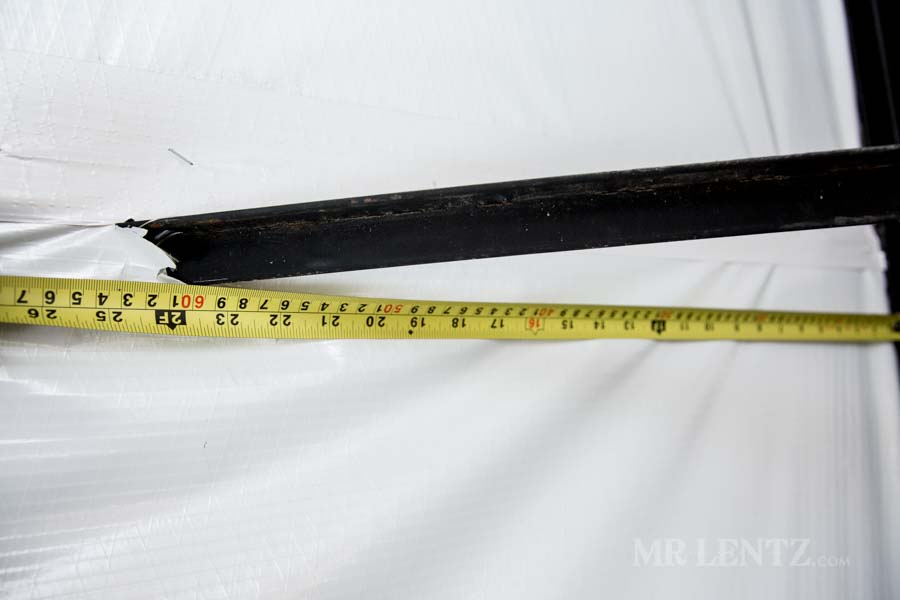
Following the previous measurements I did the same to measure the distance from the edge. This piece of steel comes in at an angle, so the hole for it will be larger than you might imagine. Since it’s a workshop I usually just rough in the measurements.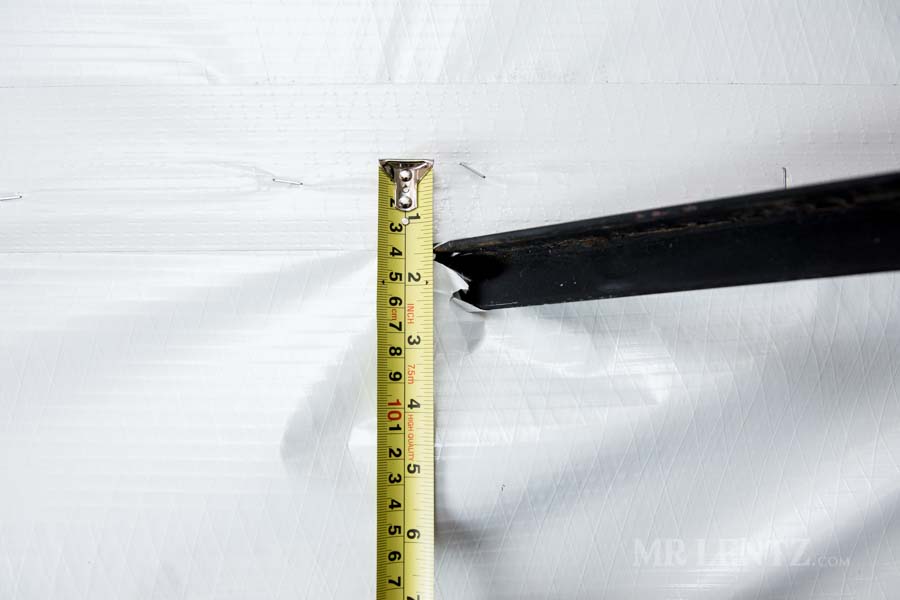
Next I measured from the top of where the plywood will attach down to about 3/16 ” below the steel support.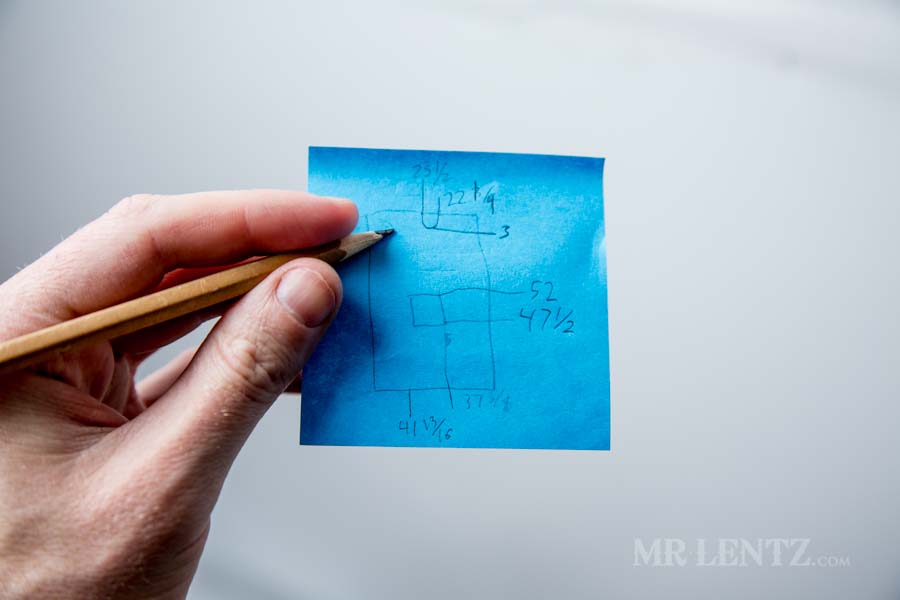
While measuring I make sure to write down everything on a notepad. All measurements are based on starting from the right edge or bottom (with the exception of that top hole).
PART 4: Cutting to Width
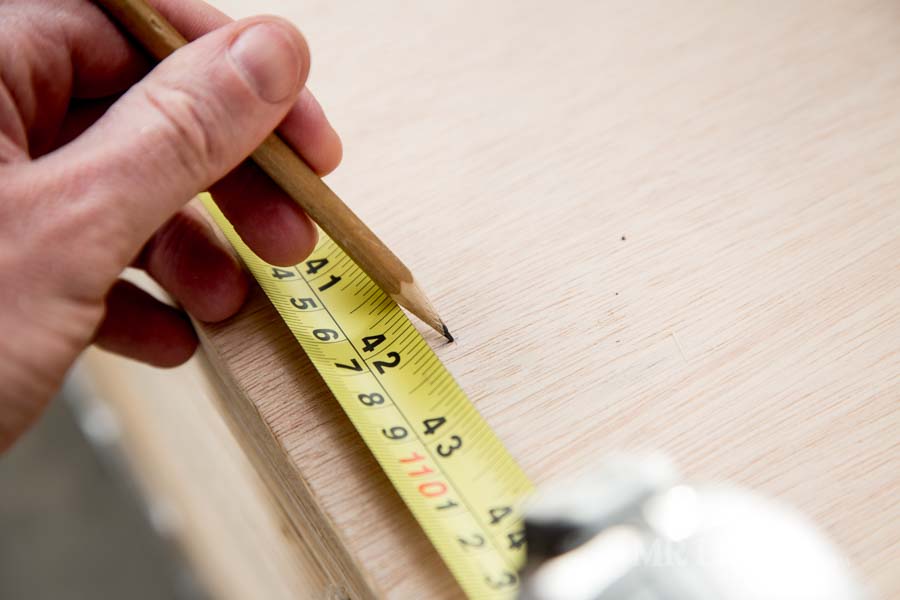
In my case I did not yet need to cut the plywood sheet’s width shorter since it was the first section, but I will show you how you would do this. Once you get to the end of a wall you will need to cut the sheet down to fit – or perhaps your wall wont be sheathed up to 8 feet like mine. In either case you need to first measure how wide of a piece you will need. Then, using the tape measure near the bottom of the plywood board, make a mark at the width you need.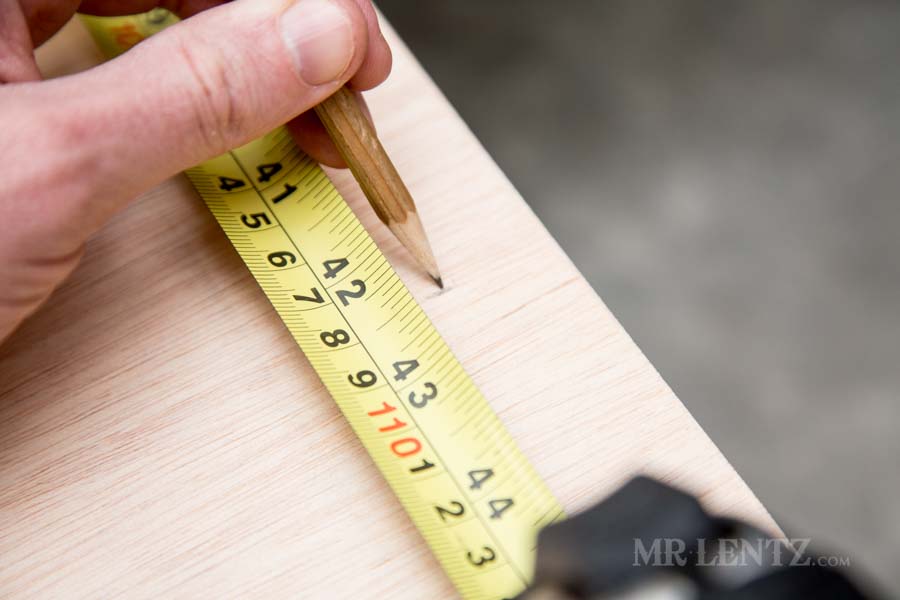
Move up to the top of the board and measure the same width and make a mark. The idea here is that you now have two marks to use to line up the track for your track saw cut.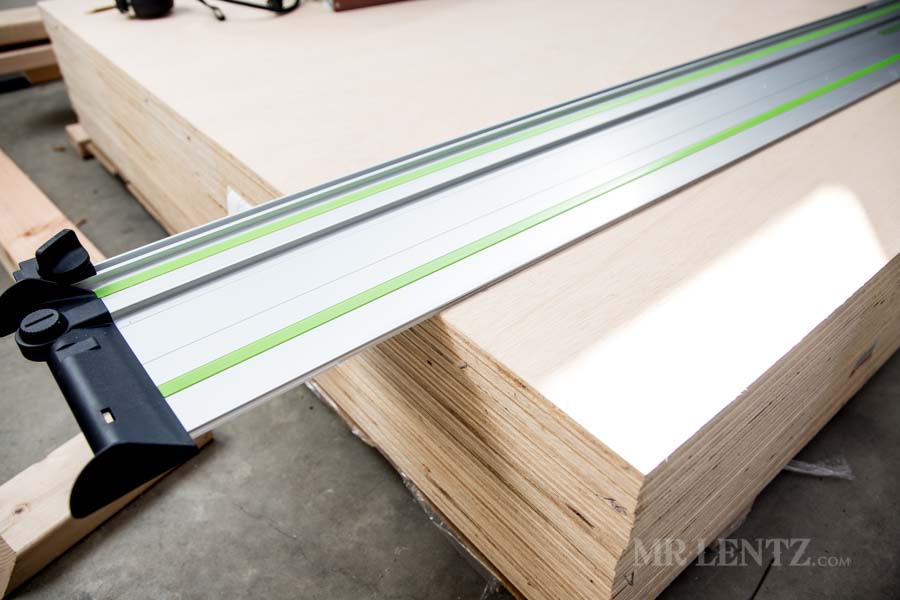
Set up the track so that the sacrificial edge is right on the marks at both ends.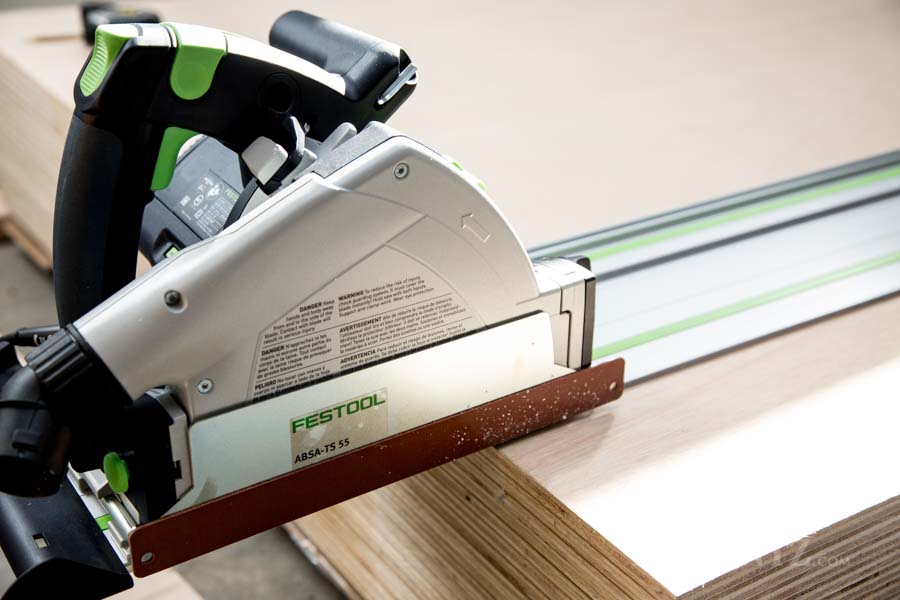
Set your track saw on the track and plug in the dust collection hose.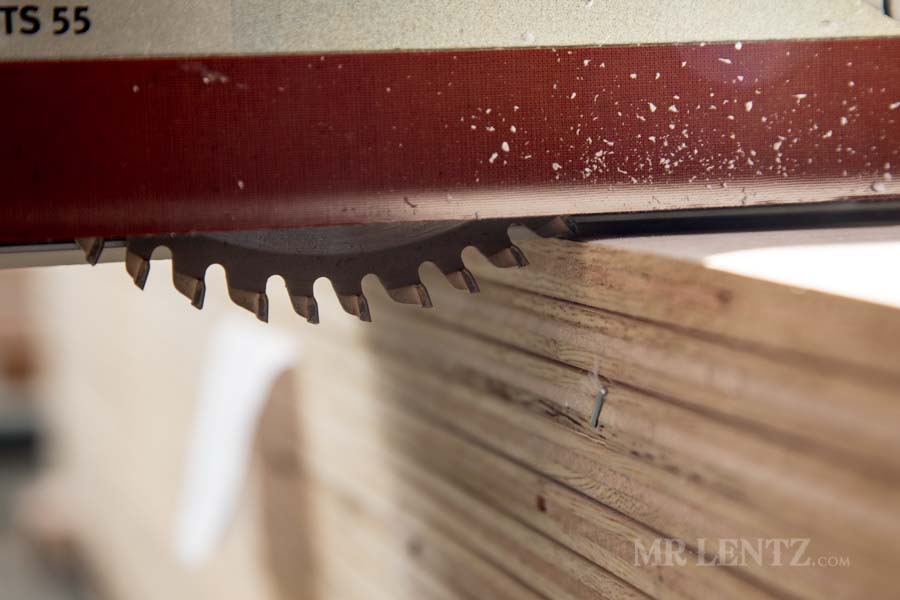
Set your blade depth so that it will cut all the way through the board plus about 1/8 inch deeper.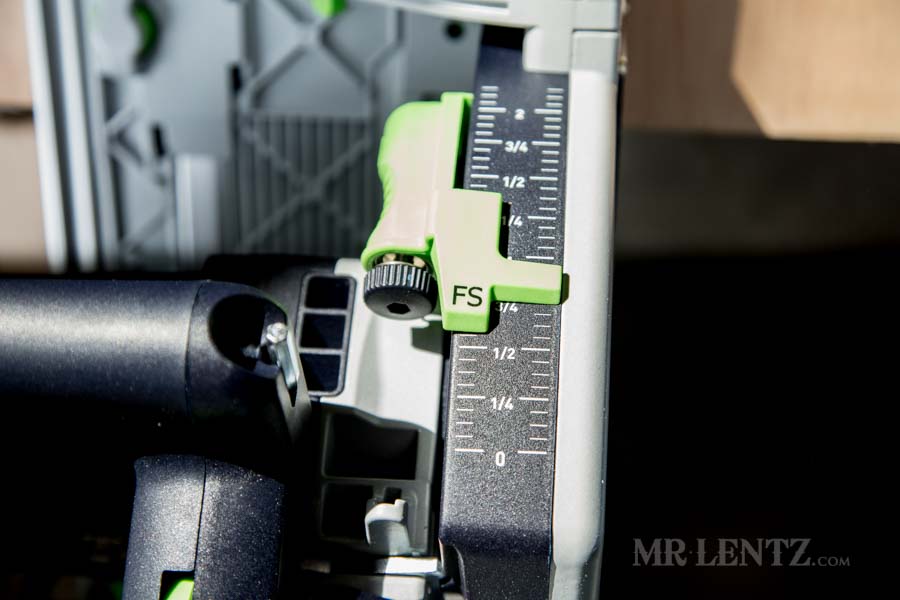
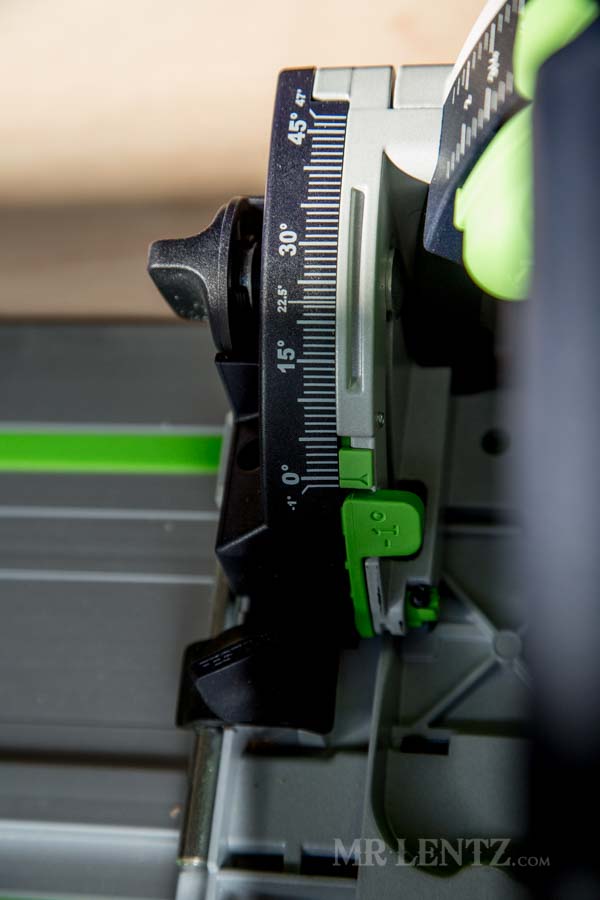
Make sure other settings on your track saw are set and tightened, including the angle gauge. Then with the plywood sheath sitting on your foam insulation, you can make the cut. In the beginning I had some issues with the dust hose getting caught or tangled, so try and make sure it will move freely before you start!
PART 5: Cutting the Holes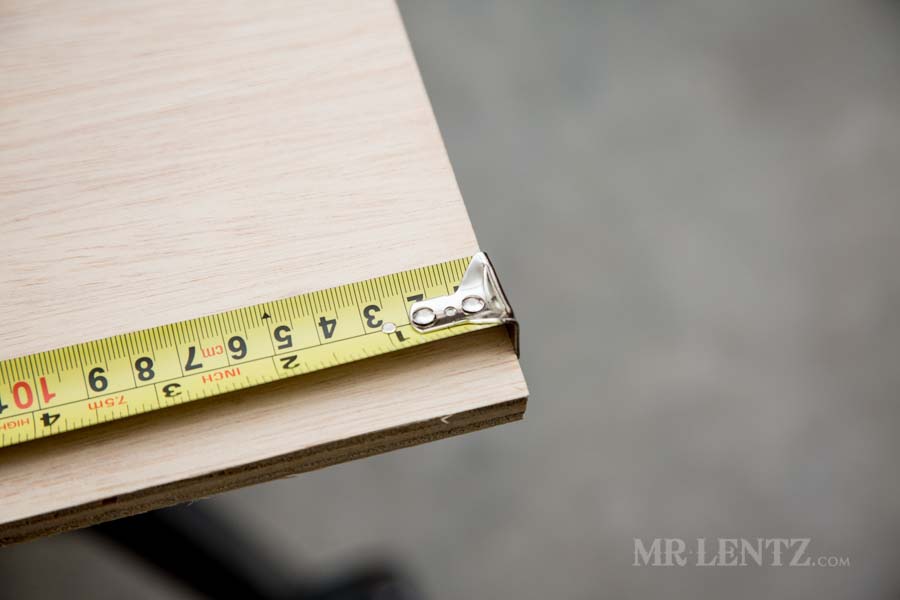
With the plywood piece cut to the width or height needed, the next step is to cut out and holes needed for the electric outlets to fit through, or any other piping etc.. For holes in the middle of the board, here is the technique I used. Basically I transfer the measurement I took earlier for the height of the electric box from the ground (shim) up starting at the bottom edge of the board and very close to the side.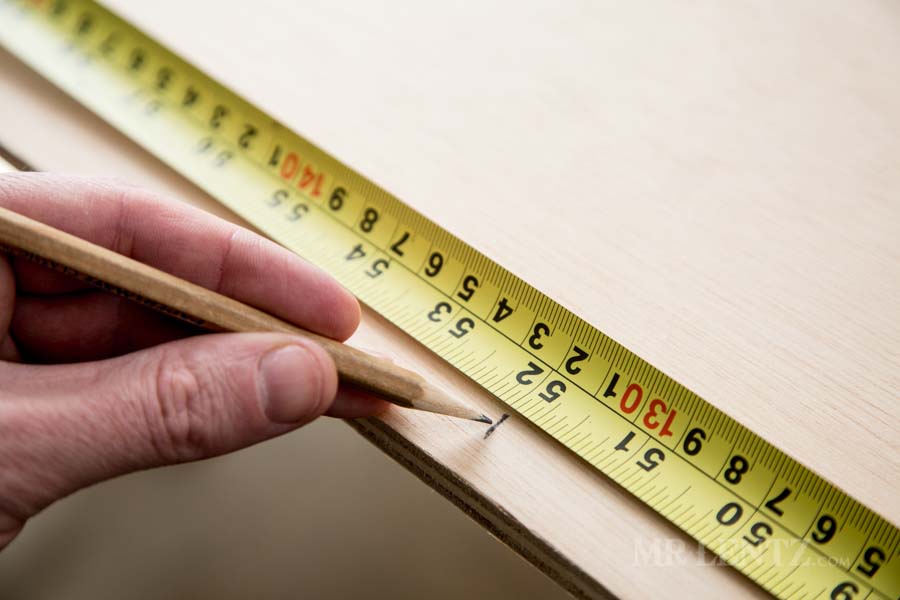
Make a mark at the first lower measurement, then at the upper measurement which you recorded earlier.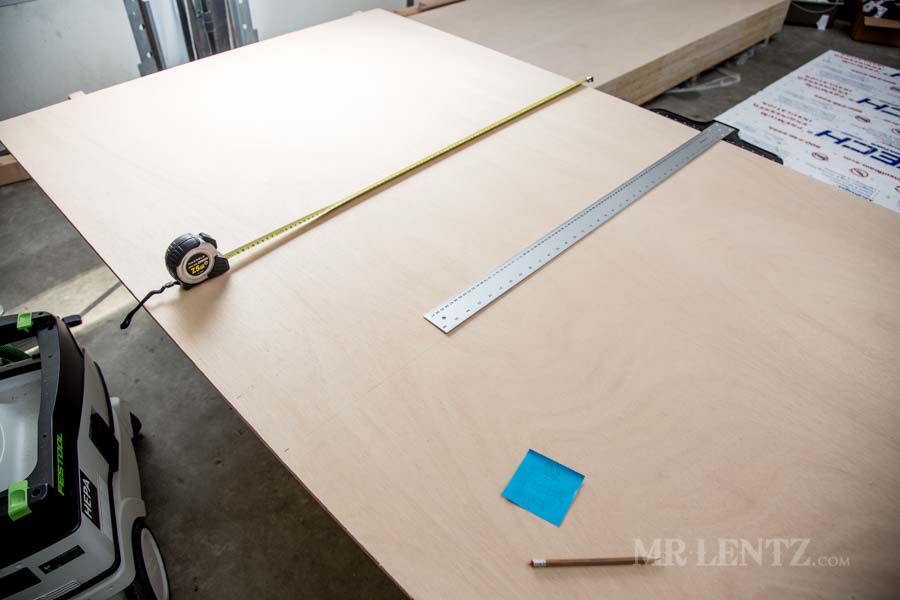
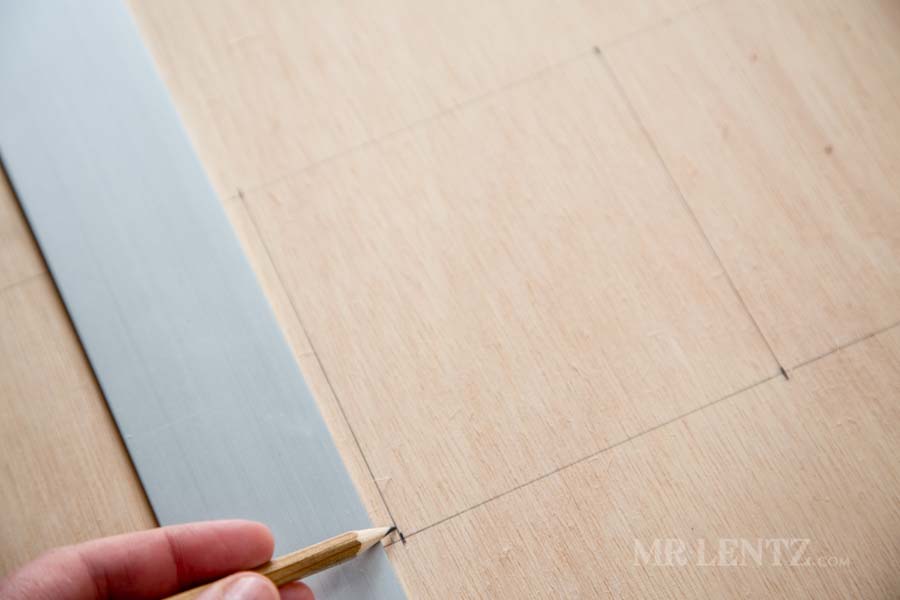
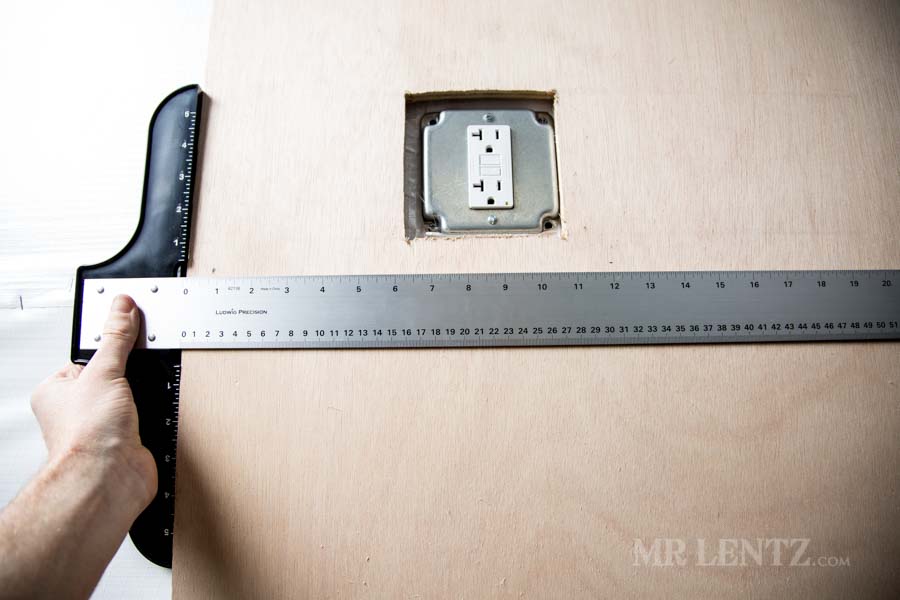
Using the T-square I lined it up at the lower measurement..then looked to transfer the distance from the edge onto the plywood. 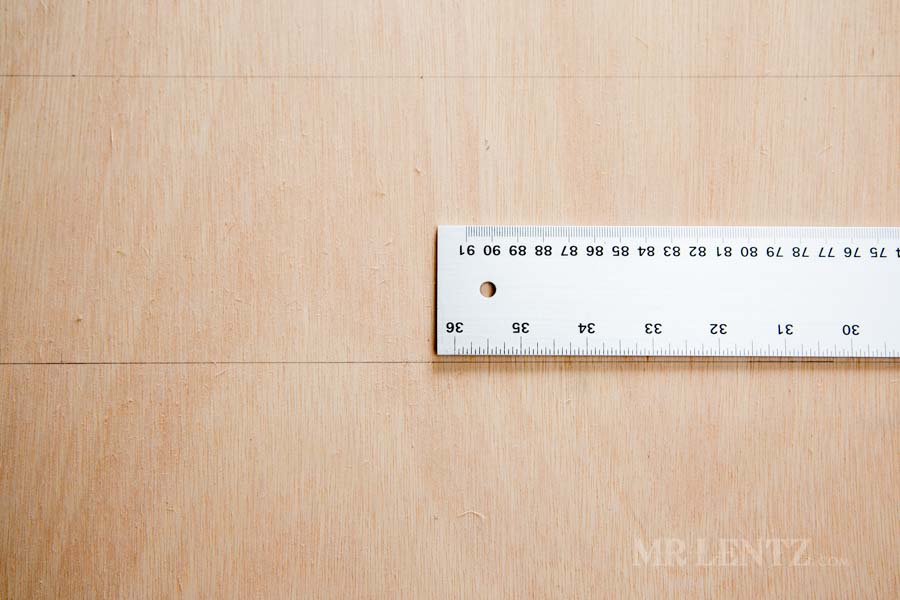
Unfortunately it was around 37 3/8 ” which is longer than my T-Square. This presented a problem since doing math using the imperial system can sometimes be confusing. But there is an easy workaround, especially if you find yourself in this situation often. 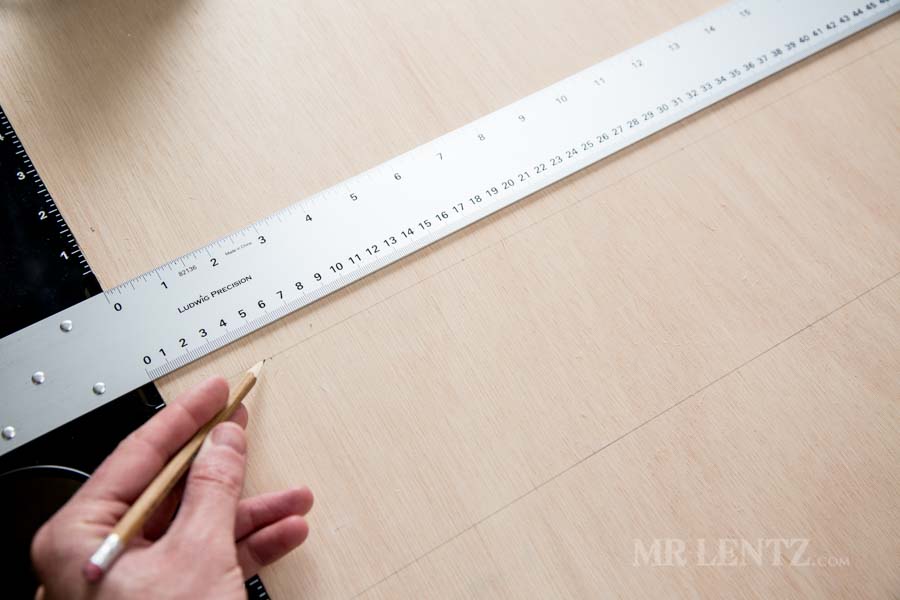
The workaround is to place the height markings on the other edge of the board instead. Then use the t-square to draw straight lines out from both markings.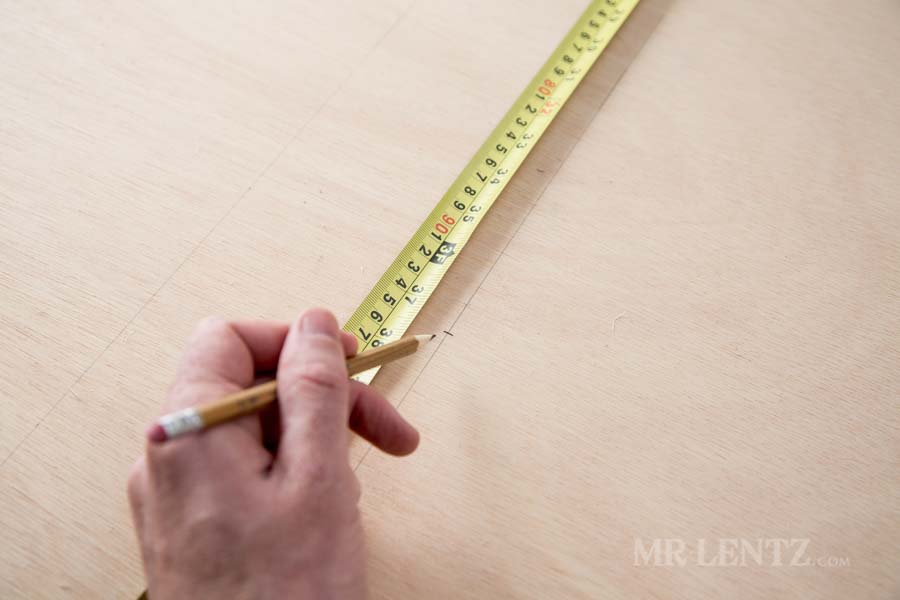
Then you can use the measuring tape from the edge you originally started with and measure all the way out to 37 3/8″ along the line you just made. There you go – math free!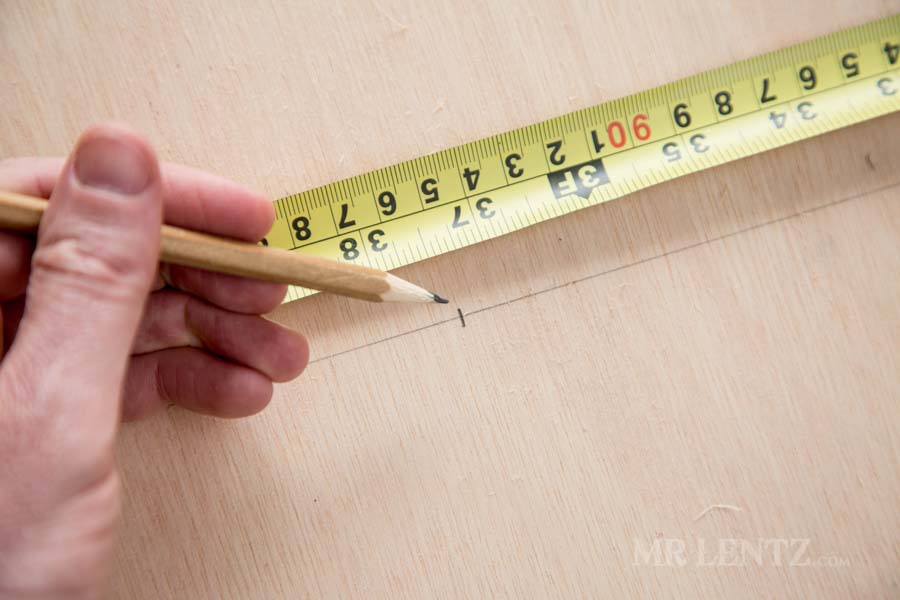
Make the width measurements on both height lines, then connect the lines using the back of the t-square.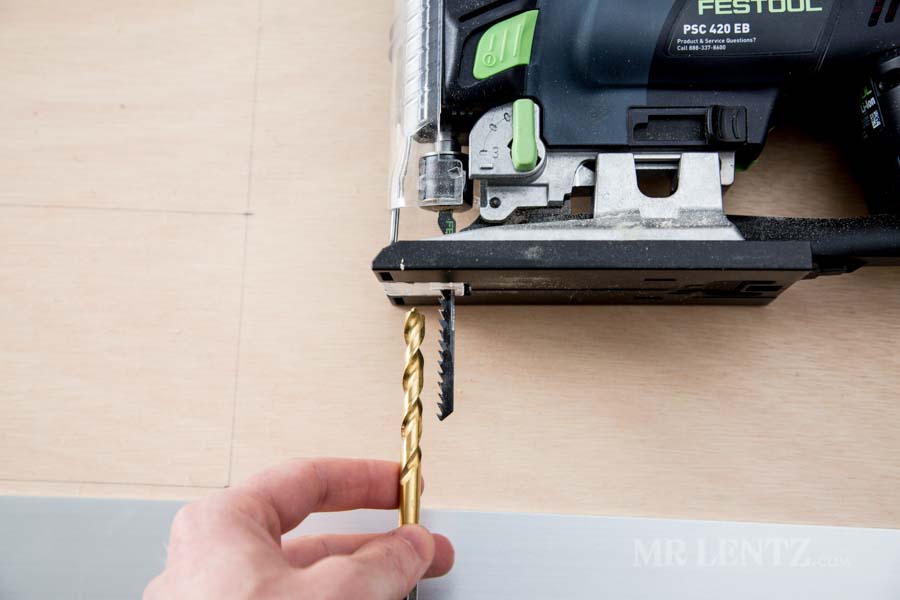
In order to cut out this section we need to get the jigsaw started by drilling a hole. I matched the saw blade width with a 5/16 drill bit.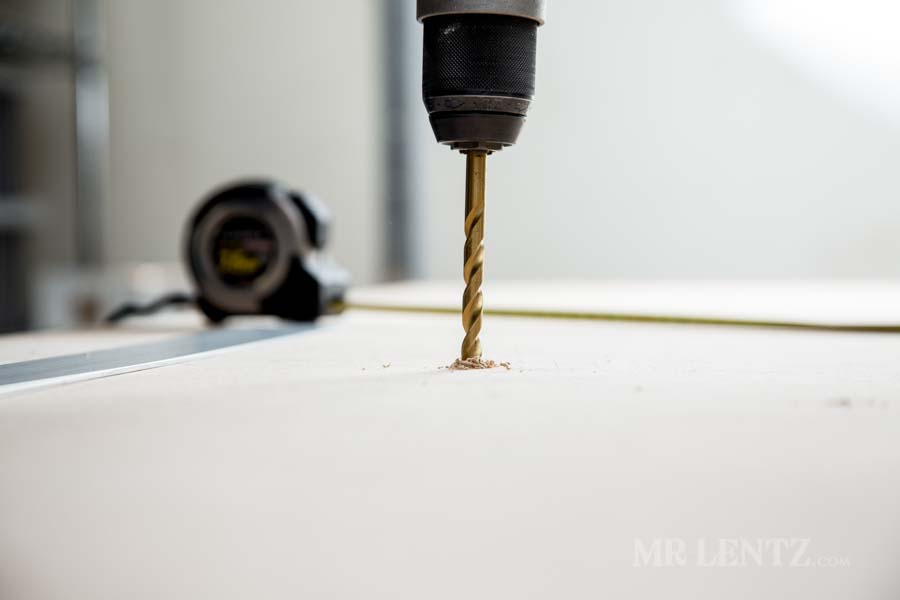
Use that drill bit right on the inside corners of the square and try to make it so the edge of the drill bit will make a hole touching the edge of the square (or whatever shape you are making).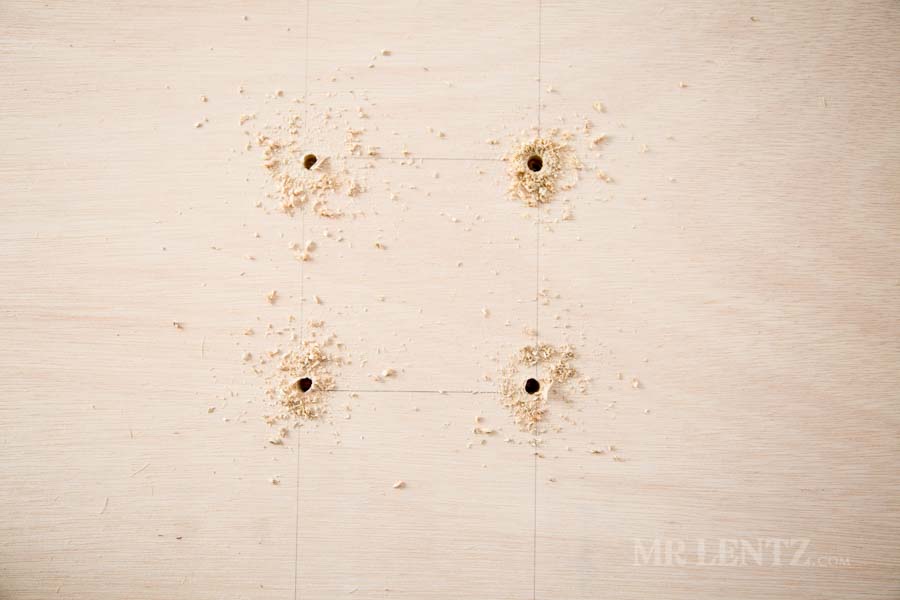
Here’s what it should look like above.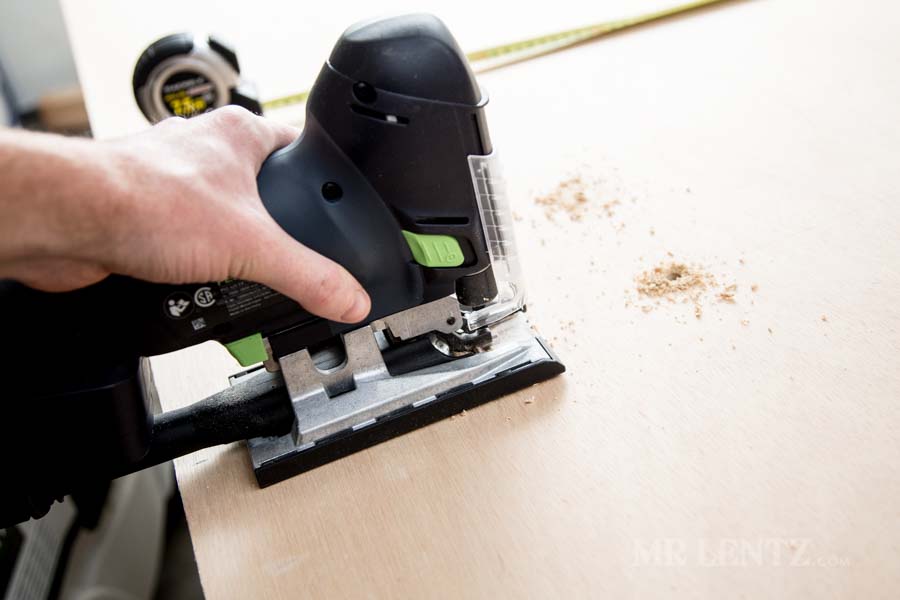
Next I fit the jigsaw blade into the hole and was about to start cutting…
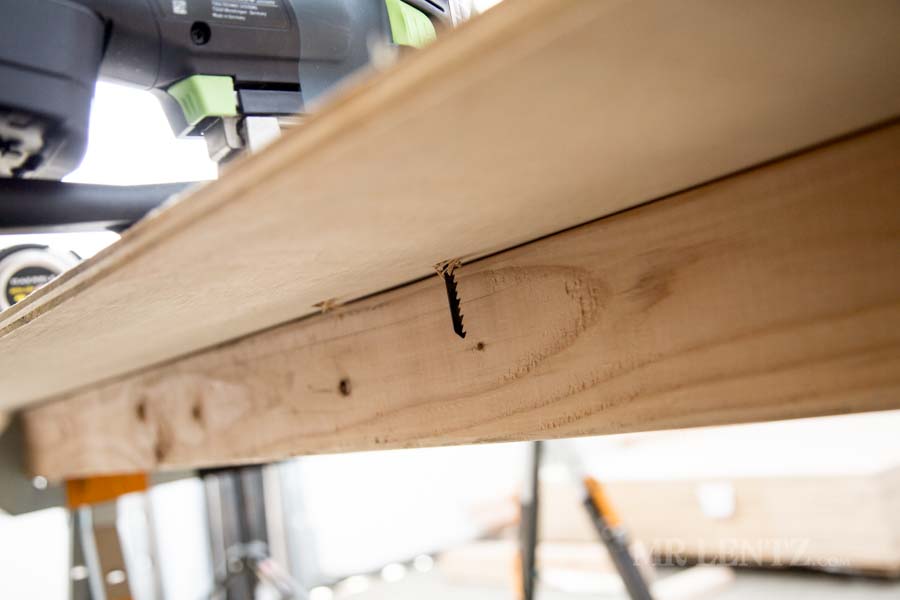
When I decided to take a look under the plywood and make sure I had proper clearance. I didn’t. I would have cut right through the 2×4 rail supporting it. Glad I had second thoughts!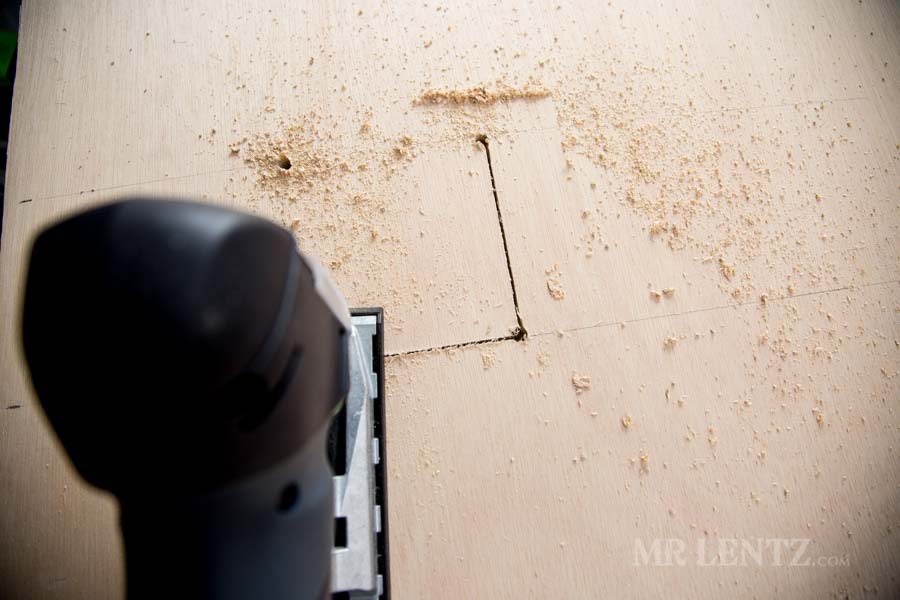
After moving the plywood on the table for better clearance, I then used the jigsaw to cut out the hole. I tried to stay close to the edge of the drilled holes, sometimes stopping a cut and repositioning the jigsaw for a better angle.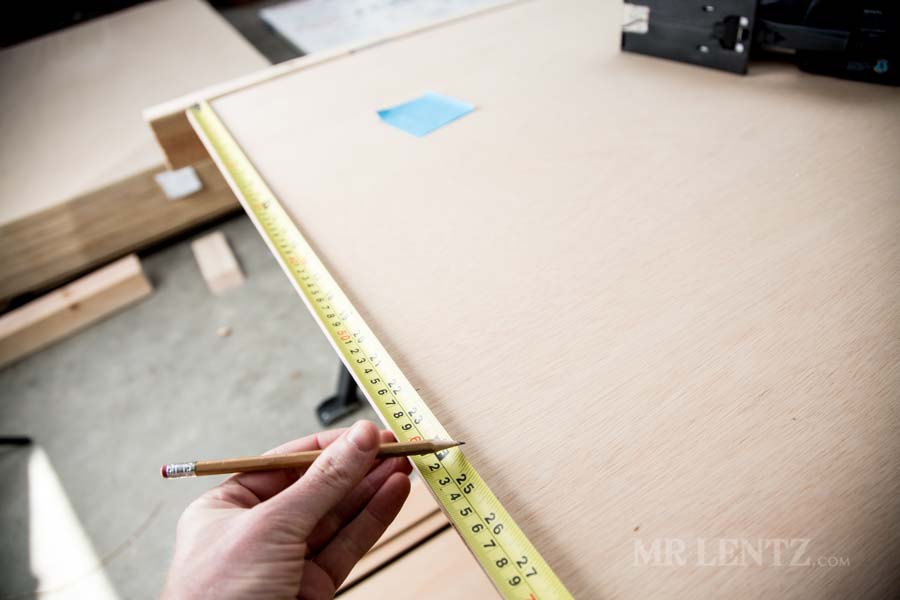
Next I transferred the measurements for the steel support obstruction at the top of the board. First marking out how far from the side edge.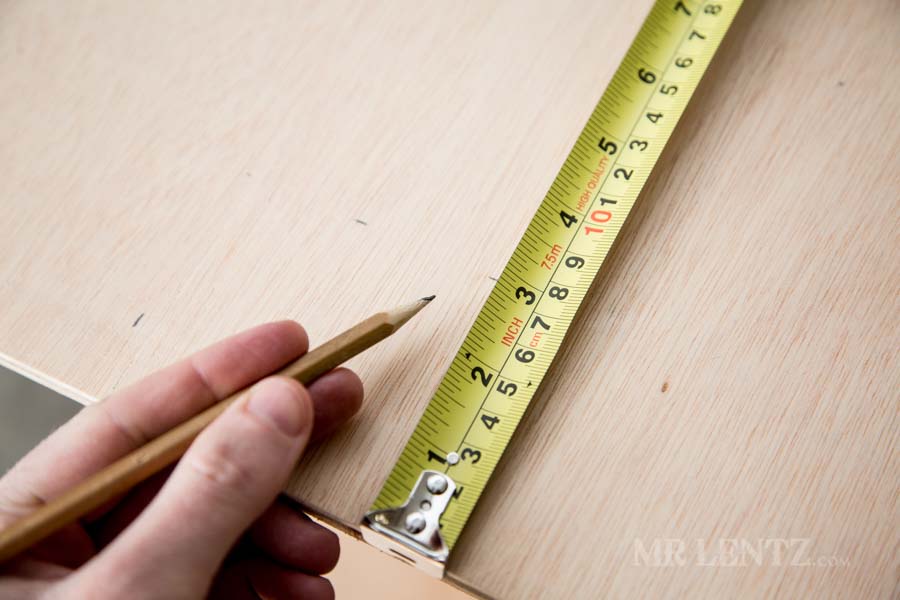
Then marking how far down the cut will go. After the marks were made I roughly connected them in a square shape with the pencil.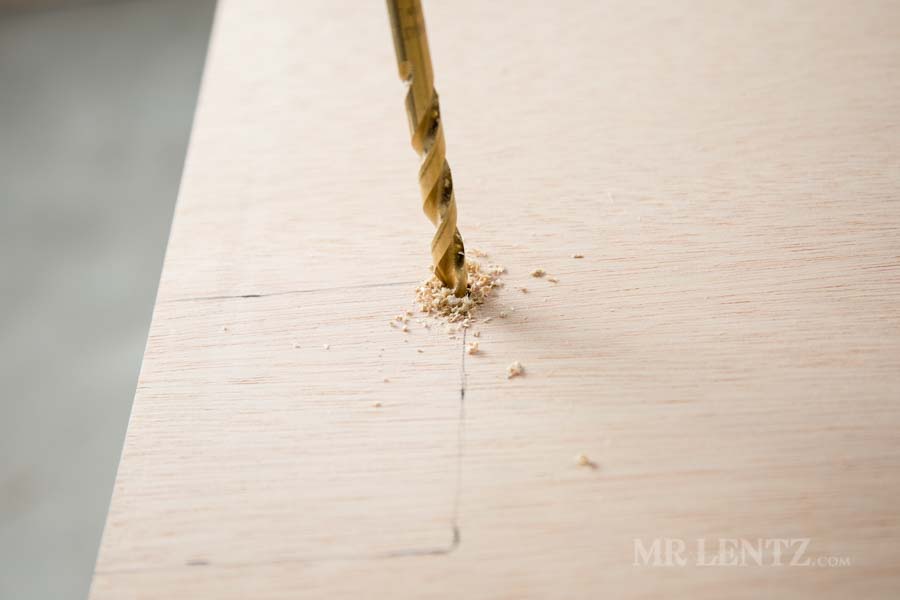
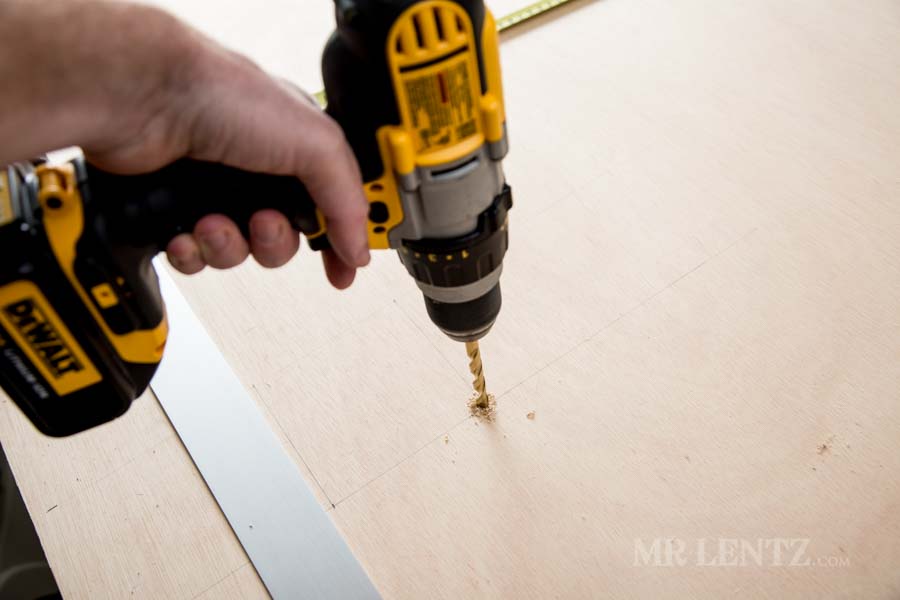
I then drilled out the corners.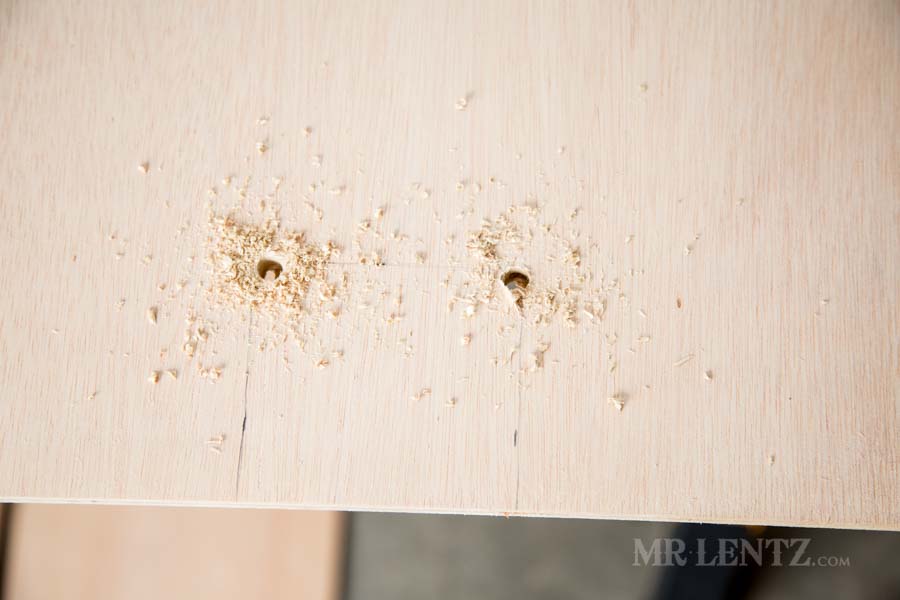
Again – using the jigsaw to cut it all out and making sure I have clearance under the board.
When I went to put the board in place, it was getting caught on the bottom side of the steel bar.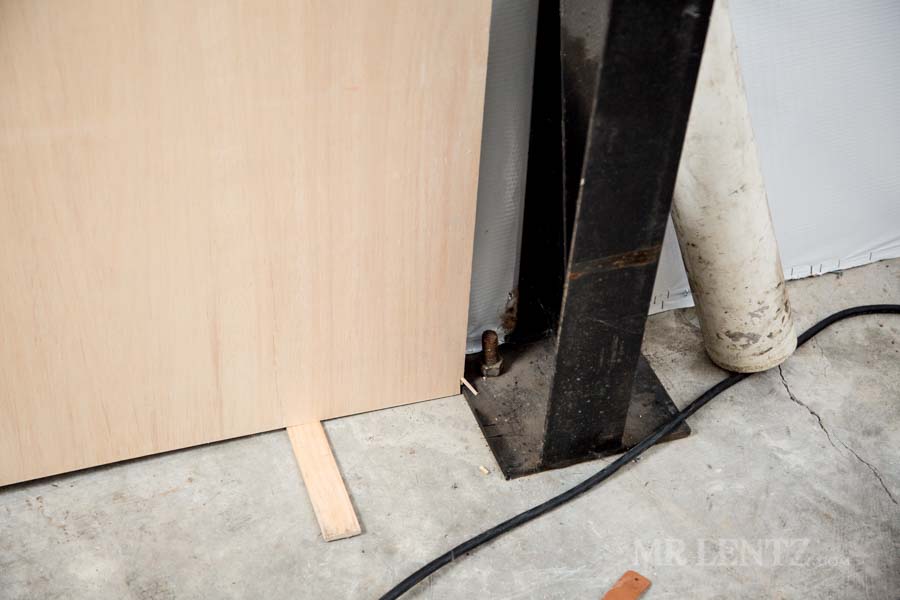
This was preventing the plywood from making it up over the steel bottom piece. I ended up using the jigsaw and removing another 1/2 inch from the cutout at the top.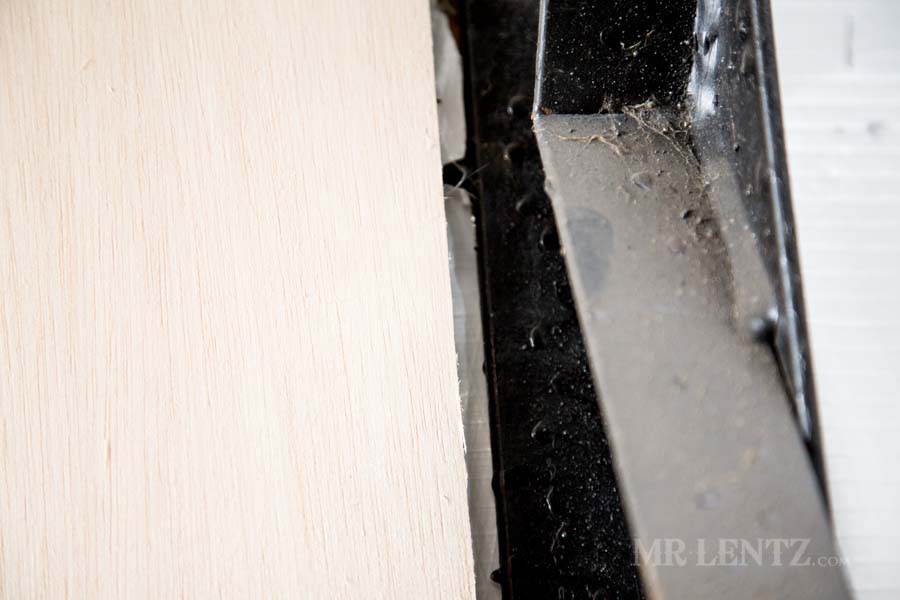
Once I placed the plywood back on the wall in the correct position, I noticed a small angle gap on the side near the steel beam. After checking with a level I confirmed that the beam itself has a slight twist to it. A perfectionist would go back and cut that angle into the side of the plywood to make it fit perfectly…but for me – since it was fairly hidden next to the beam, I decided to leave it be and move on.

Here’s the cutout for the electric box, just slightly off, but I can hide that by using a mudring to bump the outlet outwards, then a cover plate to hide the hole.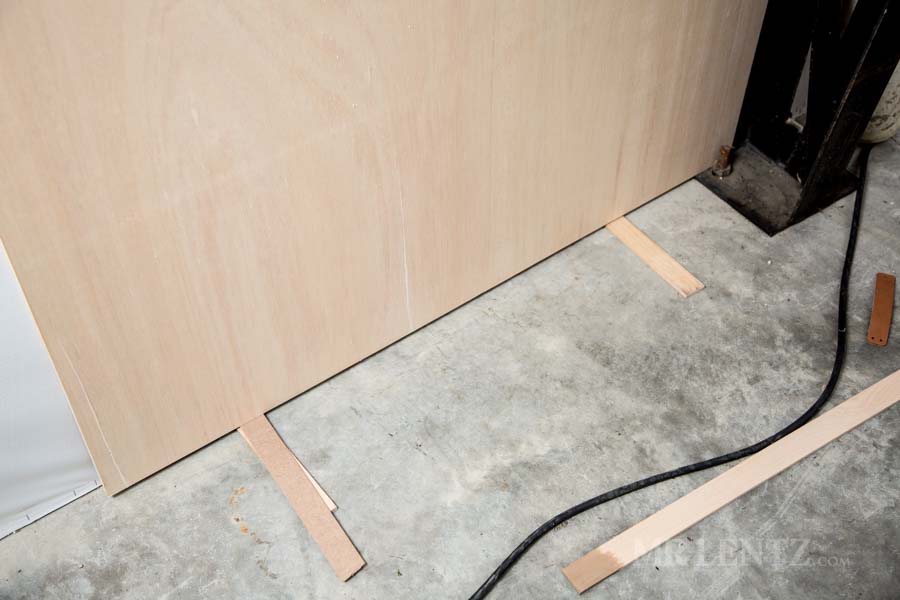
Make sure your plywood is still resting on the shim. The one you see in the middle is just an extra piece that currently isn’t supporting it.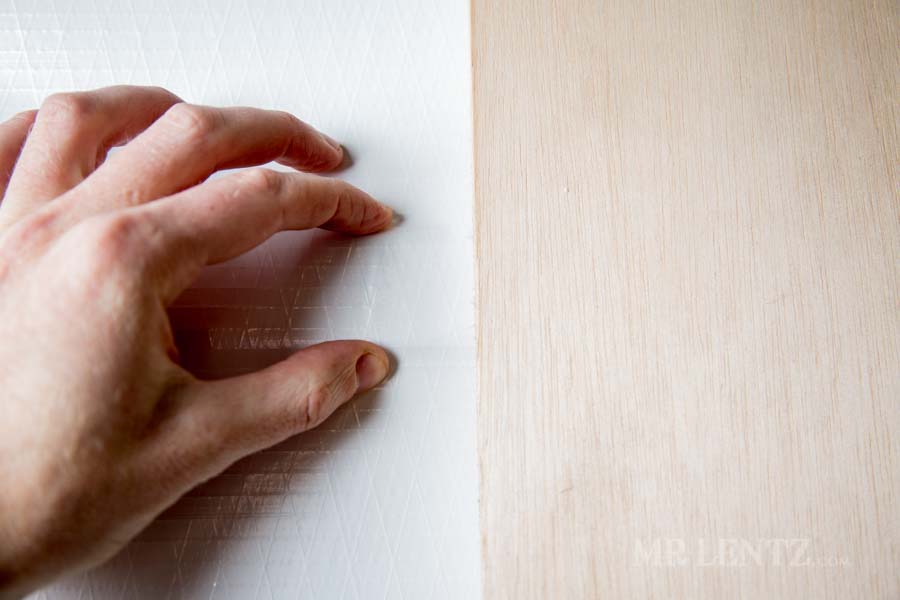
My studs are horizontal in the shop, spaced every 2 feet. They are hidden behind a vapor barrier, but by pushing on it I can expose them and make a mark on the plywood for each screw placement on the side of the plywood.
I placed the first screw about 1 inch in from the side.
In an ideal world, your studs are straight. Apparently I do not live in this ideal world. My studs have a nice gentle curve to them. So first I will explain the method used to place screws in an ideal world: use a t-square and bring it up to that first screw mark. Then – make a mark every 12 inches from the edge of the board. This will give you 5 screws per stud (for horizontal studs). Now for the imperfect world scenario: make a mark at the other edge of the board where the stud is. Now you have a mark at either end. Use a long straight ruler, or nicely cut plywood scrap piece and connect the dots with the edge of the scrap piece. You can now make the same 12 inch spacing but it will be more in line with the actual stud curve.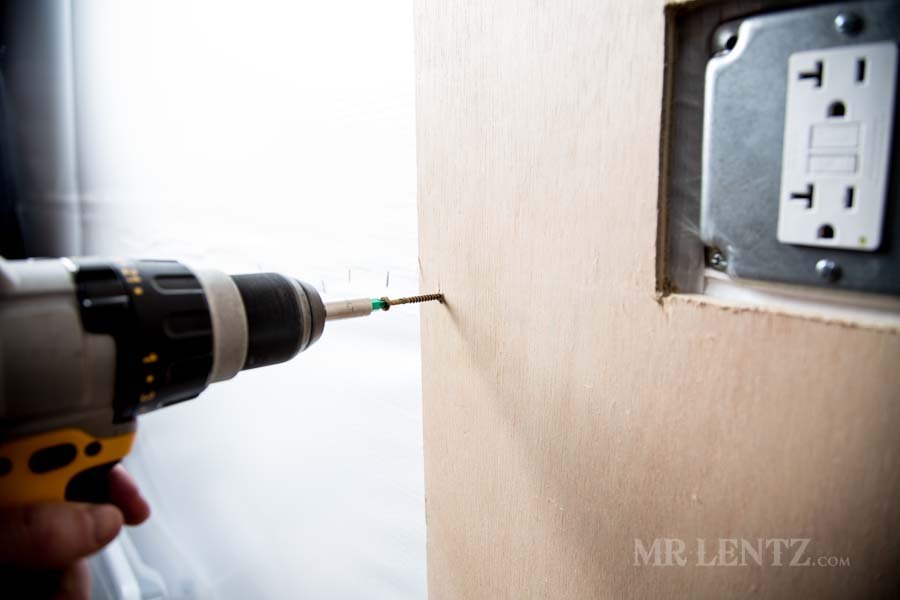
I used #9 2 inch deck screws because it is the easiest thing to install, plus it pulls the plywood tight to the stud right at the end…and they are self drilling so no need to pre-drill. That saves a ton of time for a project like this.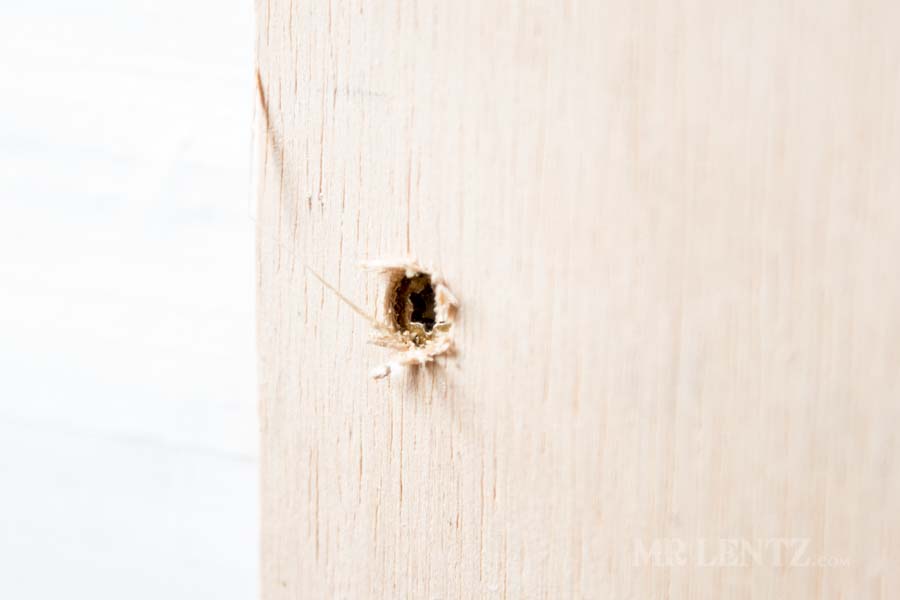
Just in case I later decide to paint over certain walls, I made sure to sink the screw slightly below the surface. If I need to, I can later place some wood putty in there and sand quickly before painting.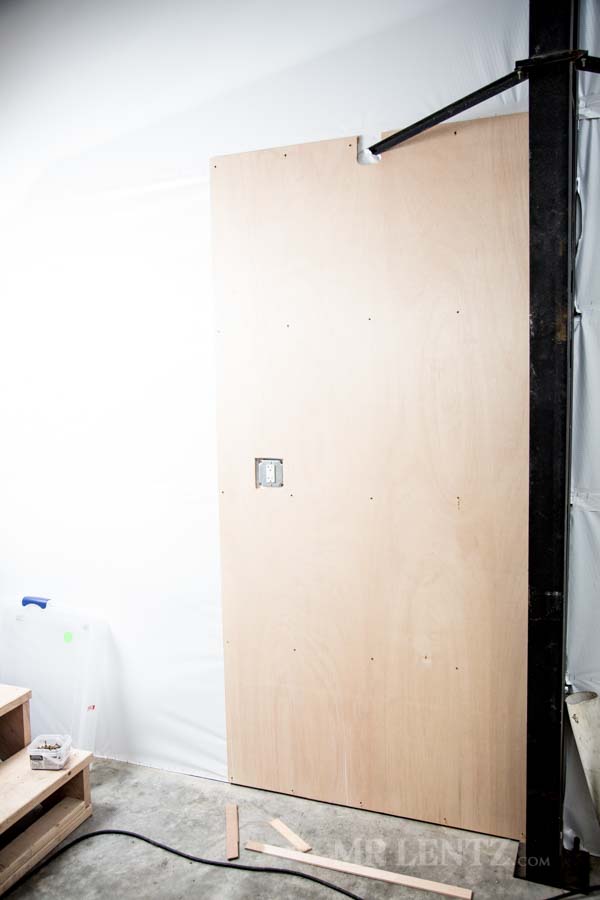

Here’s the finished plywood sheath. On the bottom row of screws it’s more apparent that there’s a curve going on with my stud.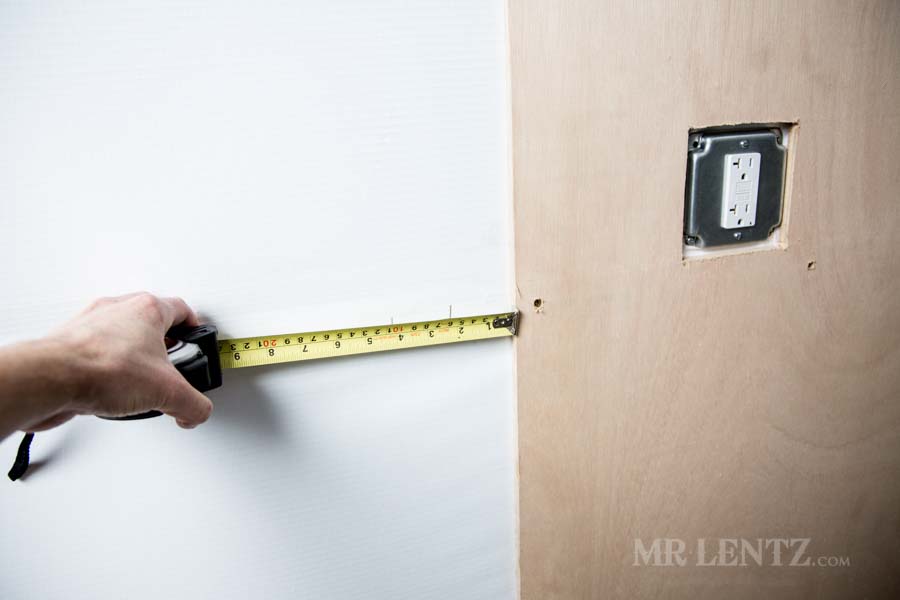
For the next sheath you simply measure from the edge of the current one and repeat. Fairly easy work!
Reader's Favorites
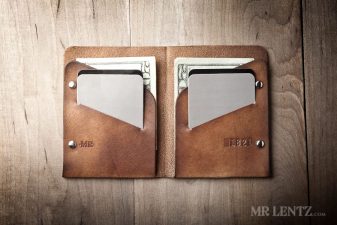
Help out my small U.S. Leather shop and treat yourself to a durable wallet or belt built to last 100 years!


That’s amazing you are hand building wood walls for your shop, what a cool talent and to share how to do it! Can’t wait to see all the beautiful leather creations that come out of your new workshop! Rock on Mr. Lentz, love what you’re doing.
Great tutorial. Thanks for all the info and detailed photos! Works looks great – can I ask what is the white sheeting/tarp-like material you’ve mounted the plywood on top of; and what is it for? Moisture barrier? Thanks in advance.
Hi – yes that is just a vapor barrier. Here in the Northwest the insulation pros said that you can install the plywood directly on top of it.