
Everything, Photography, Wood
Building a Workshop – Updates

Oct
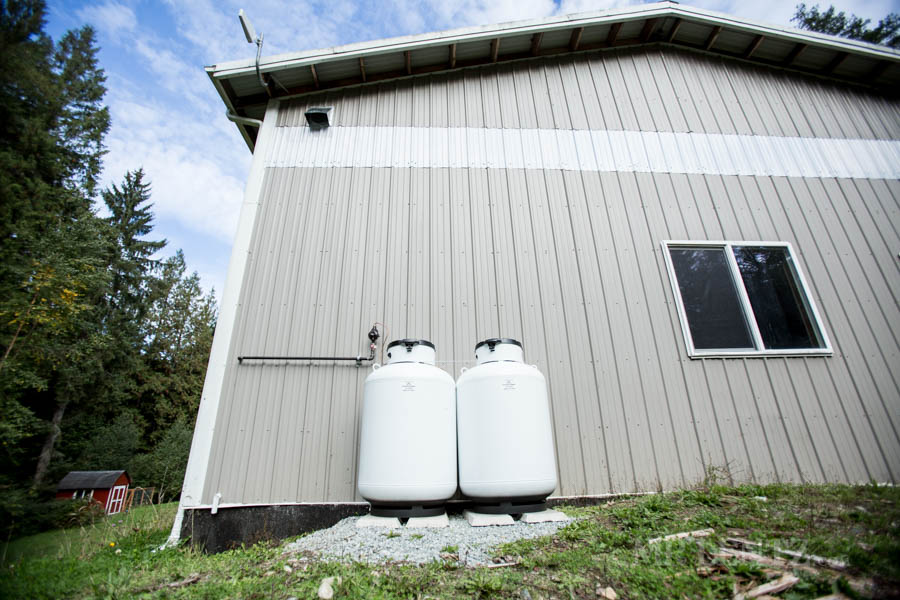 I thought I should throw a shop update on the blog here to keep you all in the loop as to our progress since moving in. I believe I last left off when we were getting insulation put in. That took a solid week or so and now the walls and ceiling are looking good. So good in fact that it was time to get the furnace up and running before the cold winds started blowing from up north. This area of Washington is technically a ‘temperate’ climate, but winter daytime averages are in the low 40s. Add to that the fact that we are out in the woods, and things tend to cool down quite a bit, especially in the shade. About 3 weeks ago we had a couple of propane tanks dropped off in preparation for getting the furnace in place.

A Workshop Furnace
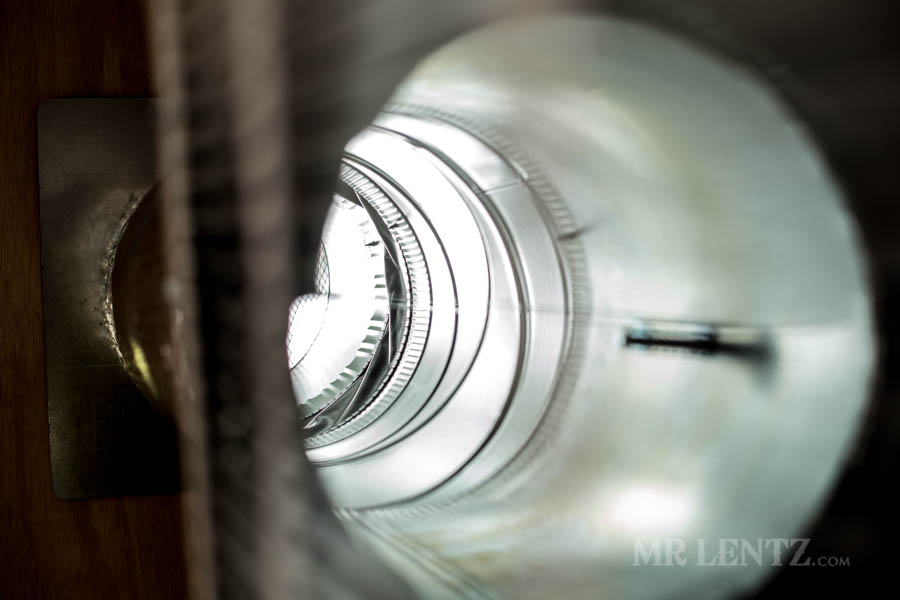
I decided to move it into the loft space to keep it away from the work areas and thus help keep it quieter inside. The silence in here is deafening, you can hear a butterfly fart. So I wanted to keep it that way as much as possible and by placing things up in the loft I can now wall it off to further dampen the noise. As you can see, the return is built right onto the unit with minimal duct work since it’s near the top of the building. When things get really cold I can keep the blower on just to keep warm air circulating.
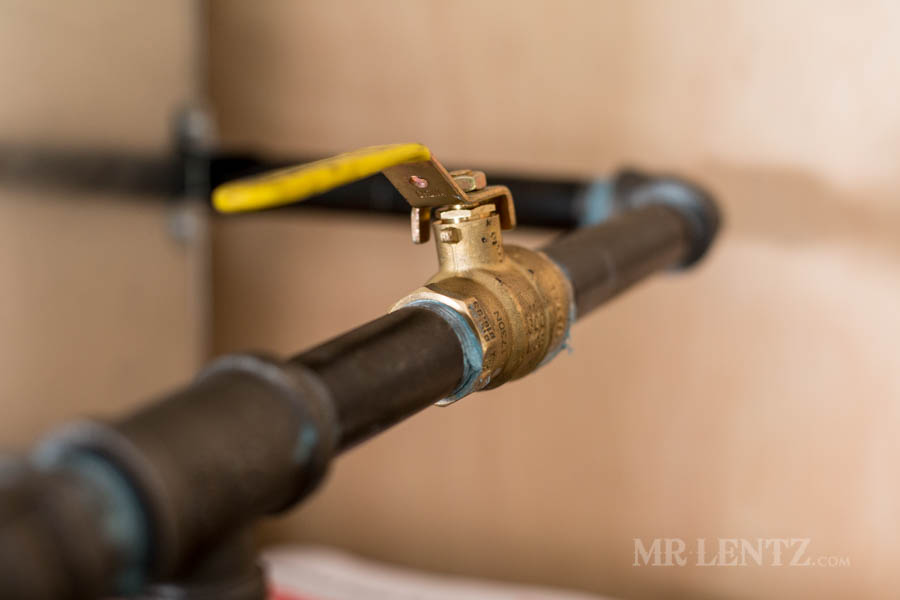
I also had the guys put in a fresh air return with shutoff, I think it will help during cold days if there’s a bit too much humidity in the shop due to drying hides out after we hand dye them. It also helps if you need to flush the shop with fresh air, but this isn’t as likely since we don’t work with toxic chemicals. All of our dye, conditioner and wax is handmade right here in the workshop from natural materials. So natural in fact – that we don’t use gloves!
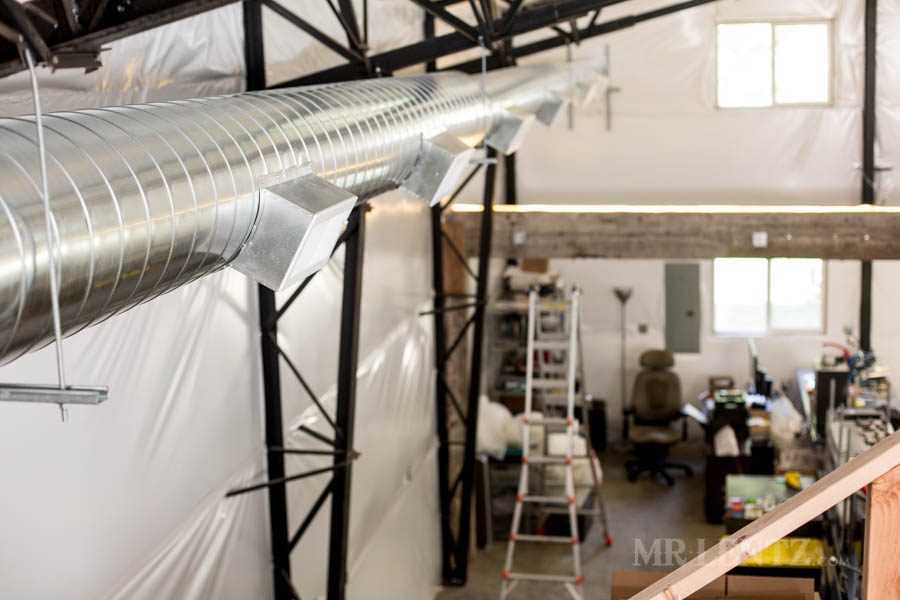
To help spread the heat in the entire shop we had a line of duct put in place. It kind of has that grocery store look, but it works quite well.


After clearing inspection with the county, we were finally able to get things hooked up and tested out. This heater certainly does the trick, and now I can walk into the shop on those busy pre-holiday mornings and have it ready and toasty.
Safety Railings for the Loft
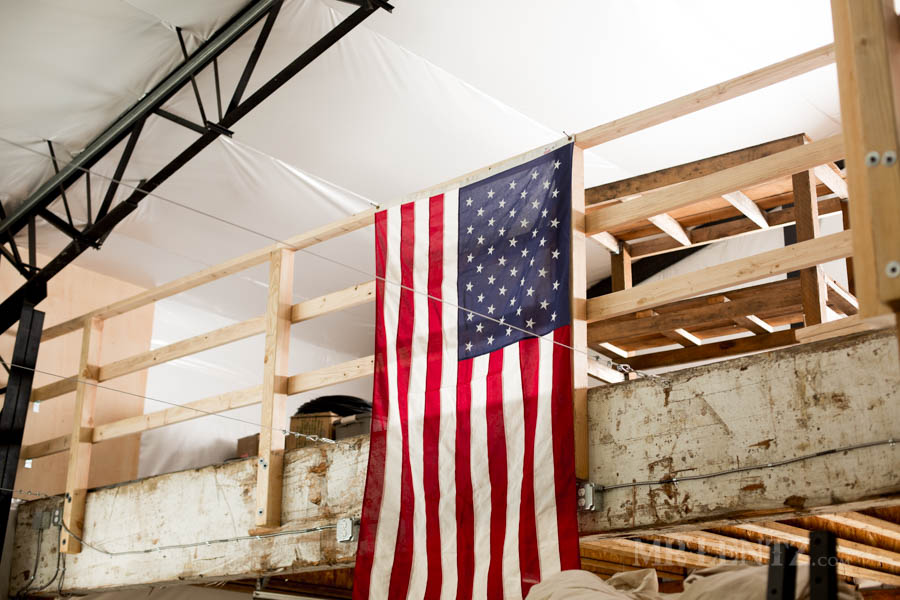
While all of that with the heater was going on I set to work building a safety railing in the loft. It’s a little over 10 feet off the ground up there and felt a bit precarious. The last thing I needed was a camera to go rolling off the edge…or better yet – my feet! Well, technically anything can roll off that edge still as there is no toe board (inspector pointed that out). So I still have more work to do up there, but it’ll be quick. I installed the posts by myself on a ladder and to accomplish this feat of magic I did two things first. One – I measured twice…everything. Two, once I knew where the post would be attached I then screwed in two 9 inch deck screws to act as a platform to rest the post on. 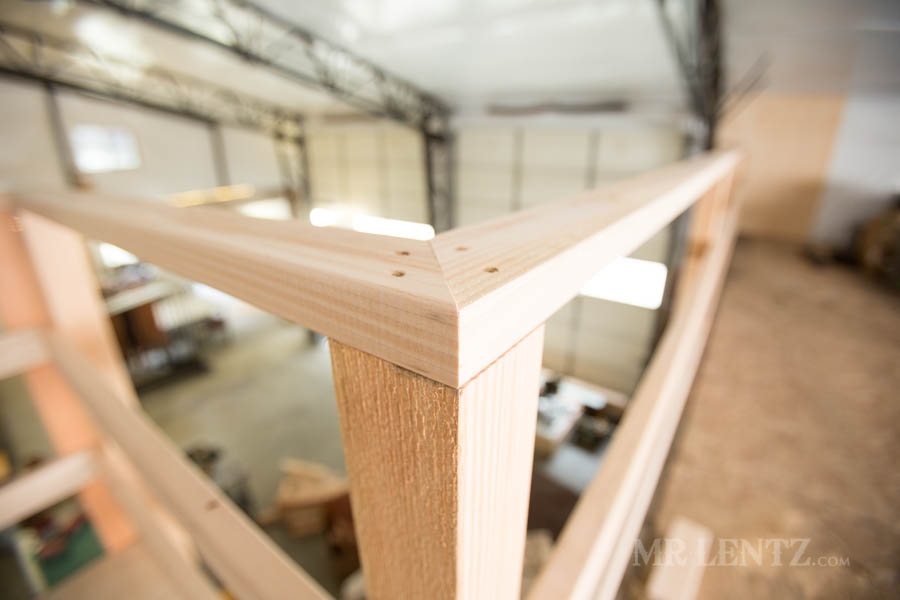
I used a fairly simple construction method – just 4×4 posts and 2×4 railing and intermittent pieces.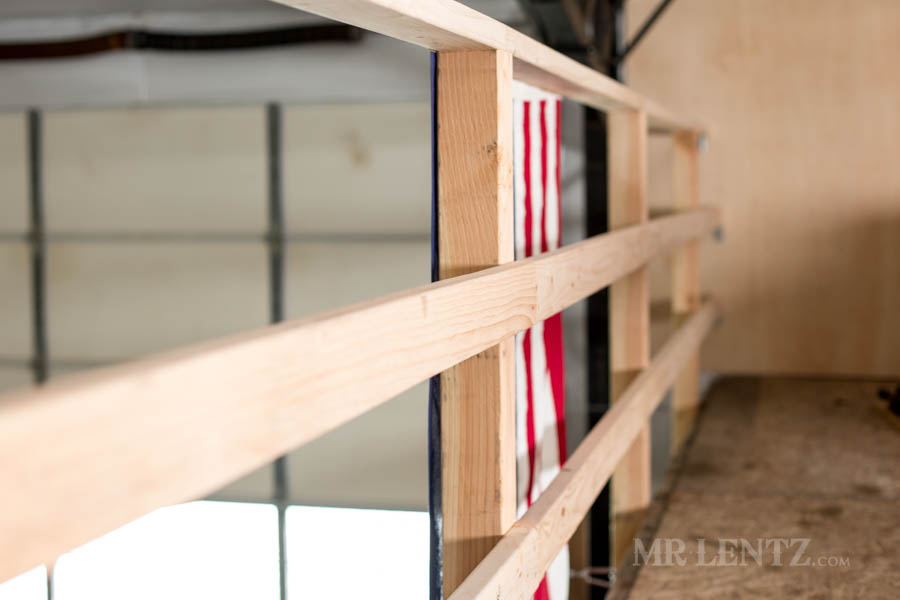
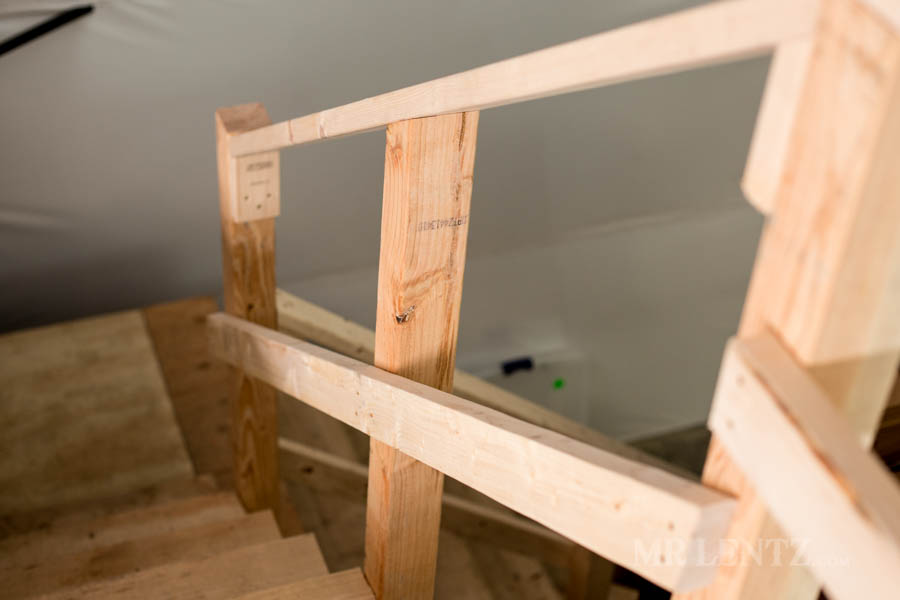
The stairway has a railing now too and it feels much better with one! 
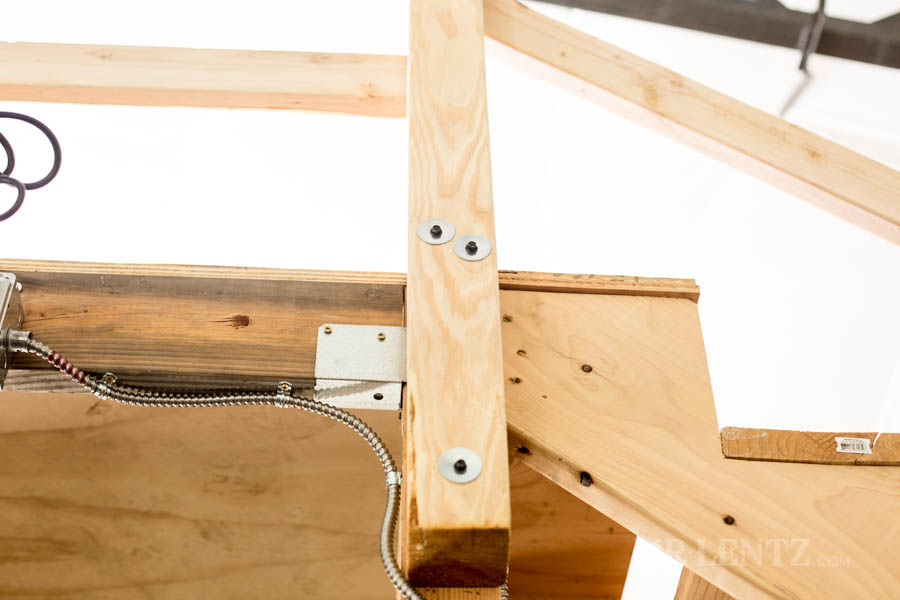
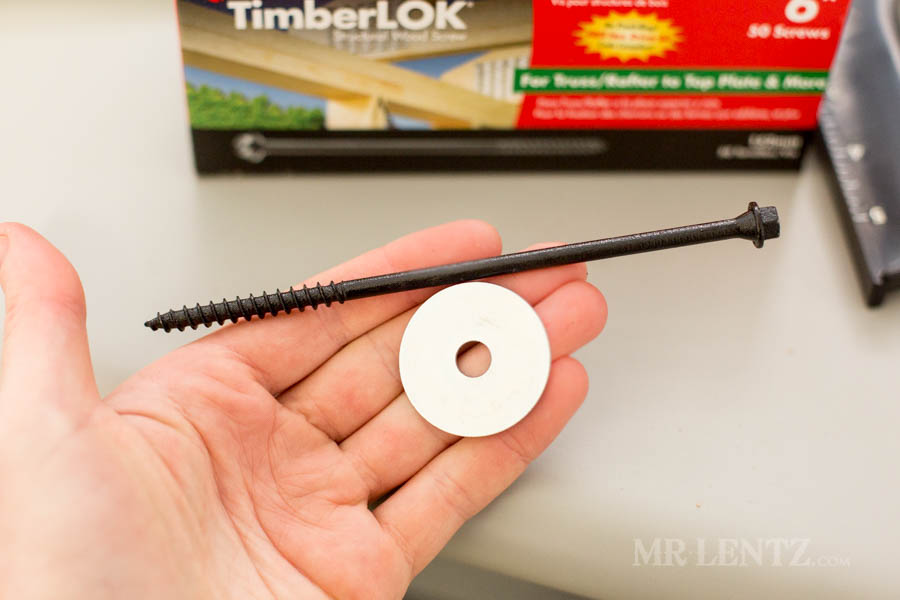
This may be too muchinfo – but thought I would share the very easy method I used to connect the posts to both the beam and on the stairway. For the beam I used the above ‘Timberlok’ 8″ screw with a large faced washer. This combo allowed me to drive the screw in using a hammer drill and no pre-drilling needed. This was extremely useful.
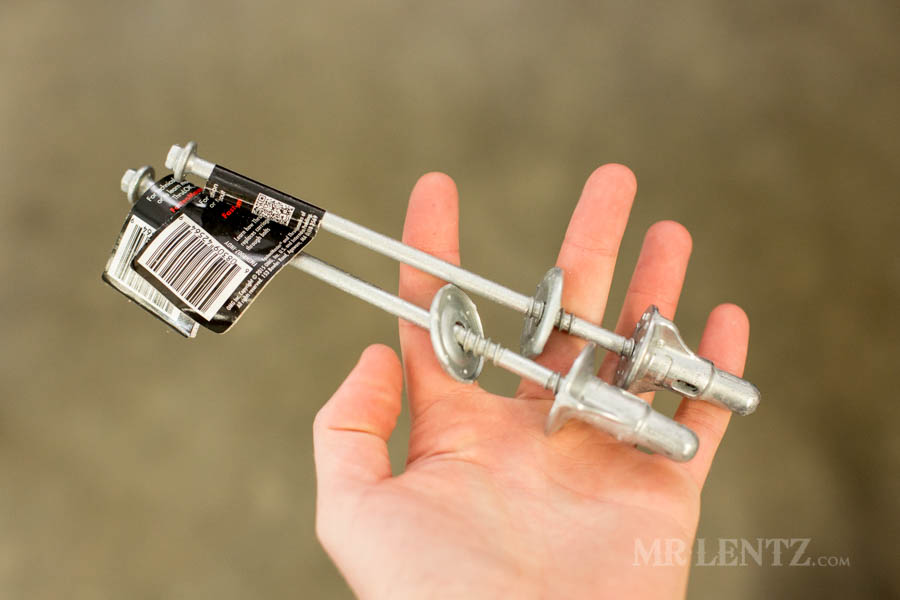
For the stairway I used these ‘Thrulok’ screws at 6 1/4″. These also are driven through the 4×4 and through the stairway stringer. Just long enough to reach out the other side and screw right into the included nut cap. Also a great alternative to the through bolt method.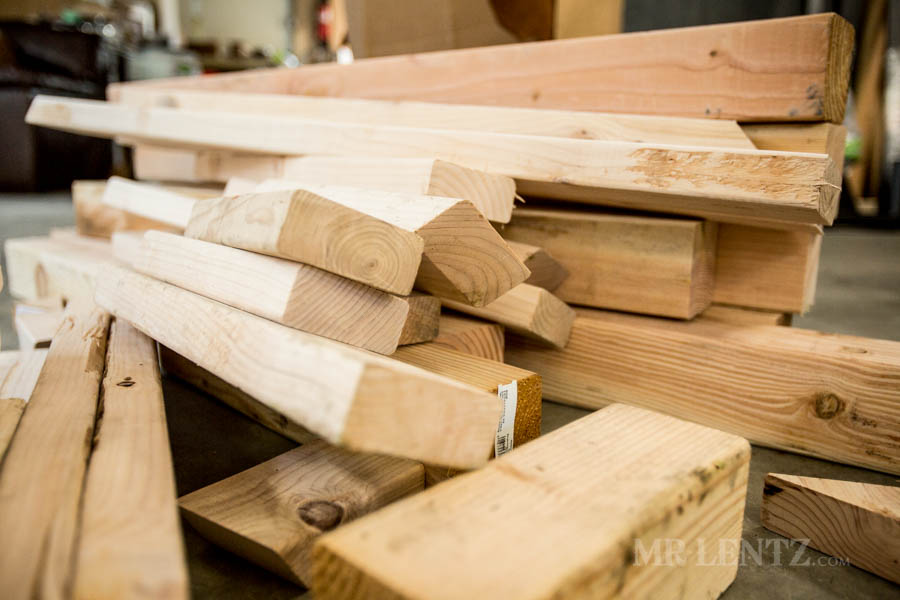
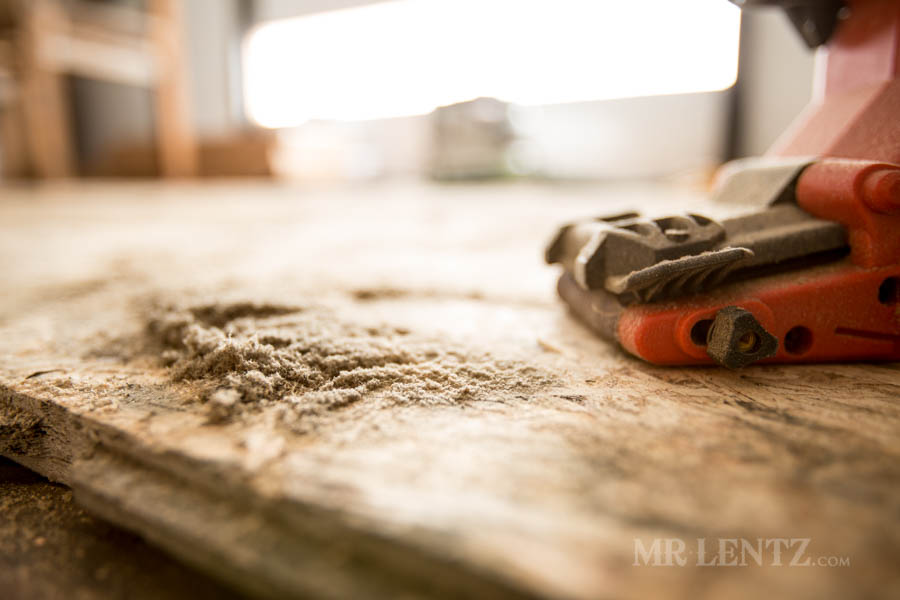
Up on the loft…soon to be the photography area… the OSB wood floor had quite a few oil stains on it from previous owners. I went to work with a belt sander and did what I could to make it feel a bit cleaner up there. 
Here’s the floor pretty much complete – it’s bare bones, but efficient!
Plywood Walls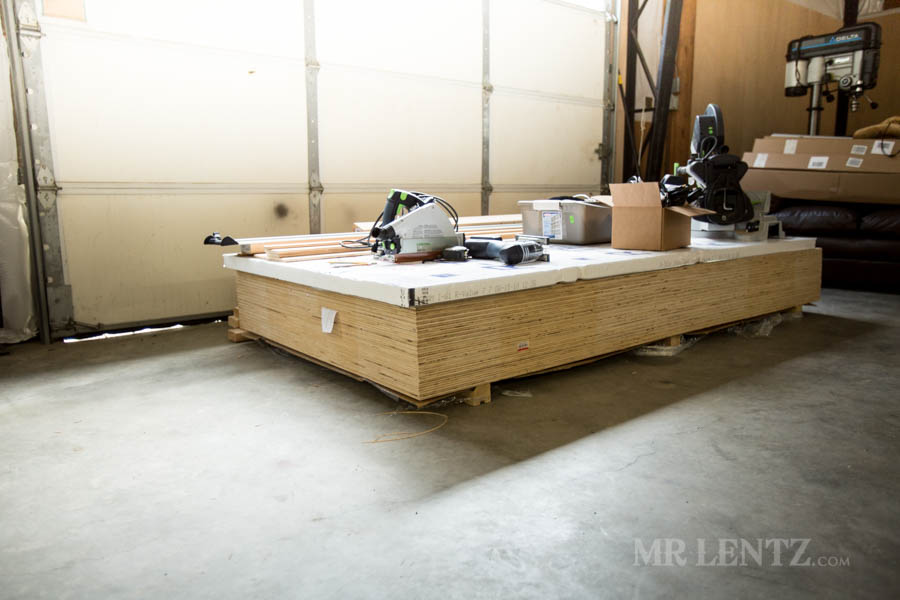
As if that weren’t enough going on around here, I also had a stack of plywood delivered. I decided to start putting this up for my shop walls. In the end it was either plywood or drywall, and everyone knows what a giant pain drywall is. Plywood is very simple to install and is extremely useful for a workshop since you can build off of it and attach things to it at any point. 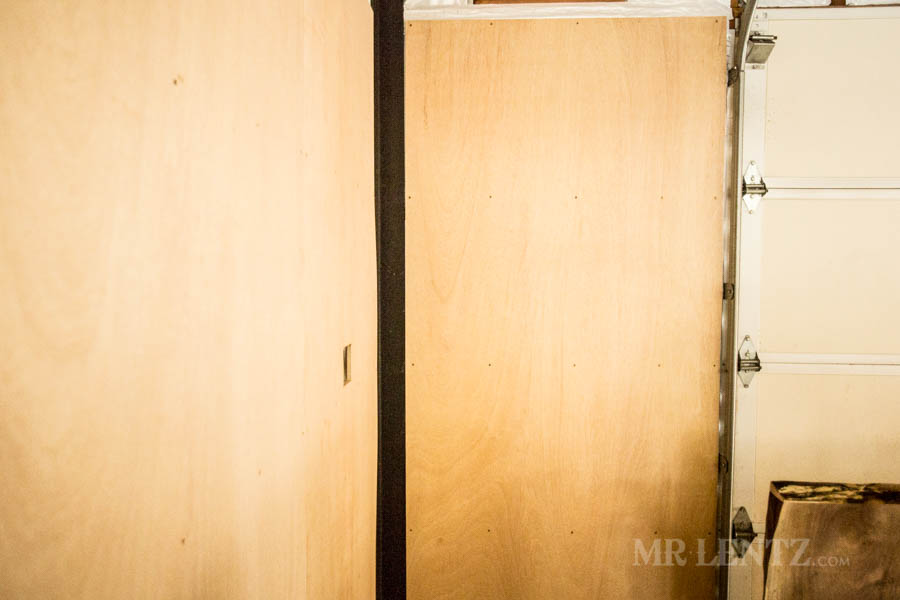
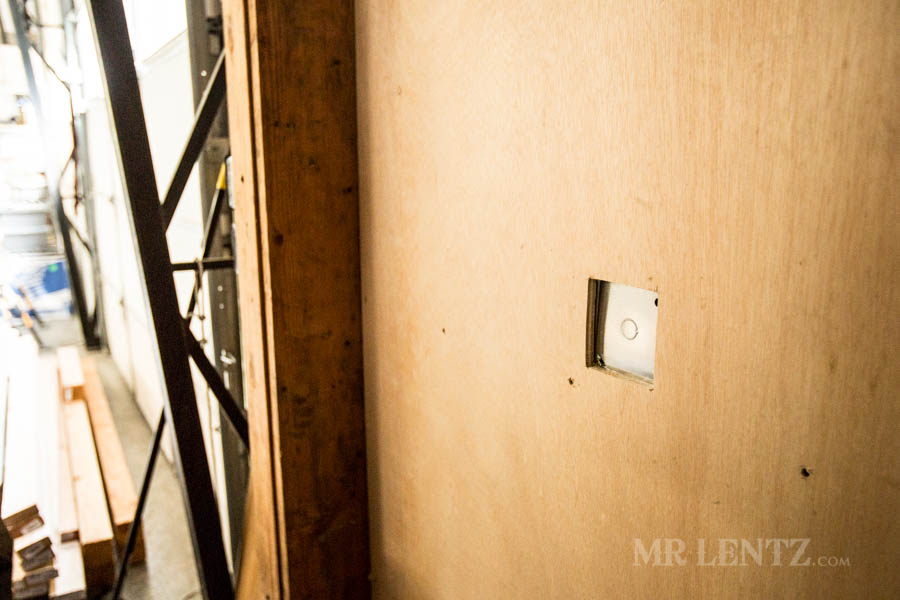
Over the next few weeks I will be posting a short tutorial for anyone interested in the simple techniques I used to get the plywood walls up. I will make sure to cover a few of the handy tools I ended up with that are making the job much easier.
Work Shop Lighting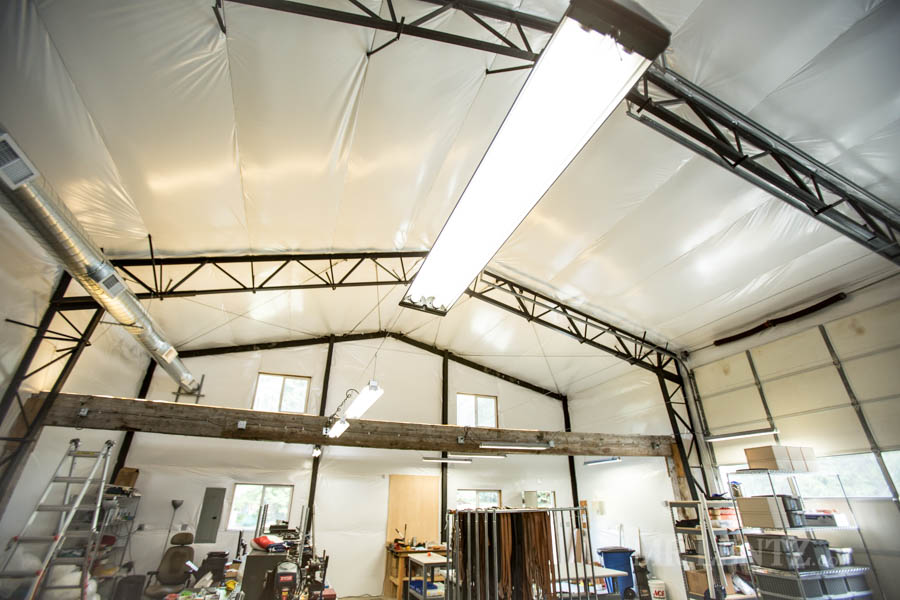
One final part of our update is lighting for the workshop. I have high ceilings now…and no ladder that can reach them. This meant coming up with a solution where I could hang the lights without hiring a professional…and have them be moveable to areas where work stations would move. Right now my floorplan is workingout…but in a year who knows! I might change the layout to work better for me and I will need to move my lights as well. So – I decided on using cable attached between the beams 10 feet up. In this shot there is only one row of lights hung, but it is working quite well. The cable will hold a ton of weight and I can place them spaced out across the shop to help me hang lights practically anywhere. The shop lights plug in at the end of the cable where outlets were installed. This will show up again in a tutorial as well in case anyone out there faces the same issue.
And with that, it’s Friday and time to relax. There’s a lot to do to get this workshop all put together but it can all wait until after a nice walk through the woods. Make sure to get out side on the weekends and enjoy nature!