
Everything, Leather, Tutorials
Fixing a Makers Mark
Sep

Here’s a short story of a simple oversight that quickly turned painful, and ultimately settled into a happy ending. Sometimes we are presented with problems that have many solutions. Some solutions will work better than others, others will cause your fingers to bleed. A few months back I purchased a maker’s mark for the Mr. Lentz logo – a simple brass piece that can be punched into leather.
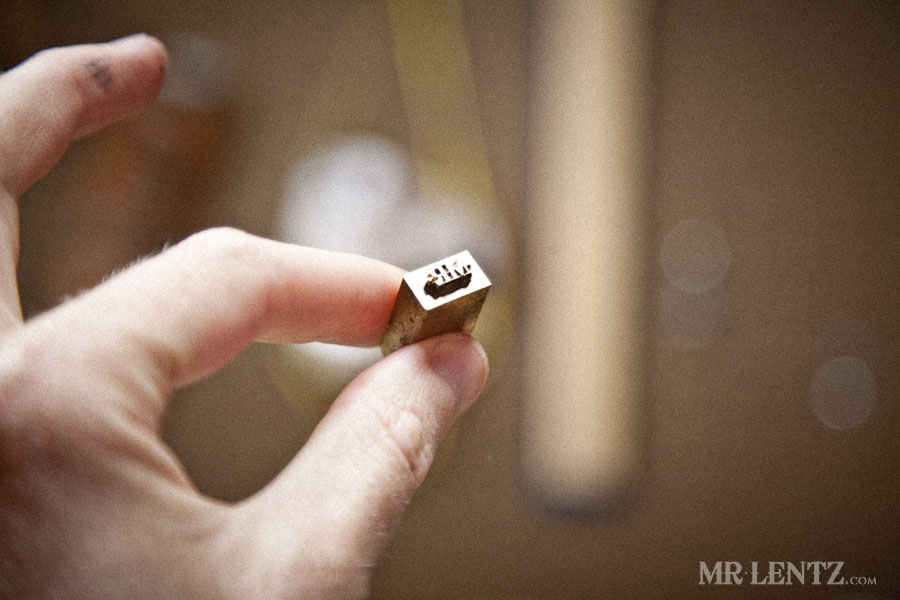
 There are a variety of ways you can have it made, like the image above – made for a small hand press, a flatter wider version, one connected to an electric heating rod to burn the impression, or one with a nice solid handle for hammering. Unfortunately I wasn’t sure which way I would go in the longrun so I purchased this little guy for my hand press. Well, after a few uses – I realized it is much easier and faster to hammer… my fingers realized that I should have gotten the handled version.

Never letting a small mistake get me down, I immediately came up with a solution. I could drill out a hole in the back of the stamp and tap it – cutting the grooves for a 1/4 inch bolt to screw into. My fingers quickly searched for the car keys, opened up the front door, and dragged me to the hardware store.

The first step was to hold the stamp firmly so the drill press could go to work. I have this handy little portable table vise that swings in any direction – but unfortunately it isn’t very stable since it doesn’t attach to anything.


I put a little olive oil (since it was handy) on the top of the stamp and hand screwed the tap into the hole as far as it would go – it wouldn’t go very far. The oil helps lubricate the tap as it cuts and also helps collect fine metal particles that are cut away from the stamp.

With a little bit of extra help I tapped all the way to the bottom.

I chose a flat headed bolt as this would provide the largest surface area for my hammer. As with many off the cuff projects – the bolt didn’t go in straight. Which was a problem. This would mean that as I hammered the stamp onto the leather, part of the stamp would impress deeper than the other. The best course of action? Brute force. I put the stamp on the cement floor with the bolt fully inside the newly tapped hole, then I hammered it back to straightness.

Life is much easier now.

Fingers smiling with modified maker’s mark.
[mc4wp-form]
Pingback: How to make a leather belt | Mr. Lentz