
Everything, Leather, Other Artists, Tutorials
How to Make A Leather Knife Sheath (Part 1 of 3)
Oct
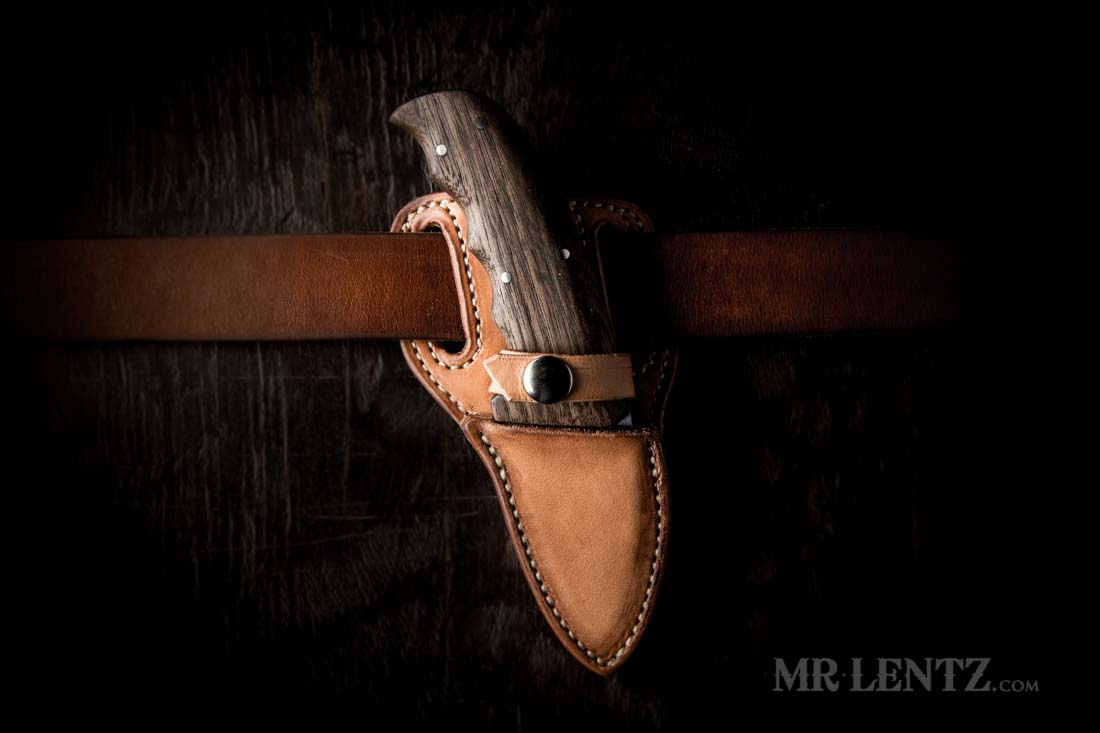
In this tutorial I am going to guide you through all of the steps needed to create this leather knife sheath. It’s a simple design meant to protect the blade and sit close and comfortably on the hip. My intention was to make a sheath that would keep the knife securely in place while carrying it on a daily basis. I sit, stand, walk and run my dog and drive in a car every day – and these motions can ultimately vibrate a knife out of a traditional ‘folding’ style sheath. Small movements over time can flex the leather and also cause the knife to push upward. The last thing I want is it slipping out at any point during the day. So – to solve that I decided to go a different route and use the retaining strap with a snap over the handle.
This is part 1 of a 3 part series.
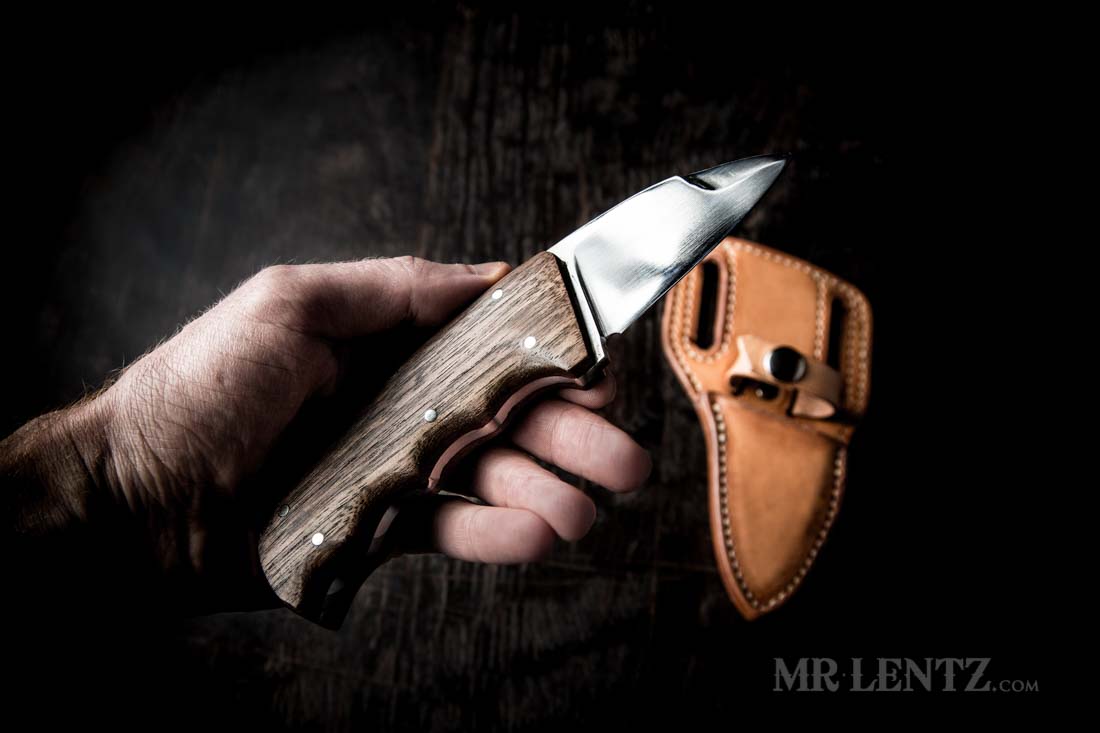
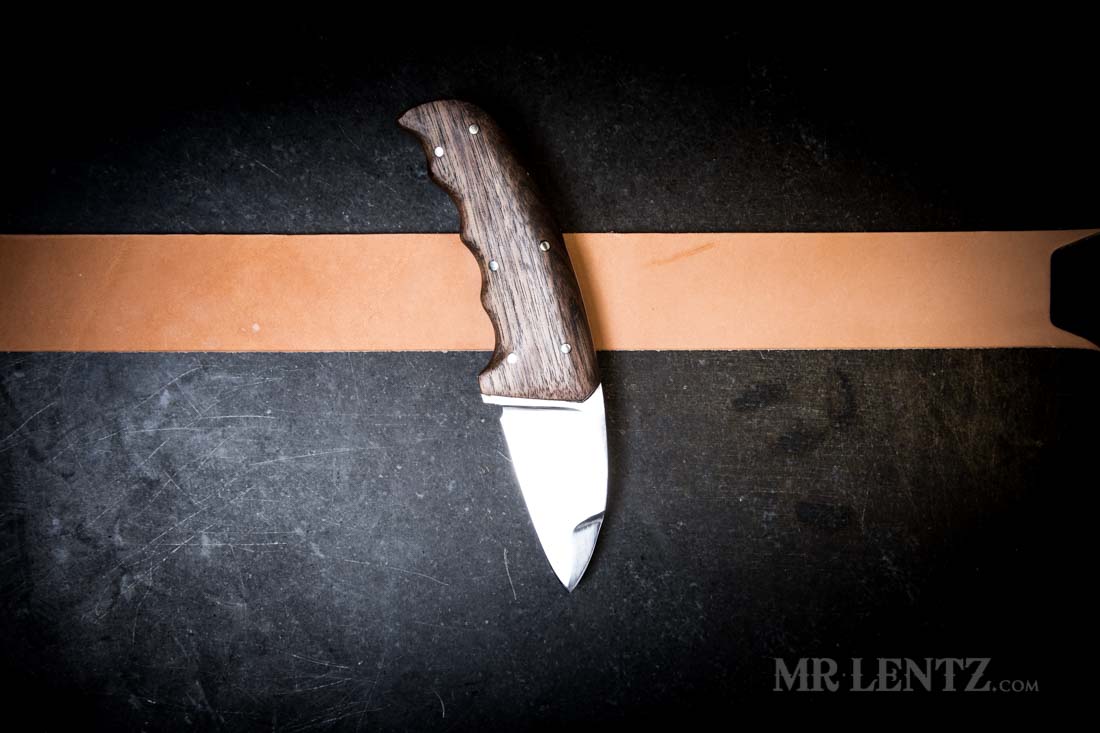
The knife was custom made to order from a very talented bladesmith – Dre Laborde of Gallus Blades, you can check out his current works here. I requested a 3 inch blade with a 4 inch handle. The tip has the first inch of the top side sharpened as well. The blade is a polished 1095 steel, the handle is walnut and nickel silver pins. It feels great in the hand and came out exactly to the specs I had requested. Overall I am very happy with this knife – so if you are looking for something new and want to support a U.S. bladesmith – go on and check out his page and make a request.
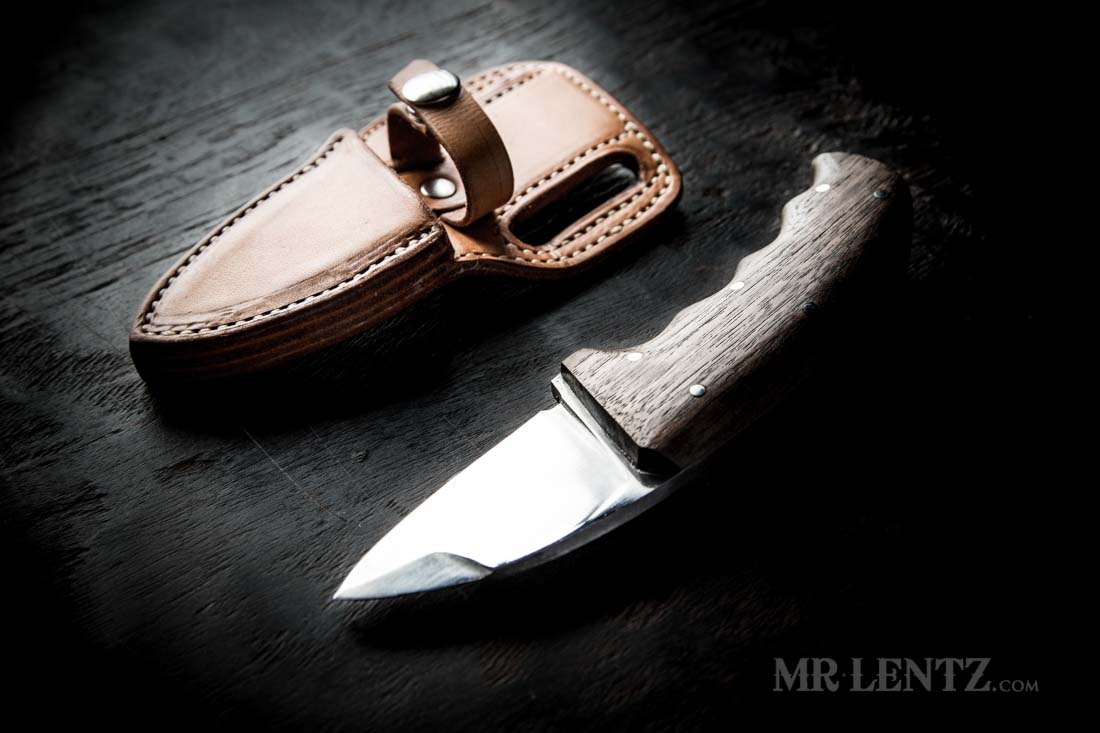
The knife sheath has a simple pass through style of belt loop. This style helps keep the sheath very tight on the hip vs. the other loop style that is a fold over onto itself. You can see the thickness of the sheath here – it’s four layers of 9/10 oz leather, or about 5/8 inches thick. It’s made using the best U.S. tanned full grain skirting leather. This type of leather is best if you like to watch the patina develop over time, also it dyes well and can be tooled, edged, and burnished for those nice finishing touches.
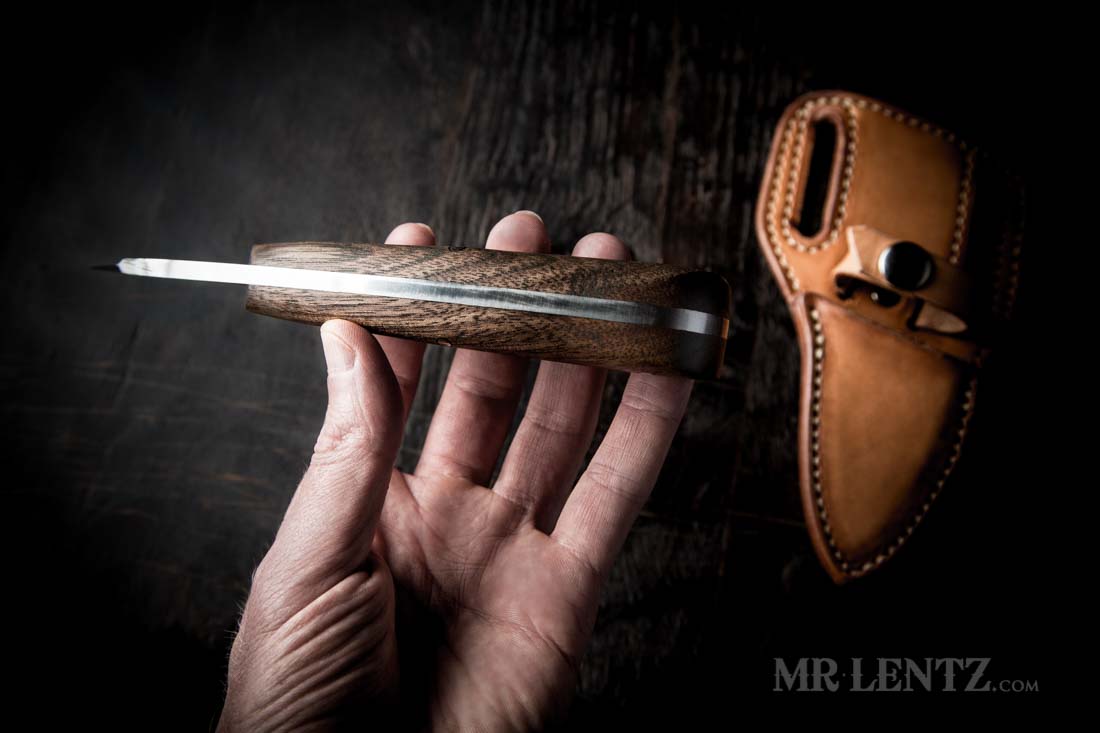
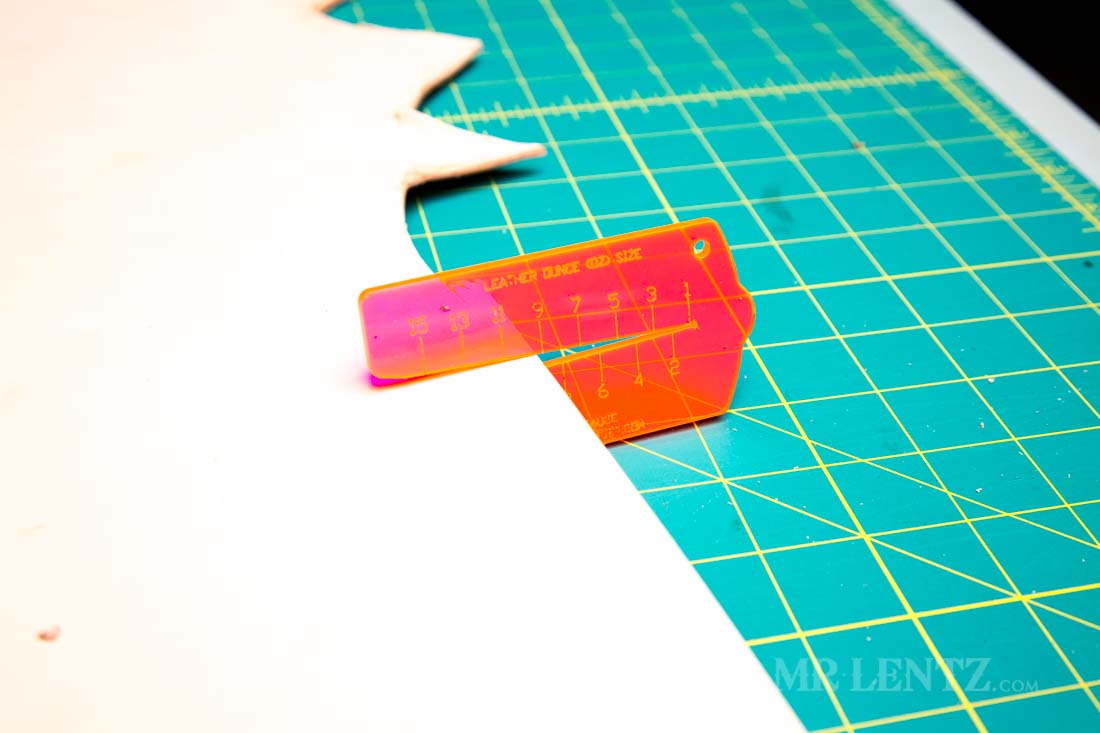
The tang on this knife came out to be about 3/16 inches. The handle has a nice taper to it and is thick – which means I will be compensating for that in the sheath design.
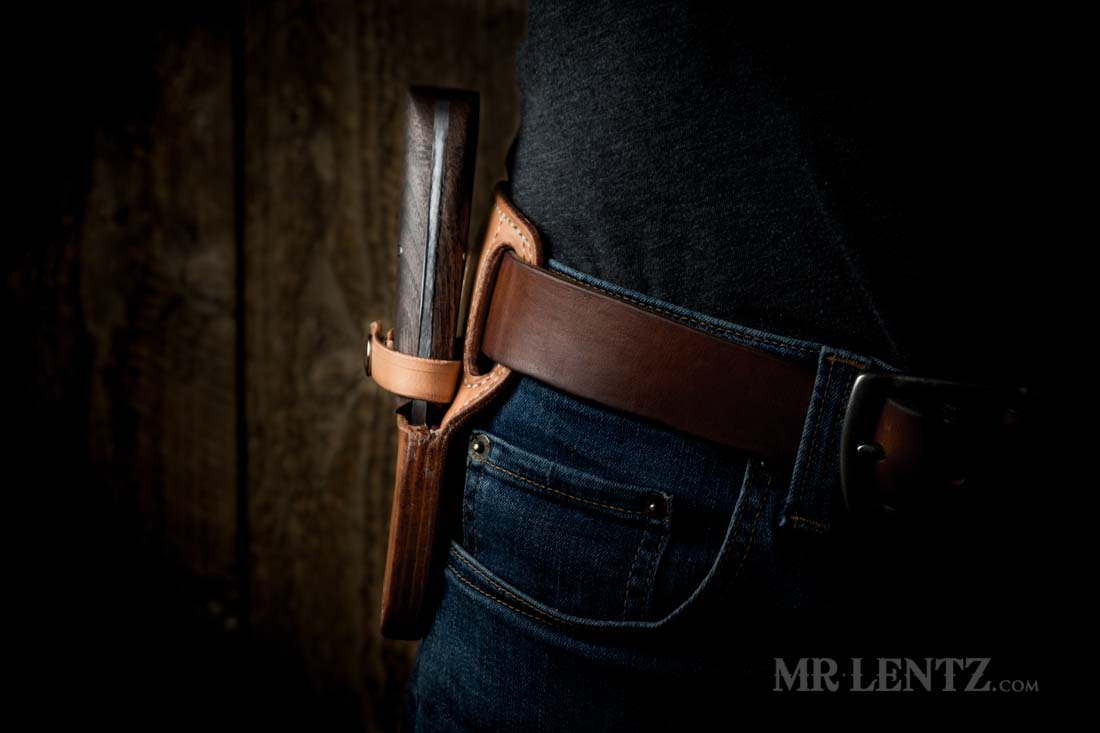
Here’s how the leather knife sheath it sits on the hip. The handle stays close to the side, helping to keep it out of the way. The slightly shorter 3 inch blade helps as well to keep it from bumping the seat when in a chair.
Tools for Making a Leather Knife Sheath
Below are a few bird’s eye photos of the various tools used in different stages of making the leather knife sheath. Read on for more details below.

For template making: Your knife, of course. A belt that you will be wearing this on – I chose a strap of 1 3/4 inches wide. This wider style will allow me to wear it on both my 1.5 inch and 1.75 inch belts. A ruler and a refillable pencil. I like that style of pencil because it is more accurate when tracing along the ruler and other items.
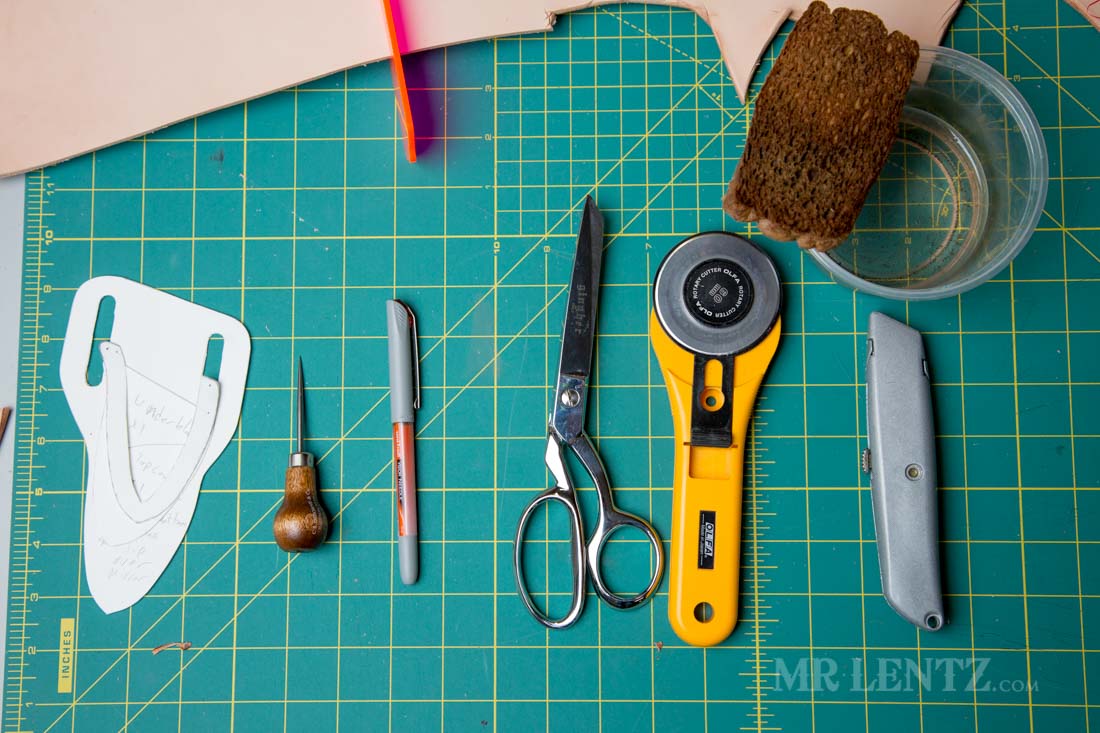
For tracing the pattern and cutting the leather: On the left is a little pricking awl. It has a sharp point allowing it to pierce the paper template and mark the leather. I use it to mark certain stitch lines and glue boundaries. A fine tipped Uniball pen or roller ball pen in orange. This traces well on leather and the orange color makes it easy to see. Usually all marks are on edges that get sanded or beveled off. Sharp scissors with a tiny serrated edge – these are Gingher brand and are excellent for cutting leather of most thicknesses. The teeth keep the leather from slipping. I prefer these scissors to almost all other types of cutting tools. They are fairly accurate, very easy to handle and are a very familiar tool used daily in the shop. Other makers may use other various blades including the renowned Head Knife… so whatever floats your boat. My two cents is – don’t bother with the head knife unless you are trying to emulate 1800’s style leatherworking and have a good health insurance plan. Next is the roller blade, also a favorite of mine for use in cutting straight lines, and pre-cutting closer to the tracing before using the scissors. The blades are replaceable so it is a super handy tool. Next is a simple box cutter razor. I use this usually when cutting an inside corner where the scissors just can’t make the turn. The trick is to keep that razor sharp (mare on that later). Up top is a sponge and water.
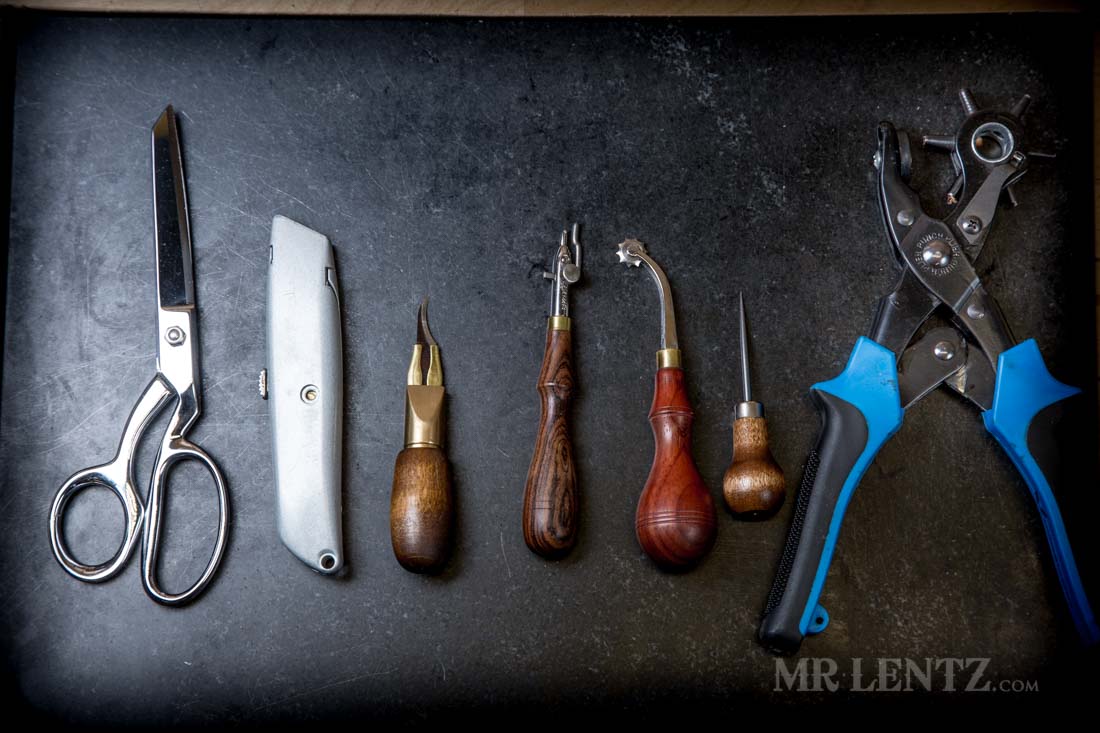
For building and finishing the knife sheath: On the left are the scissors and box cutter again. Then we have a small knife blade that has a curve to it. I think this is called a pattern cutter. I use it specifically to get into really tight spaces to cut leather using a sawing action instead of pressure. Then we have a stitching groover used to sink our stitches below the leather surface. A 6 stitch per inch marking tool to show us accurate spacing between stitches. The marking awl and a hole punch.
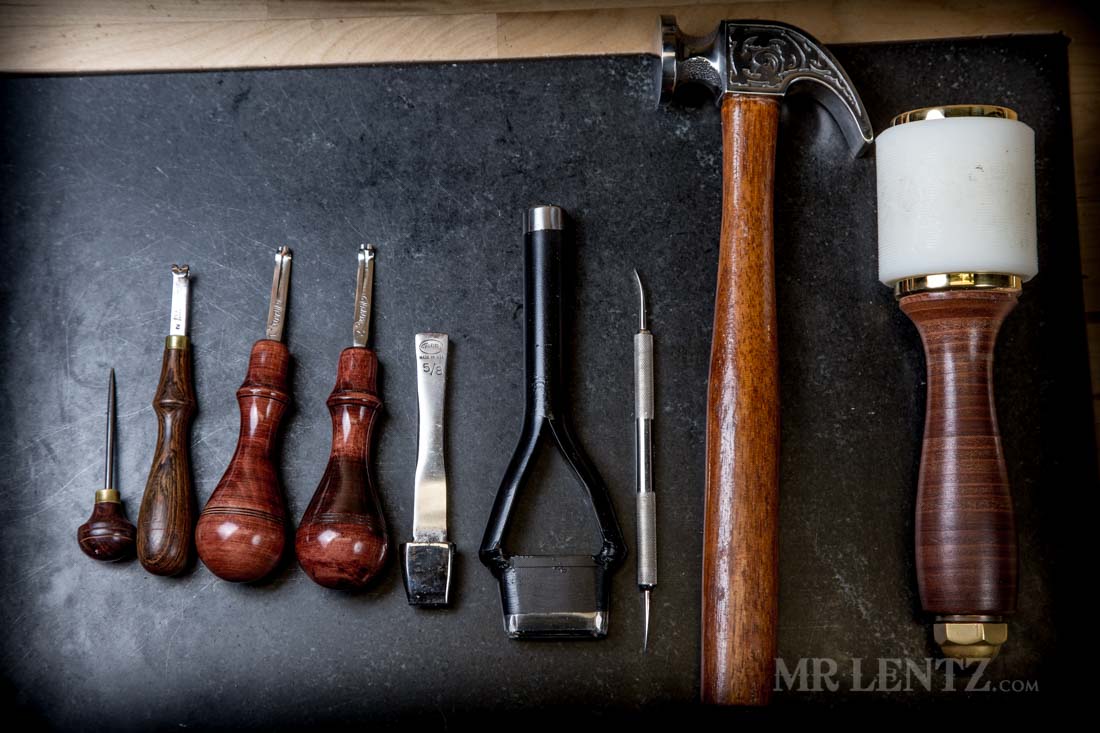
Finally we have on the left another marking awl which you can disregard. A curved edge beveler designed to get into tight spaces like the inside of belt loops. Two regular edge bevelers a 1 and a 2. A 5/8 inch slot punch. A custom punch for belt loops – although this one is designed for 1.5 inch belts – I work it into place to cut a 1.75 inch hole. It’s 1 9/16 inches long by 5/16 inches wide which is a great width for this type of hole. Then we have a modeling spoon used to smooth out the marks on leather after stitching. A smooth faced hammer for hammering edges after gluing. A weighted maul – this one is fancy, you can find other rawhide versions a bit cheaper. One item I forgot to show is a simple wooden strap cutter.
Leather and Hardware Needed
Additionally you will need a small amount of leather and some hardware among other items. For leather I used two different thicknesses – 9/10oz Full Grain Skirting for the area where the blade is protected. I used 5/6 oz Full Grain Skirting doubled up to create the backing with belt loops, alternatively if you are on the cheap you could probably use the same 9/10 oz leather for it and only a single layer, but stitched to help it maintain shape. For the retaining strap I used a 5/6 oz Full Grain Skirting, you could probably use the 9/10 oz instead if you don’t have the thinner stuff.
For hardware you will need a double capped rivet long enough to fit through 3 layers of leather. Both male and female set of ligne (line) 24 snaps for the retaining strap. A good thread if you are hand-stitching, Ritza Tiger thread is a good one plus saddlers needles. I ended up stitching this entirely on a heavy duty stitcher machine – Cobra Class 4. A tiny bit of pure neatsfoot oil (not the compound). Some sort of leather top finish – I use my own shop-made natural leather conditioner because it has a fair amount of Beeswax. You can alternatively use a resin finish called Fiebings Bag Kote. For the edges I waxed them with Columbus wax in the natural color.
Designing the Sheath Pattern
Making a leather knife sheath pattern might seem like a daunting process, but you’ll quickly see after this first part that is is a piece of cake. You just need to take it in small steps and make decisions about the design along the way. Let’s get going!
First I have to decide how I want the knife to sit on my belt. I did this by simply eyeballing it – holding the knife against my hip at the location I wanted it, height, and the angle. I place the belt on the table and position my knife in the location and angle which I just took note of on my hip. Do your best here, obviously it is not perfect, but it will be close. Take note of where the belt intersects with the handle and the angle it takes. I have the handle angled slightly backward to make it a bit more natural to pull from the sheath.
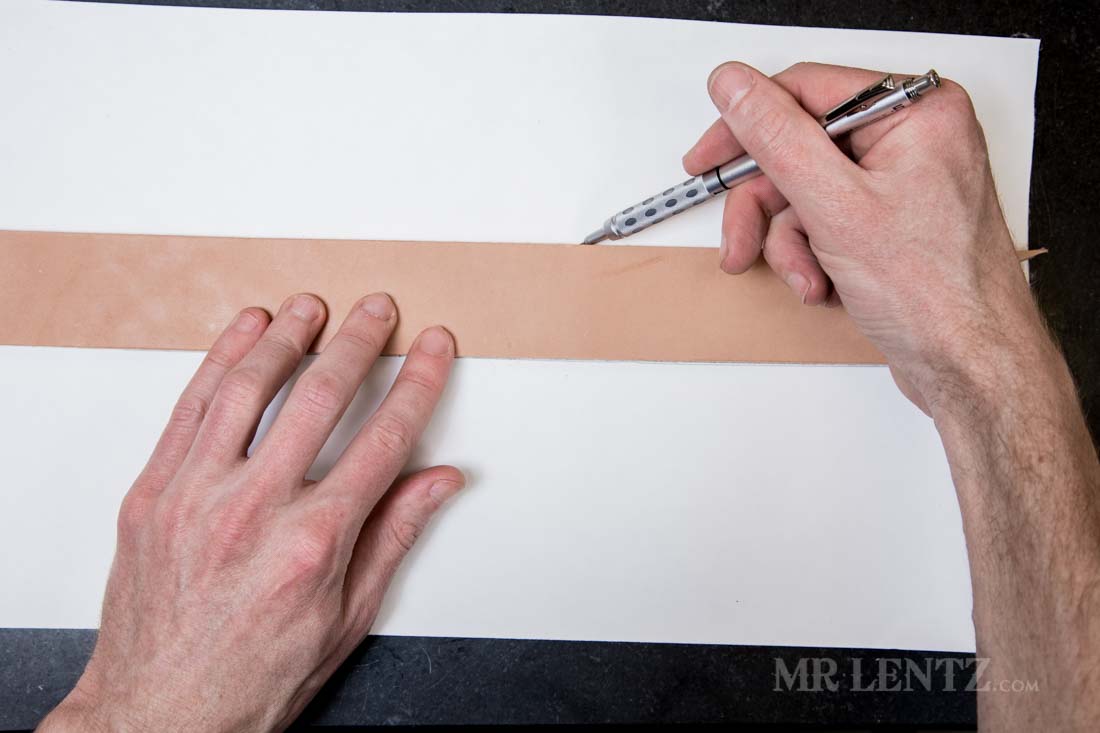
I trace the belt width onto a sheet of poster paper. You can also use those manila folders which have just the right thickness. Using a refillable fine point pencil – you can get nice and close to the edge for more accuracy.
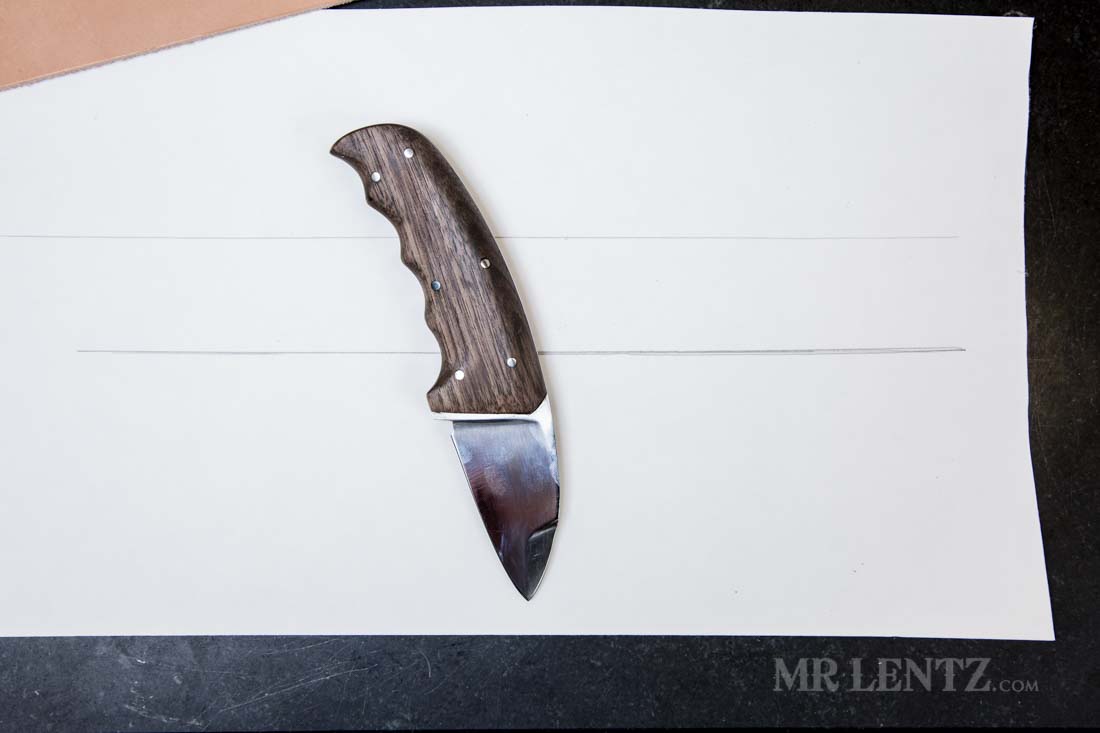
Now place the knife in the same location and angle noted before.
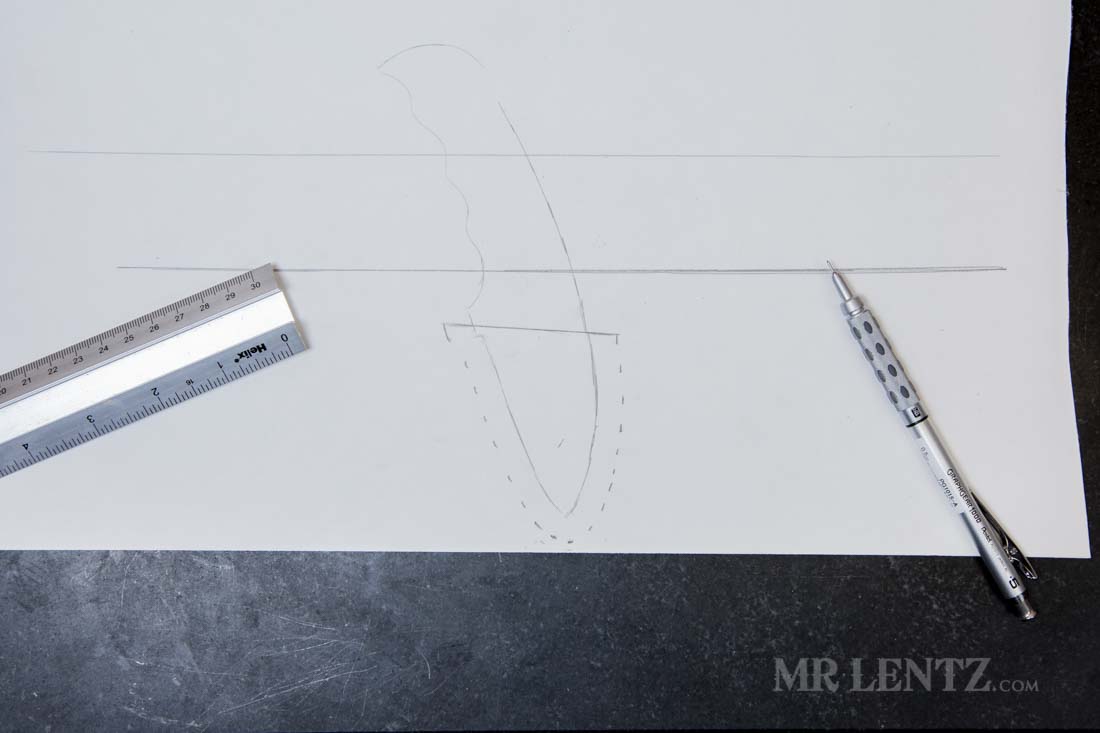
Trace the entire knife and handle as accurately as possible, especially the blade.
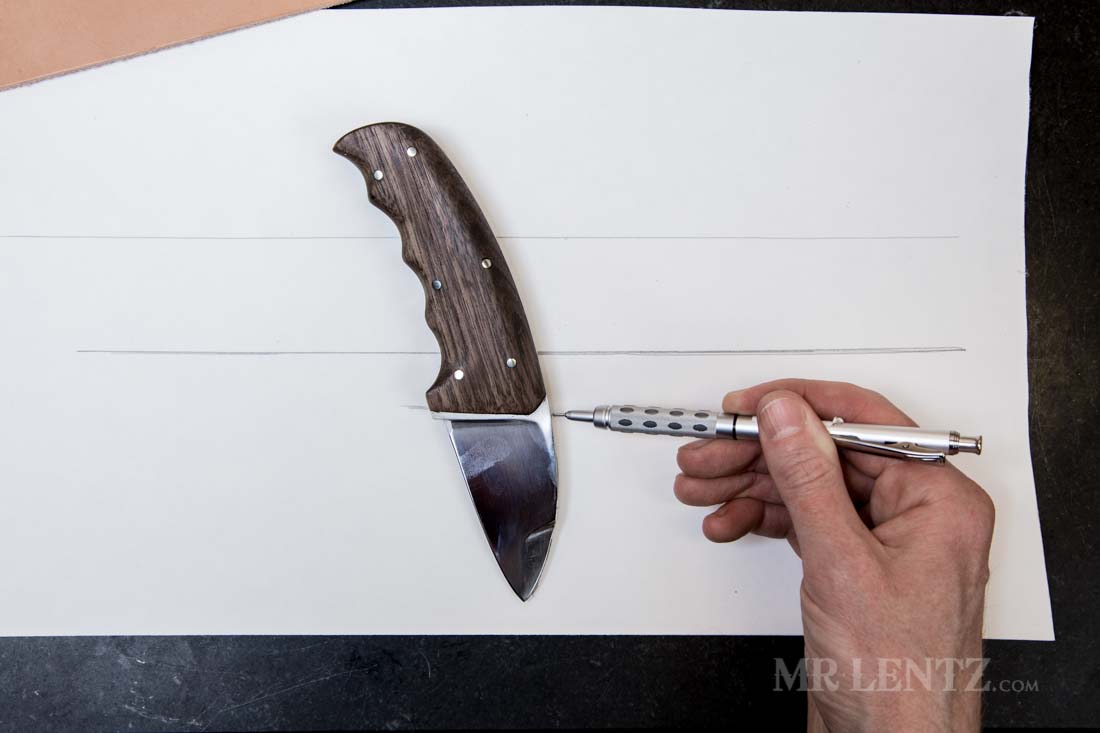
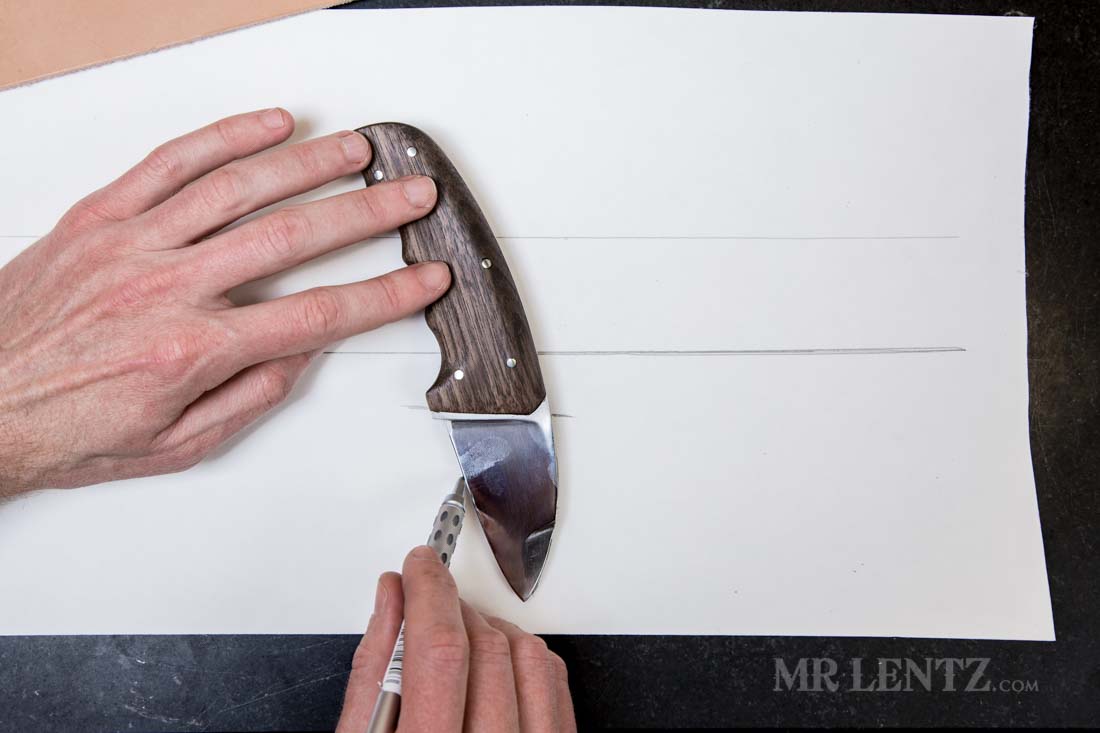
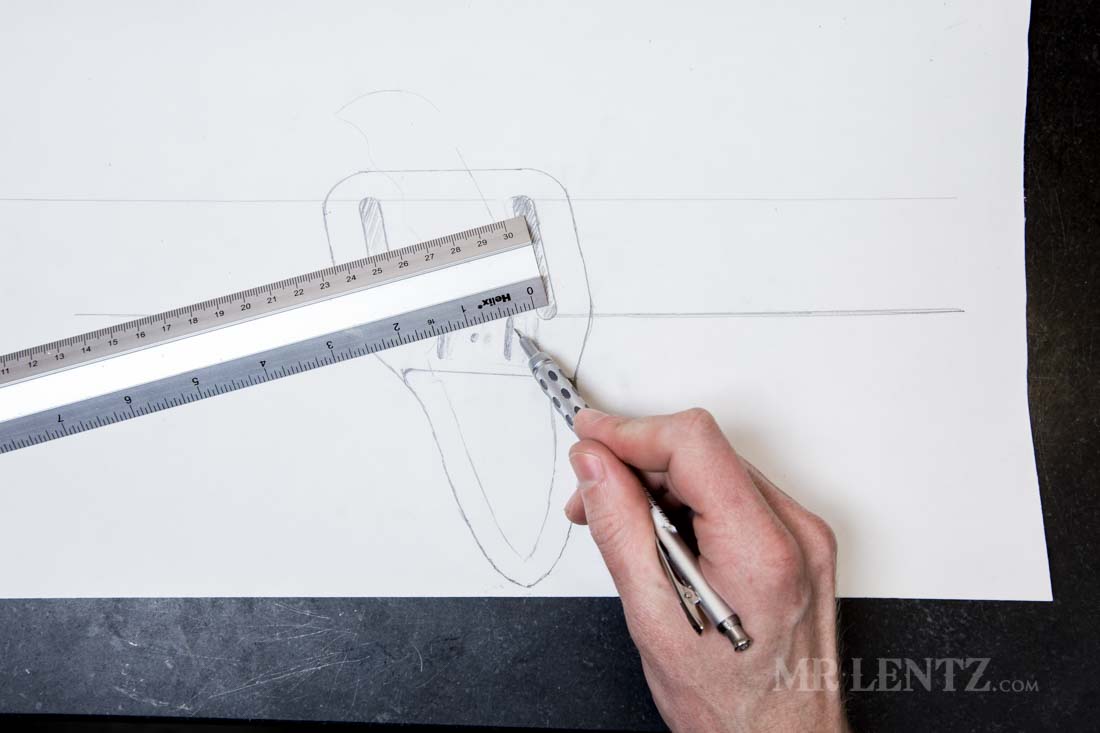
Since this knife sheath will only be protecting the blade, I made marks on both sides to note where the blade ends and the handle begins.
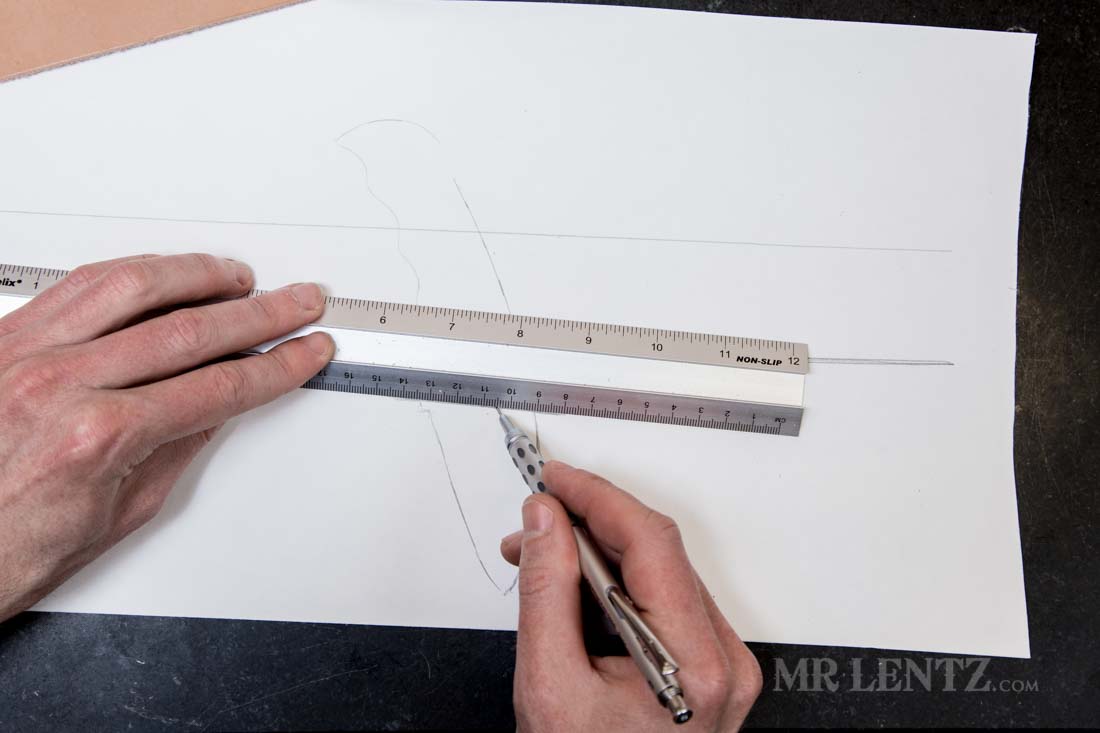
Using a ruler I trace a line between the two points marked to show the end of the blade.
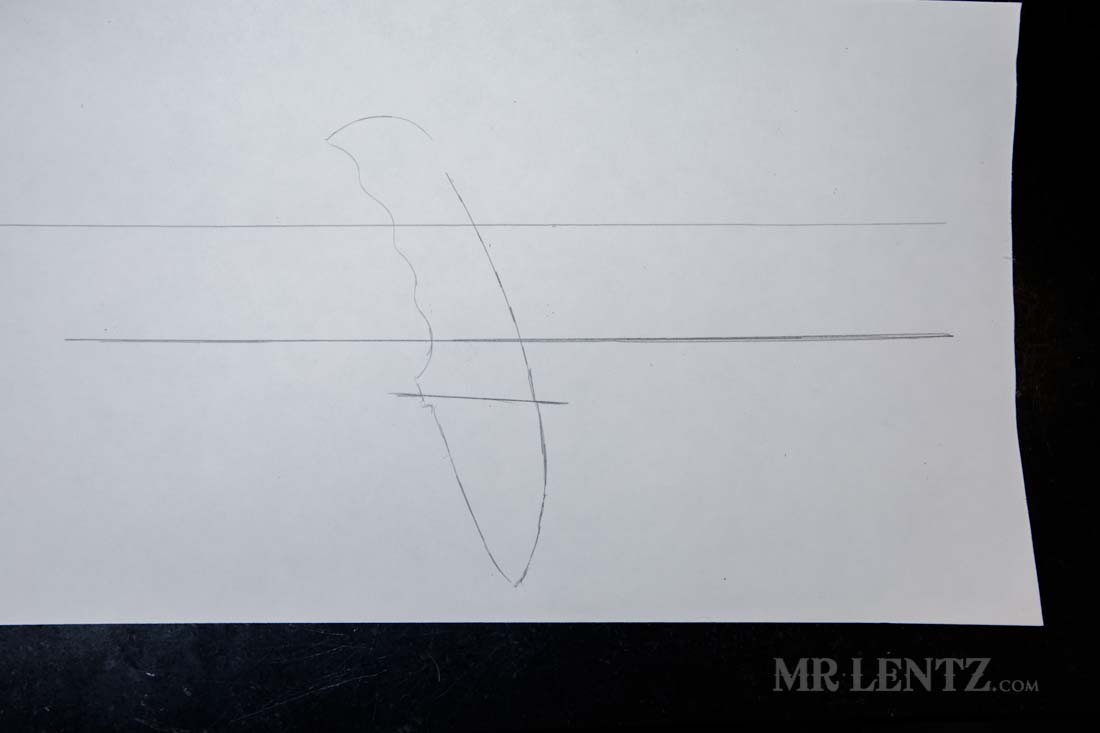
Above is what you should have so far, the belt and the knife sitting on it all traced out.
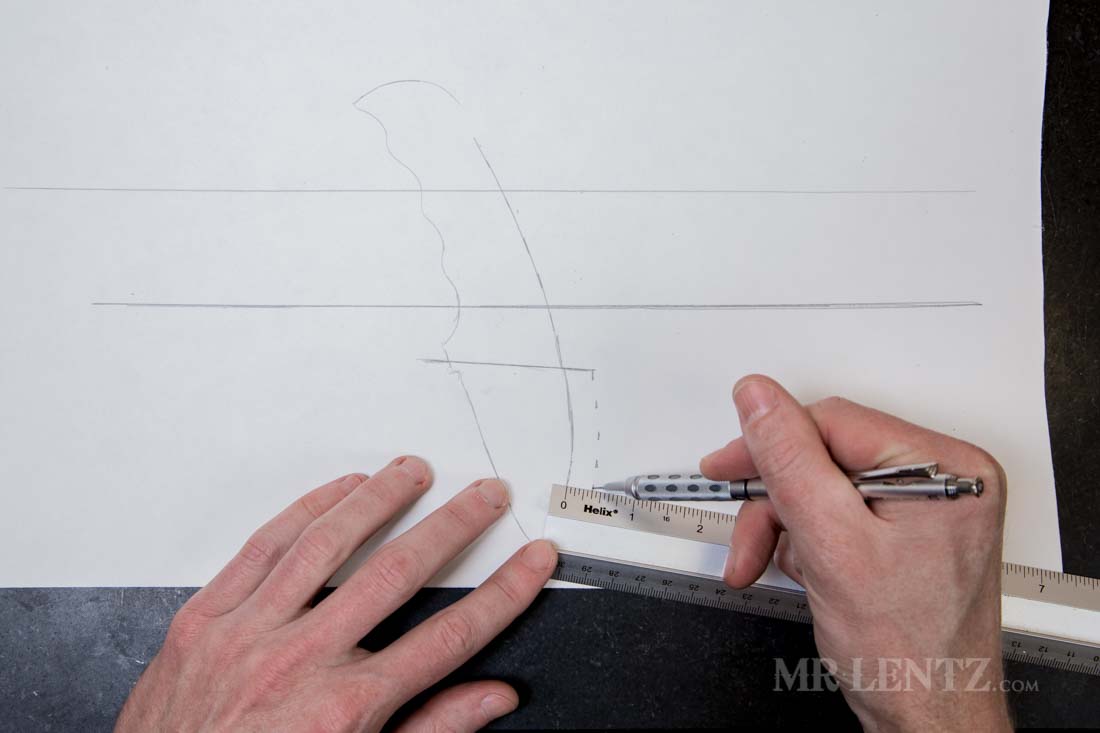
Next I make marks around the entire blade area 3/8 inches out. This marking defines the outer edge of the sheath.
Fully marked at 3/8 inches out from the blade, you can now connect the dots with the pencil to make a solid line.

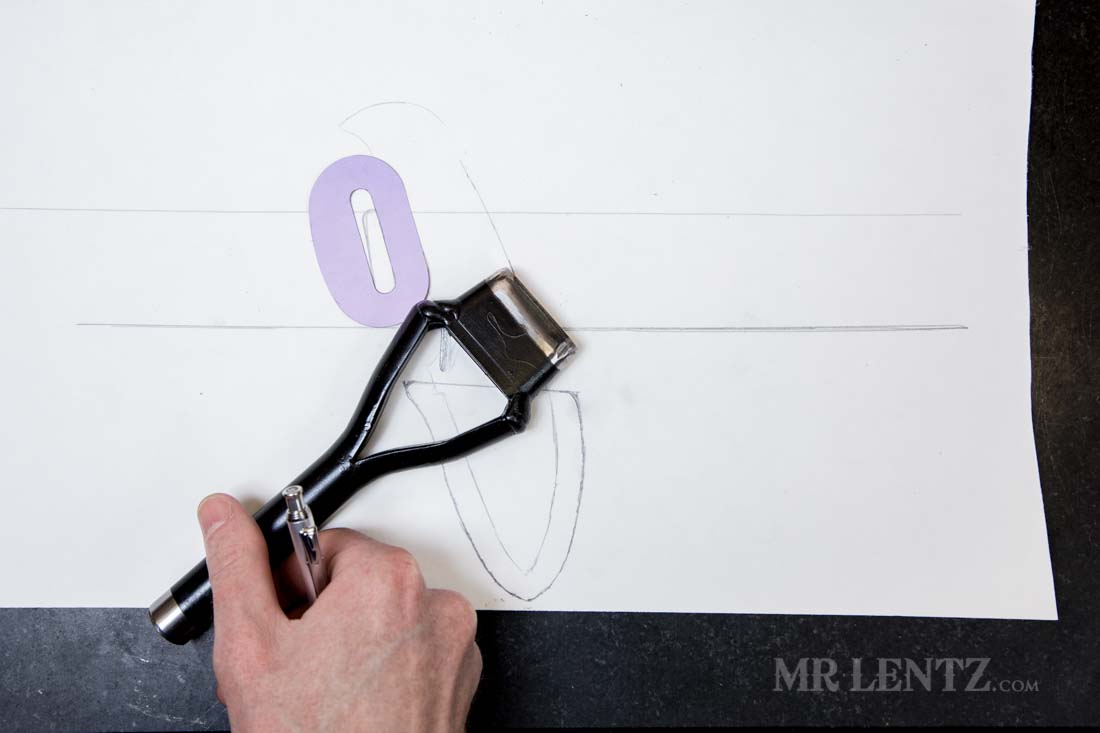
Since I will be installing a retaining strap on this knife I will need to punch holes for the strap to fit through. I chose a 5/8 inches wide slot punch because a strap of this width will accommodate the widths of both the rivet that holds it in place and the button snap hardware. I will be using ligne (line) 24 snaps.
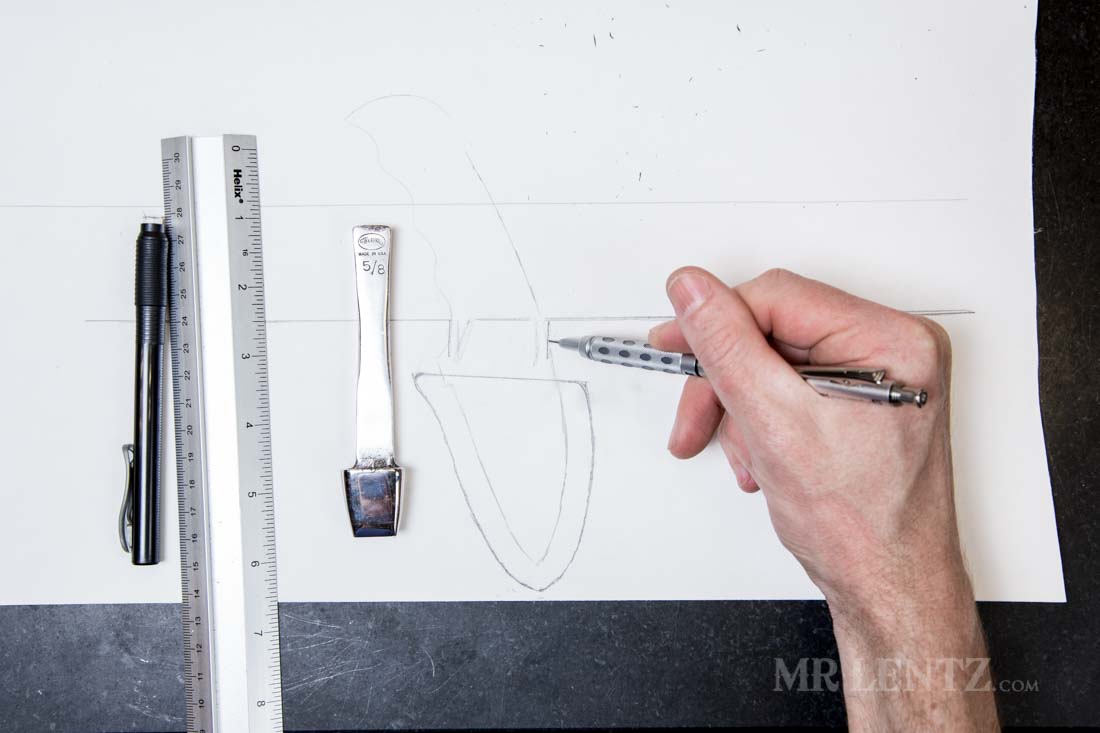
I mark where I think a good spot for the slots would be. The idea is that the retaining strap will be riveted to the back, pass through the slots and grab onto the handle in front. I need the strap slots to be close to the edge of the handle but not too far behind it so as not to push the handle outward when worn. The strap should also be placed at a height where it can grab the handle in a thinner section of the wood – for example one of the finger holds.
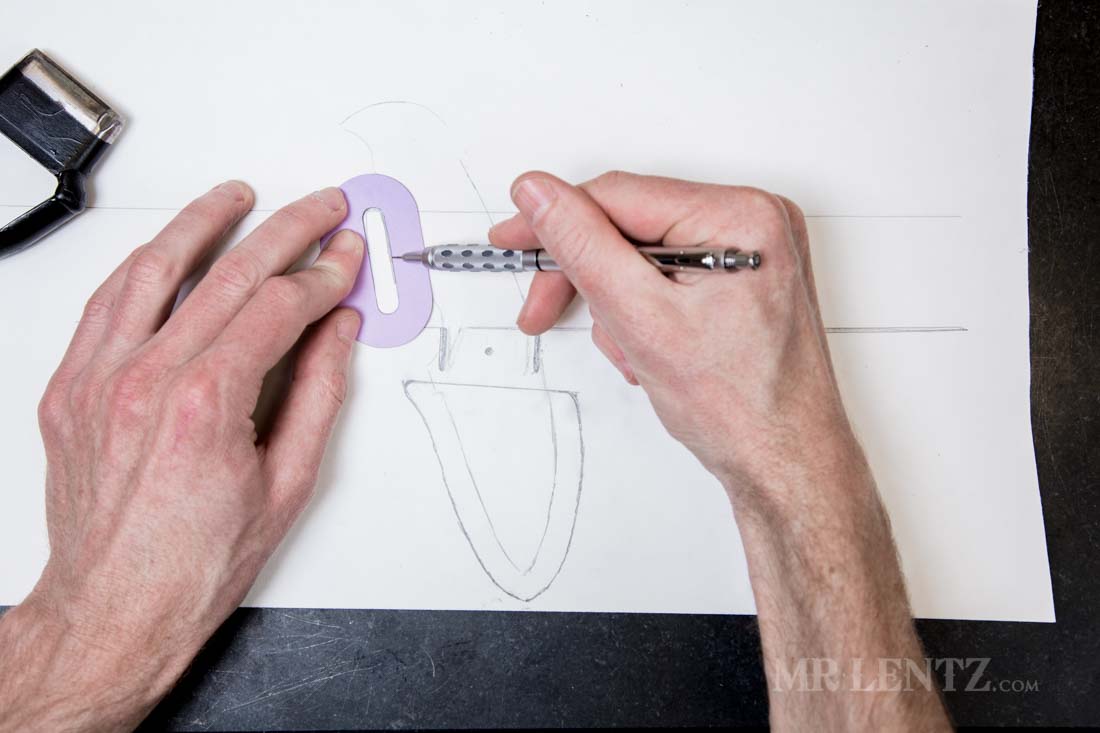
After marking the strap slots, I make a more precise 5/8 inch measurement for the actual size and sketch in the shape of the slots.
Centered between the slots I sketch the hole for the rivet. The retaining strap will be riveted with one rivet – this allows you to replace the strap if it gets too worn out from use.
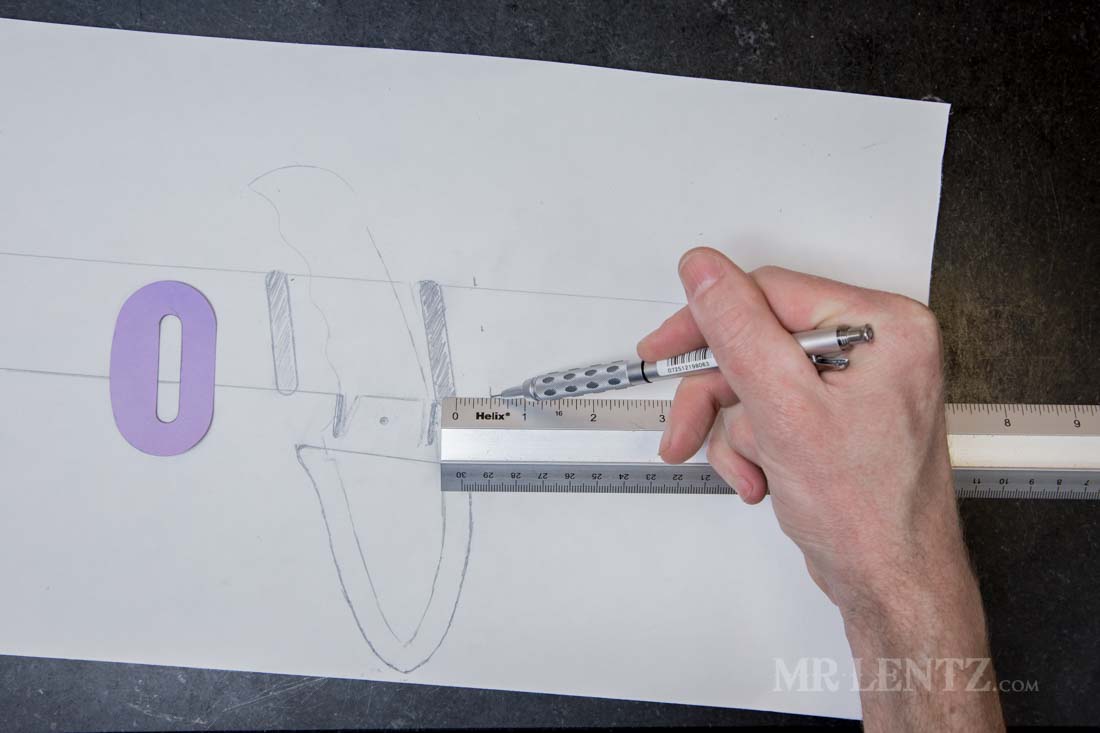
Next I need to determine where the belt slots will go. This punch is slightly too short for the 1.75 inch belt, but it is what I will be using to help make the slots. The purple piece of paper is just a pattern I made with the exact size of the slot punch so I can easily draw it.
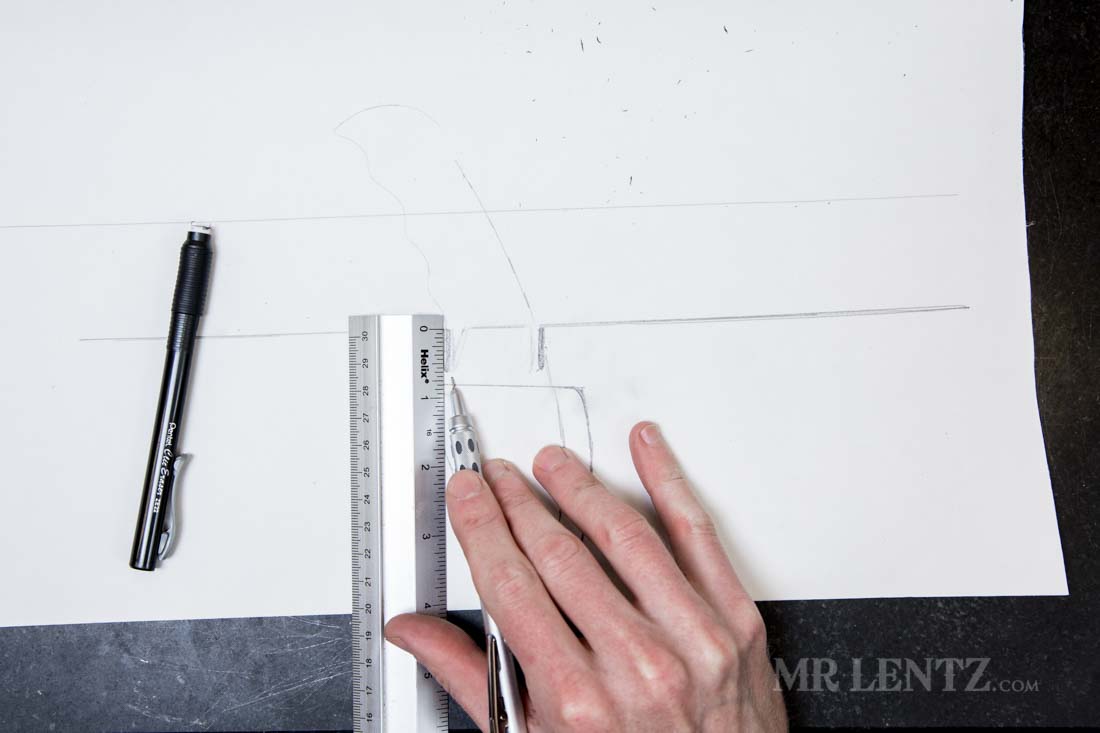
Using the slot pattern (or your own punch and tracing it), I place the belt slots just outside of the handle and at a slight angle that compliments it. If you angle them, just remember that the overall slot length will be greater than the width of the belt due to the Pythagorean theorem or some such thing.
Once both belt slots are drawn I make marks 1/2 inch outside of the slots. This gives enough space for adequate leather on the outside of the slot for durability, as well as space needed when we go to stitch the edge of the sheath and the edges of the belt slots. I do tend to stitch belt slot edges, this makes them even stronger since they are a big flexing point that can stretch over time.
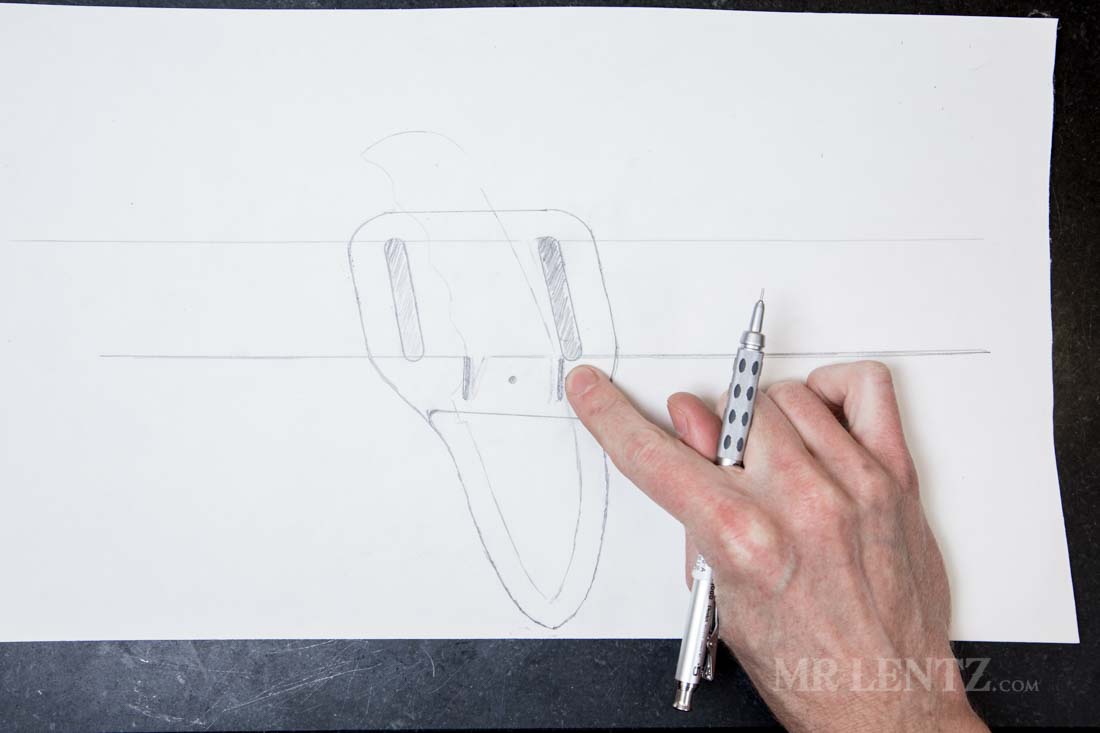
I then sketch out the rest of the shape of the sheath, blending curves together. This is when I noticed a problem – my retaining slot is too close to the belt slot…gotta move it over!
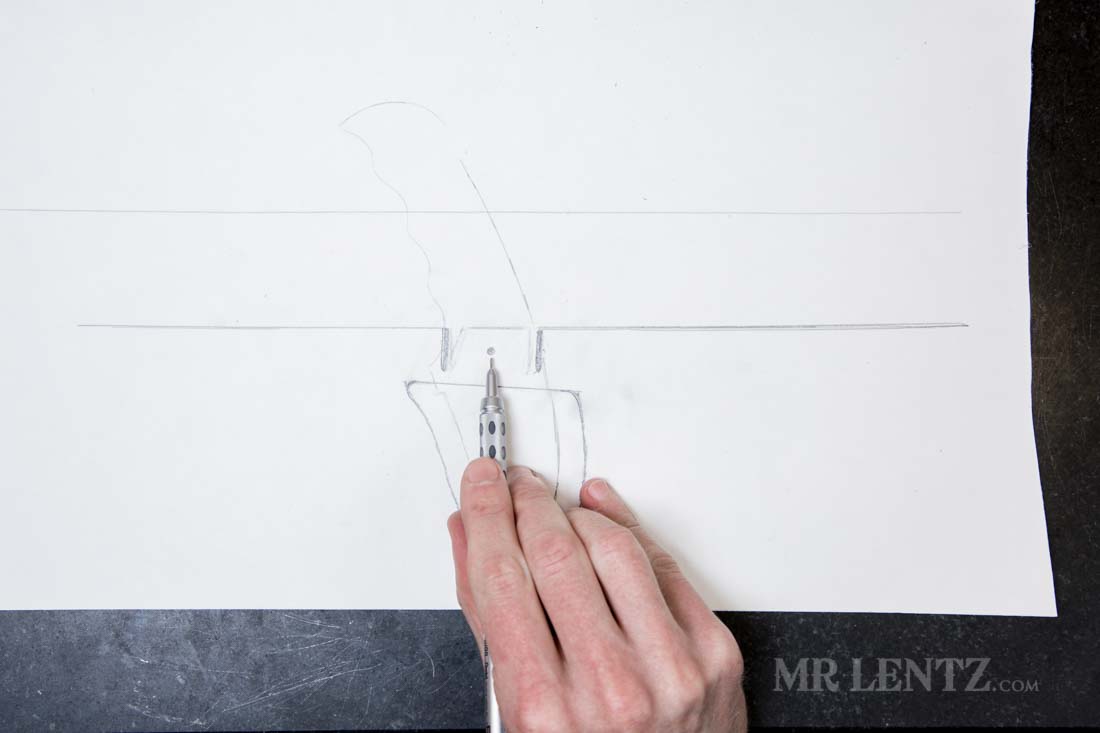
I move the retaining strap slot over 3/8 inches and re-sketch. I also slide the rivet hole over slightly to keep it centered.

Now that the pattern is complete, it’s time to cut it out on the exterior line only.
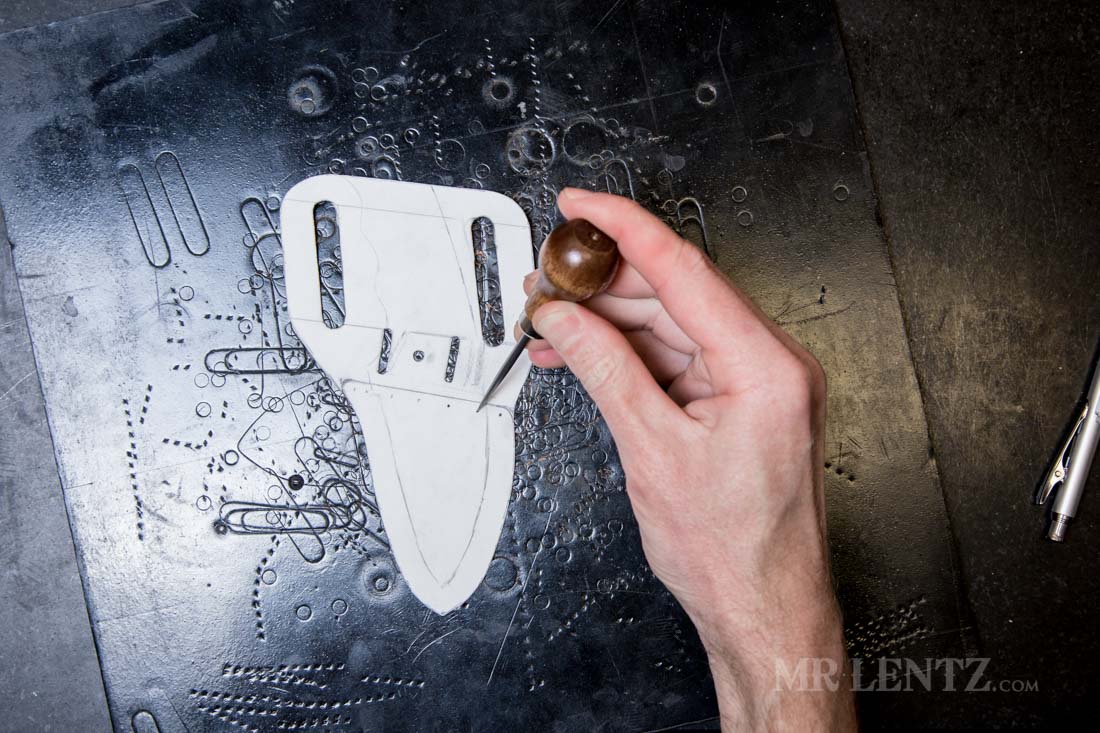
Here’s what you should have at this point, now we just need to punch out the slots and rivet hole. I use a ‘poundo’ board below to absorb and protect the punch.
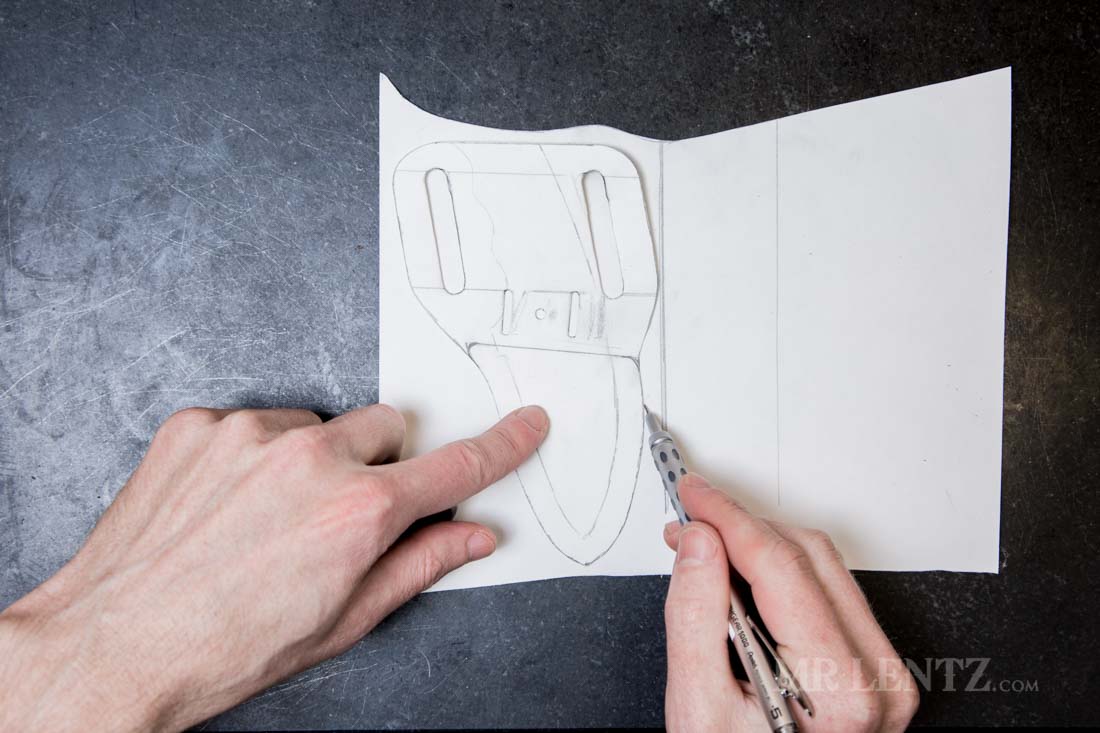
Once the first piece is cut and punched I then use it to trace the exterior and slot holes and rivet hole onto a new piece of poster board.
Here is what the new tracing looks like…this is actually going to be the template used for both sides of the backing of the sheath. Cut this new template out and punch the slots.

I then place the first cutout onto the second cutout and align it.
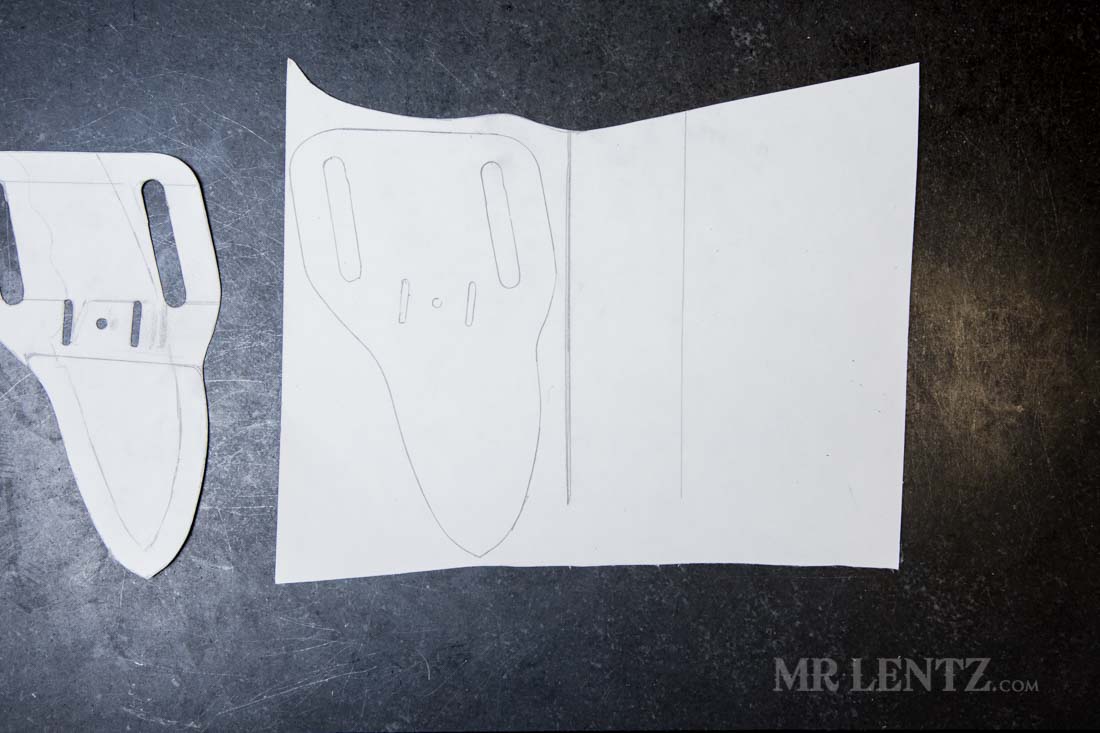
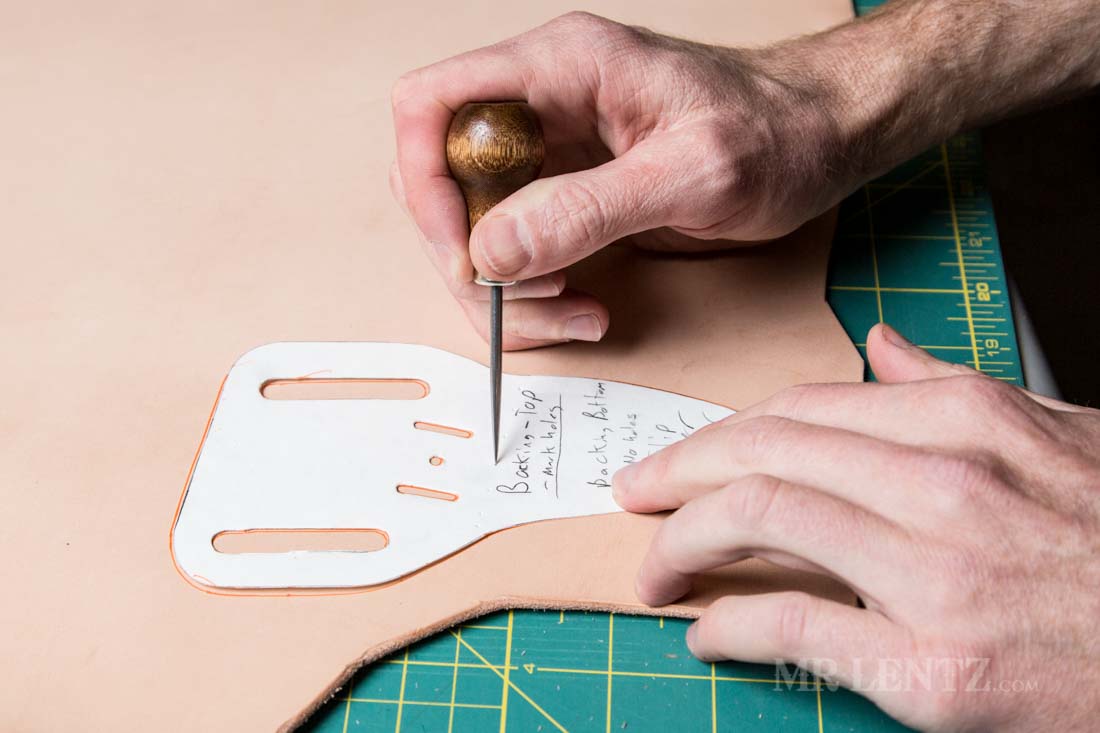
Using a scratch / marking awl I make a few marks through both templates across the top edge of the blade protected area. Make sure to go about 1/8 of an inch in from the line and don’t go all the way to the edges. This mark will later be used on the leather to determine where to stop the glue line so it wont be visible.
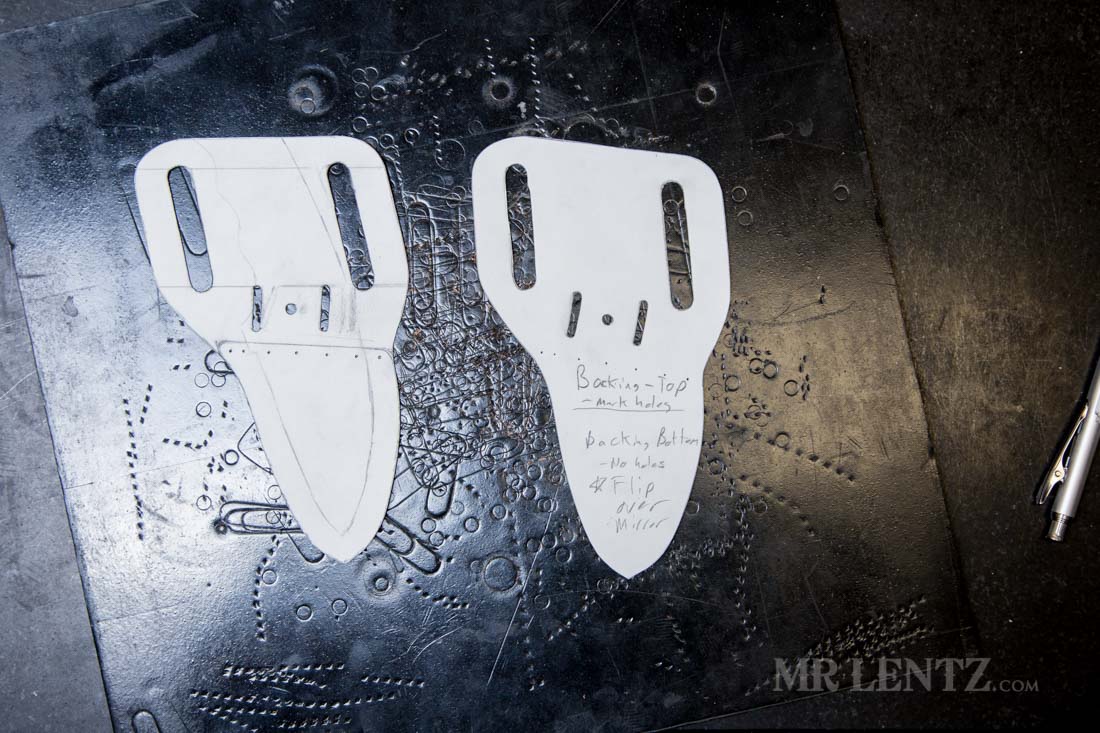
Now you should have two pieces that look like the above. The one without all the lines on it is your backing template, make sure to make some notes on it. I noted that it is the backing top and to use the holes we just made, then it is also the backing bottom but you need to flip it over for that purpose and not mark any of those tiny holes. Believe me when I say this is a very helpful step!
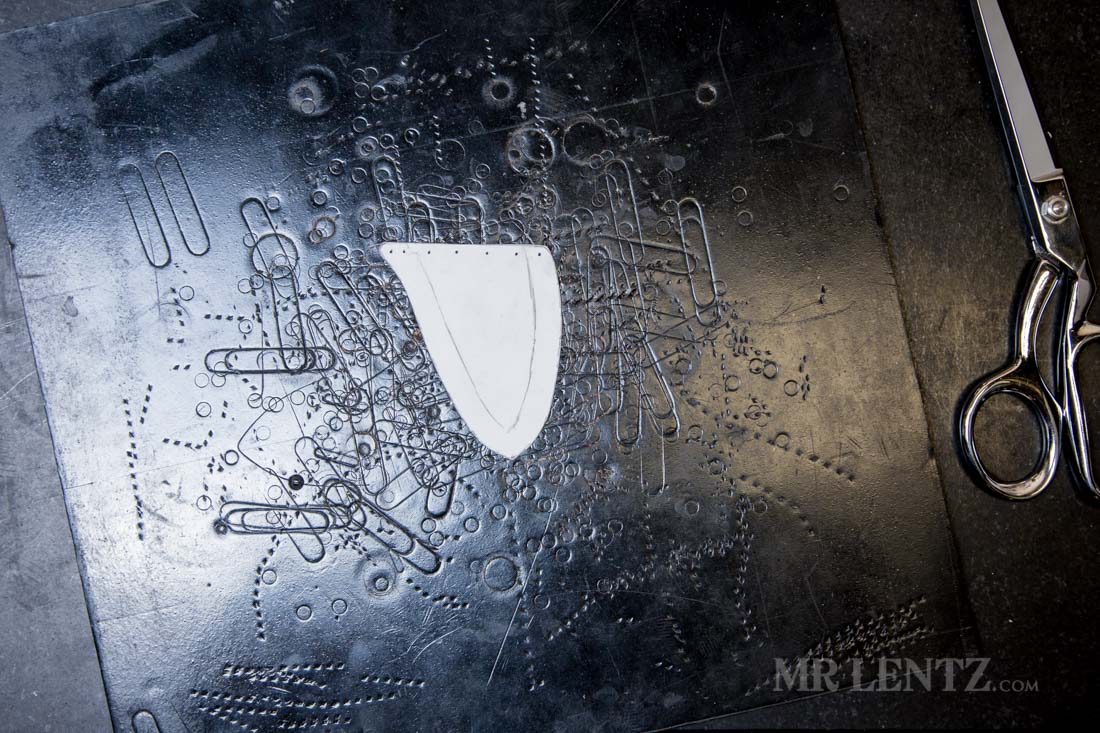
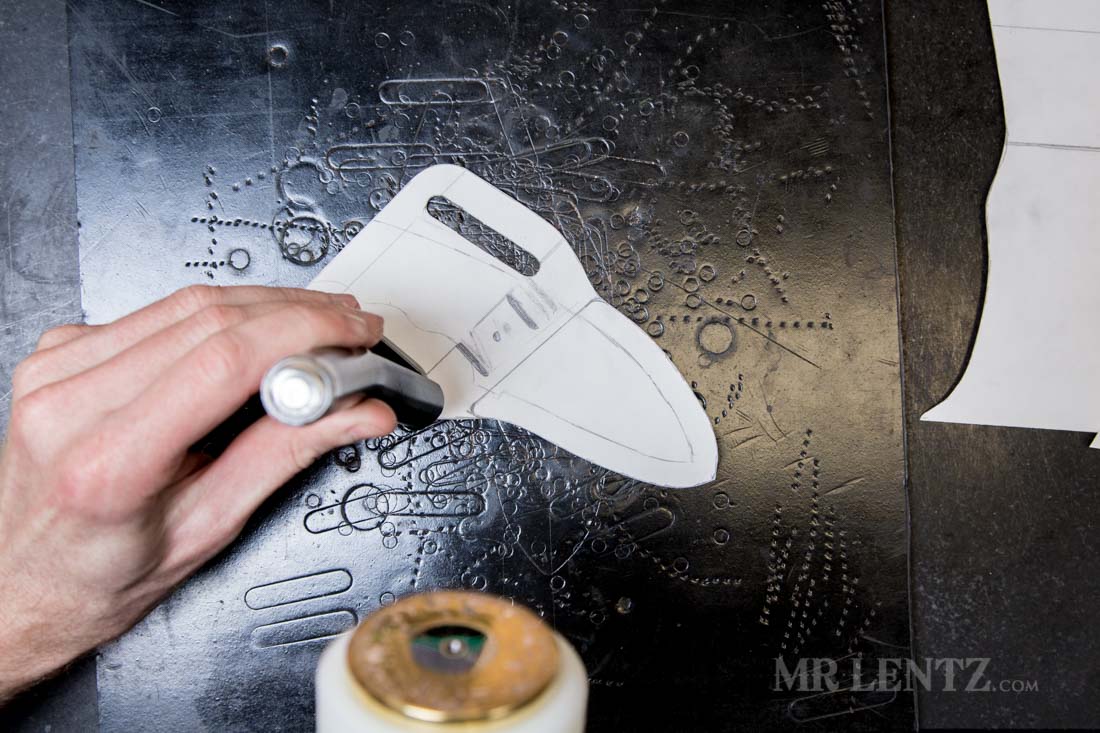
Taking the template with all the lines on it, cut out the area that protects the blade.
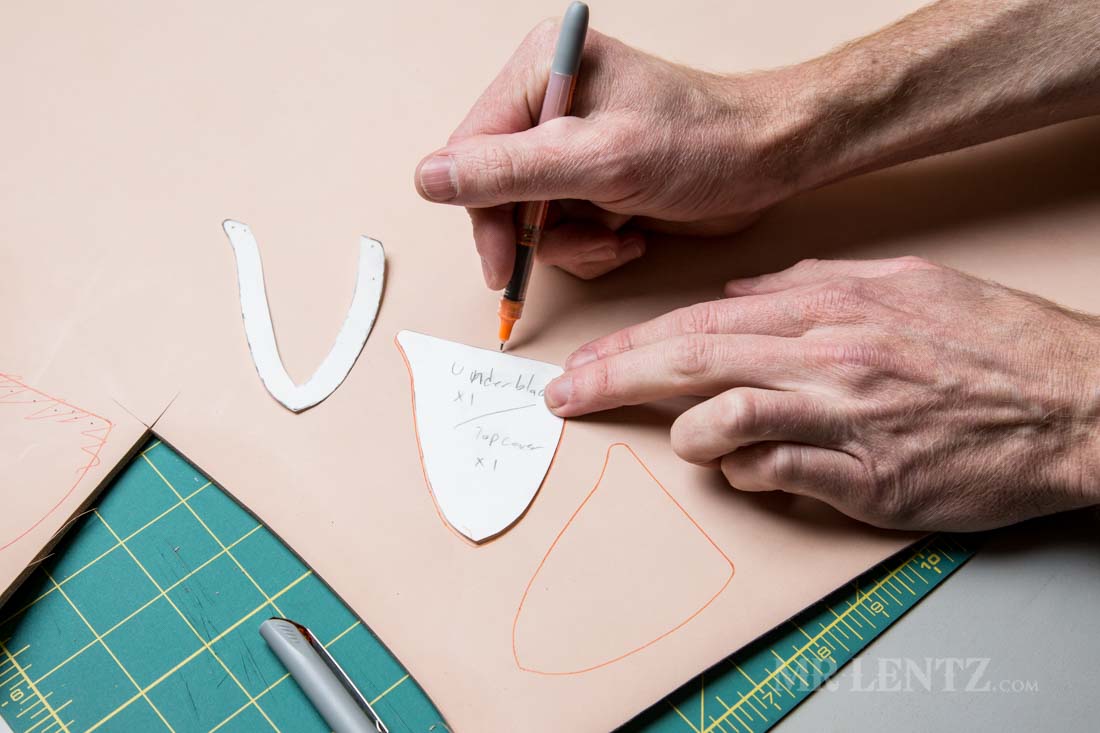
Trace the blade protector onto new poster board. Do not mark the holes though.

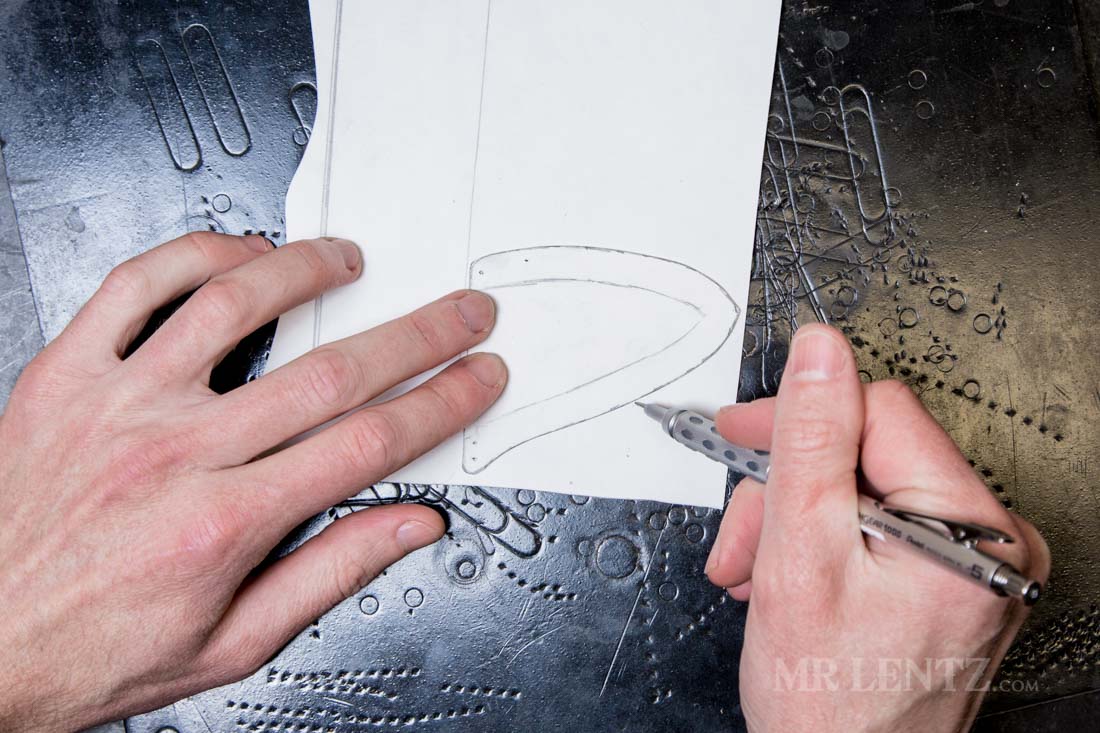
Cut out this new piece from the poster board and make some notes on it. It will be used as two separate pieces, one below the blade to help lift the blade out from the backing since our handle is so thick. It will also be the top of the blade cover that shows on the front of the sheath. Once you do that – cut the template with lines on it to the V shaped item that is shown on the right. This is the welt, which will sandwich in between the two blade cover pieces. The welt which helps accommodate blade thickness, also helps to protect the stitching by giving the blade something to rest against.
Grab the 9/10 oz full grain skirting leather.
Trace on two of the blade covers (no need to flip this one).
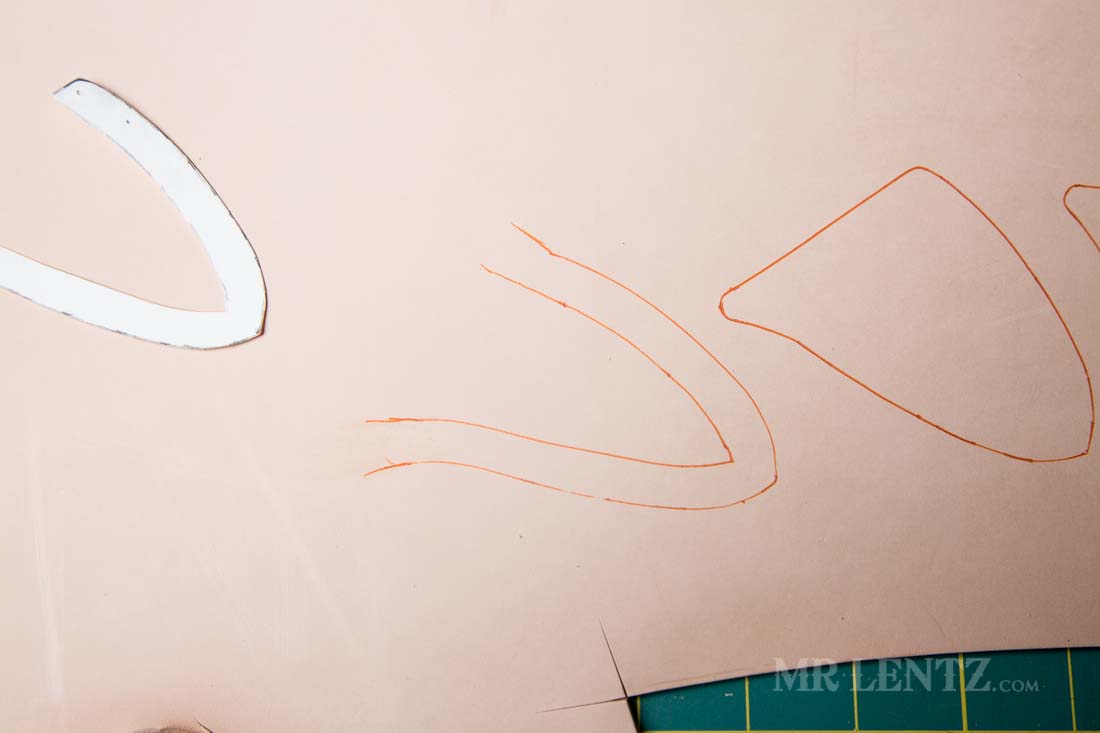
Trace one welt but extend out the lines on the top. This is a good tip – for some reason welts never quite fit perfectly, so you leave extra room until after you have glued them in place…then cut off the excess.
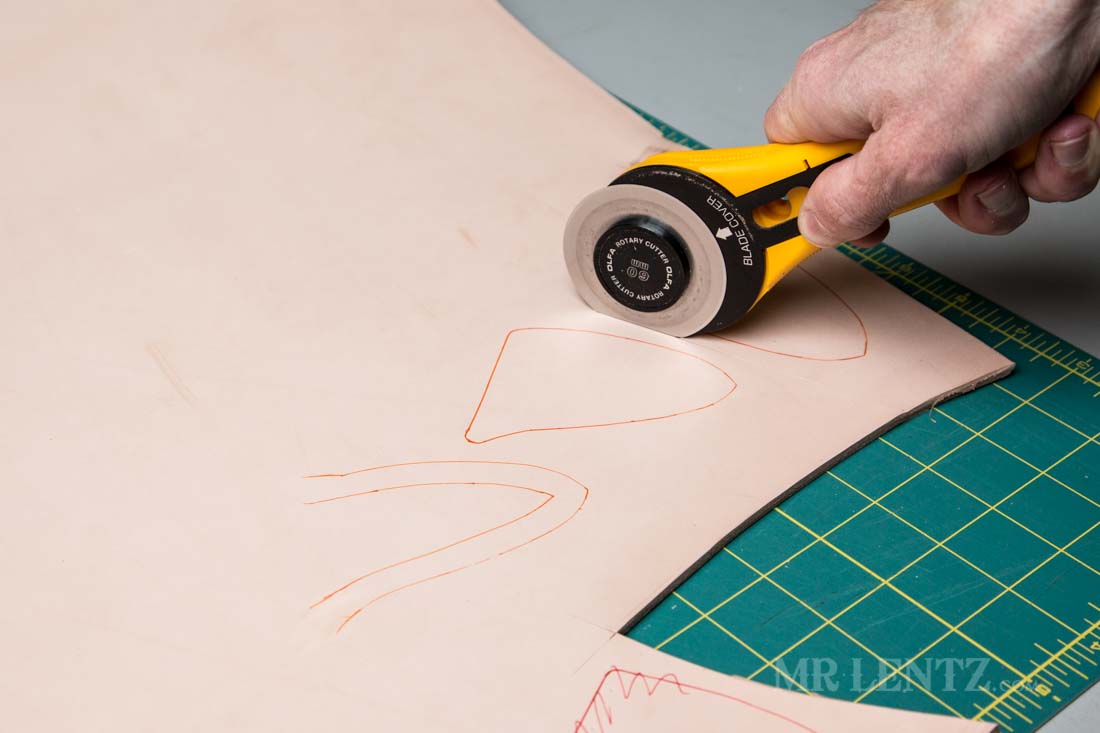
I also leave some space between all pieces when using thick leather like this. This allows you to pre-cut with a rolling blade before you cut precisely with the scissors. Pre-cutting makes life much easier when using scissors.
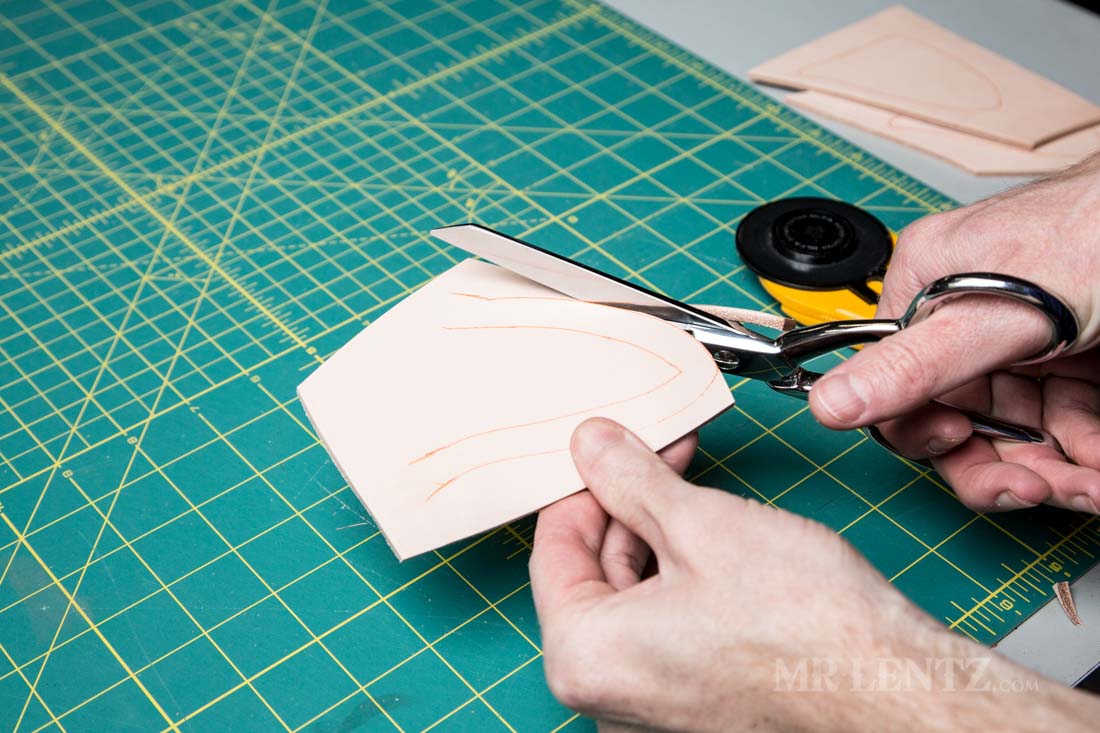
You can now cut out those shapes using the scissors. For thick leather like this I used to wet the leather a fair amount first, let it sit for 5 minutes then cut things out. Wetting it makes it about 40% easier to cut so you can do this if you are having trouble. The problem that it ends up creating though is that things become a bit harder to stitch both by hand or machine. I am not sure exactly why but it is what I have observed. So now I only wet thicker leather if I really can’t accurately cut it dry.
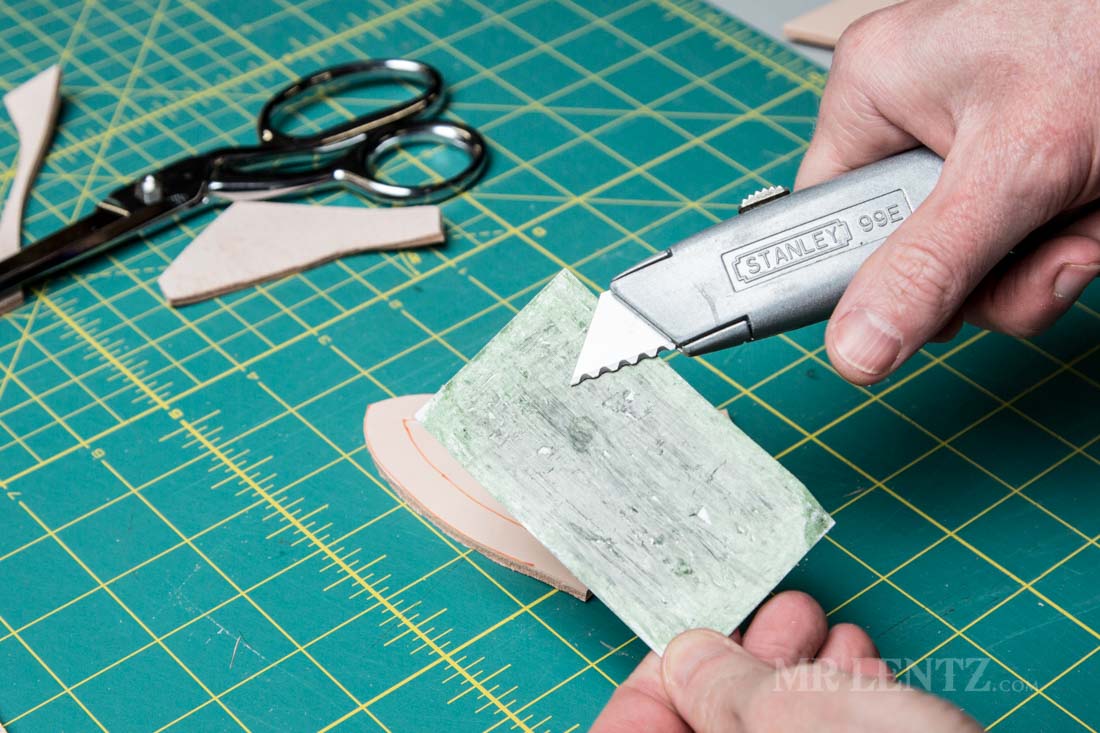
For the welt’s inner corner we will be using the box cutter. Make sure it is sharp – you can use a strop like shown to sharpen a razor blade beyond factory sharp…oddly it does in fact make a difference. I used a business card and rubbed on some green micro fine honing compound. This is the correct color of honing compound to use so don’t get confused with the red or white versions.
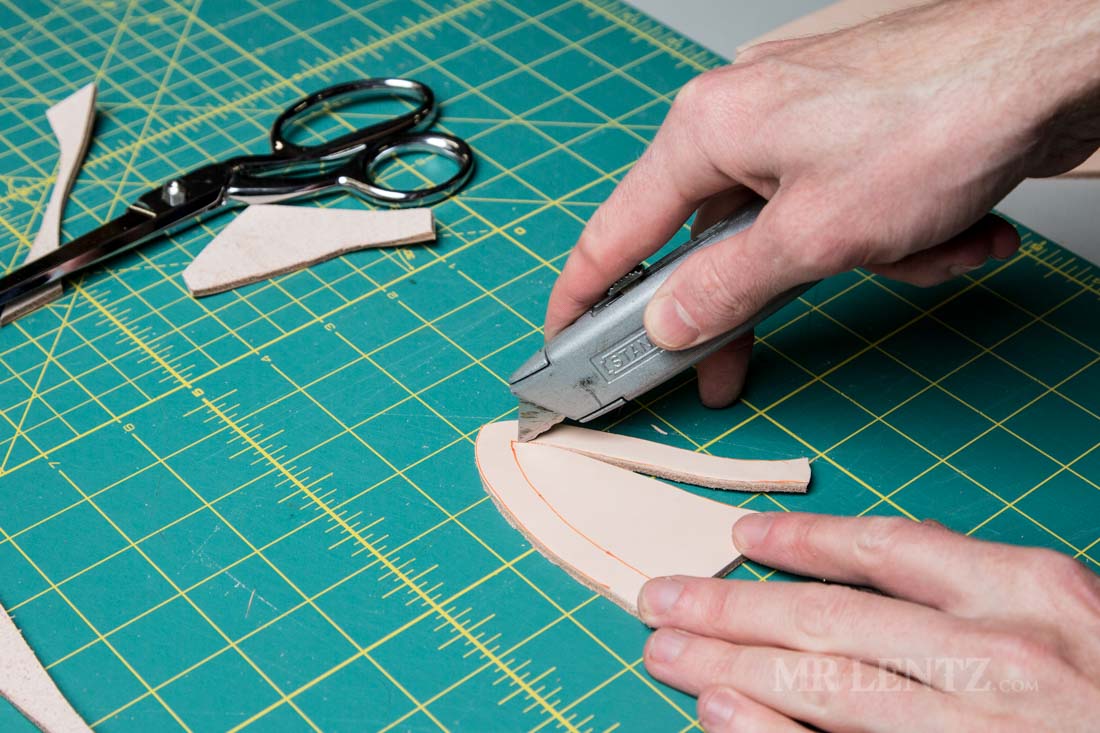
I carefully use the blade to cut out the corner of the welt.
For the two mirrored backing pieces grab the 5/6 oz leather, trace the front piece on with all slot holes and rivet hole and mark the tiny glue line holes.
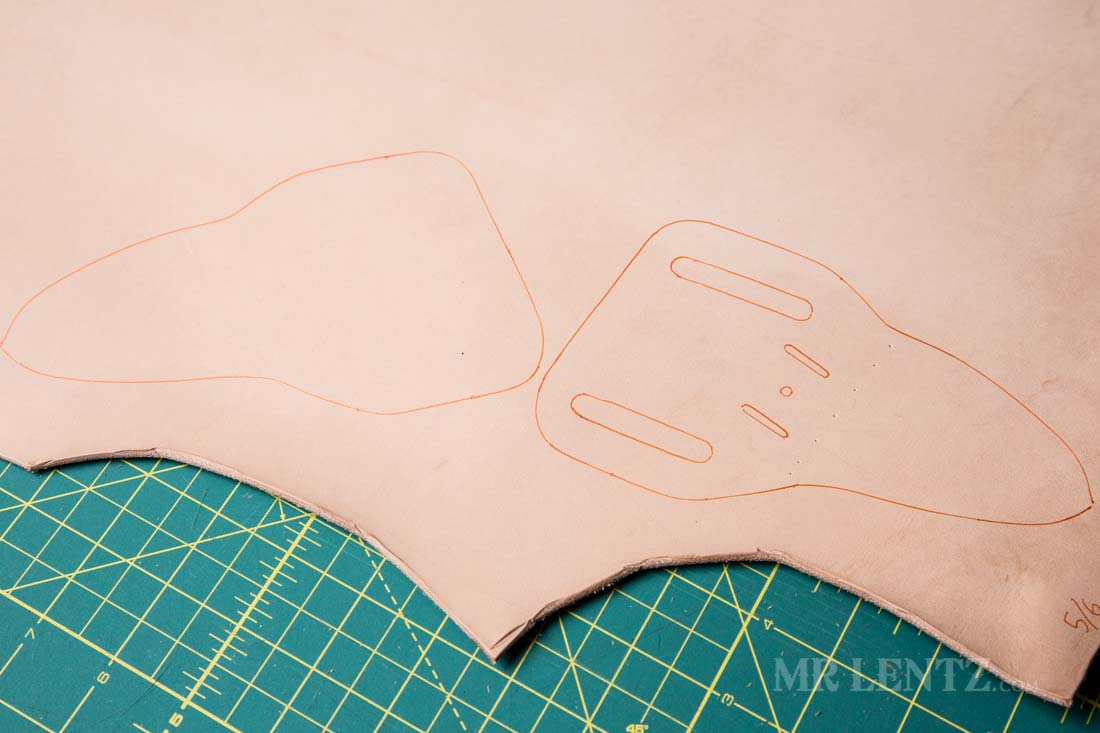
Then flip over the template and trace only the outline of it without any slots or holes. You should have something that looks like the above.
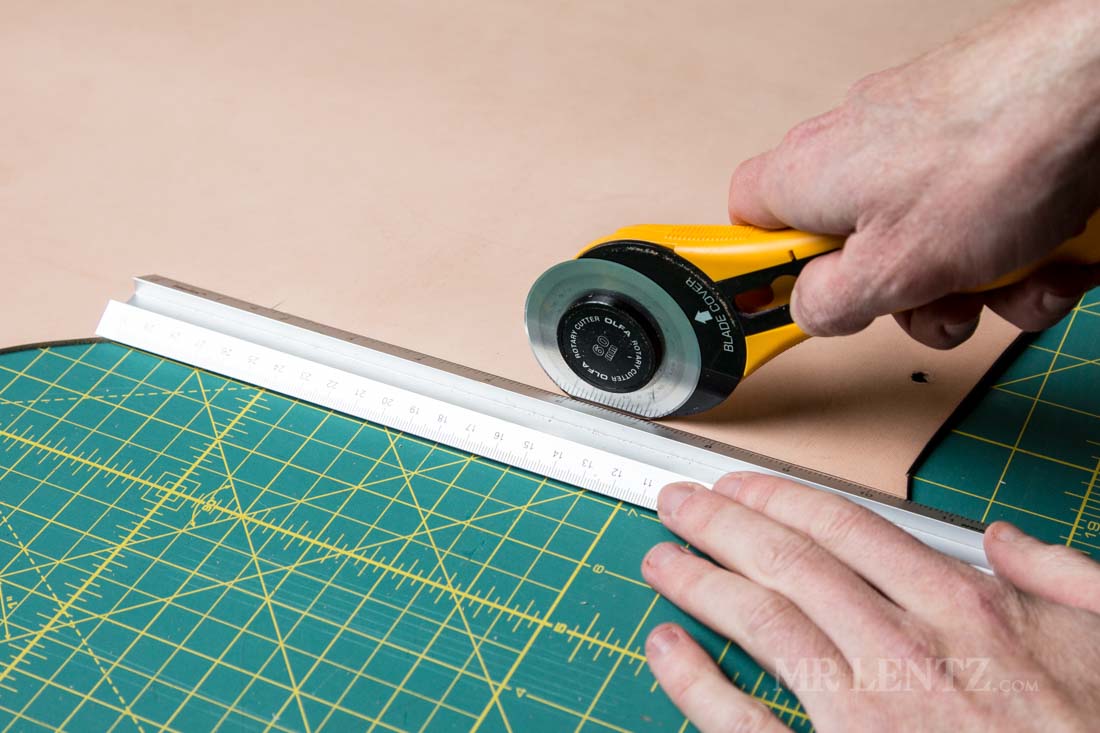
Next using the ruler and rolling blade I cut a straight line of leather in the 5/6 oz. this is one side of the retaining strap.
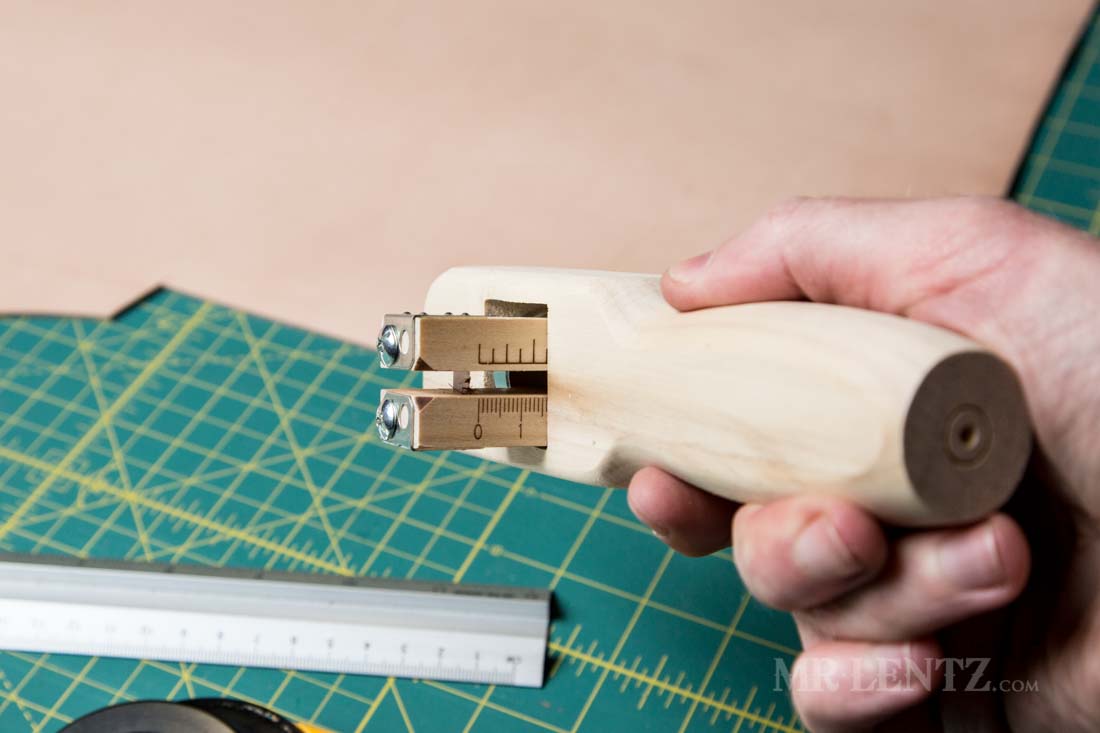
Grabbing the wooden strap cutter I set it to 5/8 inch width.
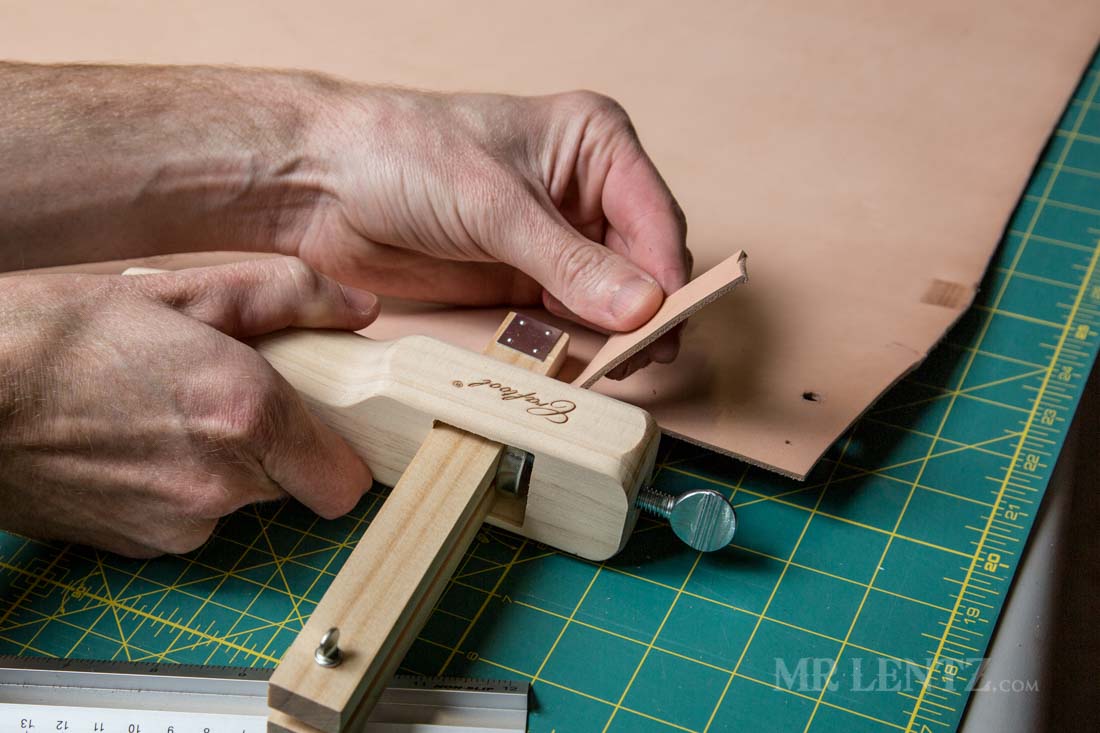
I glide the strap cutter along the straight edge I just cut and cut a strap about 8 inches long.

Here’s the rough cut retaining strap. That’s about it for this first part of the tutorial. If you are still with it at this point, the rest gets ab it more fun. In the next part I’ll go over all the prep work done before glue-up and stitching. If you are enjoying this post…you might consider checking out my online shop and supporting my small U.S. business, the more support I receive the more I am able to create free tutorials like this one and all the others located here.
If you are ready to proceed to Part 2 go here.