
Everything, Leather, Tutorials
How to Make a Leather Knife Sheath (Part 2 of 3)
Oct
This is part 2 of my knife sheath tutorial. If you found yourself here and would like to read the first section head on over here. If you need to skip to section 3 go here.
In this next part of the leather knife sheath tutorial we will be prepping the sheath for glueing and stitching. It’s important to get these finer details right so you can avoid future problems when stitching this project together.
I use a special type of low to no VOC glue called Renia Aquilim 315. This stuff works well for holding your projects together and the biggest plus is it is apparently non-toxic so you don’t get those horrible headaches associated with other cements. Many other makers will swear by the older high-VOC glues…the truth is, you don’t need anything with superman strength here – the stitching does all the work in keeping the project together. The purpose of the glue is only to hold it in place while it is stitched. Meanwhile why use a toxic substance in the shop when trying to make something for fun? The only downside with this glue is that it tends to grab the needle when either hand stitching or sewing. Not a big issue with thinner projects, but when you are stacking multiple layers of thick leather together it can make quite a job out of stitching. I do have a solution for this later on in this tutorial though.
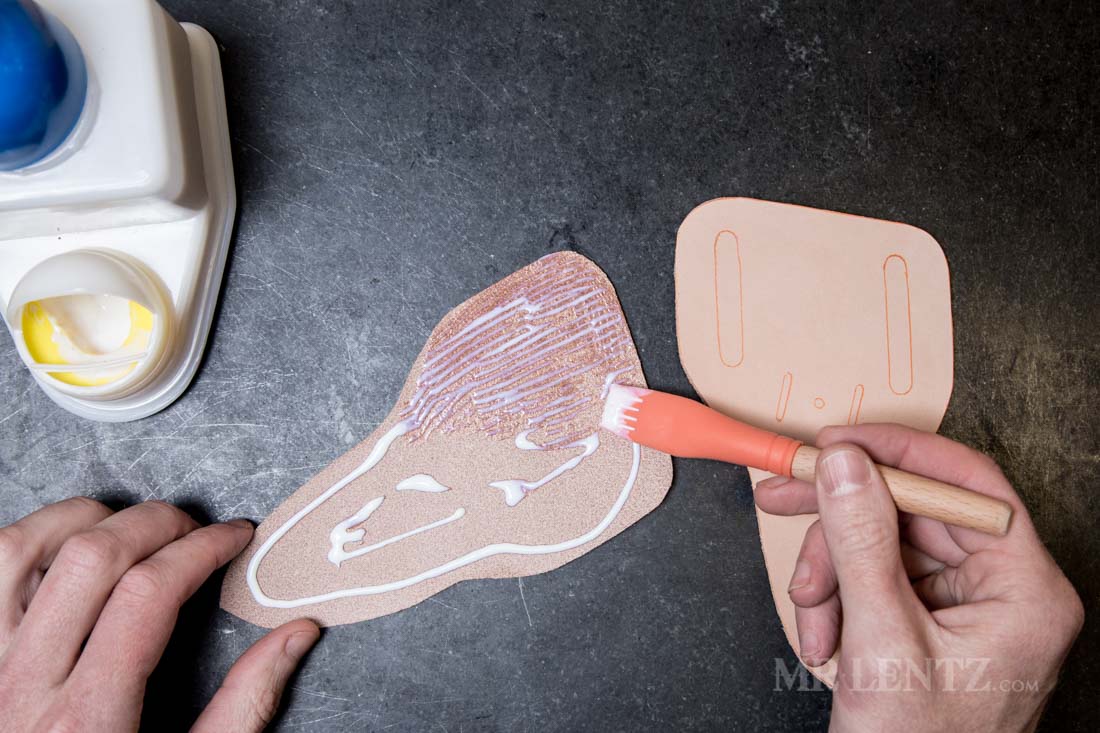
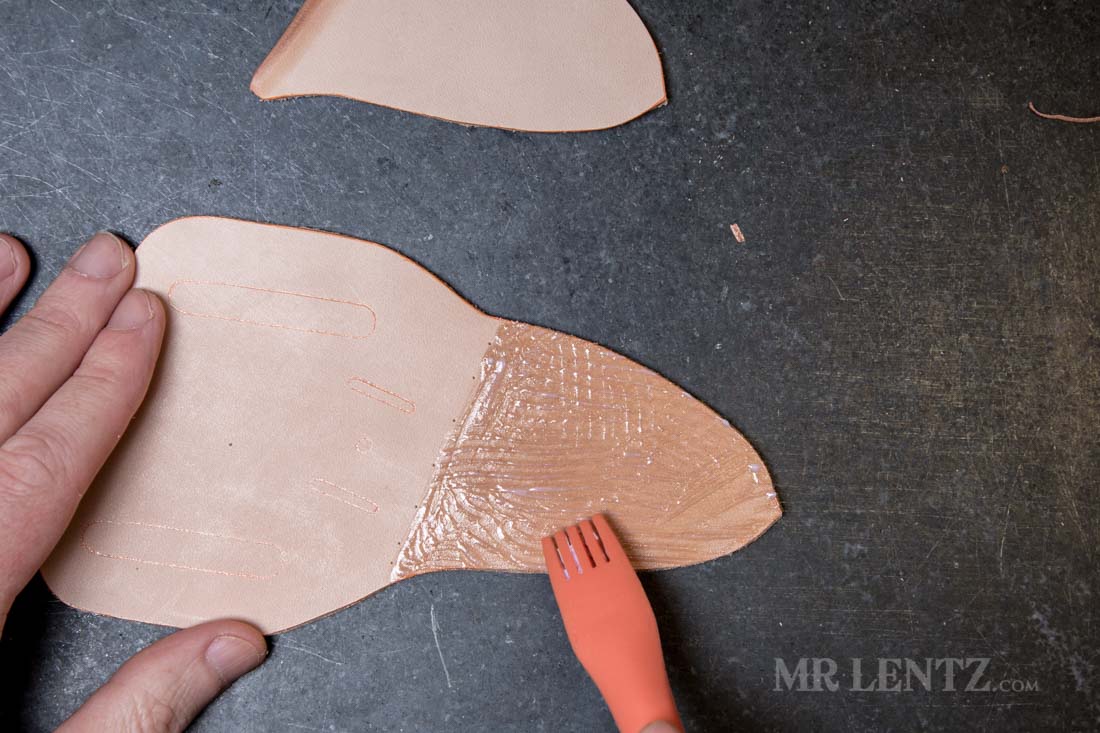
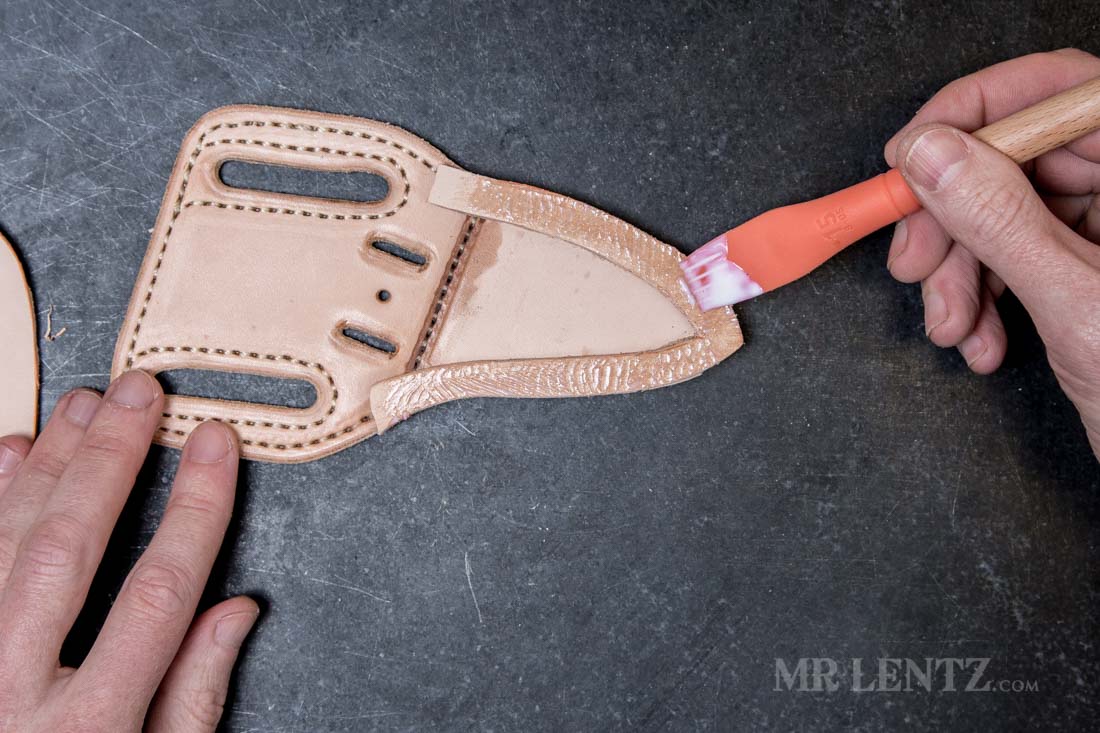
In this step above I am applying the glue with a spreader to the backing pieces of the sheath (only one side is required). An even layer is applied all the way out to the edge. I am not concerned too much if it goes over the edge, but make sure it does not get on the other side as it will block dyes and waxes. By getting the glue close to the edge you will have a much easier time creating a smooth slick edge when finishing this piece up. Let the glue dry to clear, then proceed to the next step

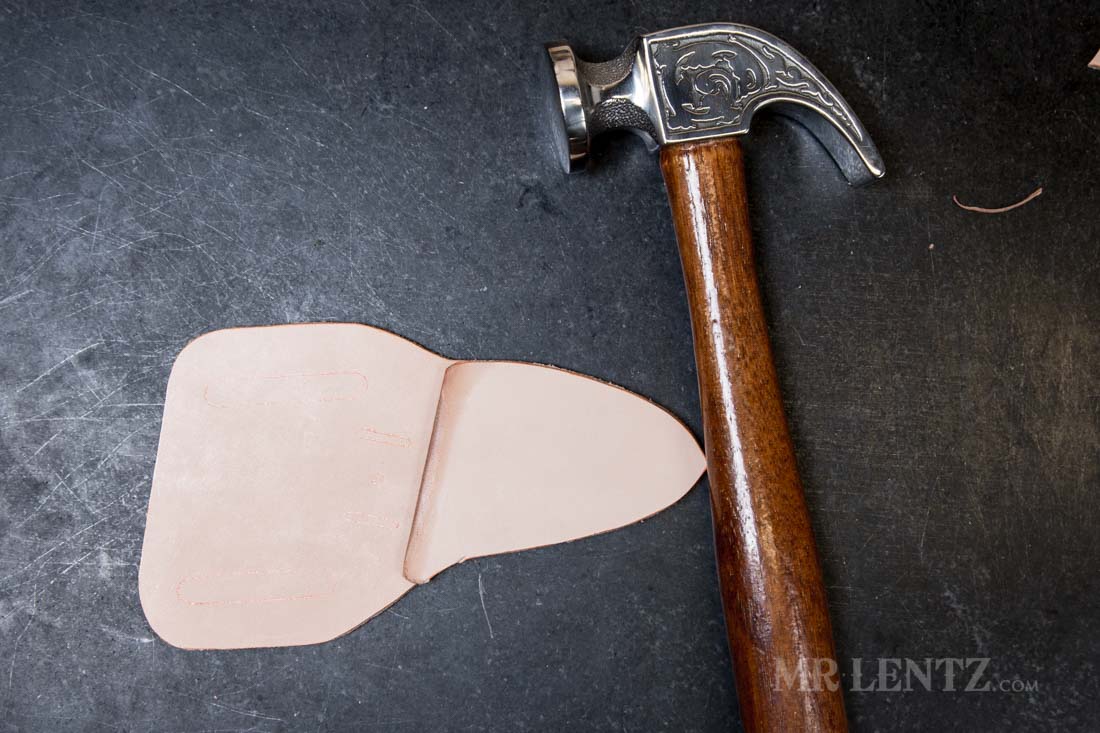
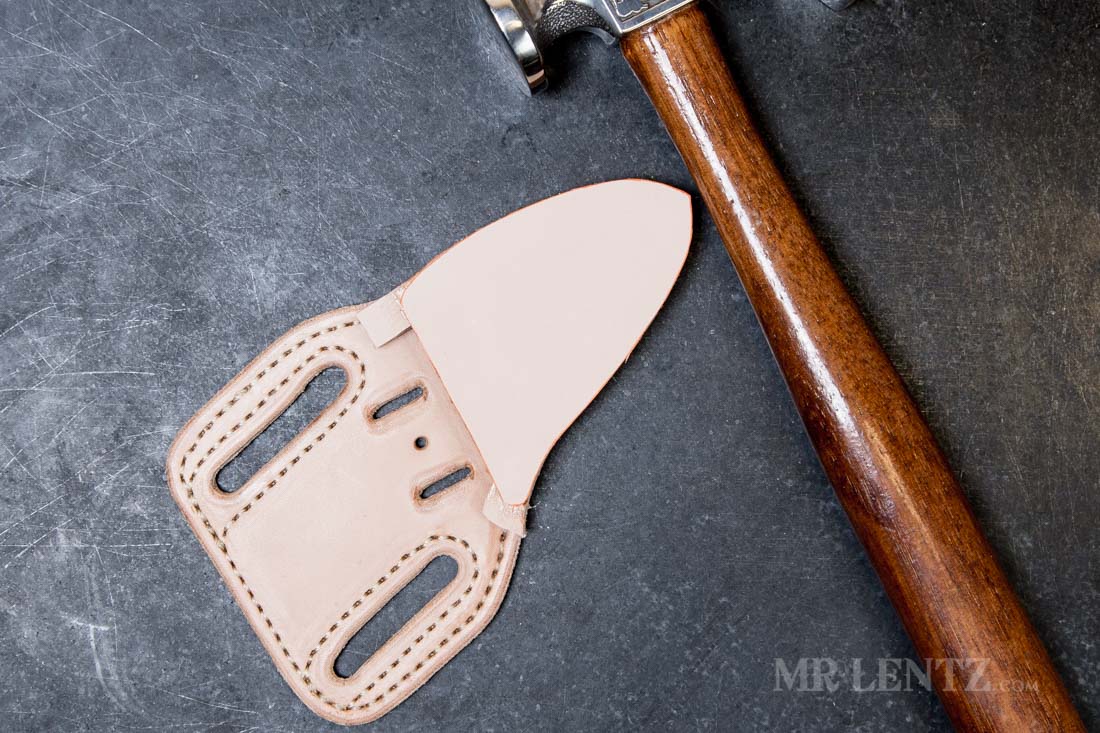
Align both pieces and press together. Then I use a smooth faced hammer to pound down the leather and help the glue stick. Do this to the entire edge to get a good even bond.

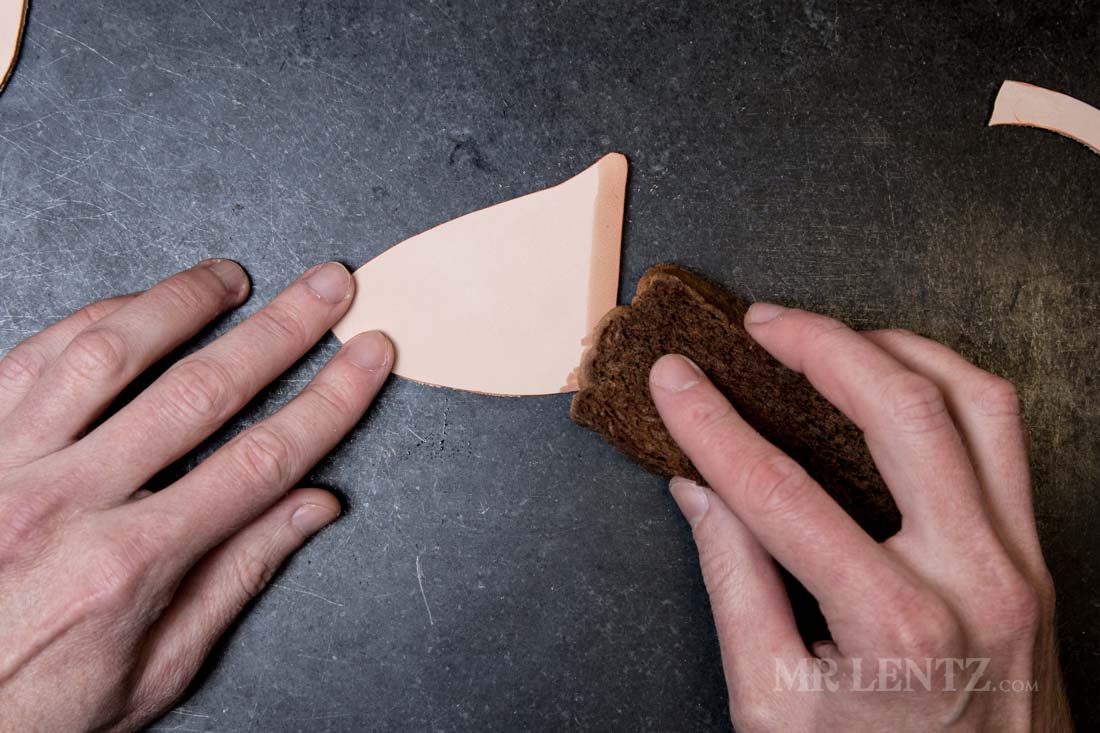
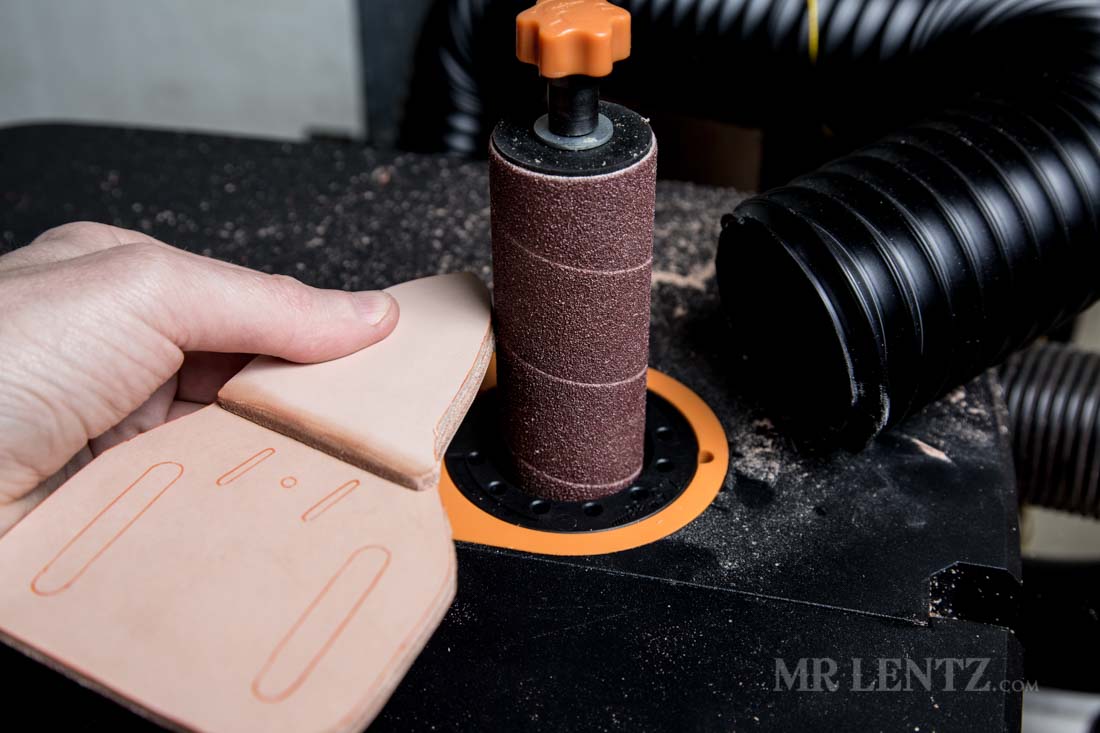
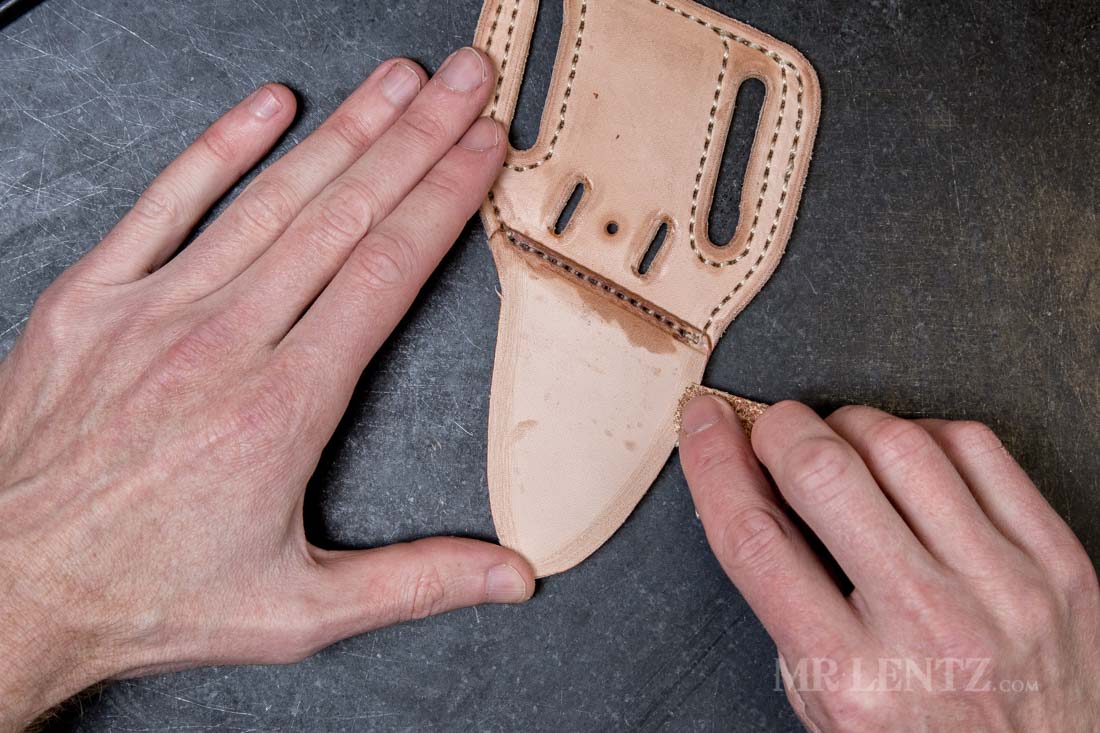
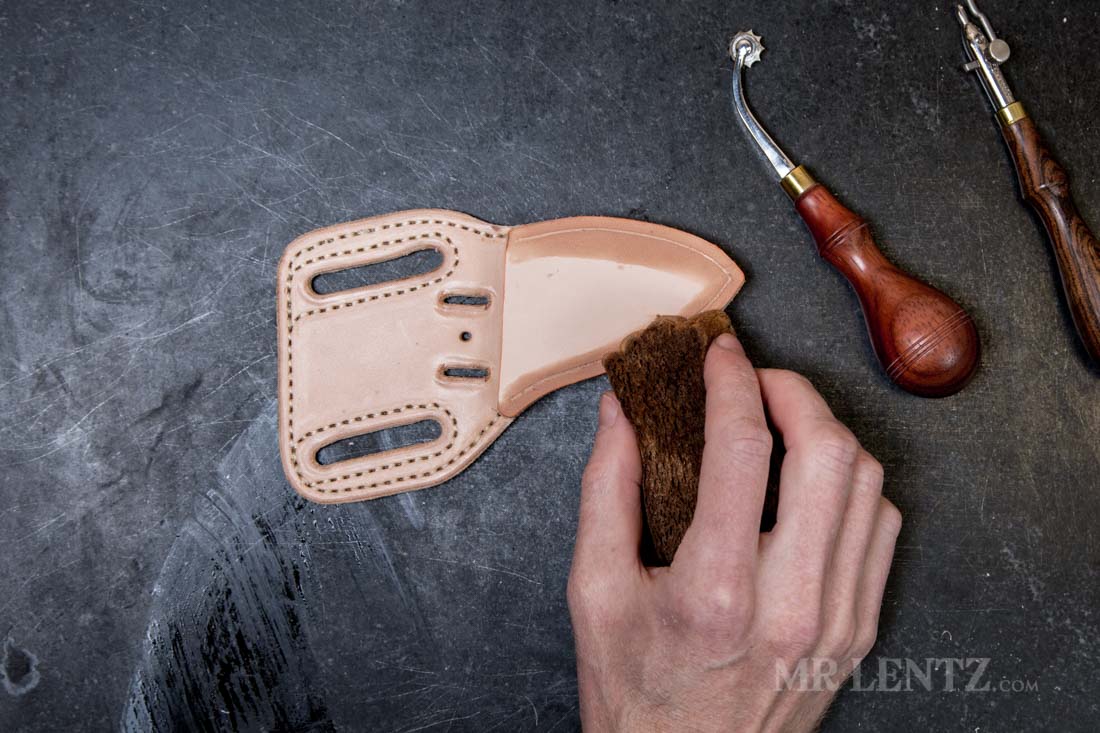
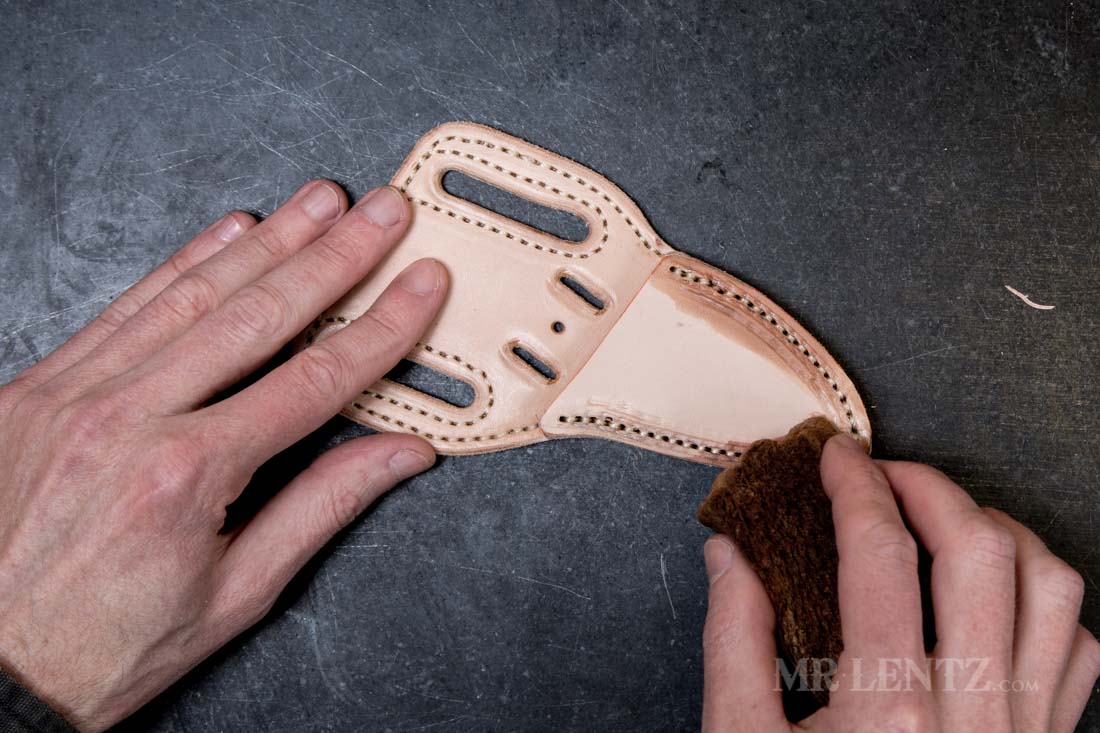
Next we need to prep the front to place the first piece of the blade protector. Using a rough grit sandpaper, rough up the bottom of the front of the sheath backing up to the holes we marked with the awl.
Grab one piece of the blade protector and lightly dampen the smooth side edge.
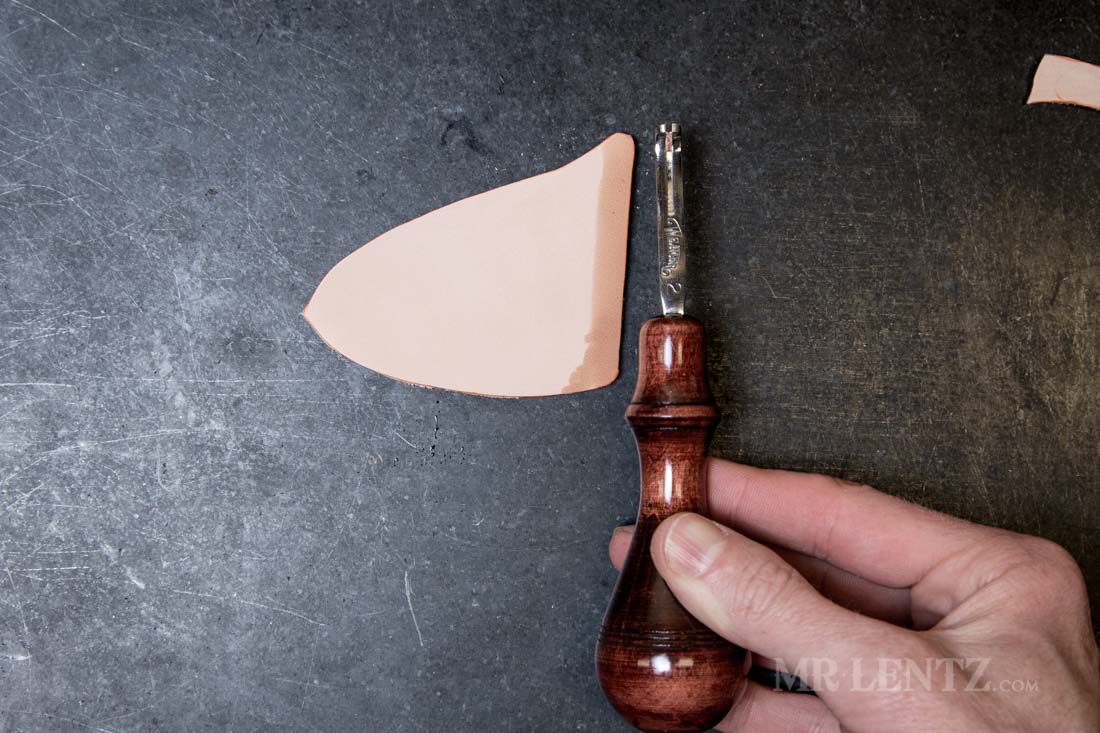
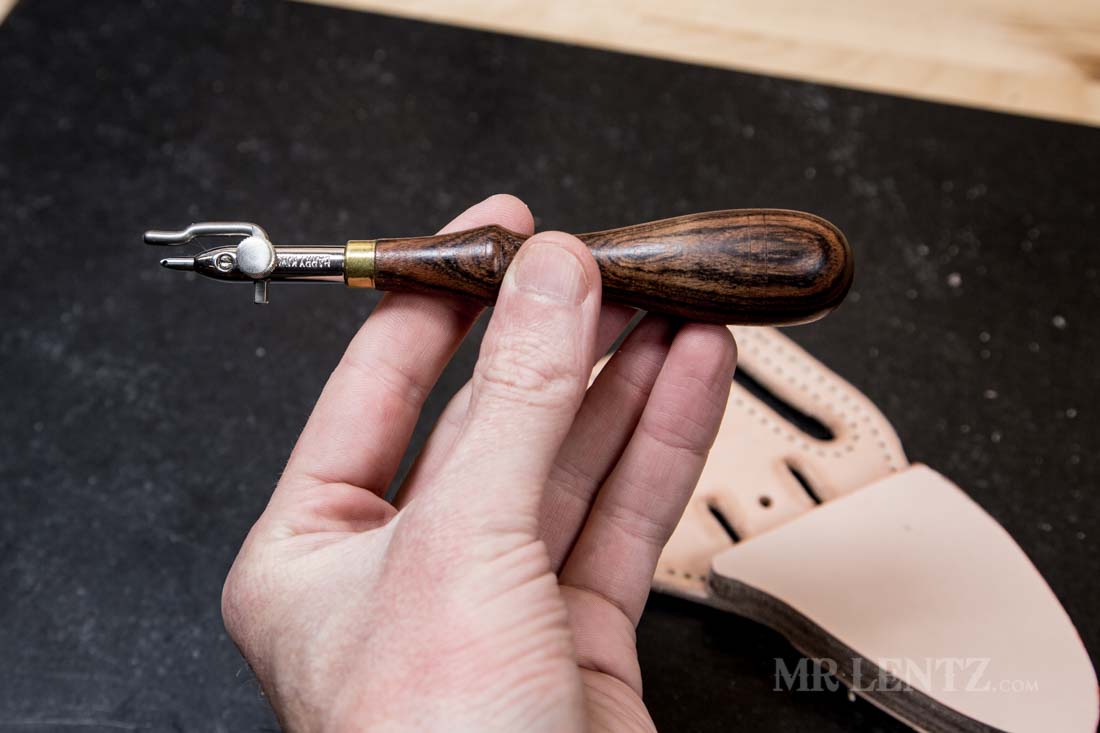
I use a number 2 edge beveler for this next step.
Bevel the edge of just the smooth side top of this piece where it is damp. We are doing this now because we will not be able to get to this spot later on.
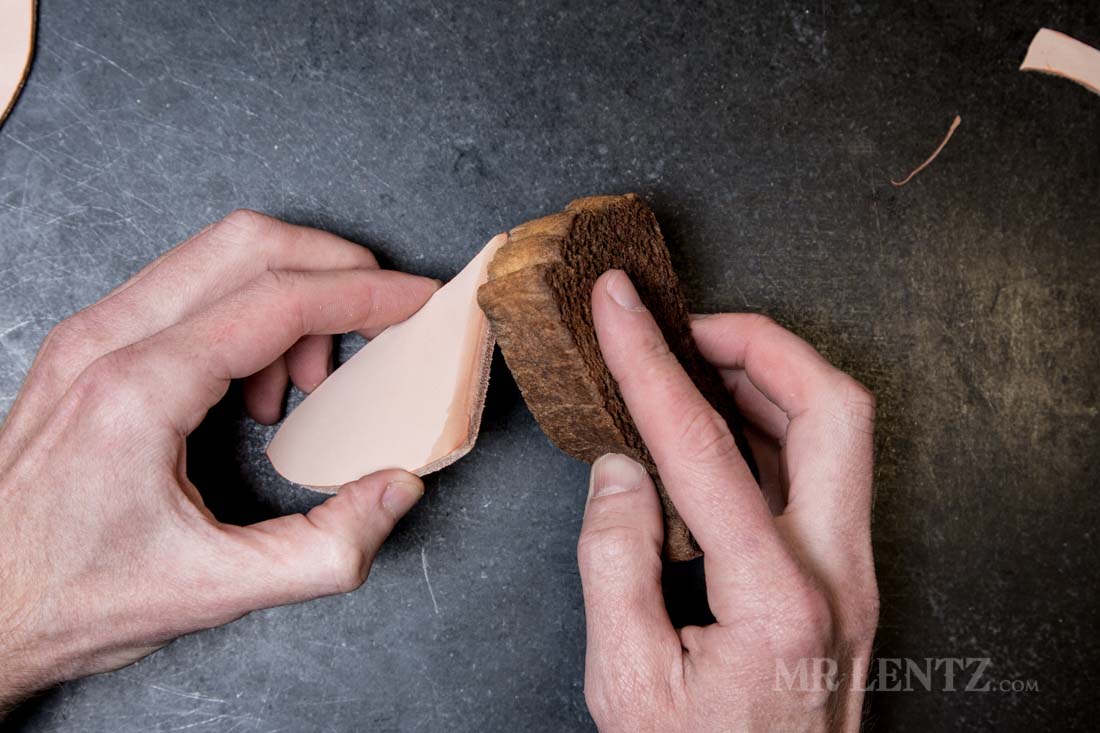
Next dampen the top edge of the piece on the actual edge.
I use a small cocobolo hand burnisher to rub back and forth on the edge to burnish it. This gets it smooth and slick.
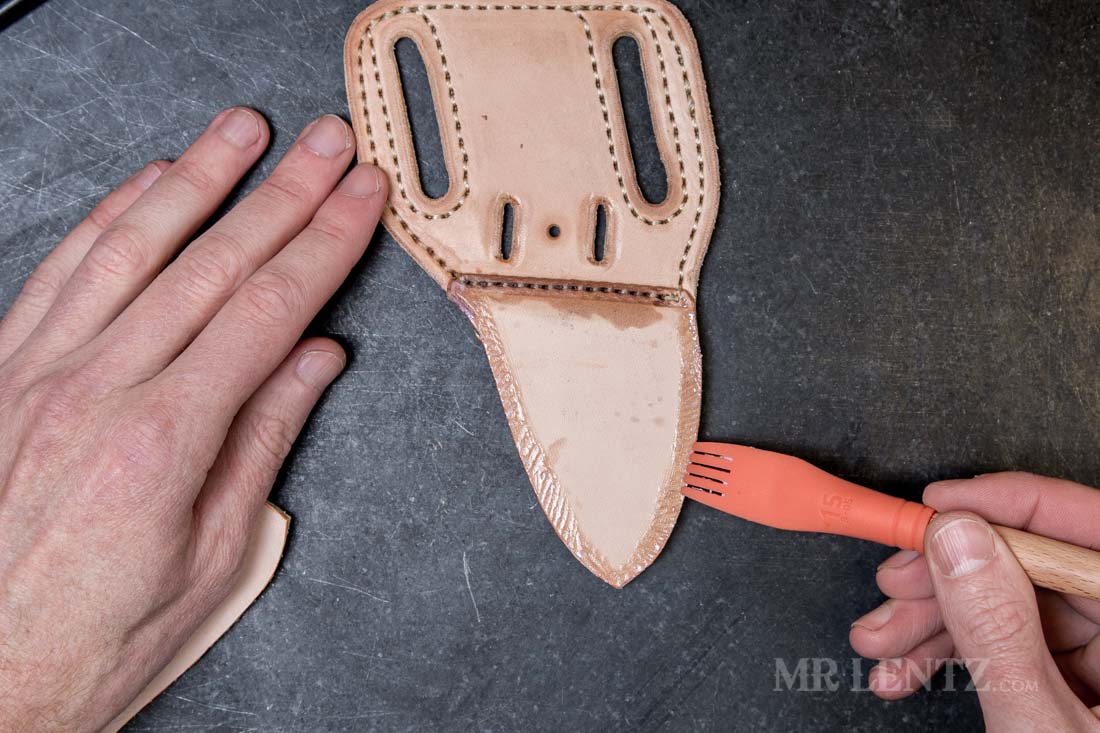
I apply an even coat of the glue to the backing piece where I just sanded. Here you can see the glue dries quickly to a clear color.
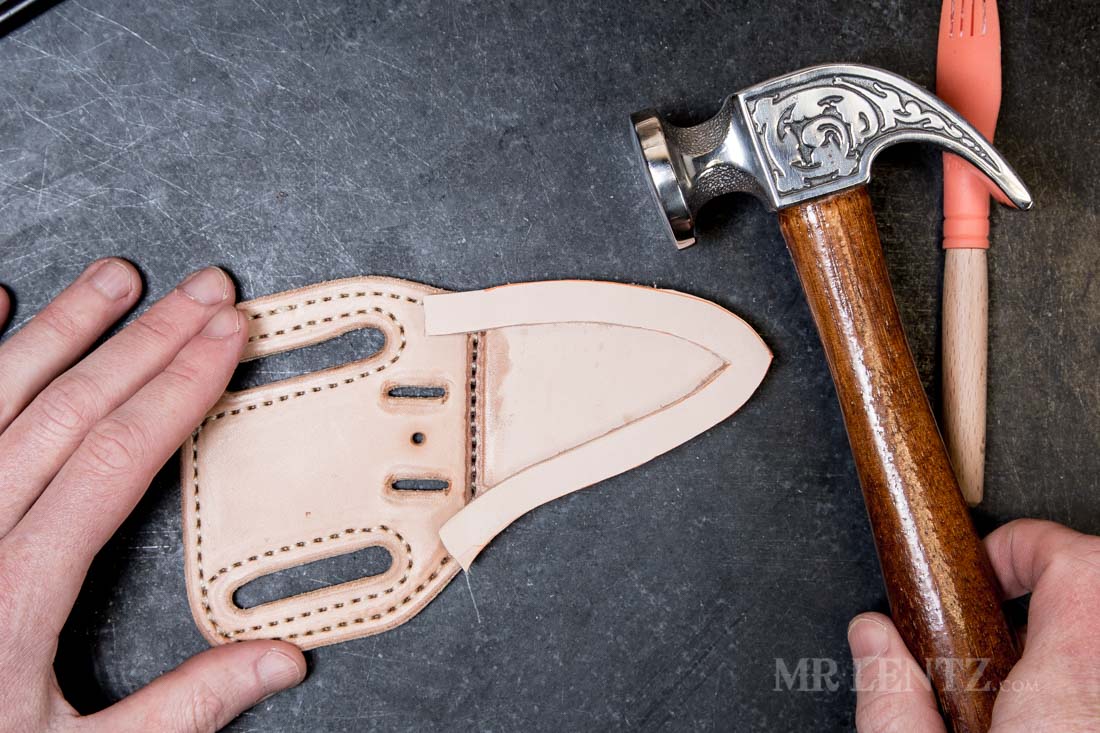
Using the smooth faced hammer I pound the bond. Don’t use this hammer for anything else by the way. You do not want nicks or scratches in it.
Heading over to the power sander I clean up the edge to be flush. You can also hand sand it too.
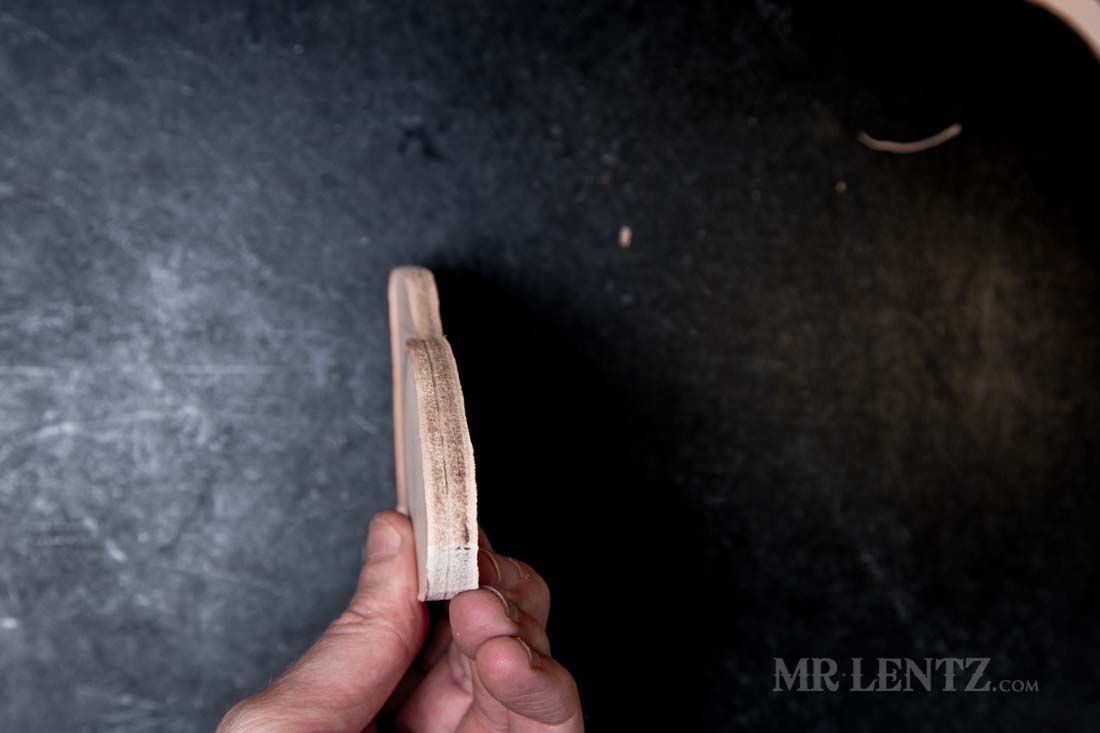
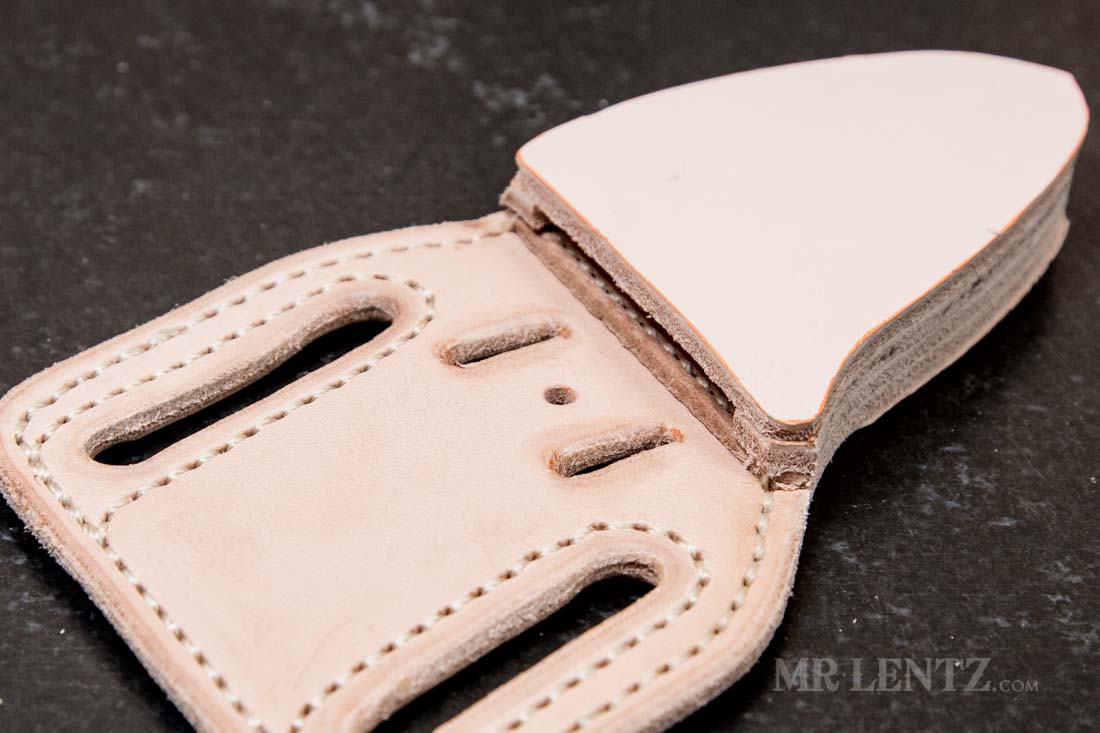
A nice clean flush edge that will be used to align the next few pieces.
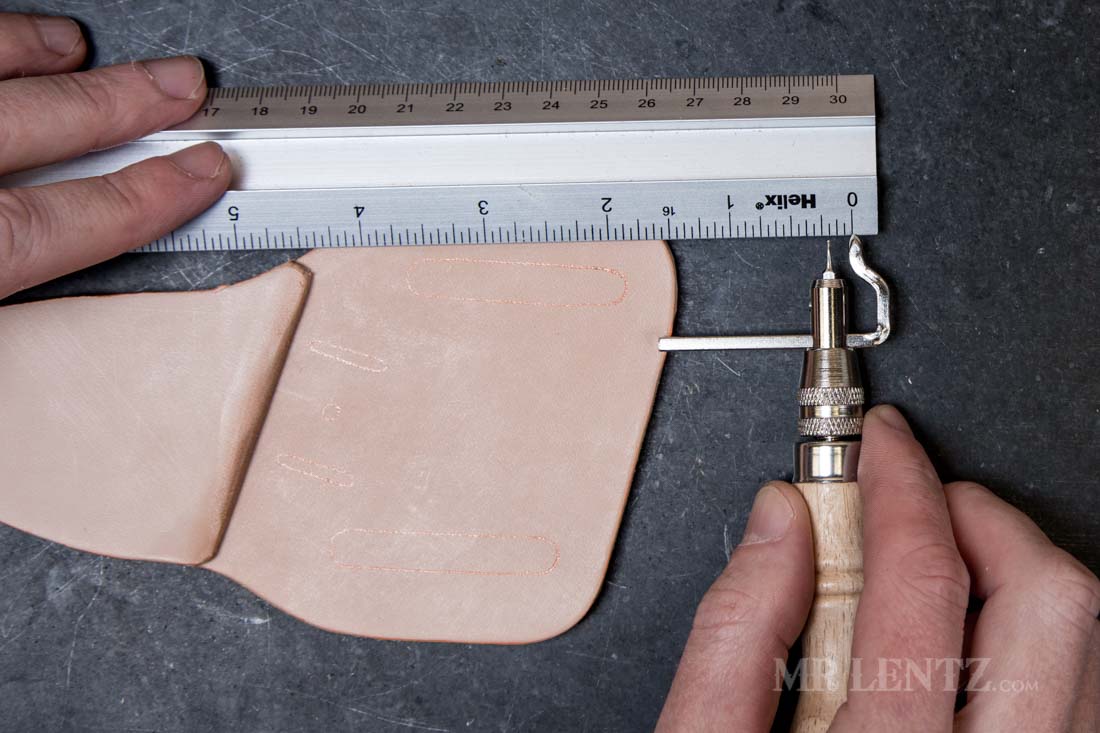
Grab the stitch line marking tool and set it to 3/16 inch. I use this tool to mark the stitch line on thinner leather. Usually on thicker leather I will instead use a stitching groover, but I do not like to remove material on anything less than 7oz leather.
Using the slot punches you can punch out all of your slots. As an alternative, you can hole punch each end of the slot, then use a razor blade to connect the holes…making the entire slot.
Above shows the stitch line I have marked out for this sheath. I will start a stitch on the right side, go down and over the first piece of the blade protector, up and around with a loop around each belt slot. I am using a heavy duty stitching machine for this and in the case that you are too – you have to plan ahead for where the presser feet will land when you approach the belt slots. You will need to have the feet land on leather and not in the slot, so you may need to do some reverse stitching to change course.
For those of you who would like to hand stitch this, I have a quick little tutorial specifically on all the steps used to properly stitch by hand here. One step you will need to complete before you use those tutorials is simply to use a 6 stitch per inch marking wheel to properly space your stitches on the line we already made. Then use my preferred method of a set of 6 stitch per inch stitching chisels – you only need one with 6 prongs and a 2 prong one. Hammer those in for near perfect looking awl holes. It’s a bit too much to cover in this sheath tutorial, but come on back when you have completed the other hand stitching tutorial.
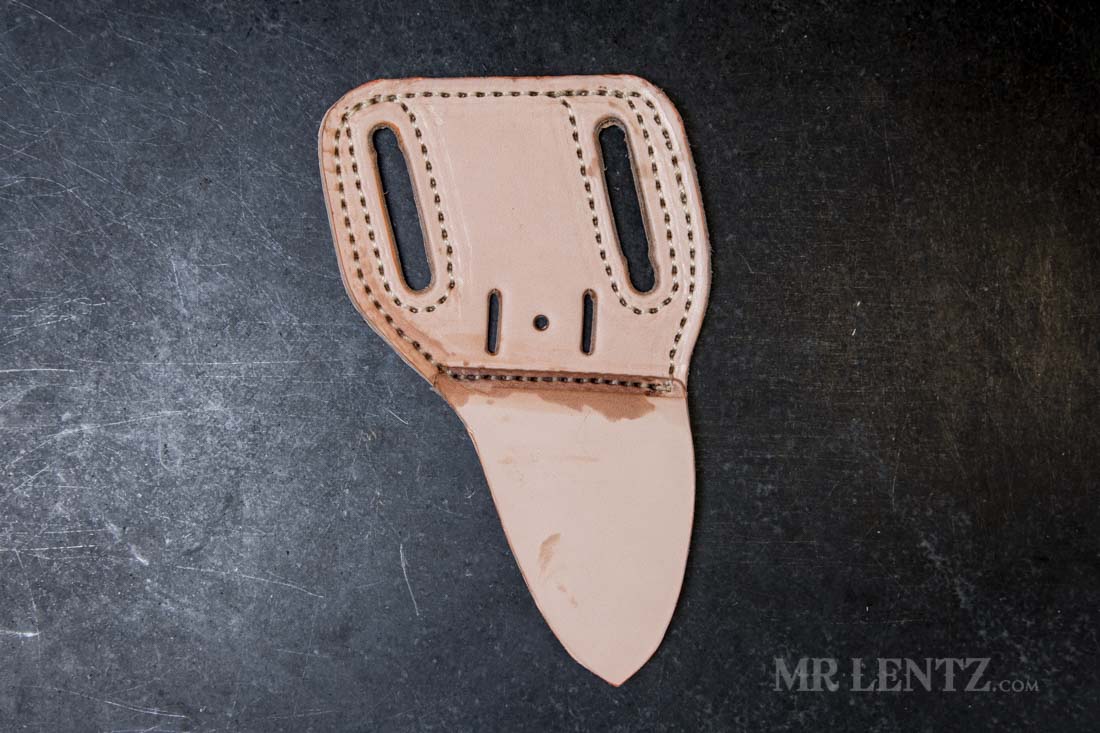
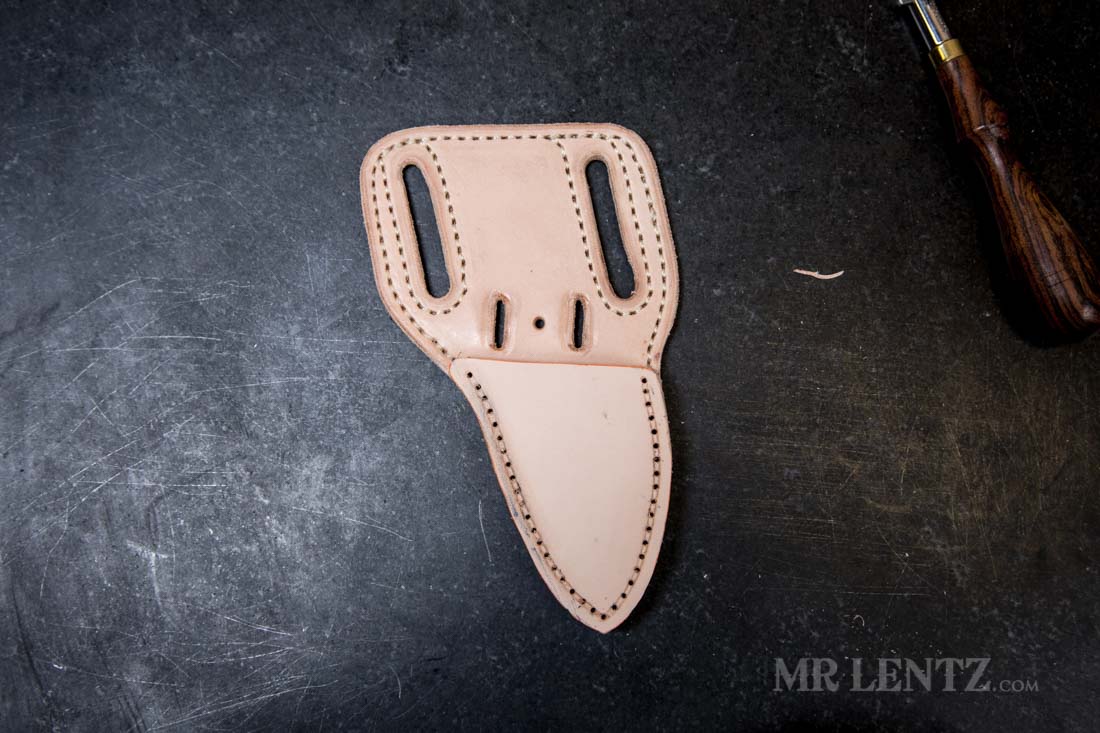
After stitching this thing together it should look something like this hopefully! You’ll notice that it looks a bit wet in some areas. This is actually oil and wax from a small amount of my own shop-made Spiff N’ Shine. The sewing machine needle was starting to stick really badly and cause skipped stitches in those parts (probably due to the glue) so I applied a few dabs to the leather to help make the needle a bit more impervious to the stickiness of the glue. You should only do this if you do not plan on dyeing your leather later. The wax can block the dye from penetrating.
Next I dampen the entire backing piece except for the blade area.

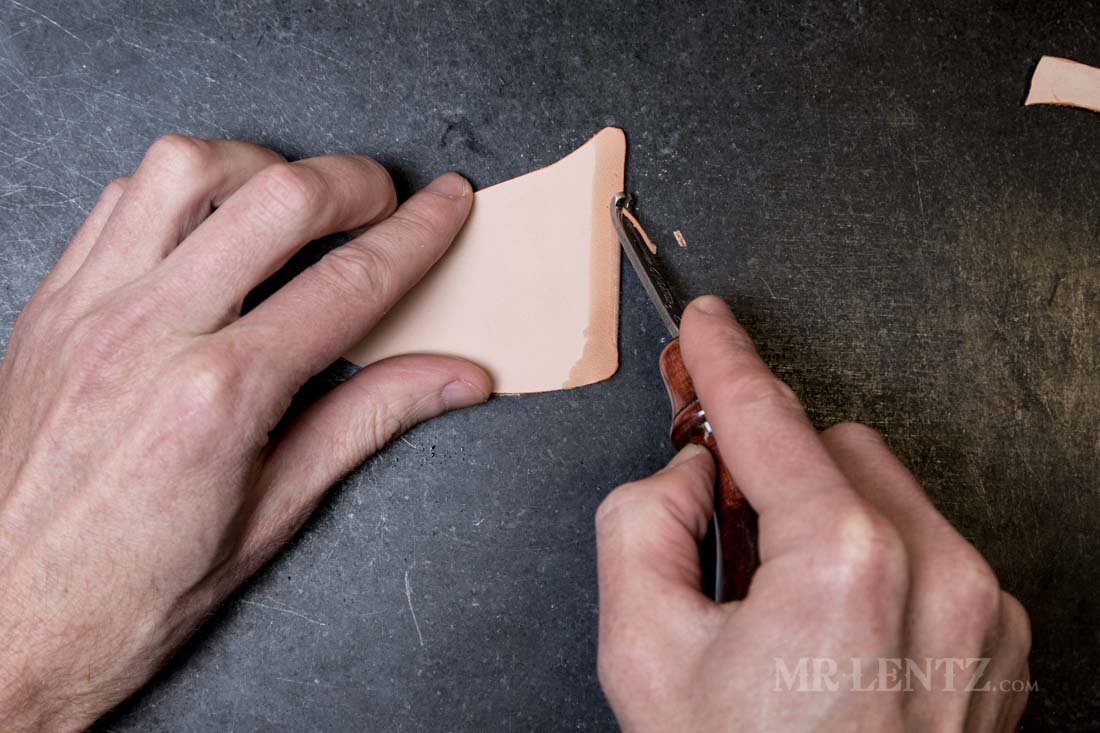
Using a number 2 edge beveler I bevel the outer edge of the sheath stopping when I get to the blade area. The blade area still has more layers of leather to glue up, so you do not want to bevel these edges.
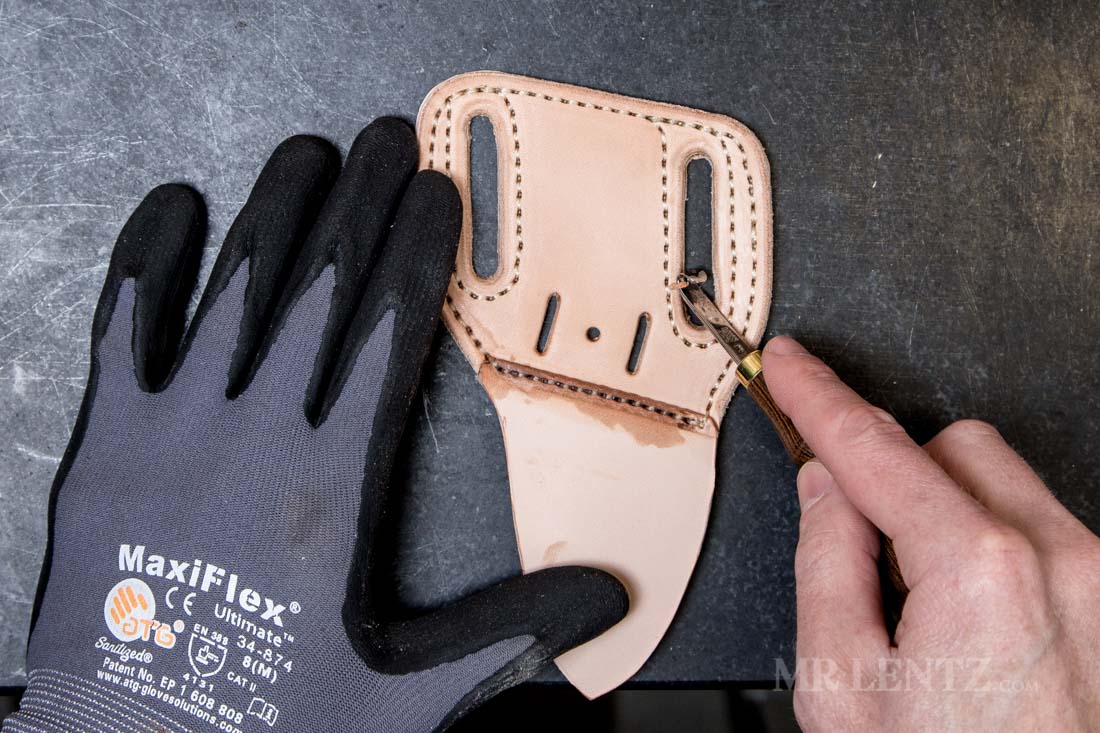
Using an edge beveler designed for tight spaces I bevel the slot edges too. It’s the details that count the most.
Next I prep the blade area for glue by sanding about 1/4 inch of the edge of this piece.
Apply a thin layer of glue all around the sanded area, right up to the edges.
Place the welt down on the glue and press it firmly together. I hammer all edges to get a clean look later after sanding.

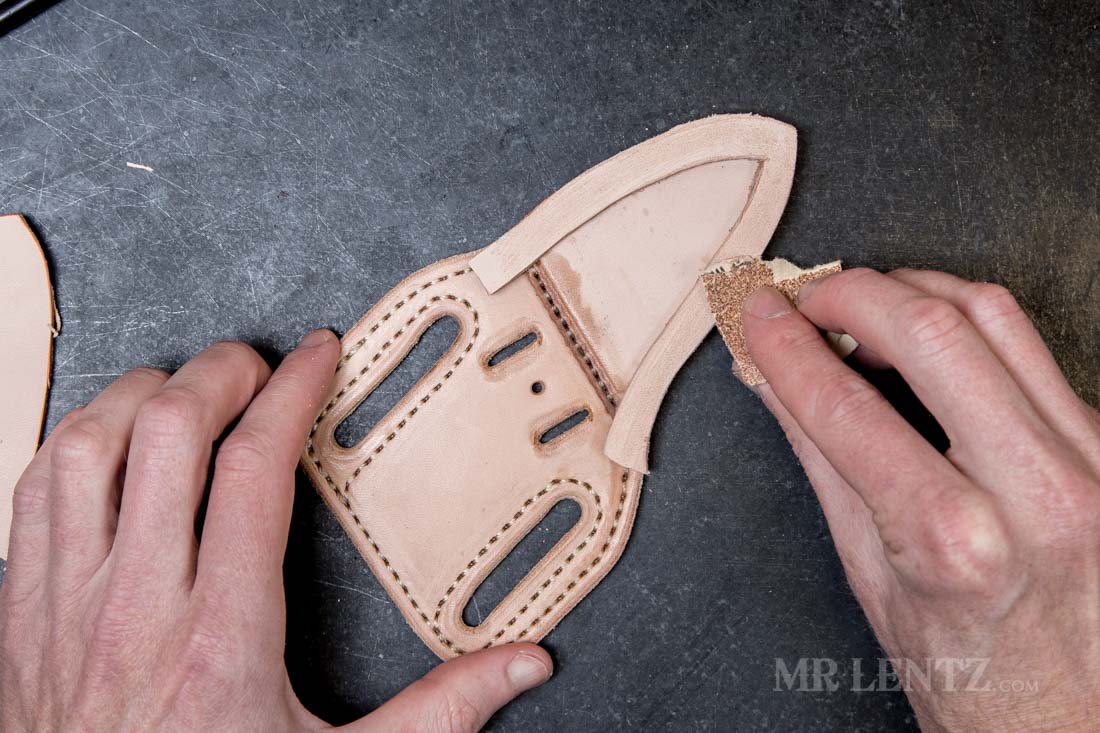
Next I sand the welt to prep for it to be glued as well.
Apply a thin layer of glue using the spreader. Let this dry to clear.
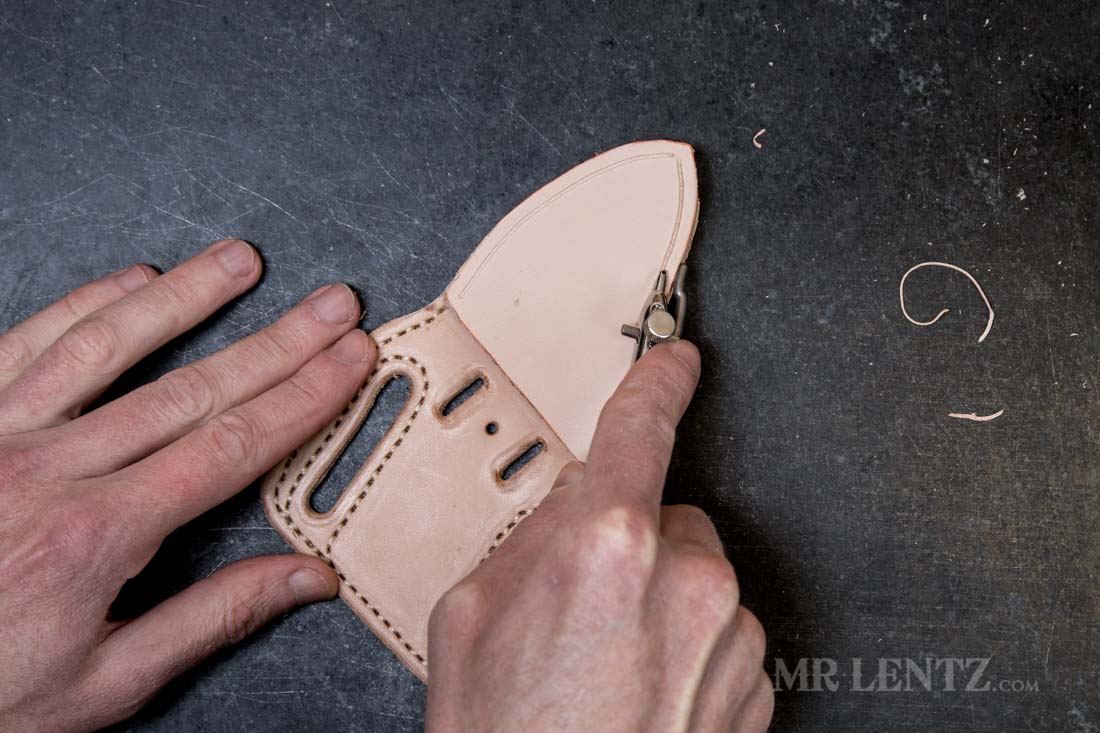
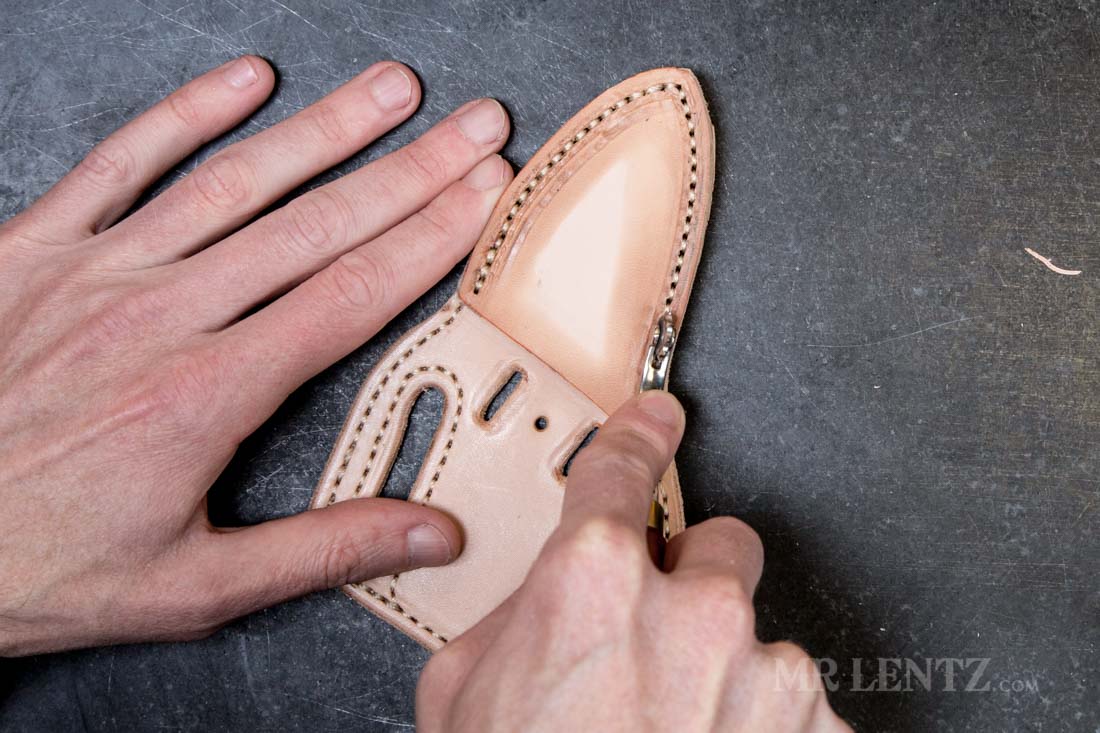
Place the top piece of the blade protector in place and hammer the edges.
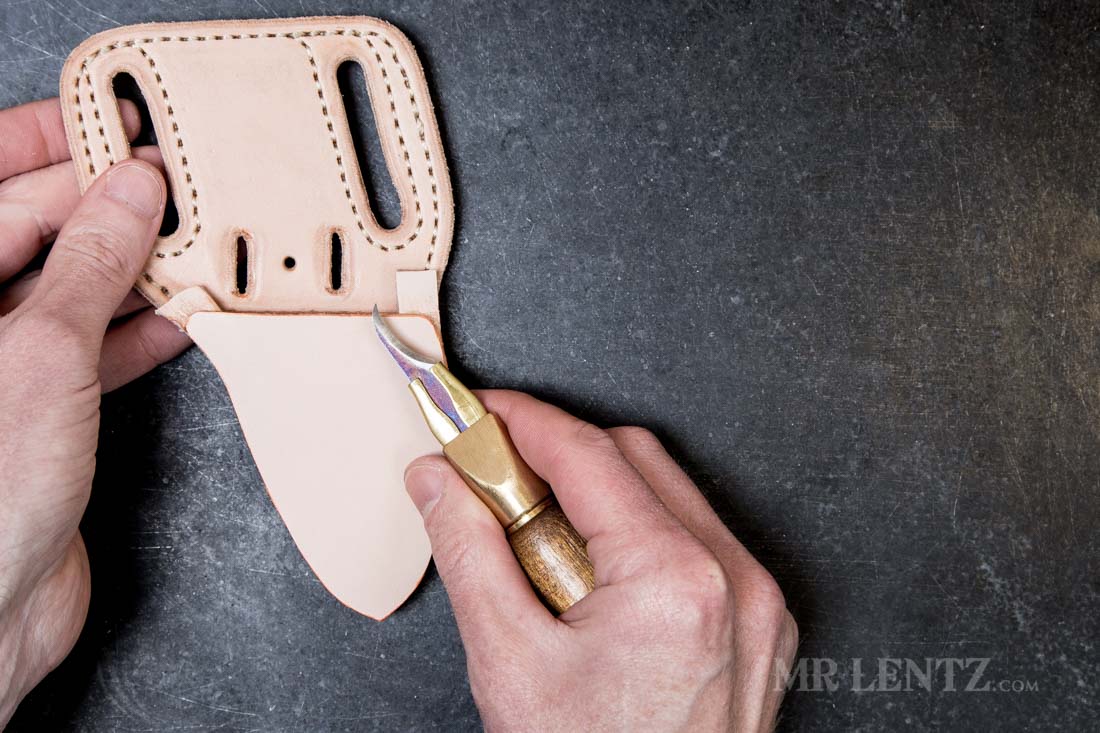
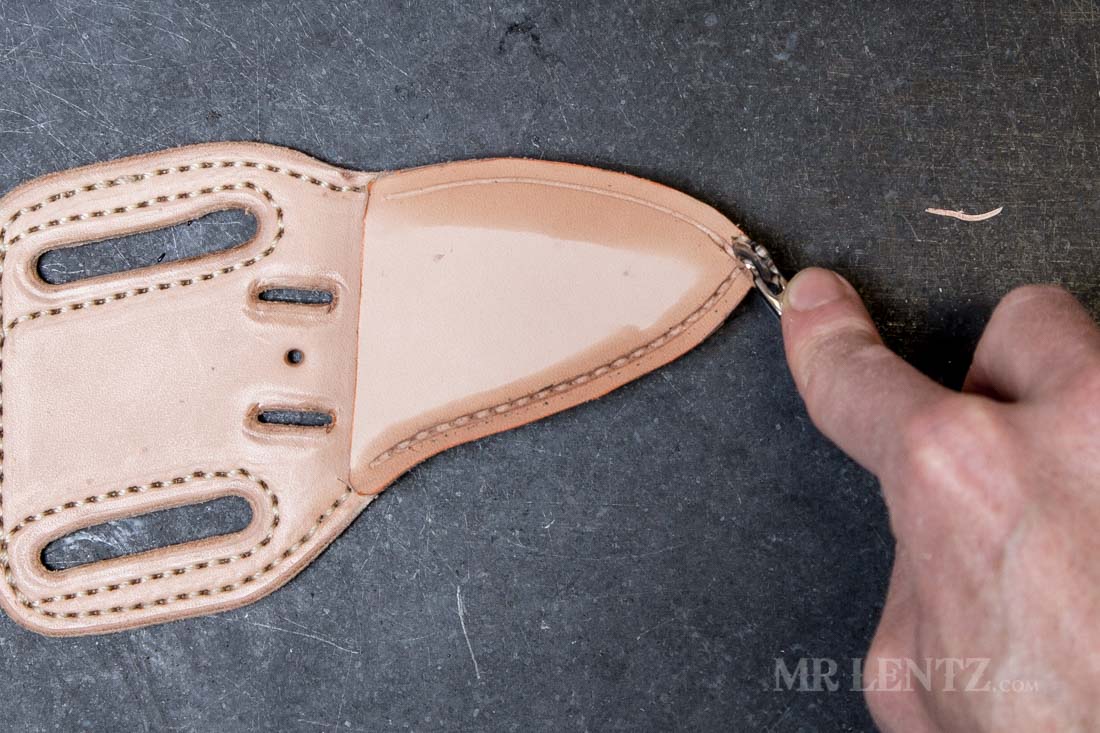
Now it’s time to flush up the top edges of the welt. For this I like to use a curved knife called something like a pattern cutting knife. This allows me to use kind of a sawing action to cut the piece off, without applying downward pressure and risking slicing the backing layer below it. Make sure it is very sharp – this tool needs a cylindrical/cone style of sharpening stone with a very fine grit.
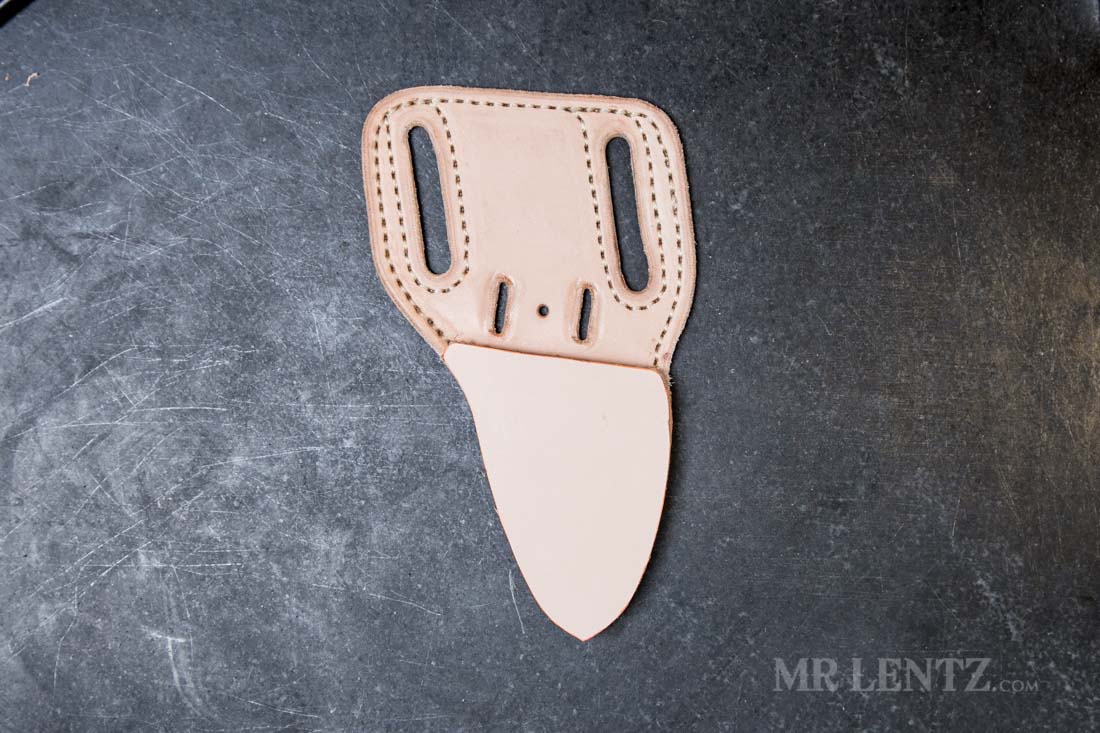
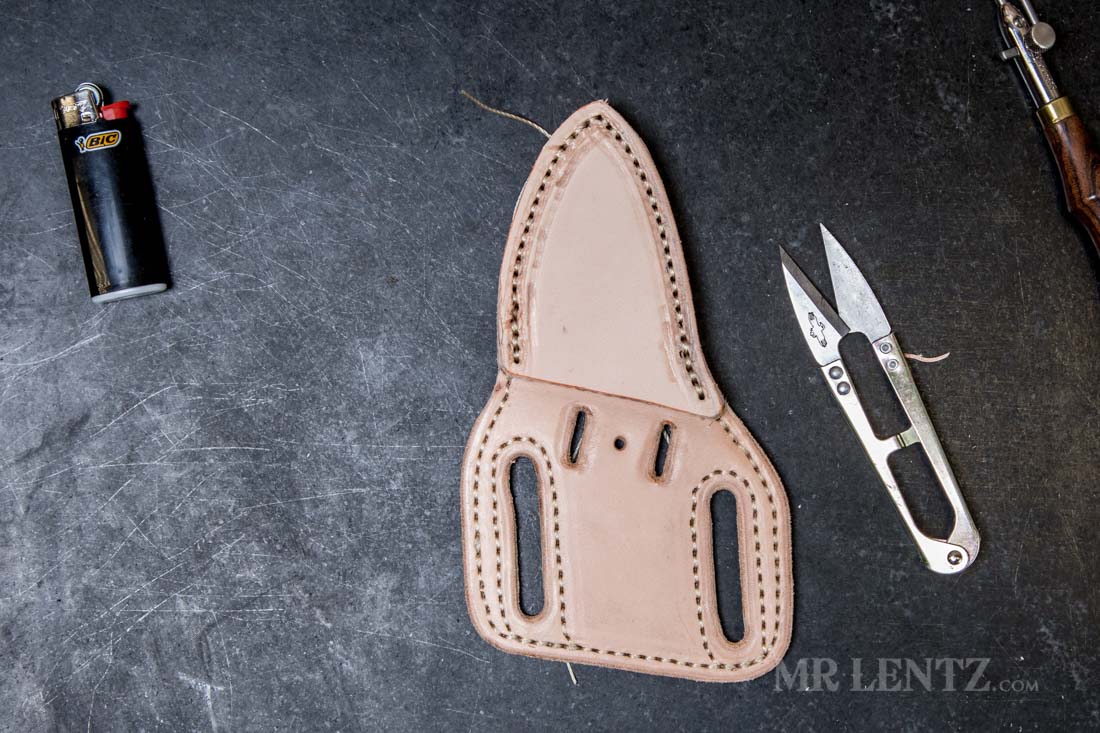
Once cut it should look flush like this.
Or this – it is not prefect at this point, but we will be fixing this shortly.
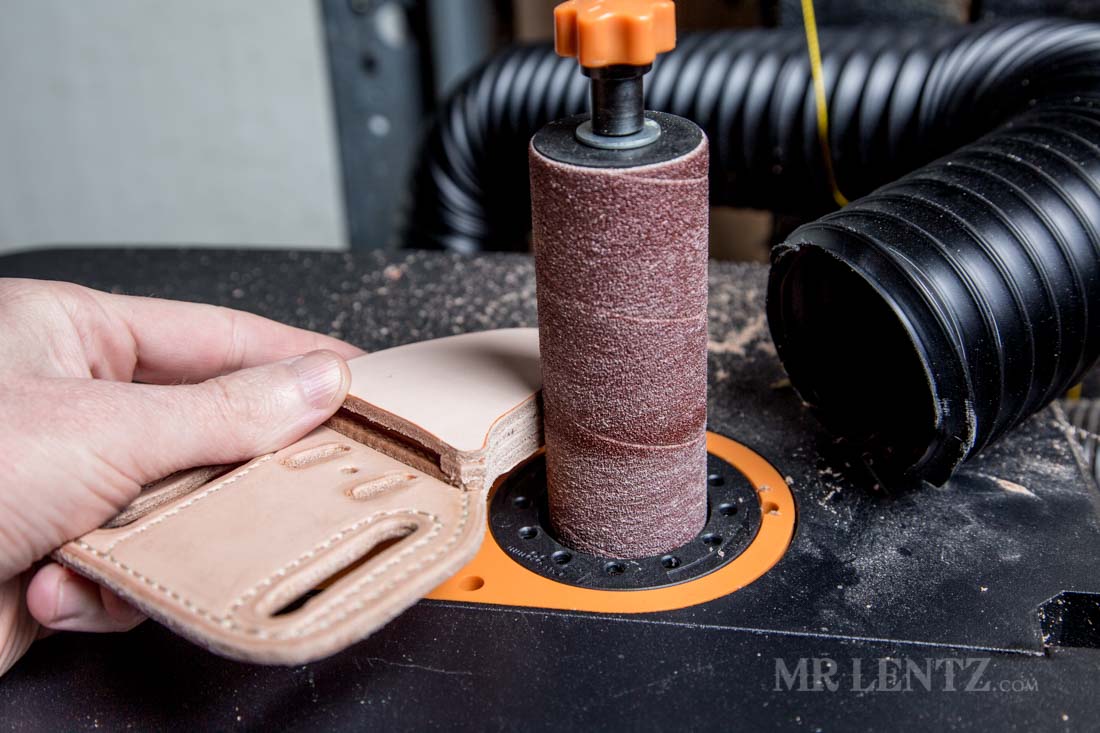
Taking the leather sheath over to the sander I flush up the edges of the recently glued on pieces. If you use a sanding machine like this, use a coarse grit and push lightly. Too much pressure and you will cause burn marks from the heat.
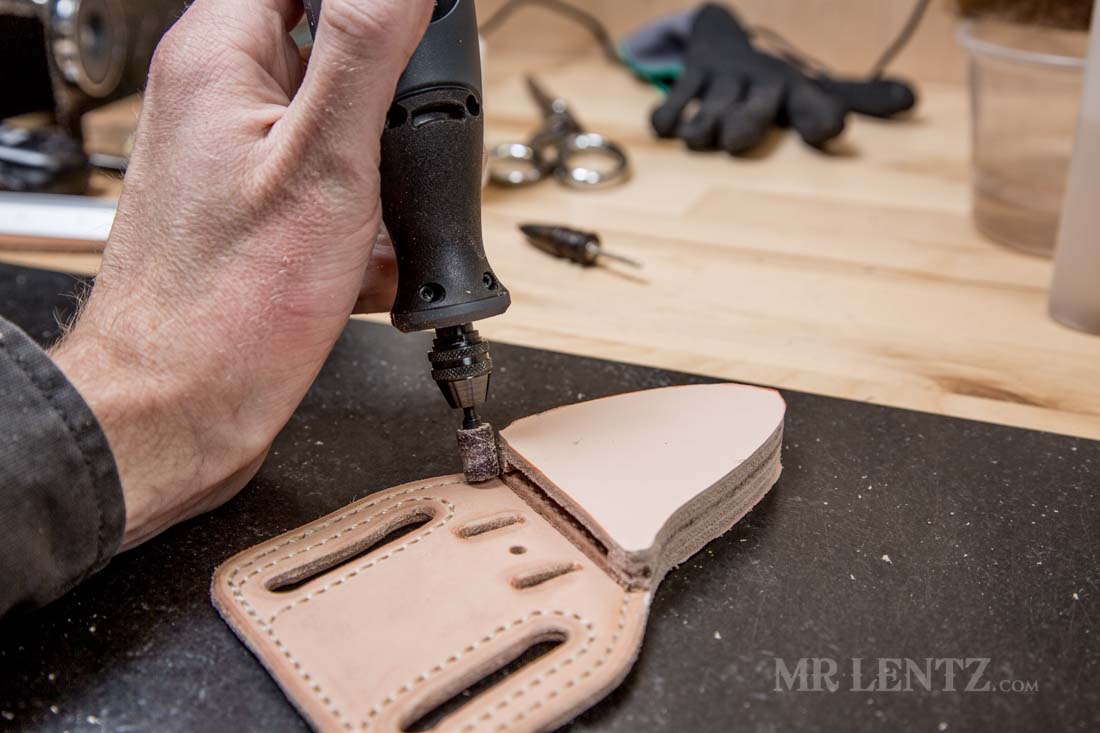
Using a dremel with a coarse sanding grit I carefully flush up the welt pieces we just cut.
Grab your stitching groover – or stitch line marker if you don’t have one and set it to 3/16 inch.
Starting and anding just a tad bit short of the top, follow around the edge. At the sharp turn it helps to start a new line down the opposite side instead of trying to make the tool go around the corner.
Lightly dampen the edge of this area.

Grab a 6 stitch per inch marking wheel.
Mark out the stitch holes with the first hole placed at the top of the groove and end with the bottom hole at the very tip of the groove on the right of this photo. You may have to fudge it a bit to get the spacing to work, but you will want that last hole right at the tip. Repeat for the other half.
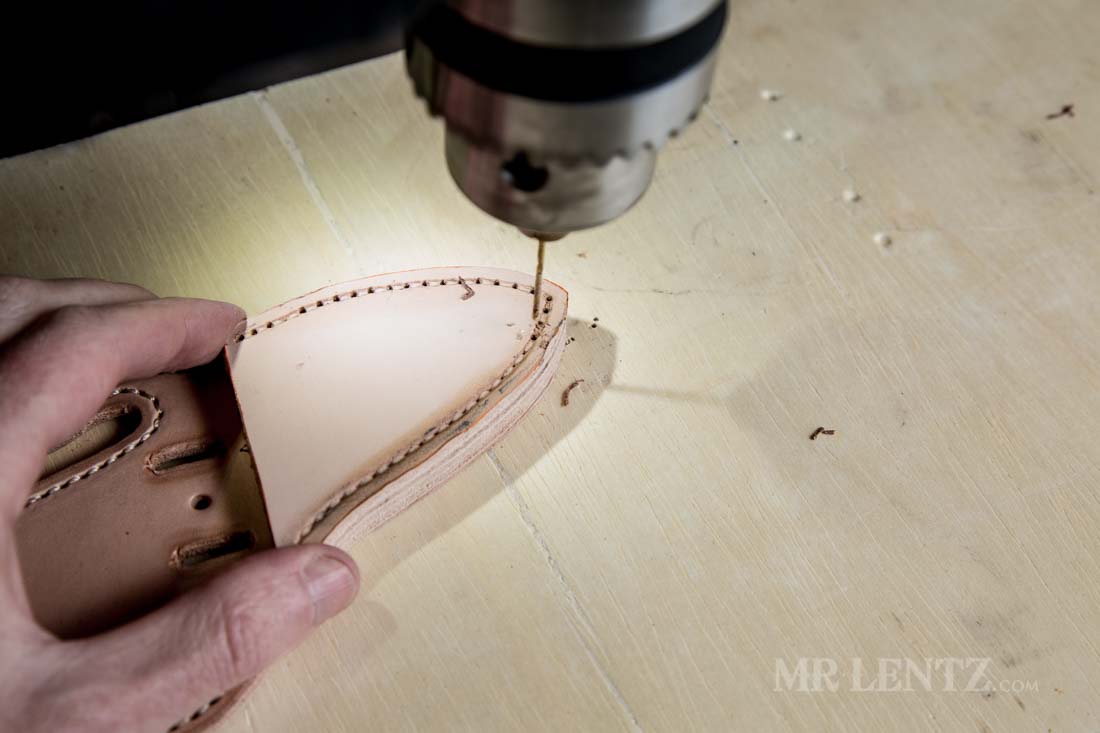
Now I have stitched various items of extreme thickness like this. I have done it with an awl sharpened like a razor blade, I have used a mixture of pricking iron and awl. I have tried using the sewing machine without thread to just punch the holes. The only thing that will relieve you of about 95% of the frustration involved in stitching items this thick…is simply to use a drill press (or hand drill if you are talented). While I never advise drilling holes to sew leather, in this case the leather is so thick, sticky with glue, and the thread is so thick – I think it works just fine. I used the smallest bit I had – a 1/16 inch bit. Carefully align each time and go slowly. If you are really brave and feel like wresting a rhino, you can skip this step and go straight to hand stitching. But experience urges me to point you in this direction instead.
The holes are all drilled in the blade protector.
I used the heavy duty stitcher and guided it a bit to hit the holes correctly. Only one or two minor issues in doing it this way, so just go slowly. Or hand stitch.
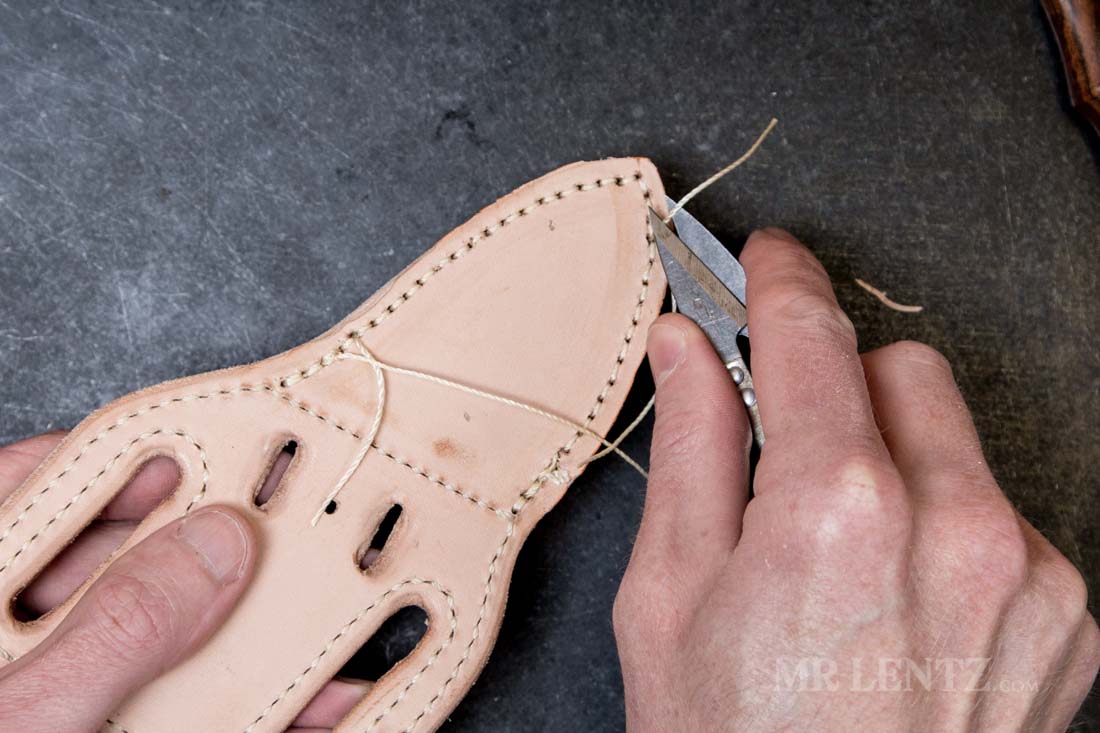
On the backside pull the front stitch through to the back as well. Sometimes you can’t because the needle will have penetrated the thread, in which case leave it on the front. Then cut the excess thread so about 1/8 inch still pokes out.
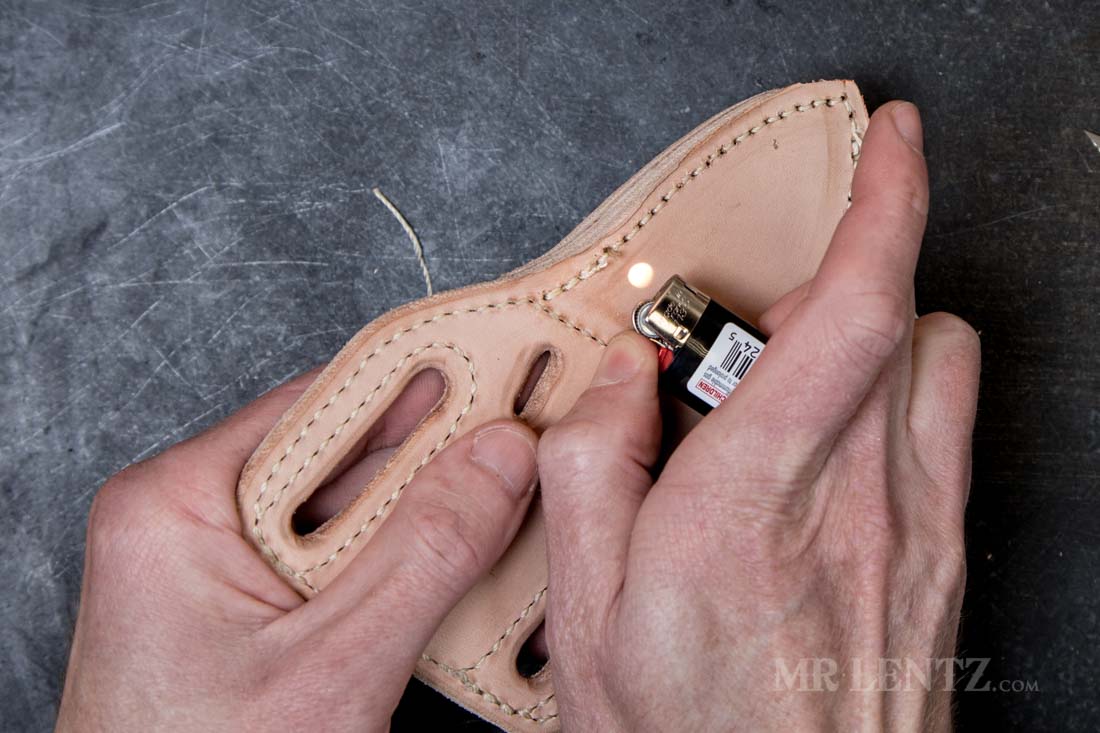
Using only the heat from the lighter and not the flame, melt the thread into a small ball and press it into a hole. Common leatherworking legend says that this stitch end will not pull through if you melt it like this. So far it does seem accurate.
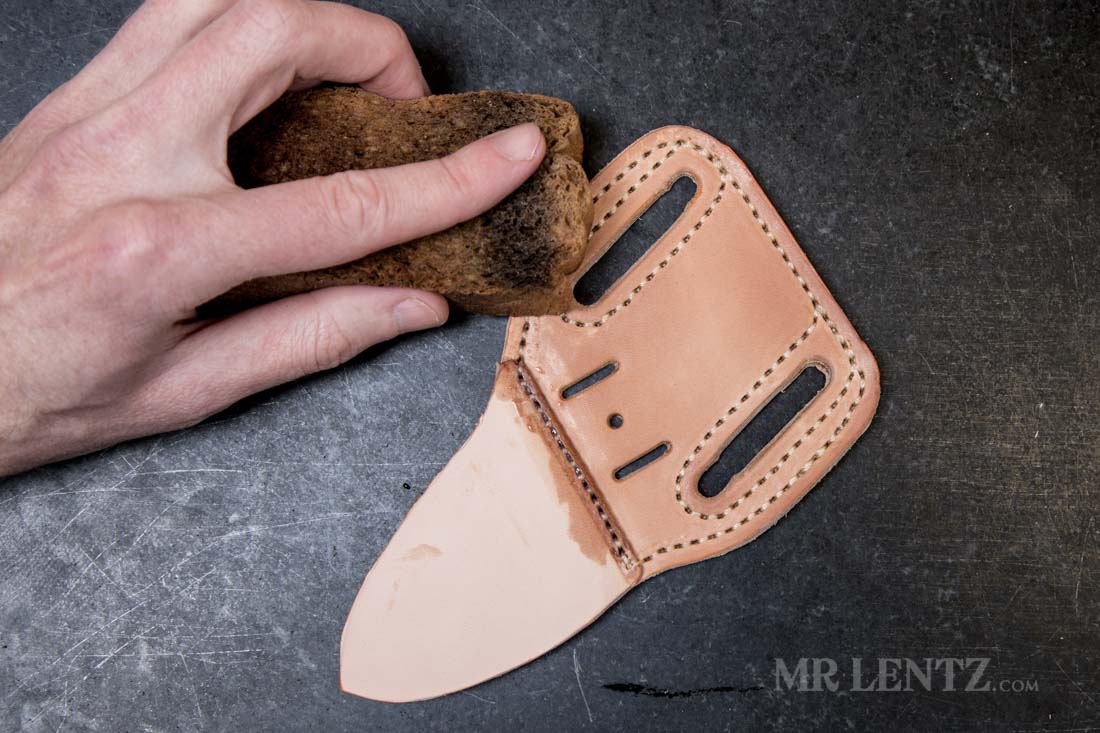
Next dampen the edge of the blade area.
I use the 6 spi rolling wheel marker to go back over the stitches. This has the effect of making them look a bit more even. It is especially helpful when hand-stitching.
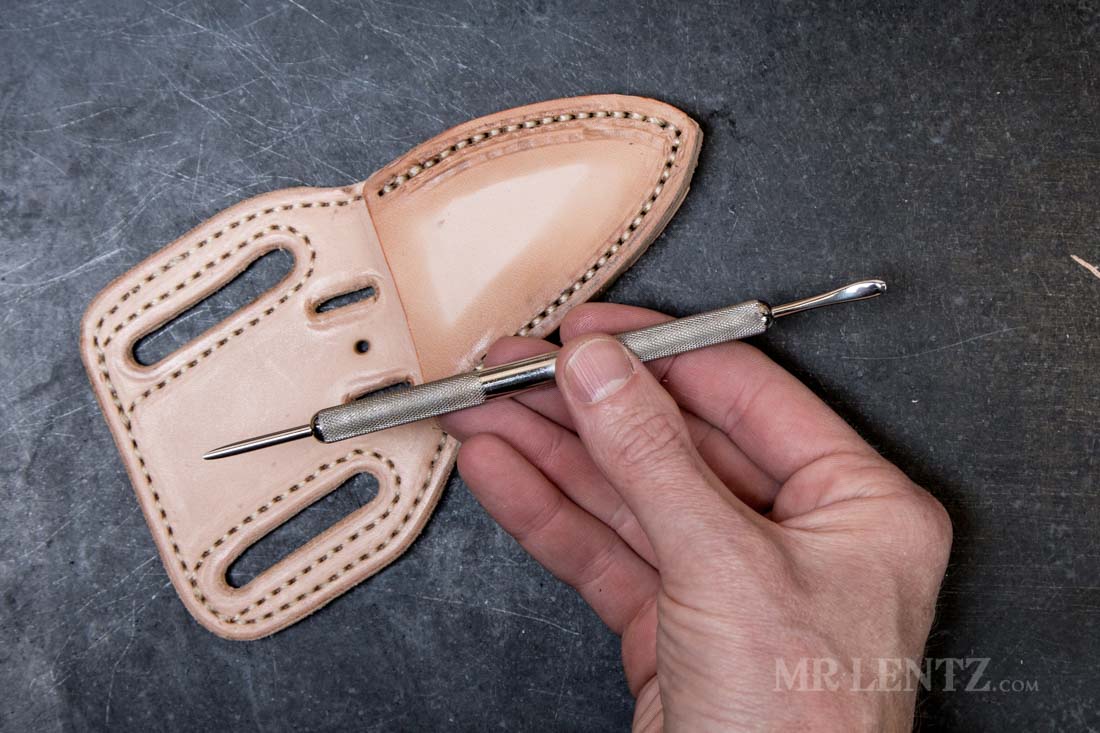
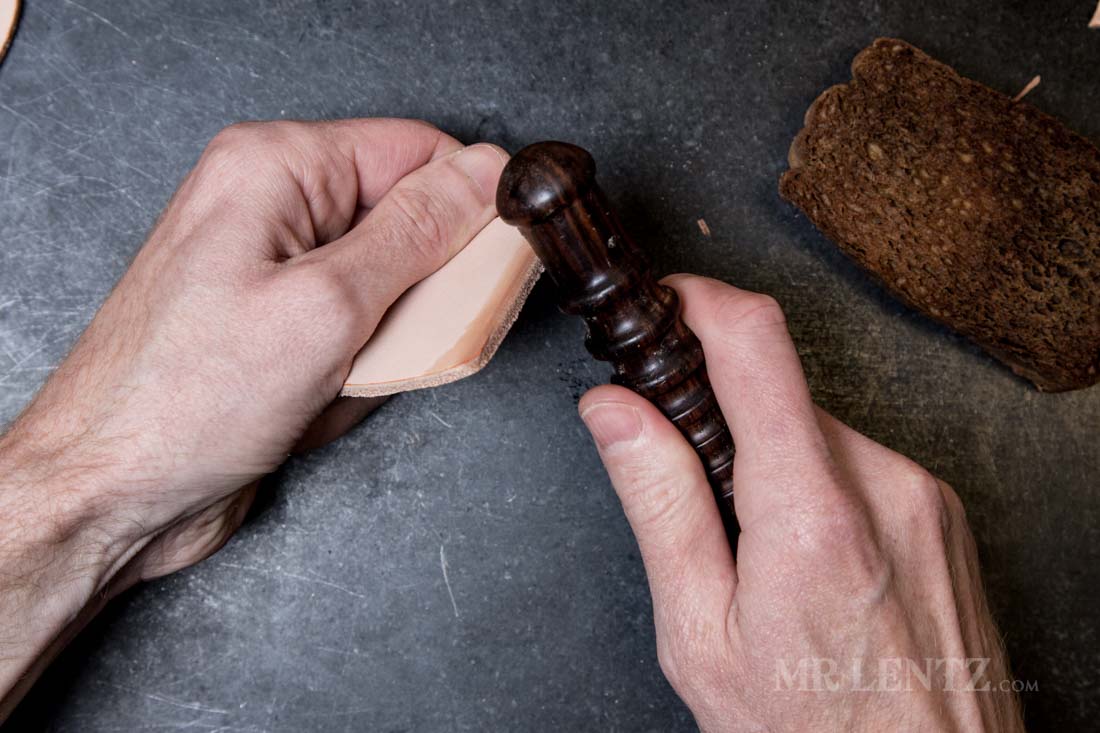
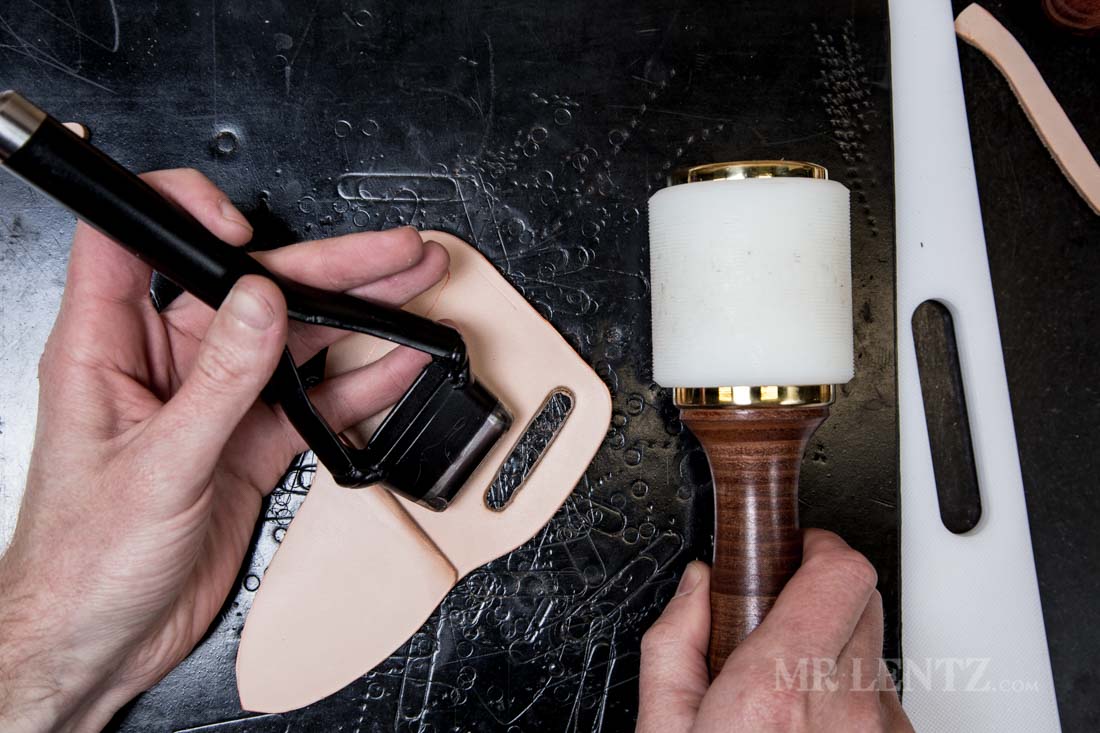
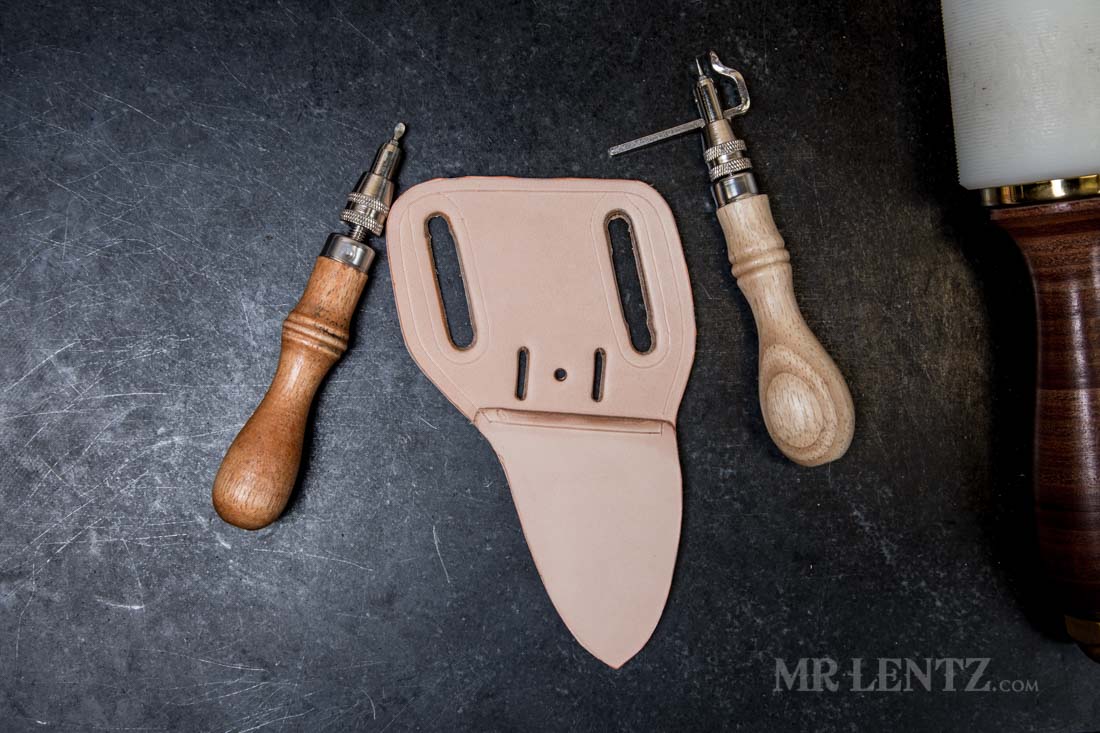
This is a modeling spoon traditionally used in carving leather. I like to use it after stitching to rub out any markings made by the sewing machine or when hand-stitching.
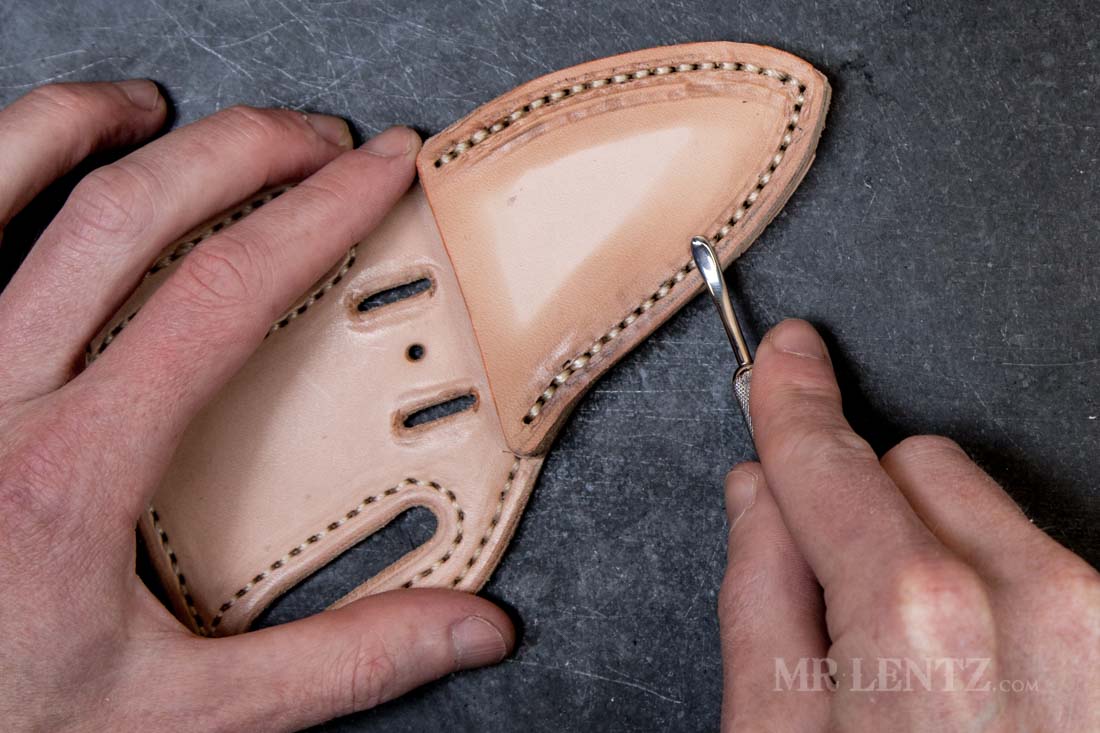
Use the spoon to rub out all the presser feet marks. You can see it at work above.
Well, that just about does it for part 2 of 3 of this leather sheath tutorial. Hope your sheath is coming along nicely at this point, most of the challenges are now behind us. In part 3 we will go over the final finishing steps and installation of the retaining strap. Proceed to part 3 here.