
Everything, Tutorials, Wood
How to make a bar stool DIY (Day 3)
Jul
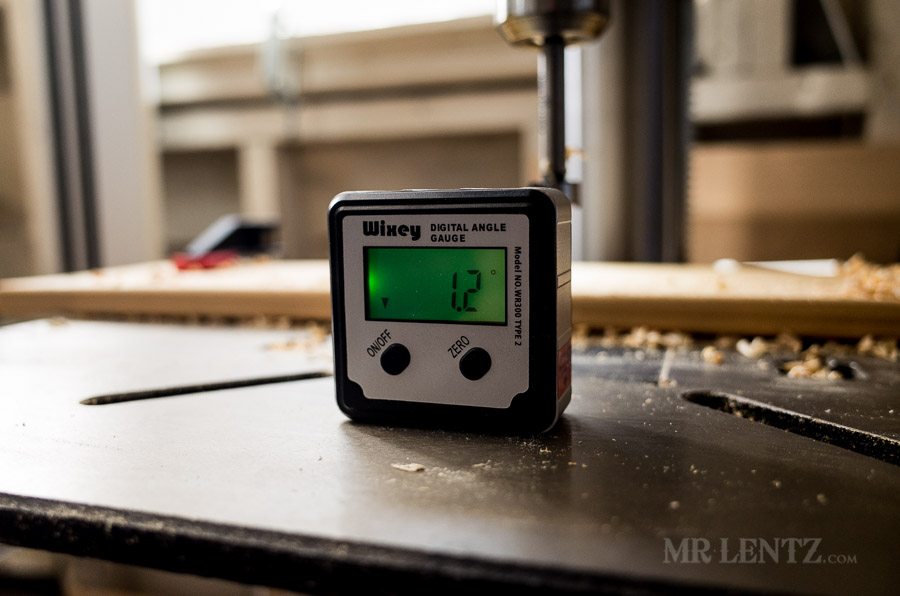
Well, it usually takes a day or two off to realize that you might have made a big mistake…after already doing a lot of work. Here I noticed that I didn’t account for the relative angle of the drill press table, or rather the entire drill press sitting on a sloped floor. This made my holes about 1.2 degrees off, which is kind of significant for a stool. Luckily there’s a way to fix it.
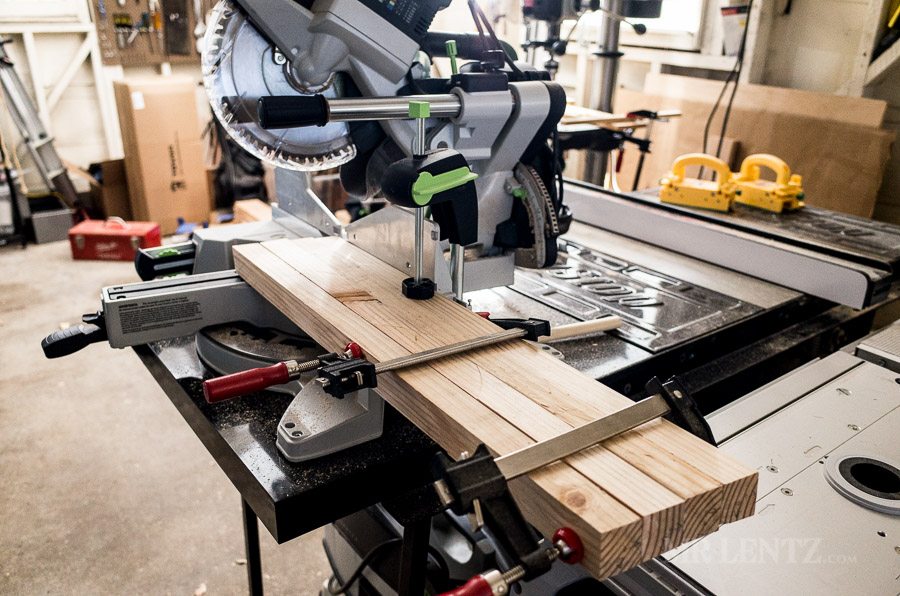
Above I cut out the template for the legs to sit against at 7 degree angle as per the plans. This simple setup will help make the measuring and cutting of the dowels a fairly simple task.
Like this post so far?
I spend most of my free time creating tutorials like this to help those like yourself get into leatherwork and woodworking, or get better at it. If you'd like to support my efforts, consider checking out my handmade leather goods shop and purchasing a gift for yourself or a loved one. It's readers like you that help keep a small U.S. business like mine going strong, so -thank you!
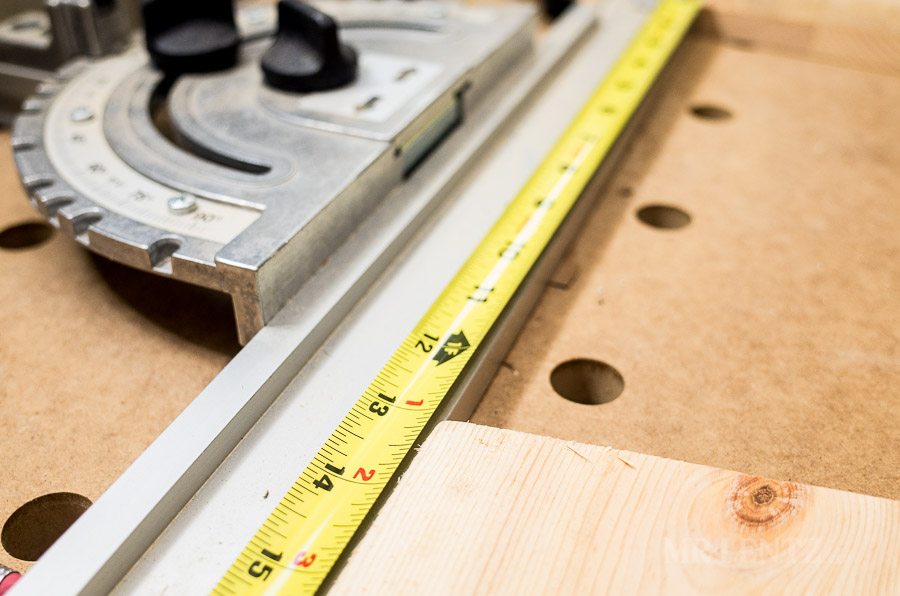
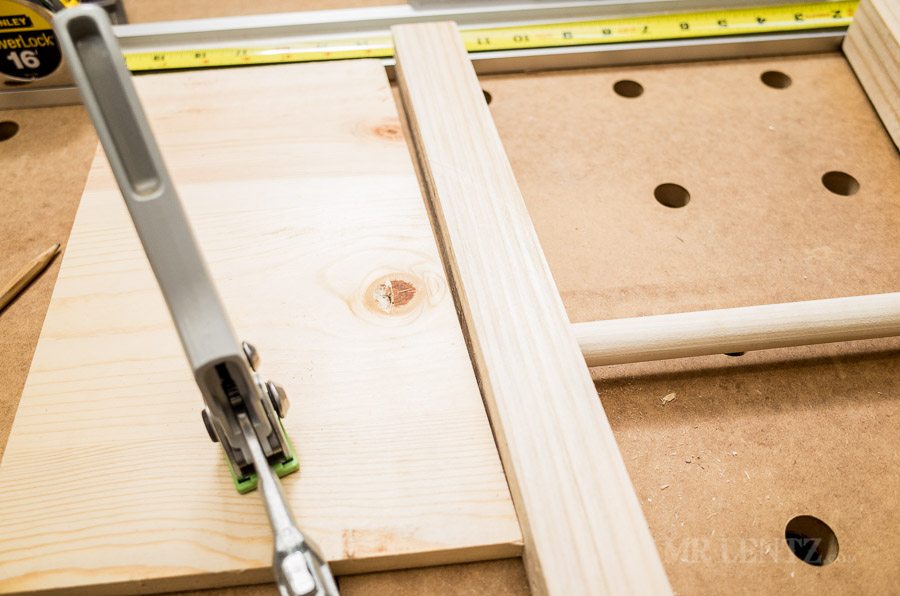
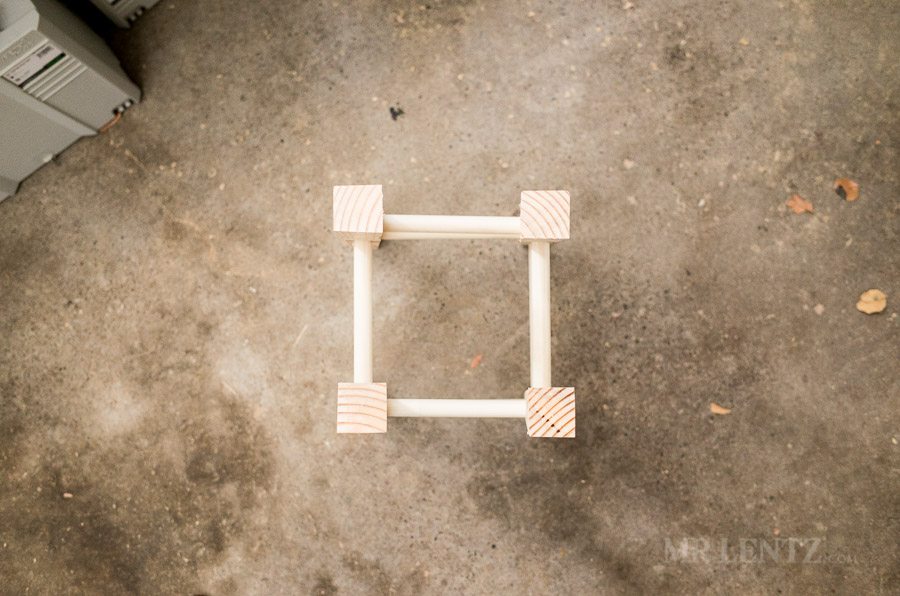
The base is set 13 inches apart.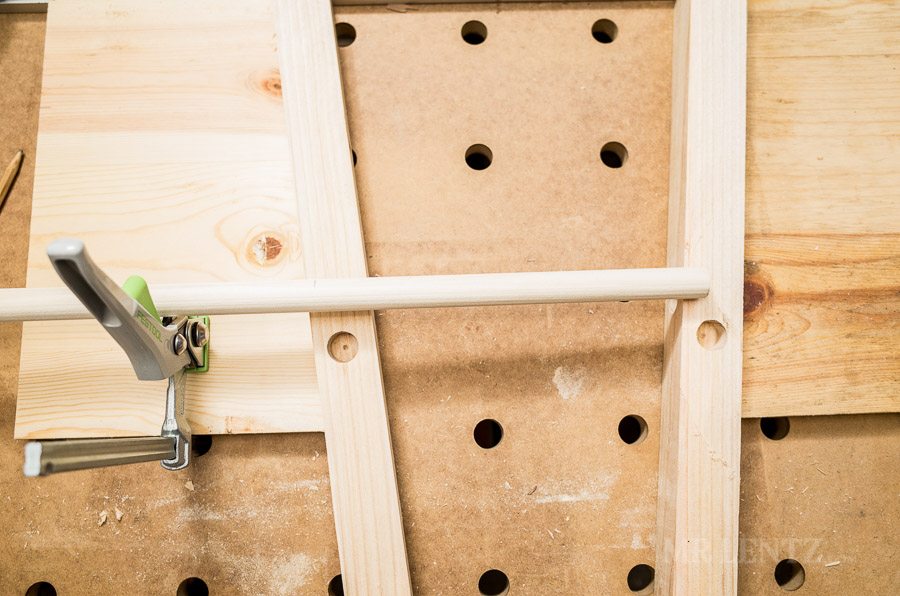
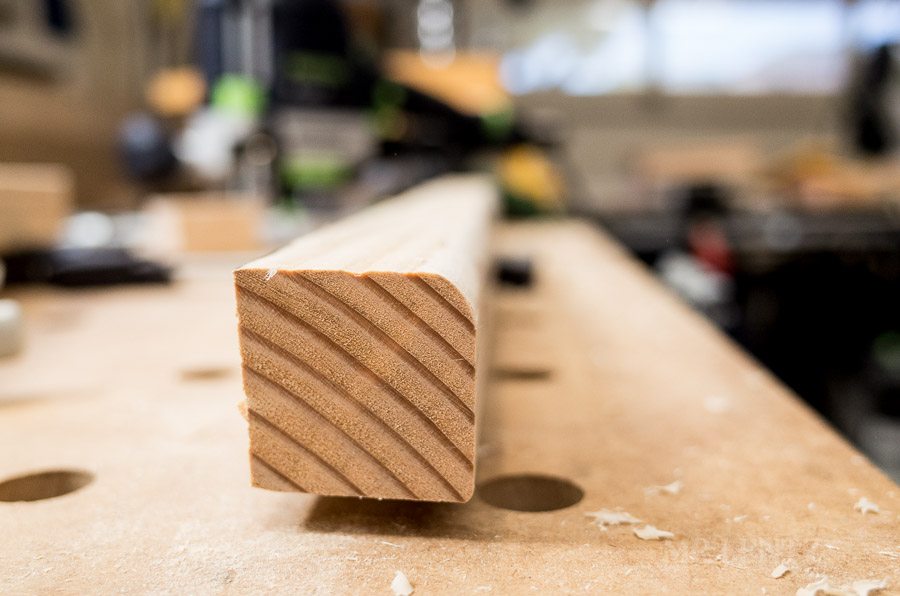
I lay the dowel across and make a tick mark for the cut.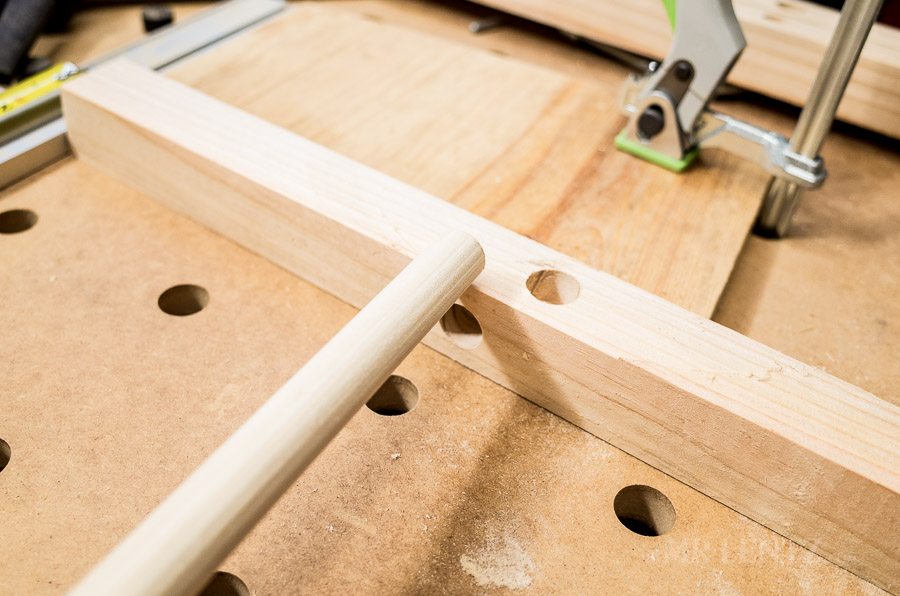
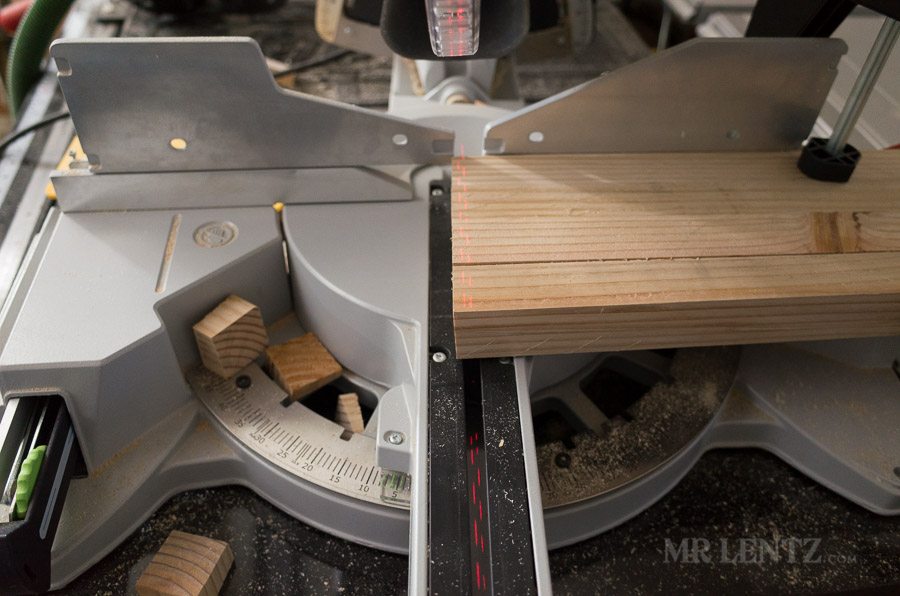
The key to fixing this is to adjust the angle of the leg ends as well as the template to match the angle that you accidentally drilled for the dowel holes. In my case I drilled a 6 degree angle, so I re-cut the template to match 6 degrees, then I ganged all four legs together and cut the ends to 6 degrees. Making sure to align the legs together appropriately. After all was said and done it was still a fraction of a degree off, but that’s nothin a little manhandling can’t take care of!
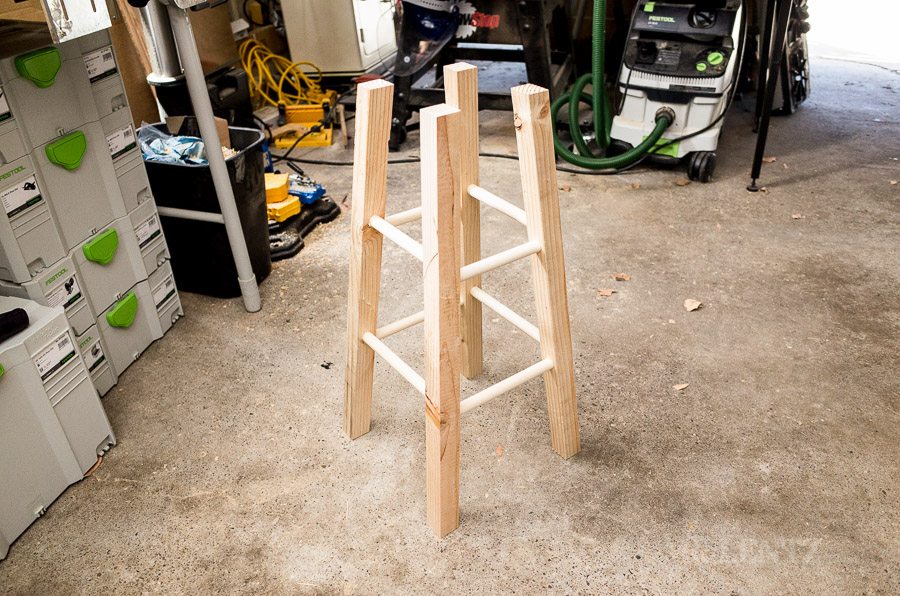
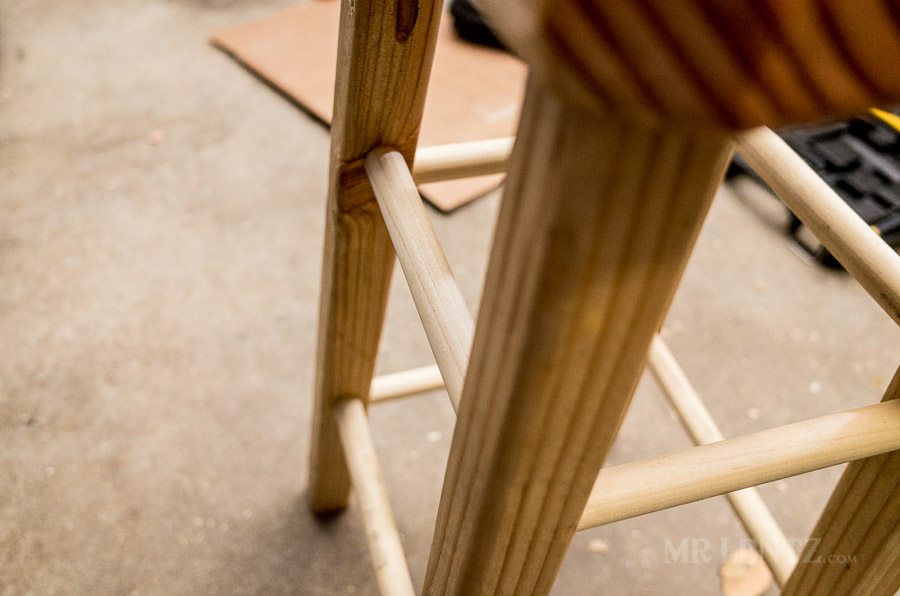
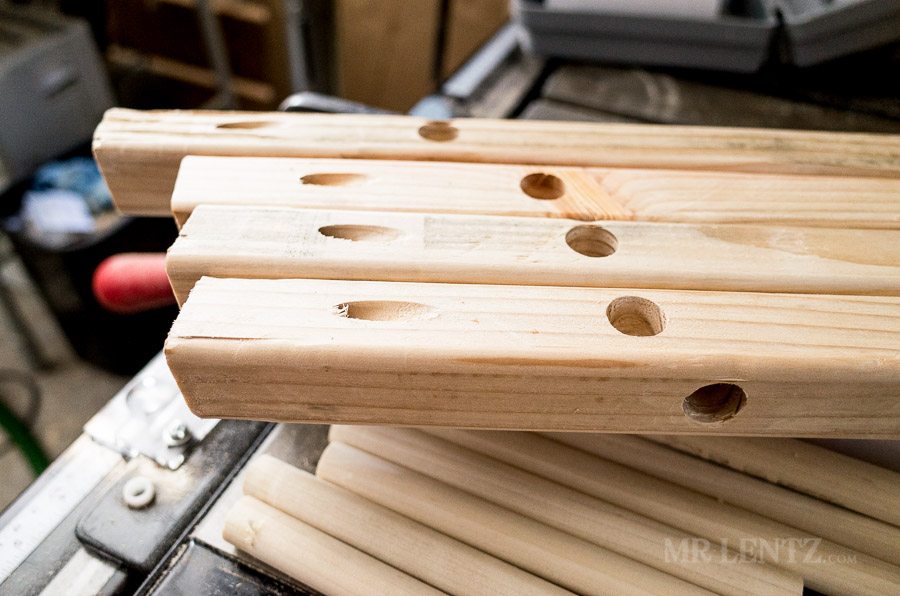
Using a plastic head mallet I tapped all the dowels into place to check for fit. Here’s where your original markings on which side is which will come in handy.
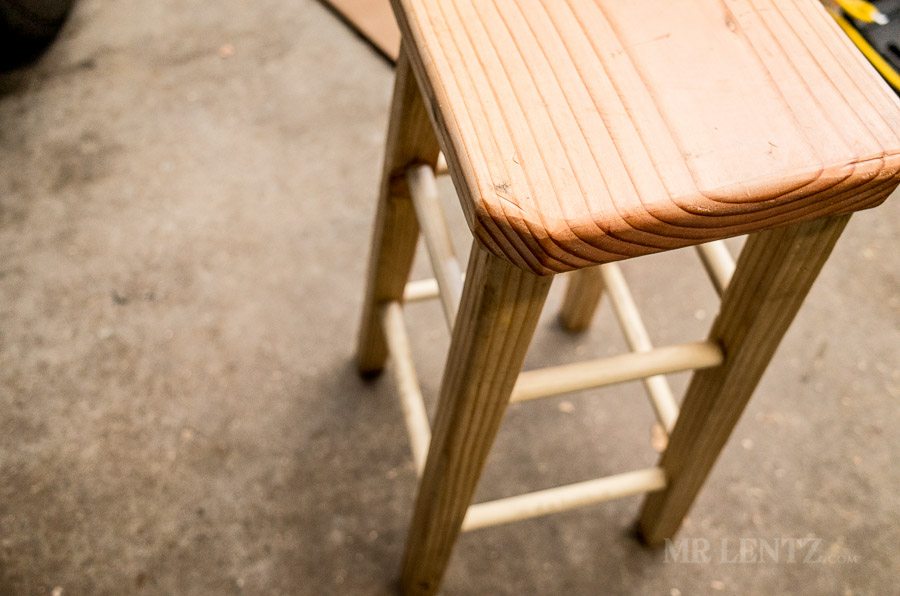
Kind of looking a little awkward now that I can see it close to the finished form. 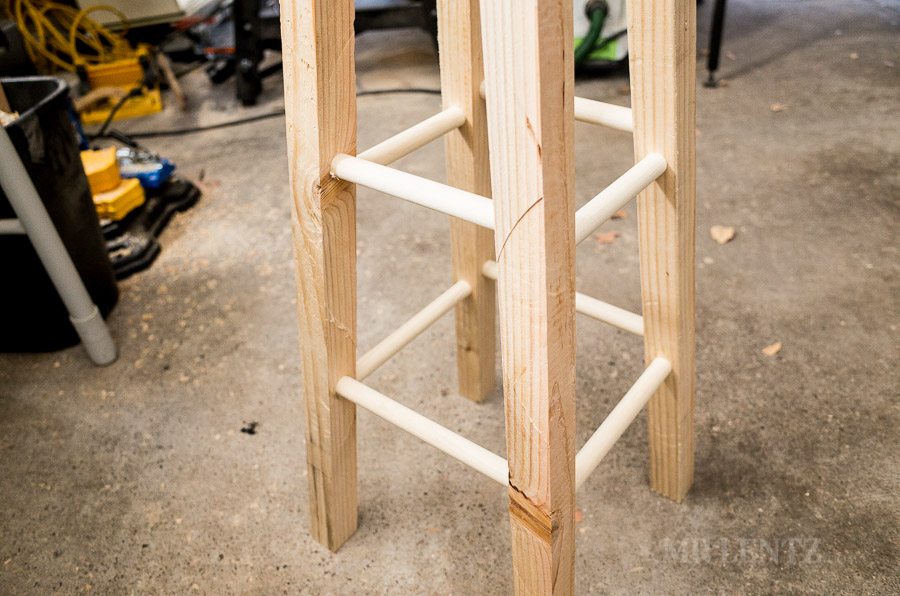
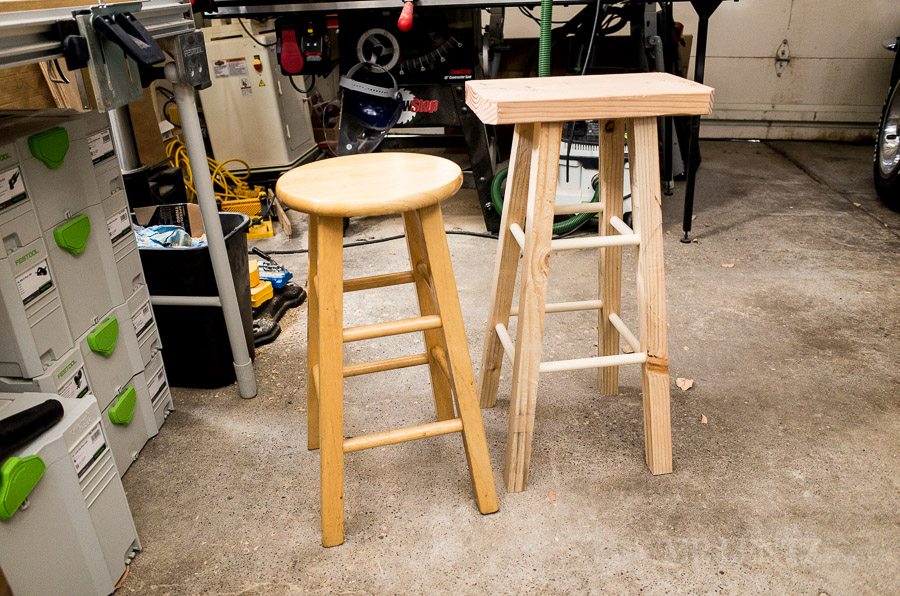
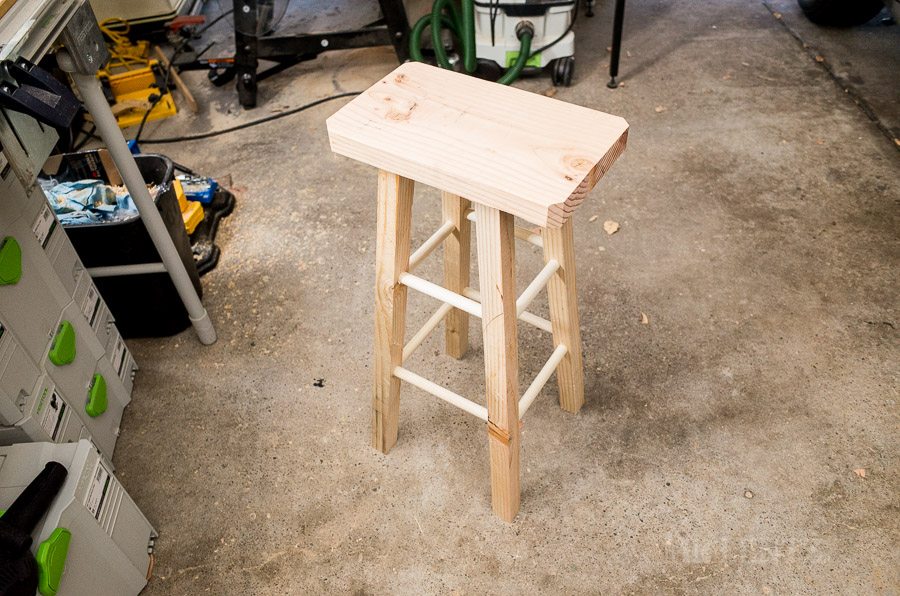
I decided to bring my stool home from the leather workshop to compare heights. I like the way the one I have sits and the height of it. Looks like it is about 4 inches shorter. Plus, the seat is way too wide. The original plans are designed for bar heights, but in the workshop, my tables are lower. 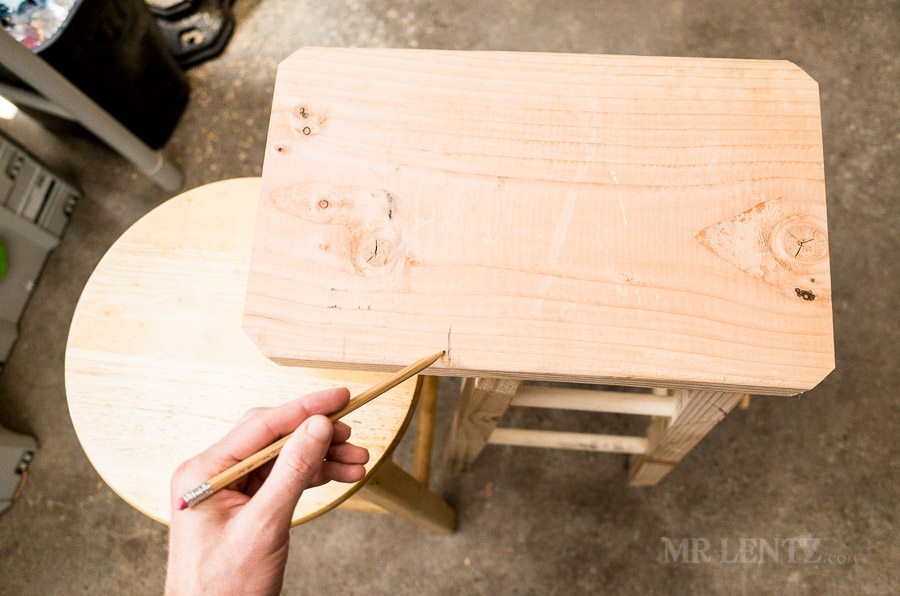
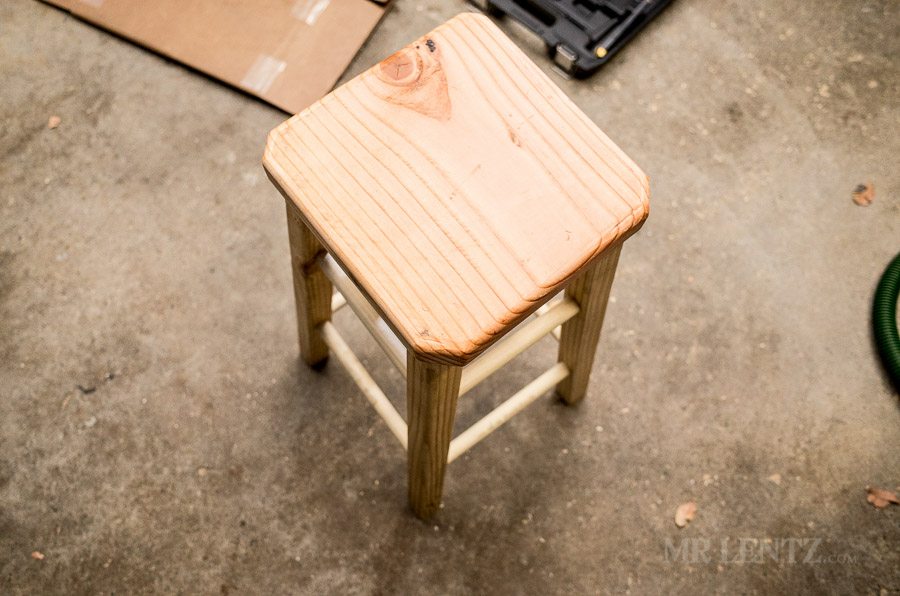
I decide to cut about a quarter off of the seat, aiming to make it more of a square shape instead.
Now it’s looking a little better, kind of like after getting a fresh haircut.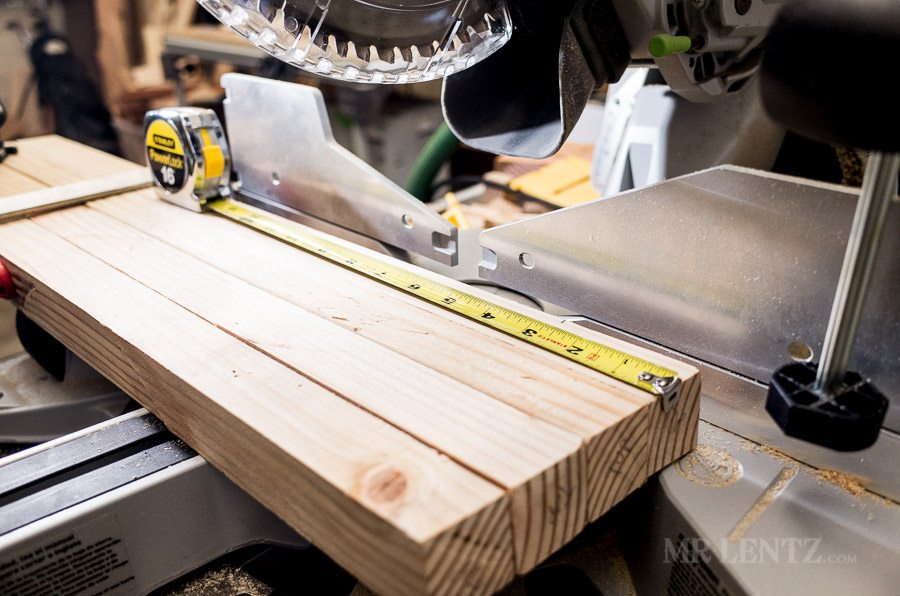
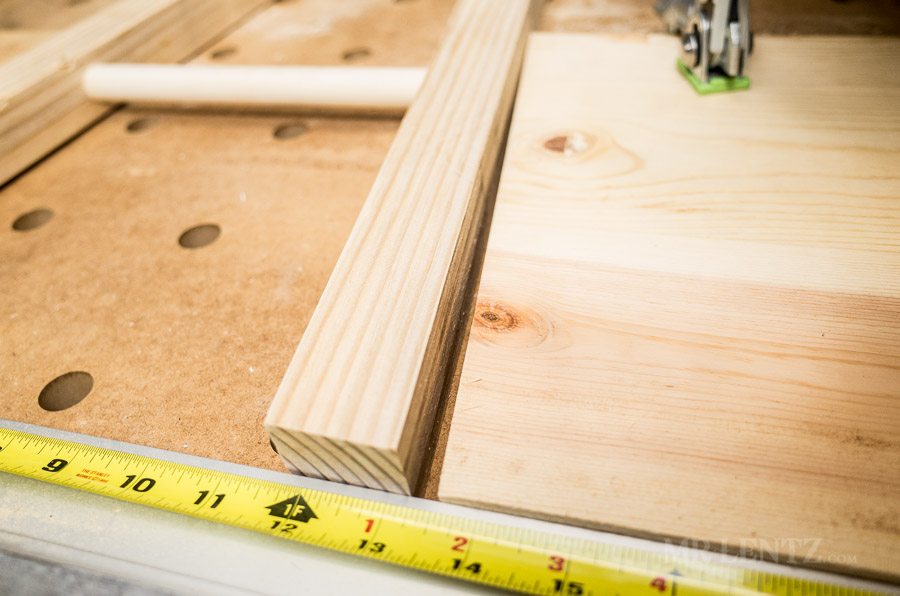
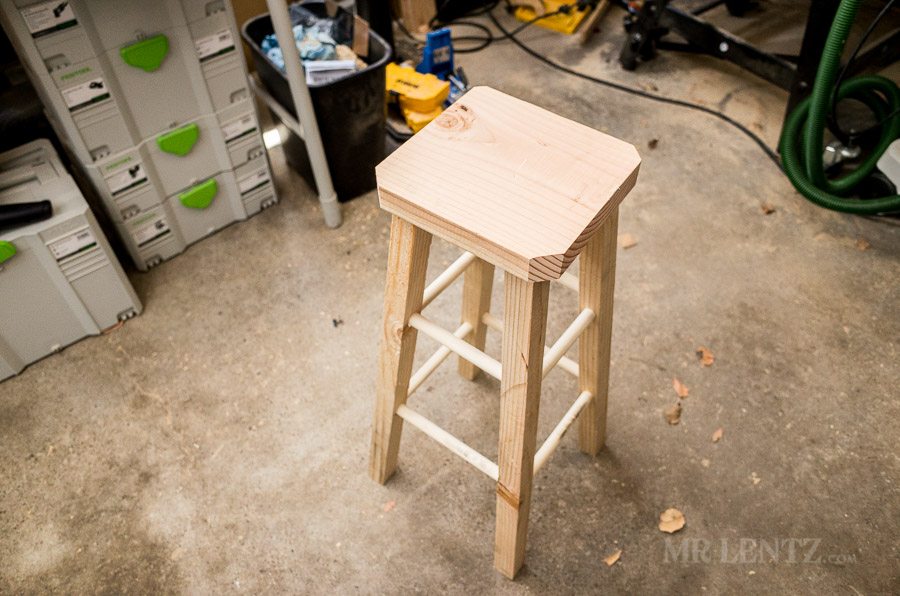
To get the legs shorter I gang them together, and cut 2 inches off the bottoms (at 6 degrees x 6 degrees), and 2.75 inches off the tops. 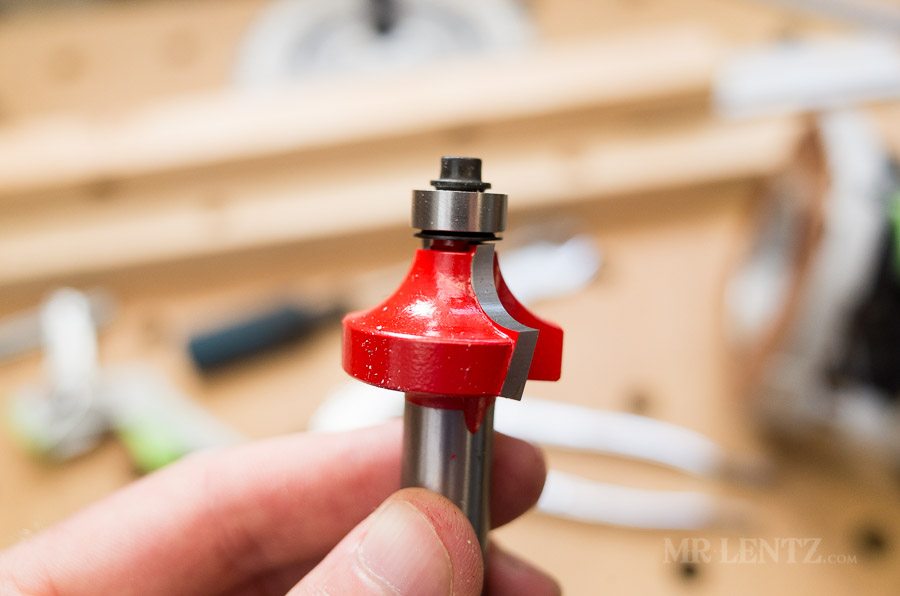
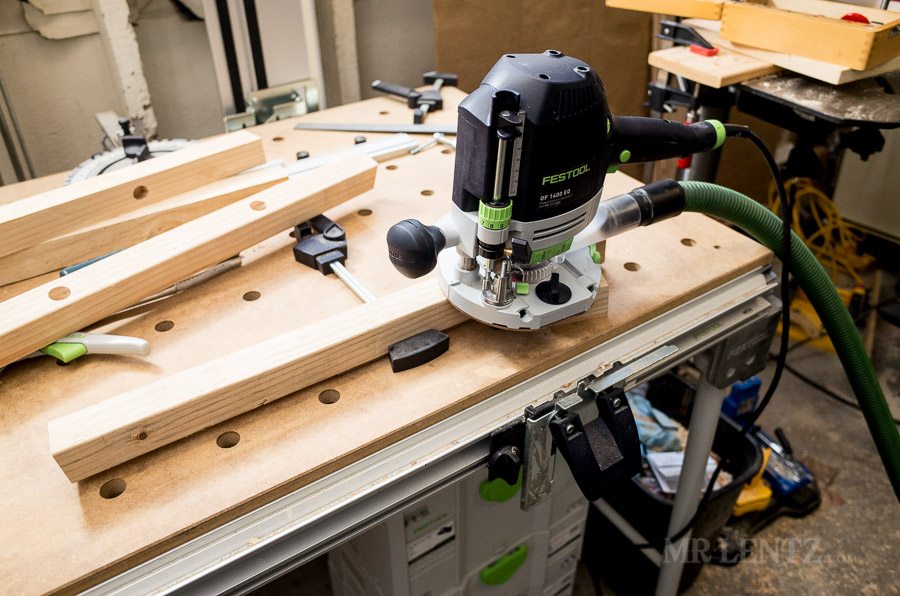
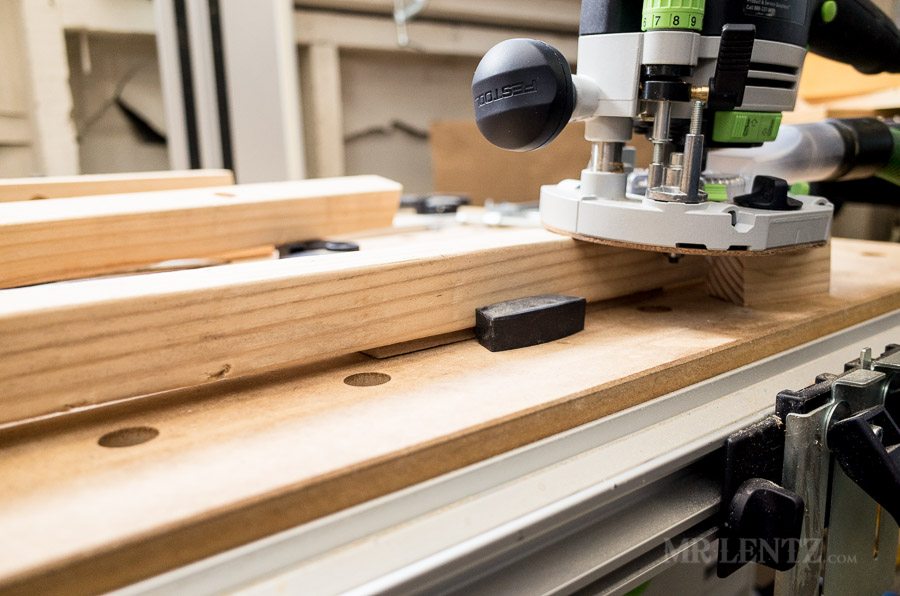
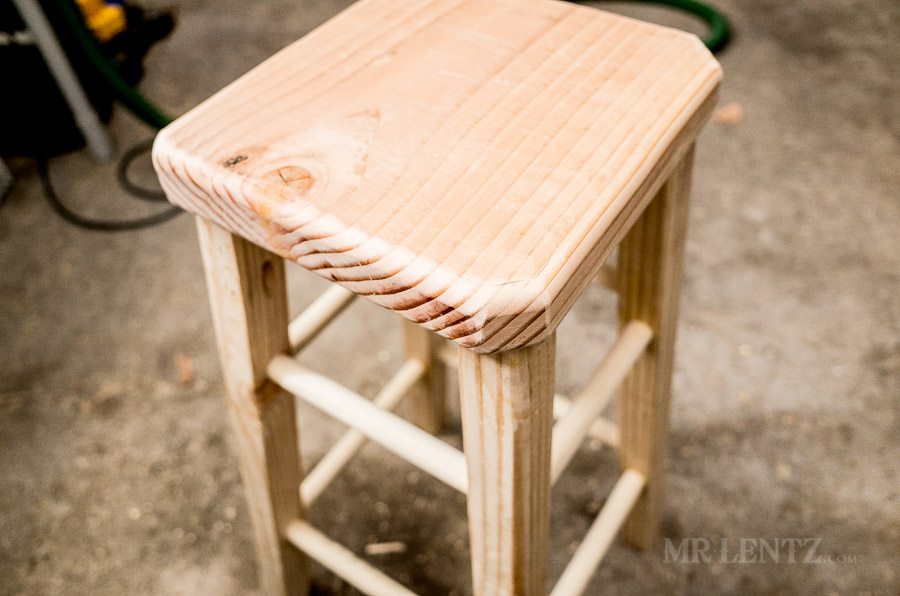
After cutting the legs and seat down it’s time to round the corners of the legs. I clamp them to the table, slightly raised from the surface (by placing thin pieces of wood underneath) to help the router bit clear the clamp. There probably is a better way to clamp this, but this was quick and easy for me. I chose the 3/8 rounding bit for the outer leg corners. Then the 1/4″ rounding bit for the inner 3 corners, fancy I know.
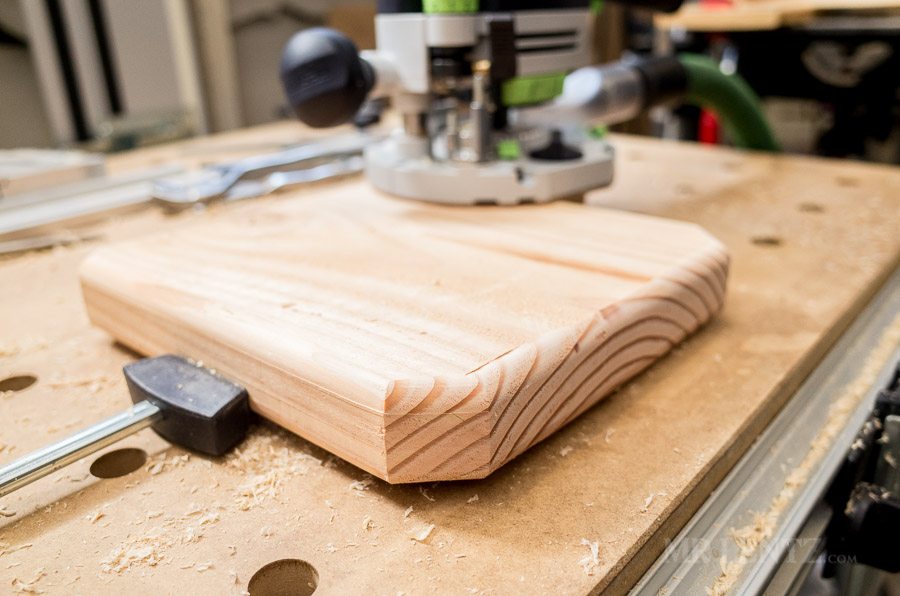
At this point I also rounded the seat edges with a 1/4 rounding bit.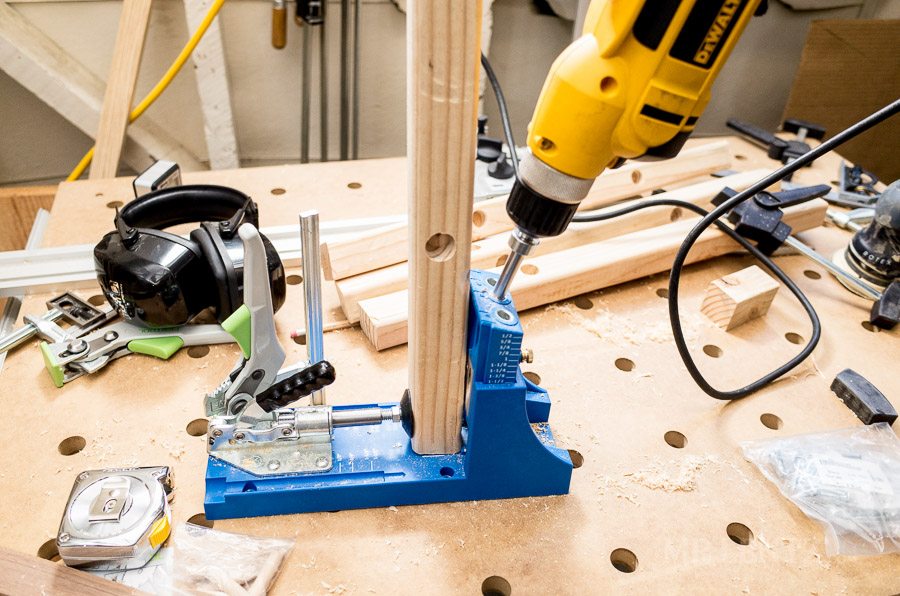
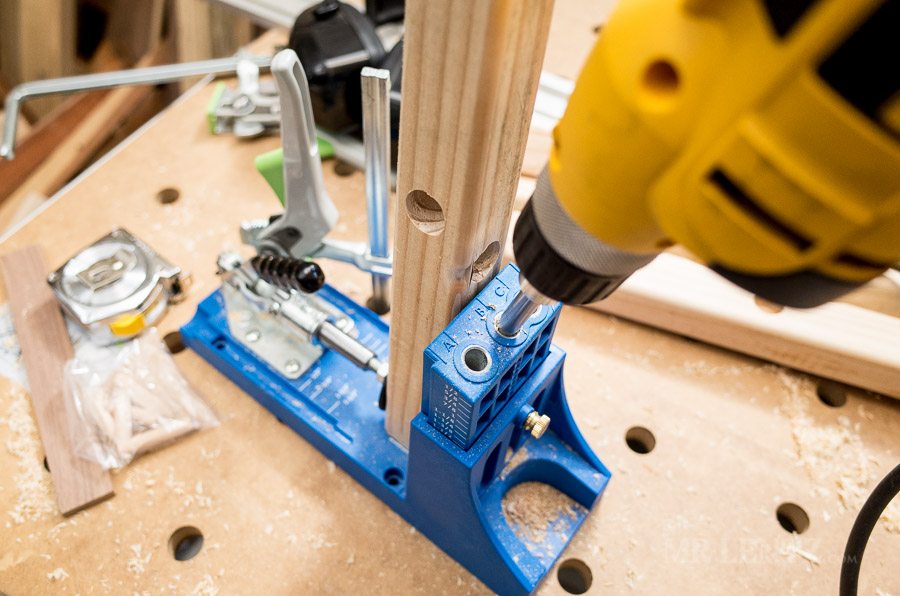
Then I remeasured everything to verify which ends were the top. I had realized a bit too late that I cut off the original mark made on the end of each leg. Always double check! After verifying the top of each leg I drilled pocket holes, one in each leg on an inside face. I will use this simple method to screw on the seat. You could use a number of ways to attach the seat including small L-brackets, and mortise and tenon if you have the patience.
While everything is still unassembled it’s a good idea to sand it all down. I did a quick job of it with a random orbital sander, and since this is a stool for the workshop I wasn’t too concerned about making it look especially flawless.
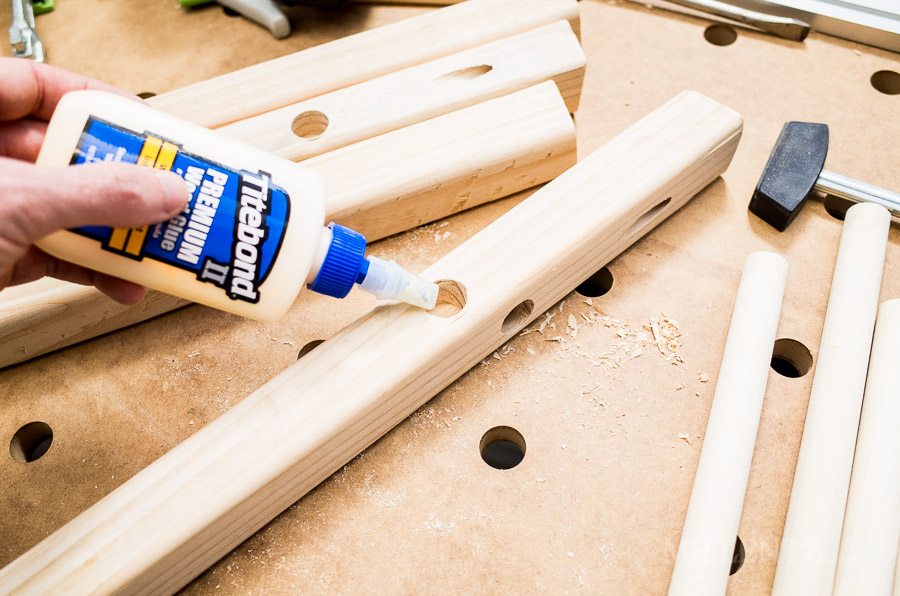
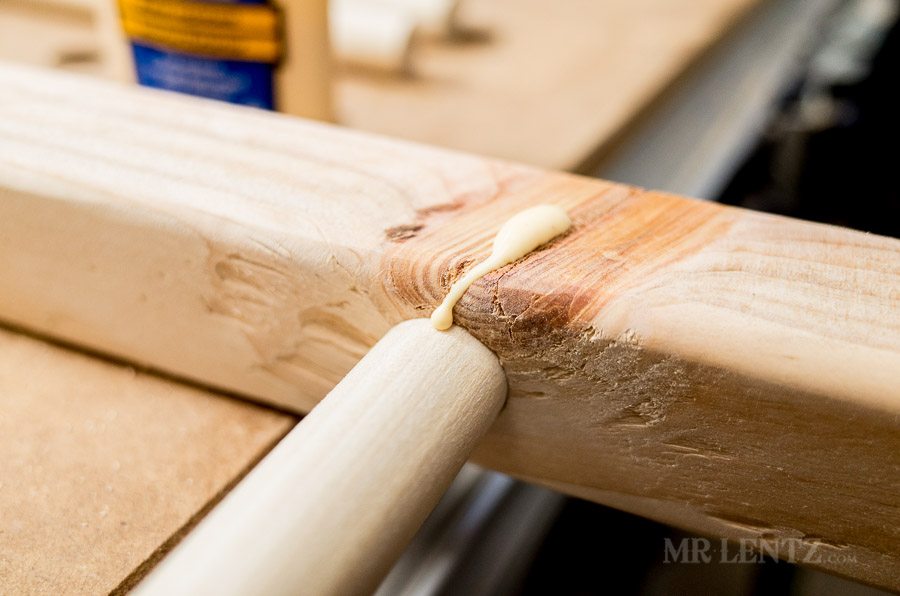
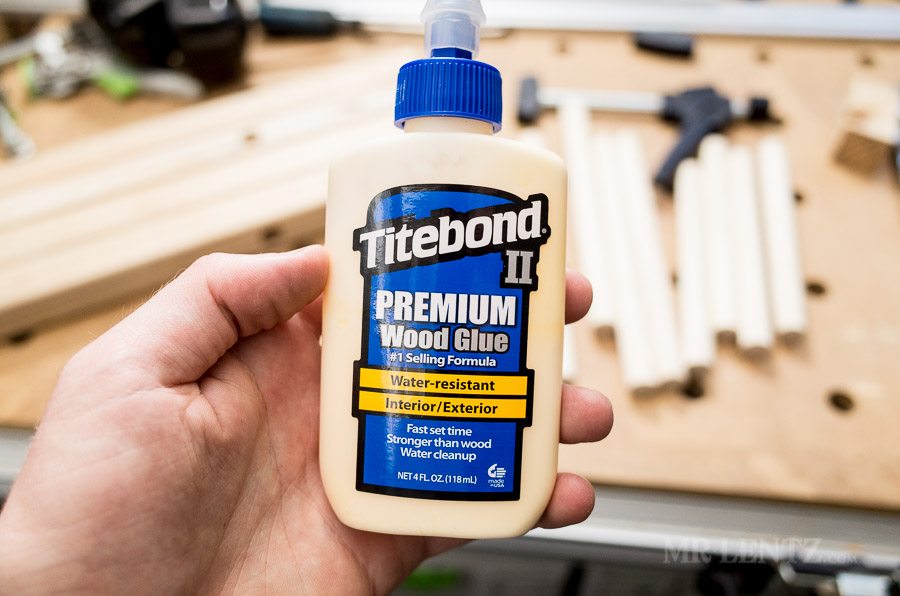
Time to glue everything up with some Titebond wood glue. This was kind of a messy process simply because I generally rush things and try to do everything at once. Glue ultimately rand down the stool legs, and was pushed out of knots in the wood. With a damp rag it’s fairly easy cleanup though.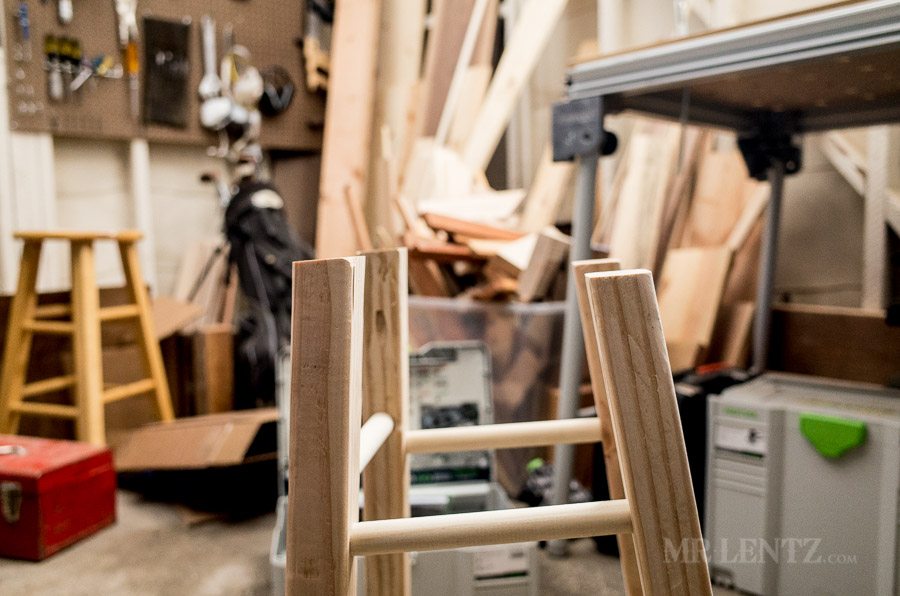
After assembly I noticed a bit of a problem. Soethin ain’t lookin right here. With the glue setting I quickly pulled it all apart and re-assembled. For some reason the second time a round it all worked perfectly. 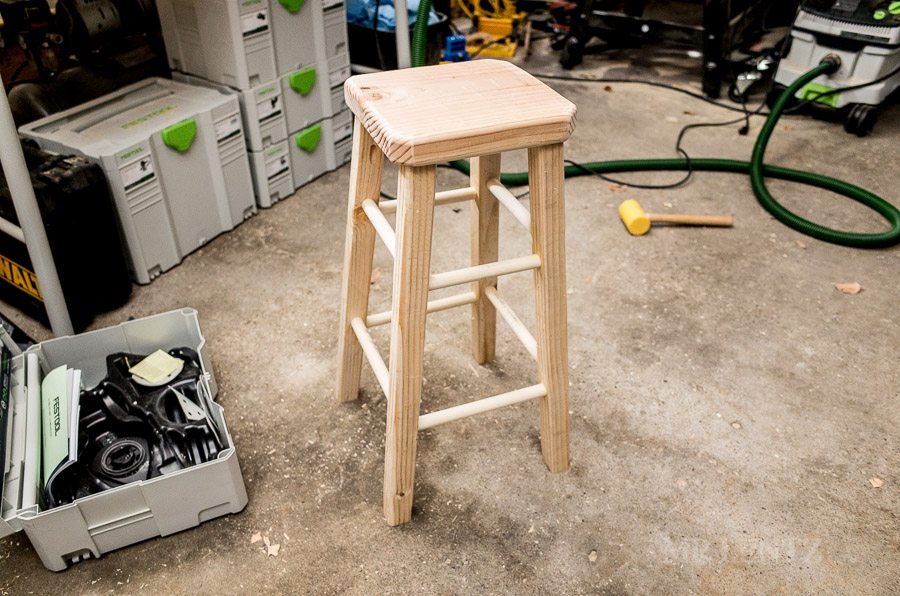
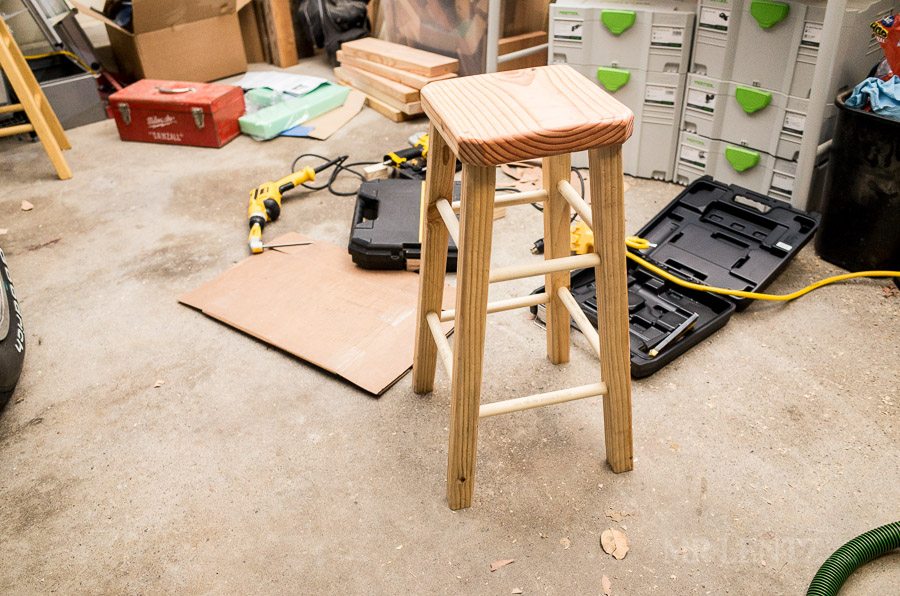
Now I am starting to feel good – getting close to the finish line.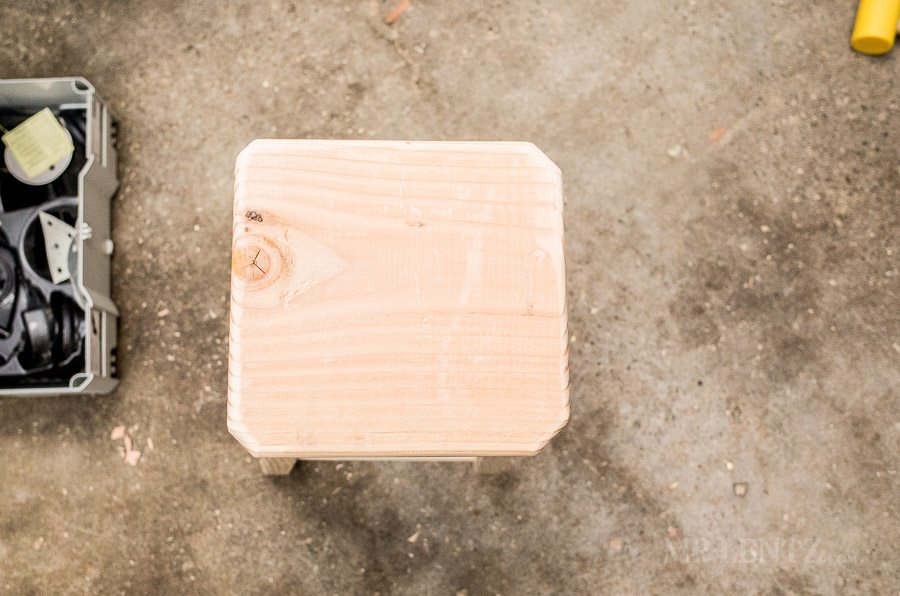

At this point I let everything sit a solid 24 hours. The glue has time to fully dry this way and heck, I am not in a rush anymore!
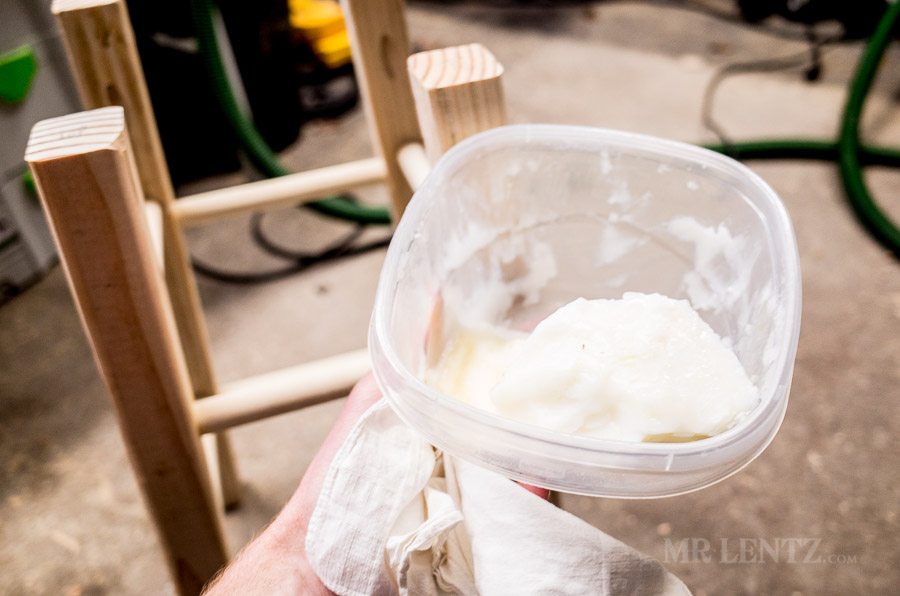
Using my own handmade mixture of beeswax and olive oil I set about rubbing the wax into the wood as a finish coat. Originally I thought I would stain and coat the stool a darker color, then I remembered how I hate the smell of those chemical stains, and just hate using them. They do serve a purpose in some cases where you really need to protect the wood, but in my case the workshop stool wouldn’t be left out in the rain. If you do want to coat with some sort of stain, one good method is to use a coat of shellac, then a gel stain, then shellac again. This is a method for staining pine since it tends to get blotchy, the first coat helps spread the stain.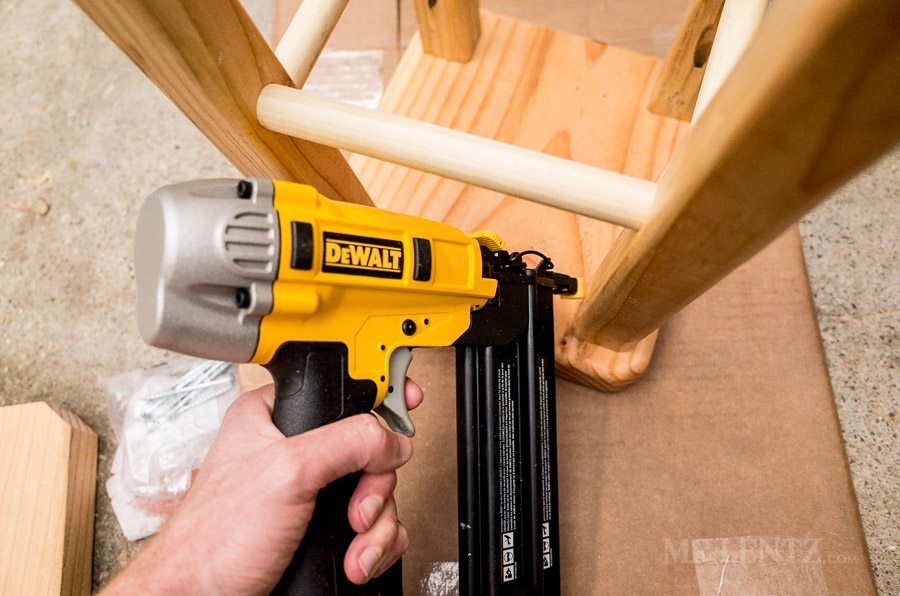
After a good waxing, I lay the legs down on the seat for assembly. The problem was that the wax made everything super slick so that it was impossible to hold still while attaching the screws. I pulled out my air gun and sunk a few pins in the legs to hold it to the seat.
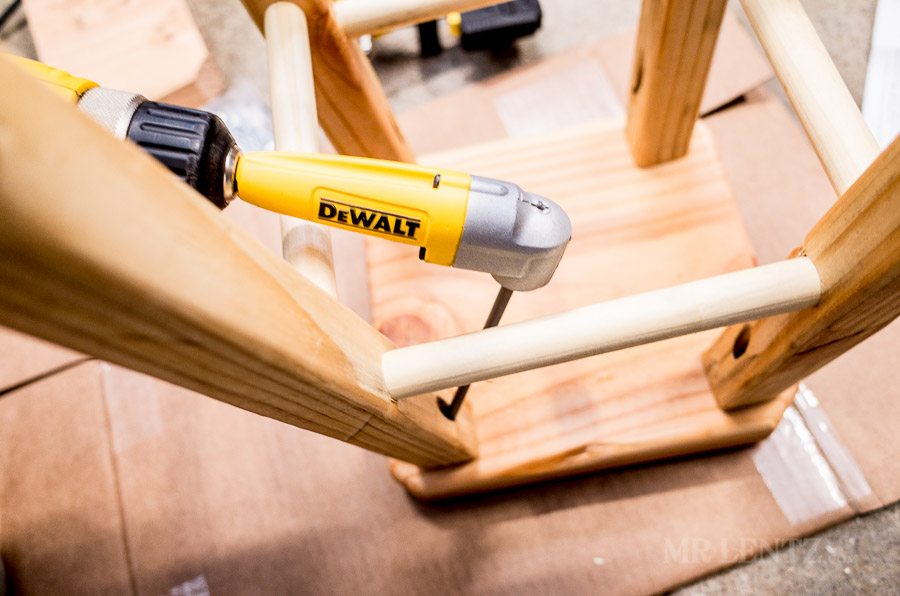
Then I used the angle attachment for the drill and screwed the top on. A fairly easy job with the right setup. 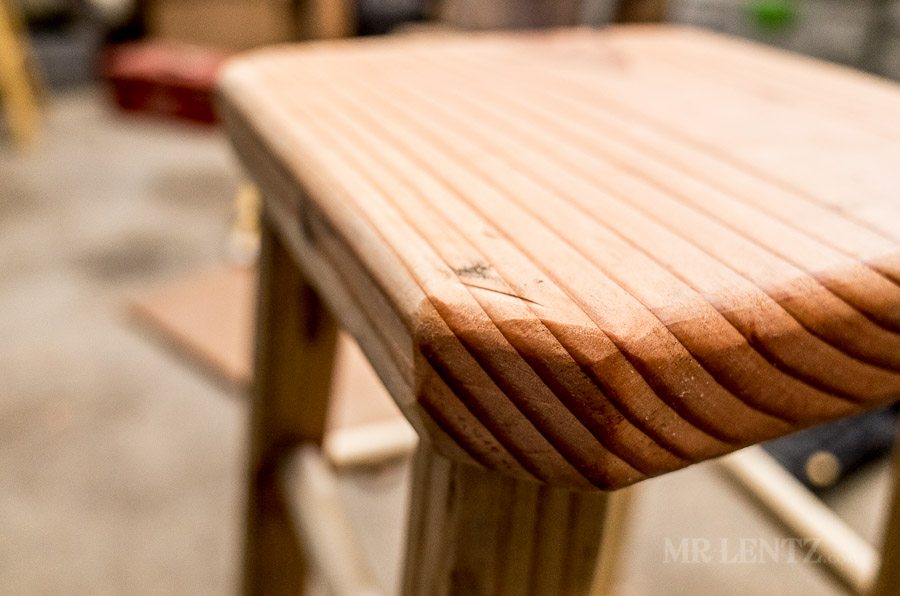
And that’s it! Not quite as easy as I had hoped, though not as hard as I originally thought. Again, it’s all about planning and thinking through the next few steps ahead to prevent any mistakes. Even if you do make a few mistakes…as I had made several, typically you can correct them with a little bit of planning. If you liked this tutorial and have any questions, feel free to comment below and I will get back to you.
View Day 1 View Day 2READER'S FAVORITESVIEW ALL


Nicely done! I like the design of the stool. Thoughtful instructions. I’m a fellow woodworker and mainly stay in 90 degree angles, I need to try something like this to stretch my comfort zone. I’ll also need one of those angle measurer tools.