Everything, Tutorials, Wood
How to make a bar stool DIY (Day 2)

Jul
 Alright, it’s day 2 of the DIY workshop stool. I’ve finished figuring out how to put together the Grrripper (a device that lifts your hand away from the wood as you feed it through he table saw – they include a DVD which if you still have one of those ancient players it is well worth watching through), and now it’s time to prep the table saw. Initially I fed a piece of lumber through the table saw only to feel it resist an abnormal amount. It was not a pretty sight and felt a bit dangerous so I quickly hit the ‘stop’ button on the saw with my knee. After all the last thing you want is kickback – where the board slams you in the face and you have to come up with excuses for your girlfriend. Turns out my table saw needed a bit of rust sanded off the surface and a wax job. Now everything slides right through, always take care of your equipment. I ripped each leg of the stool to be 1.5 inches wide.
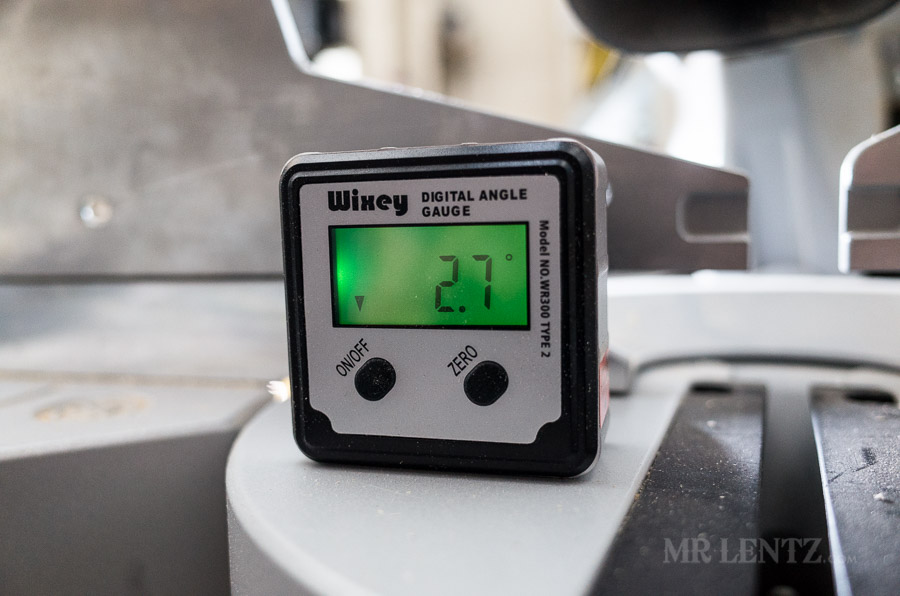 With the digital angle meter I measured the actual angle of the miter saw table (though I am not sure I did this at the time or after I cut everything – it would be a good idea to do it first!)
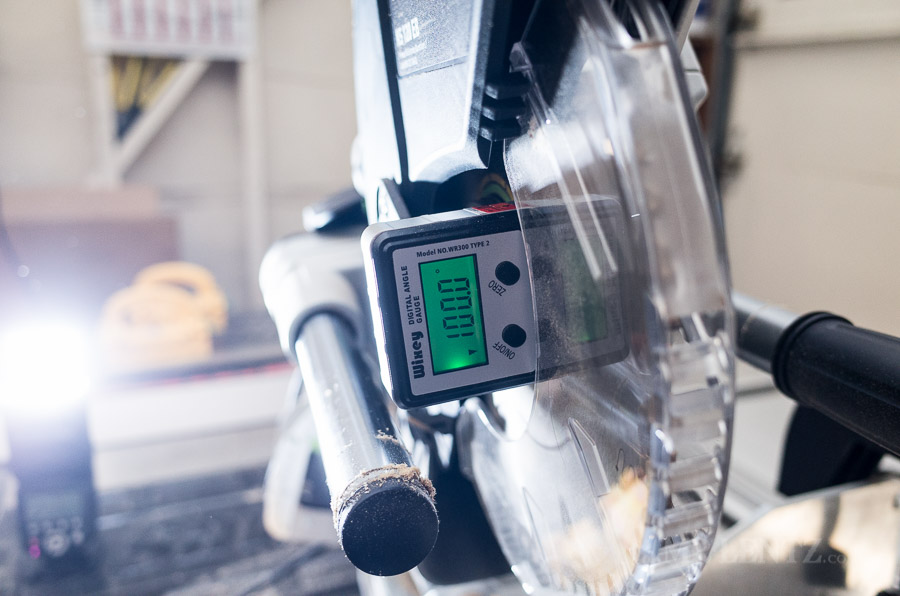 Since the angle of the legs needs to be a compound cut of 7 degrees on the blade and 7 degrees on the table I added in the relative angle of 3 degrees to make 10. Ok I know I lost most of you there…but follow if you can, or just push forward because you can always correct it later on as I seemed to have done.
Like this post so far?
I spend most of my free time creating tutorials like this to help those like yourself get into leatherwork and woodworking, or get better at it. If you'd like to support my efforts, consider checking out my handmade leather goods shop and purchasing a gift for yourself or a loved one. It's readers like you that help keep a small U.S. business like mine going strong, so -thank you!
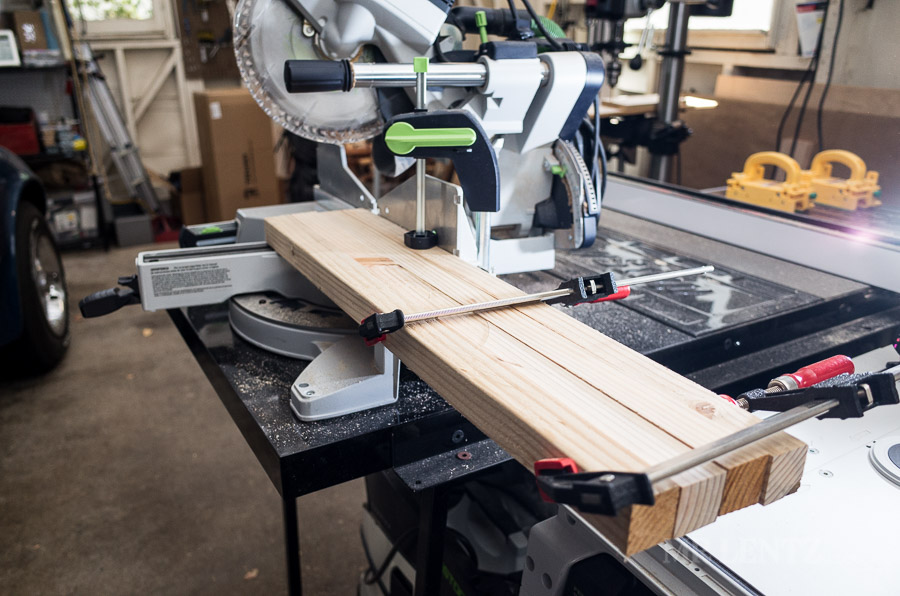
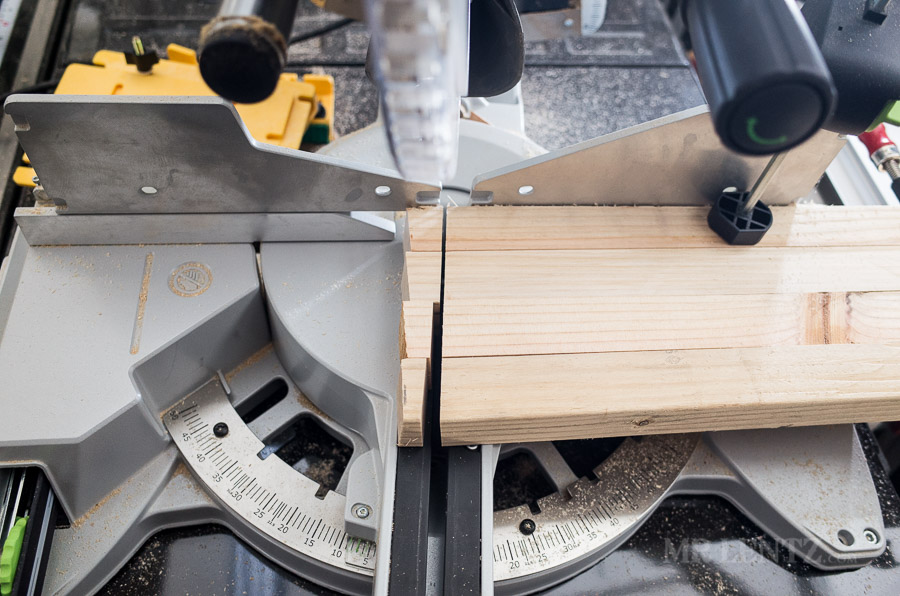
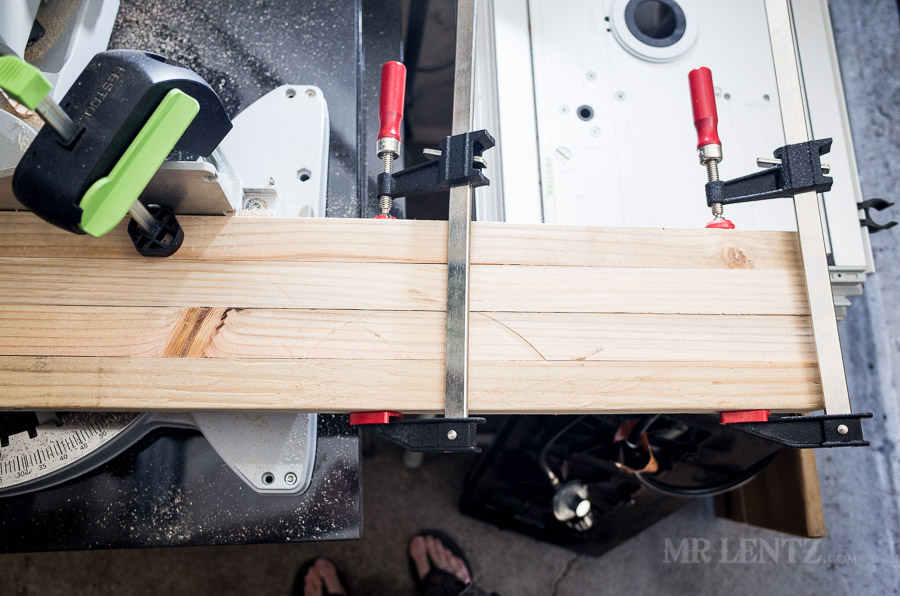 To make all legs exactly the same length I ganged them together and clamped them tight.
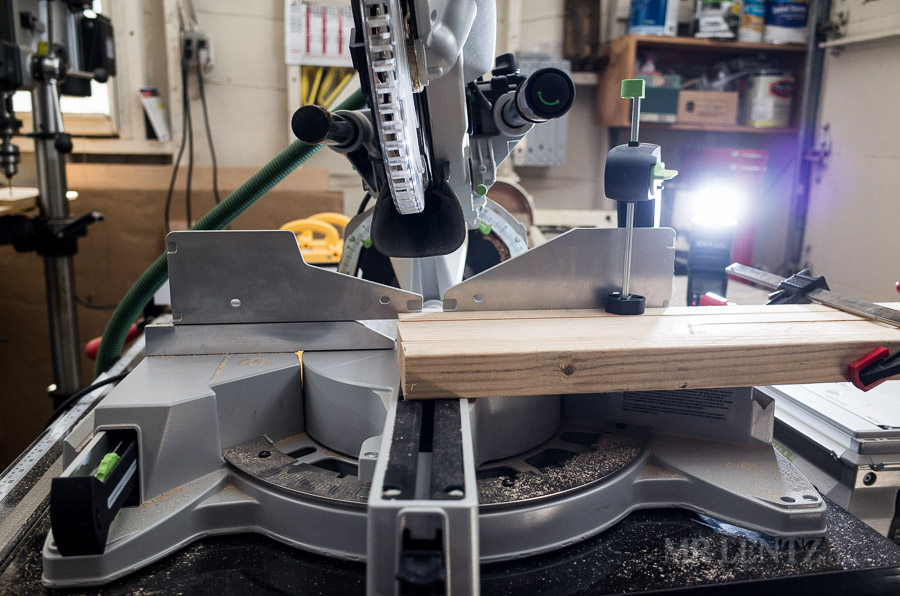 Then I made the compound miter cut of 10 degrees on the blade (due to the relative angle of the saw), and 7 degrees on the table.
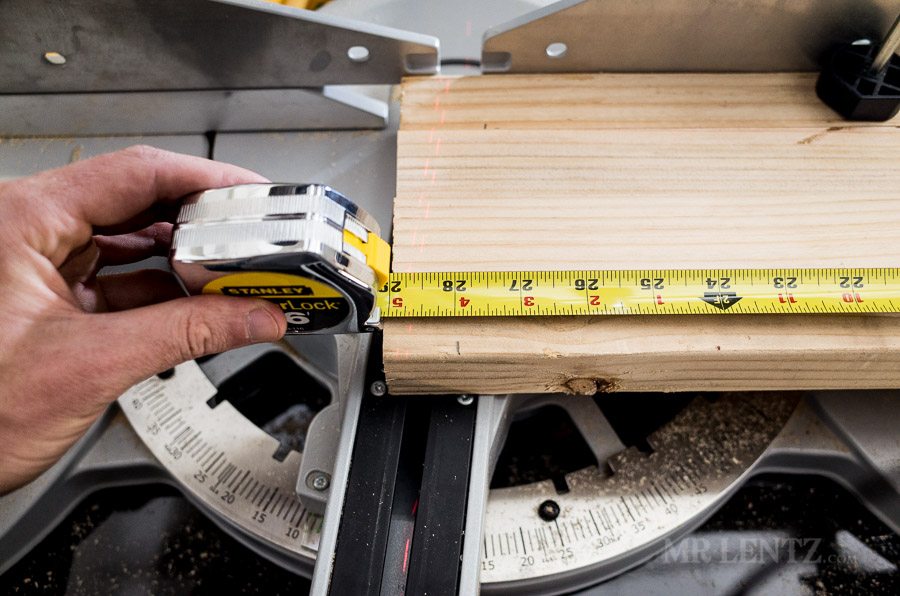
 I needed to make the same cut on the other end of the legs. The trick is not to flip the wood – just slide it over.
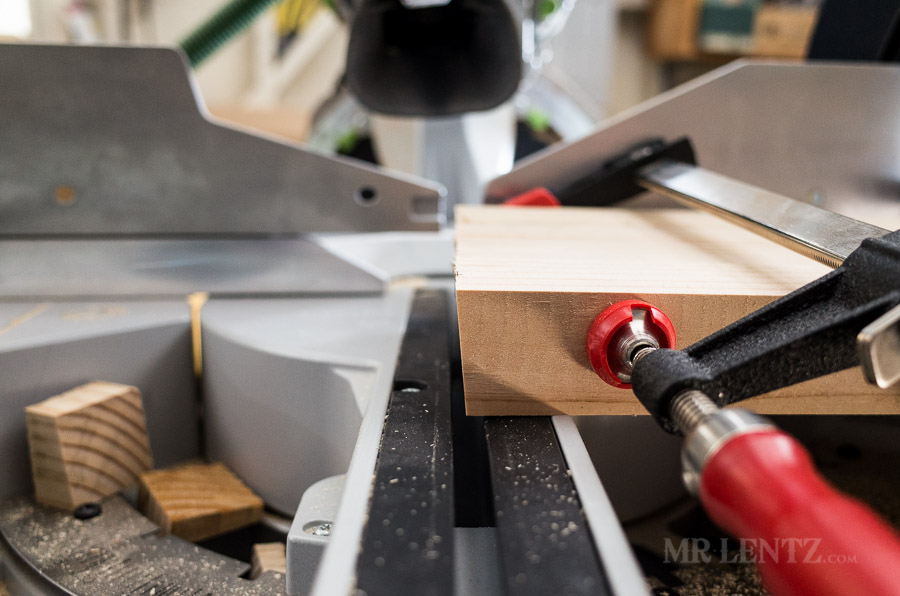
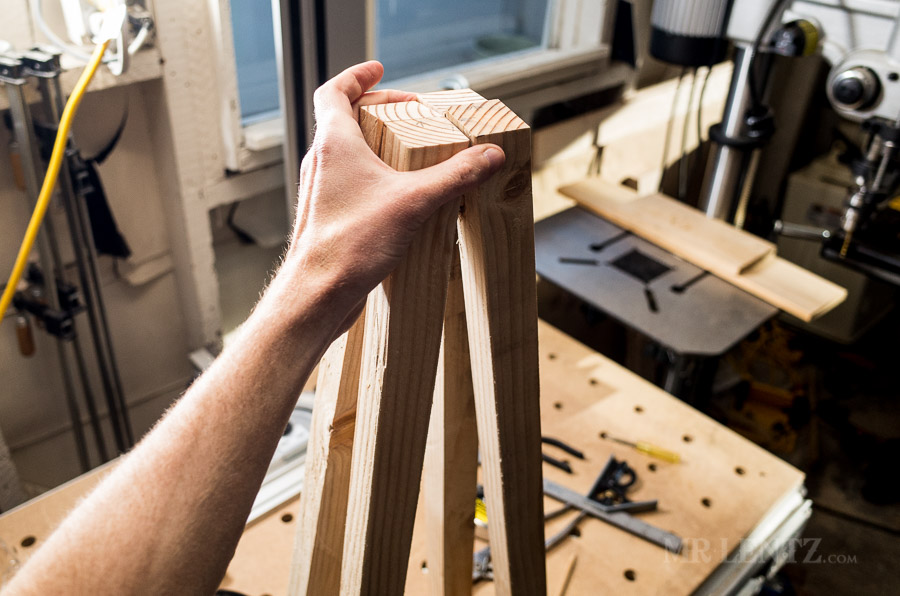 Done with the compound miter cuts, all legs should angle inwards toward the center.
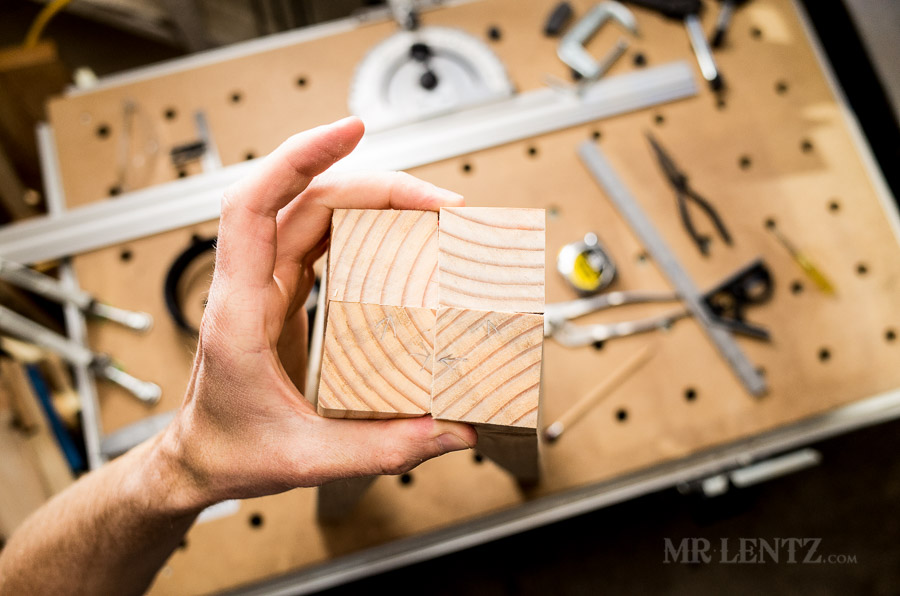
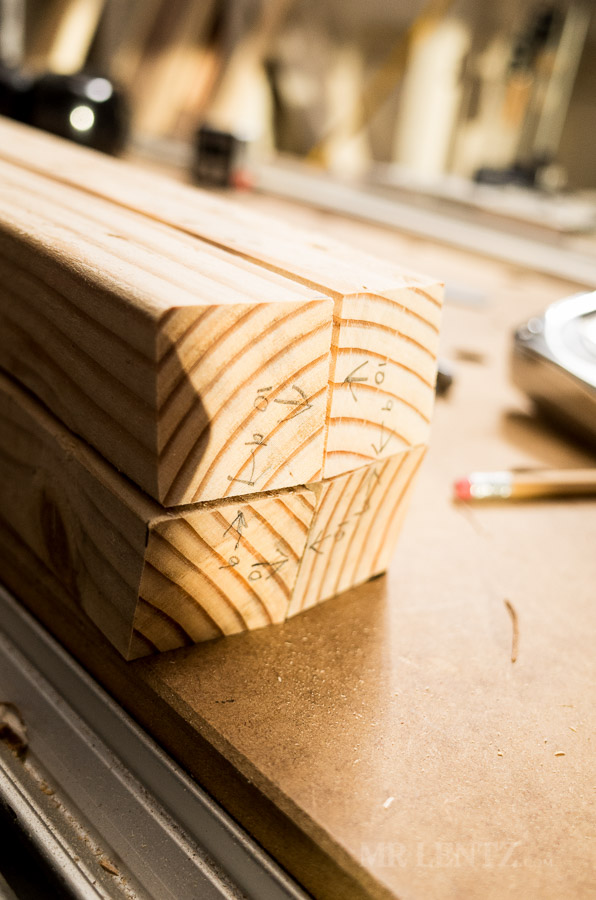 Holding the legs in the position above it’s easy to mark which sides get the holes drilled for the dowels. Look closely and you will see my arrow markings. This is an important step.
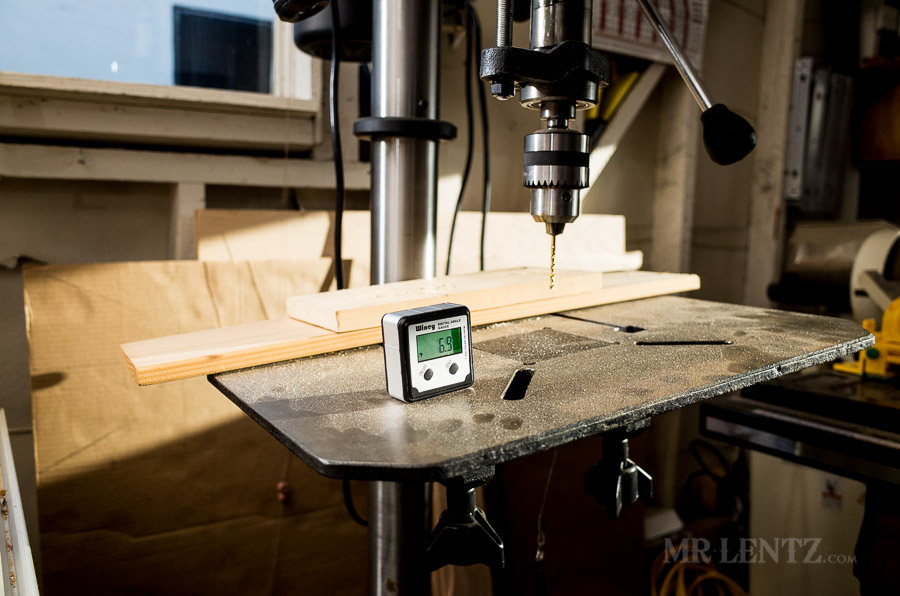 Ok – so in hind sight here is where I went wrong. I adjusted my drill press table to be at a 7 degree angle…without accounting for the relative angle of the floor it was sitting on. Make sure to factor in the relative angle first and add it in or subtract it… trust me you will save a few extra steps.
 Some of the holes are drilled at 9 inches out and the others are at 10 inches out (see that guy’s youtube video). I measured from the center of my drill bit – the forstner bit – out to 10 inches and clamped a board down there to help act as a jig for drilling all the legs.
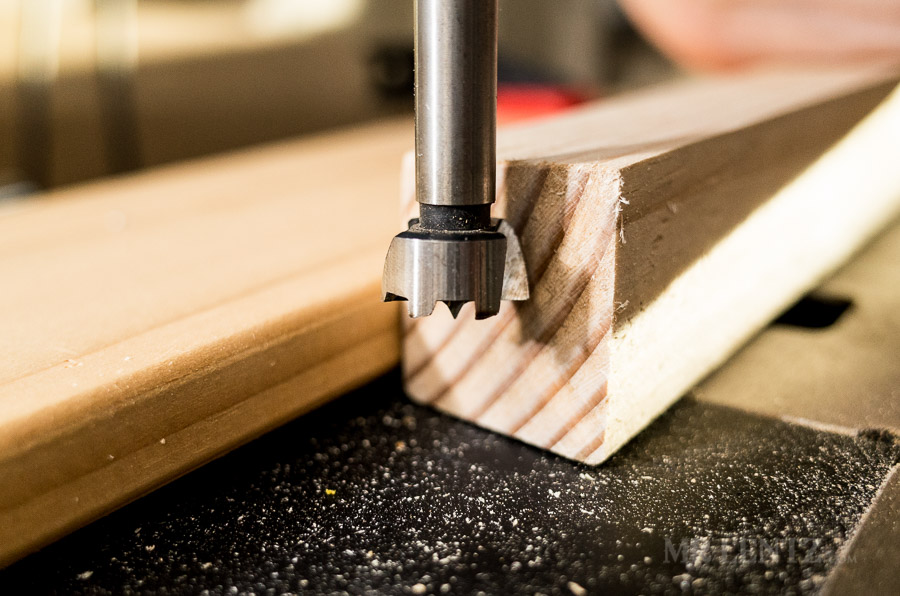
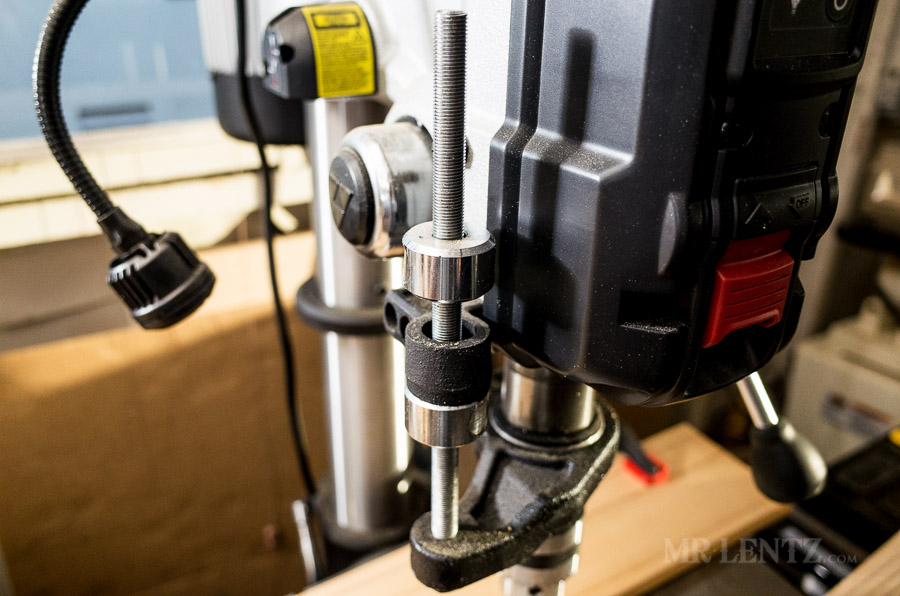 Next I set my depth adjustment on the drill press to only go 1/2 the width deep.
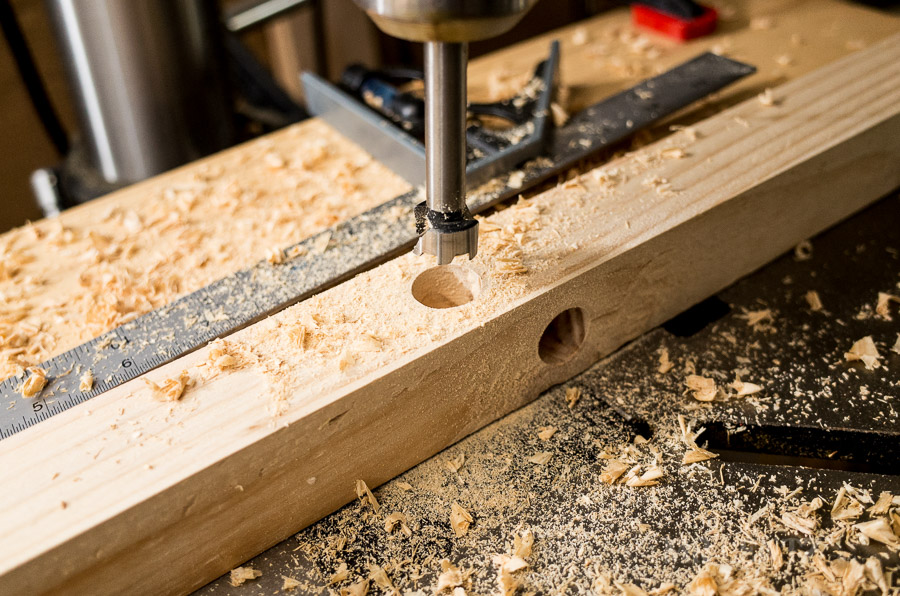
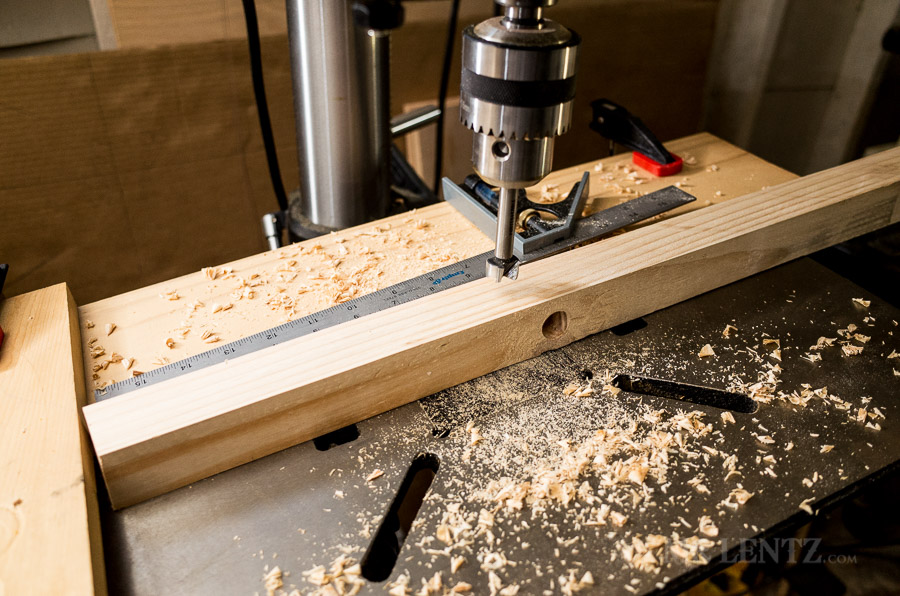 The sides that get the 10 inch distance are drilled away. Then I readjusted for the 9 inch distance and drilled the other sides.
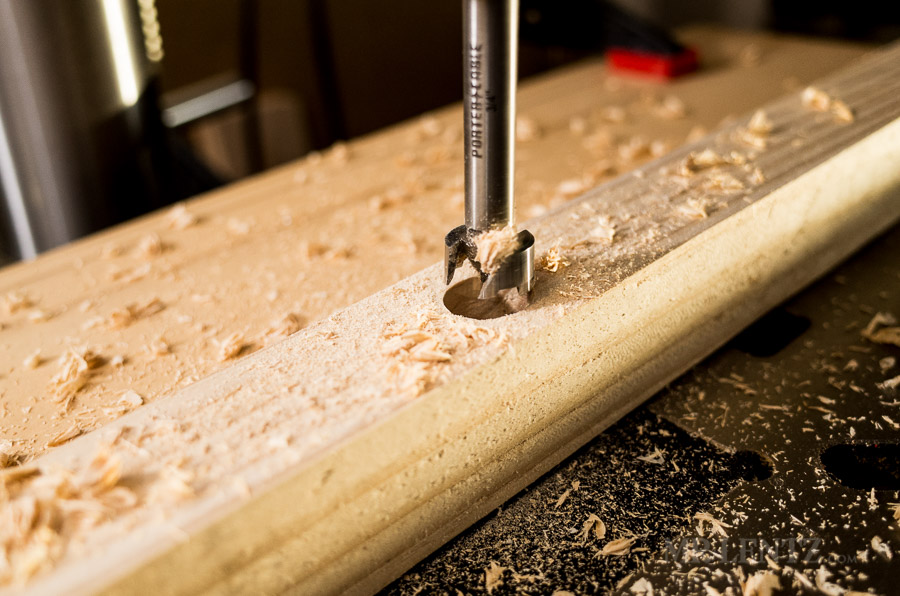
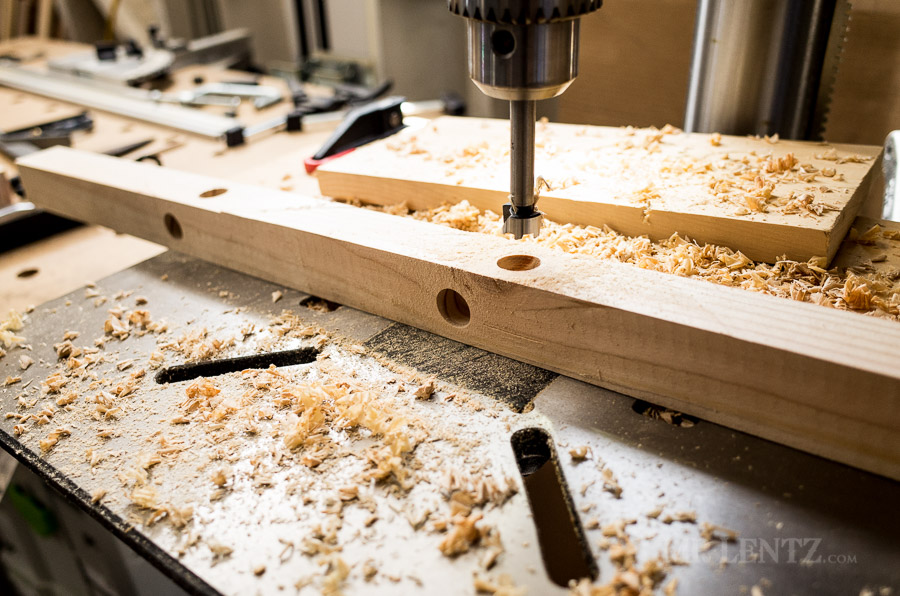
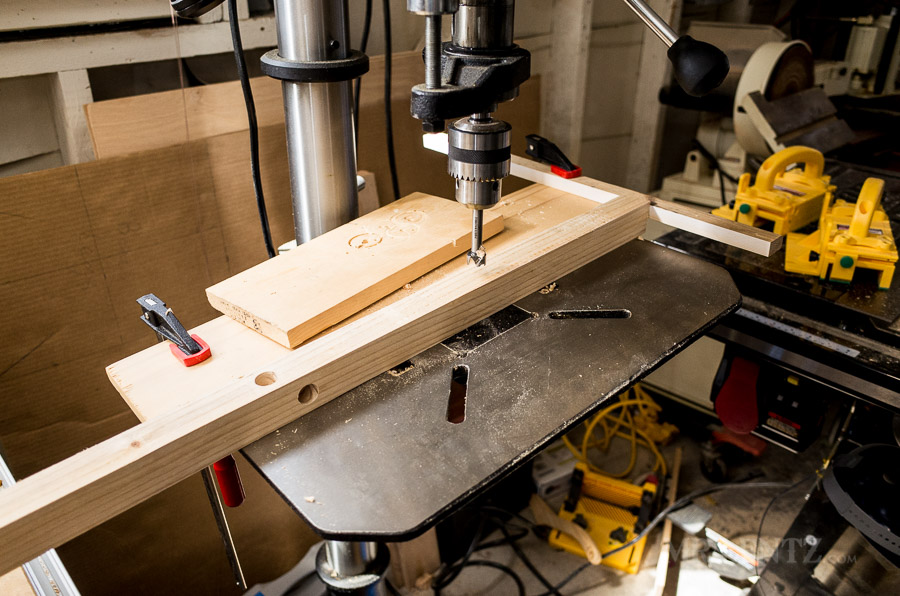 Then I drilled the other ends of the legs, keeping the table in the same angle, but moving my stop block to the other end. This keeps all of the holes with the same angles. Don’t even try it otherwise.
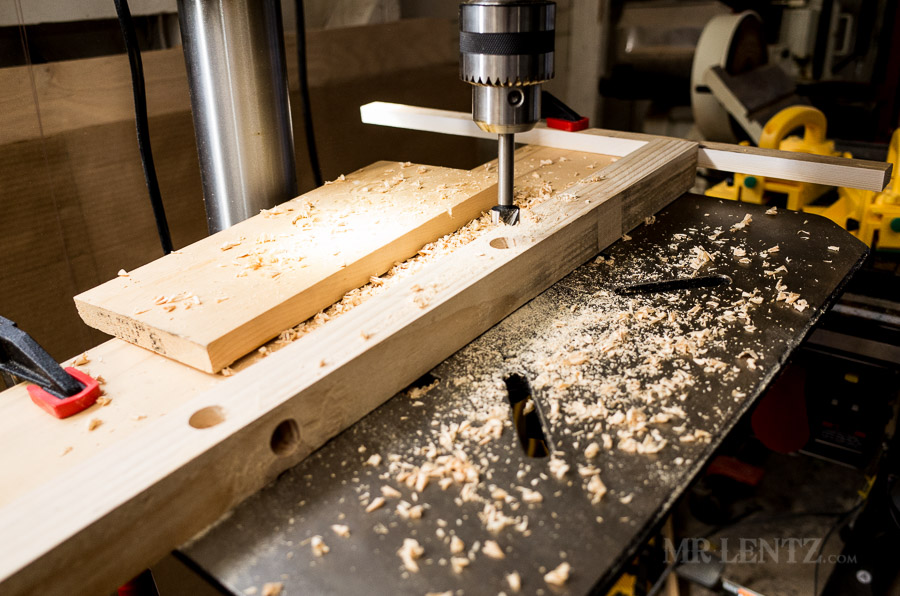
That’s enough brain power for today. The next step is moving on to the template and putting this thing together!
View Day 1 View Day 3READER'S FAVORITESVIEW ALL