
Everything, Tutorials, Wood
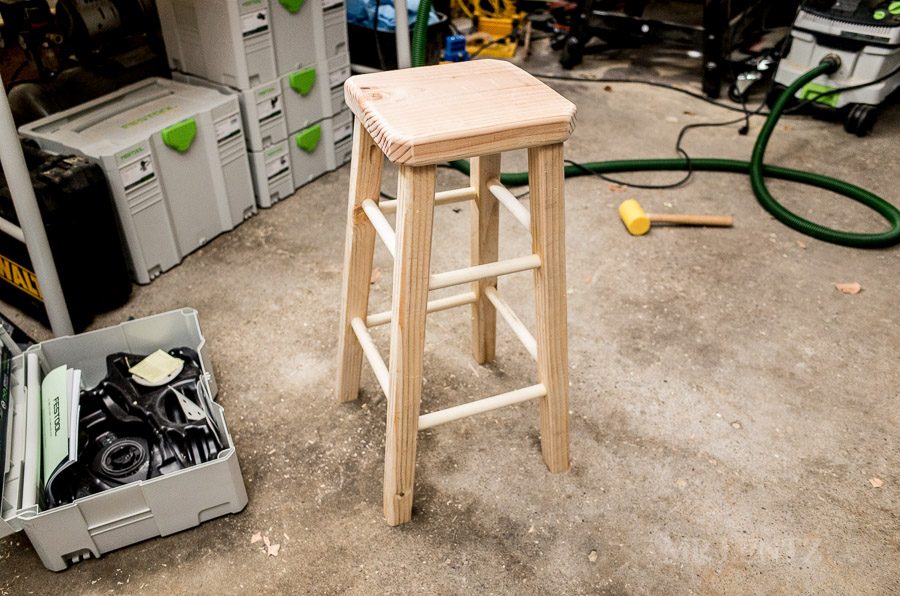
How to make a bar stool DIY (Day 1)

Jul
Now I’m not typically a ‘precision’ kind of guy. At least in the field of woodworking and joinery (in leatherwork I couldn’t stop that evolution). So when I decided to build this stool for my workshop I kind of thought it would be fairly simple. Boy was I wrong…and sometimes you have to face that as a DIYer. The fact is, with a stool – the more precise you can be in measuring lengths and angles…the less headaches you will have down the road. That’s why I bought this electric angle gauge:
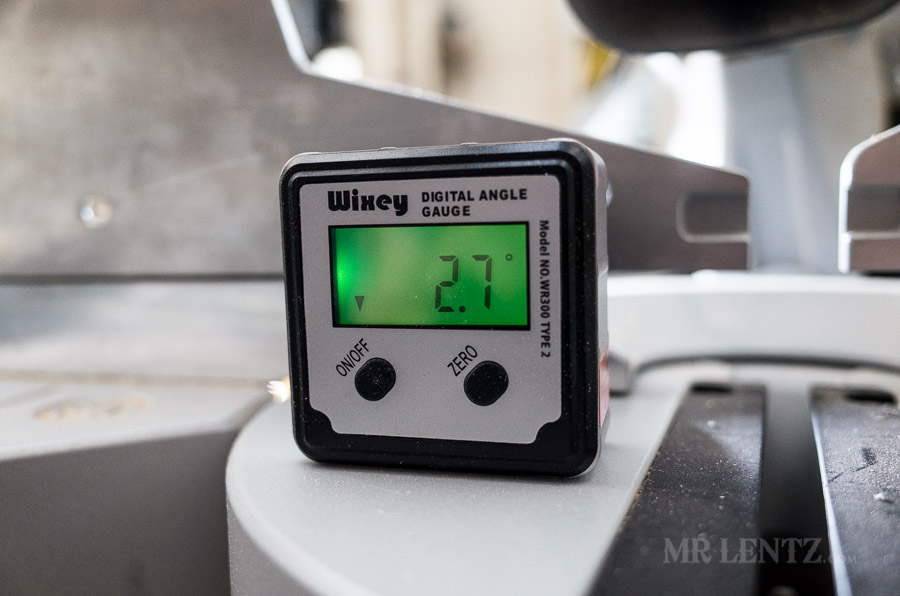
It measures down to 1/10 of a degree – allowing me to set up my drill press and table saw precisely. Unfortunately as you will read on further into the DIY, I may not have calculated the relative angle of slope of the garage. That’ll make more sense later though so let’s get on with it.
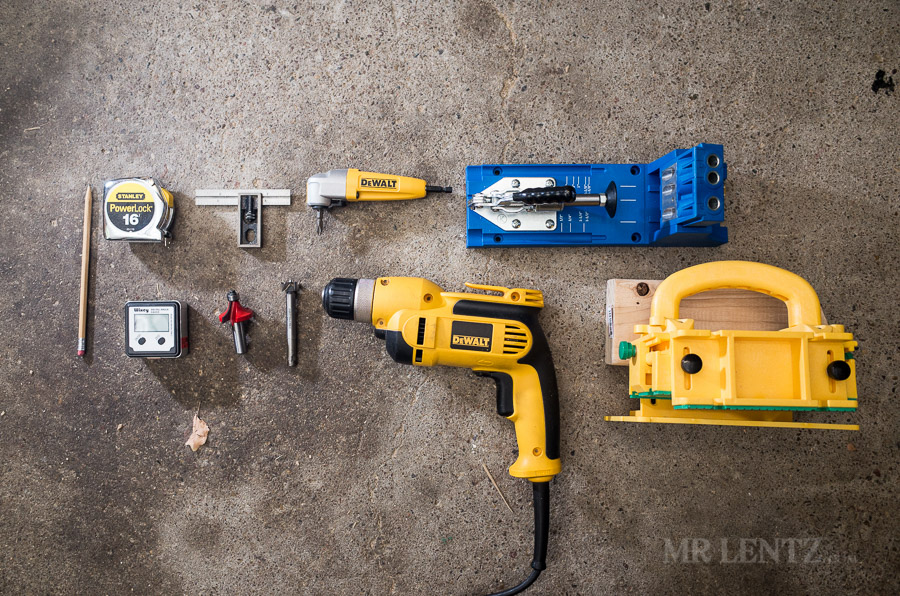
As you can see above there are a few specialty tools you can use to make this a whole lot simpler. Starting from top left to bottom right: pencil, tape measure, ruler (I know this one looks special but any old ruler will do), right angle attachment for the drill (super handy), Kreg jig (very handy for attaching the seat), digital angle reader, rounded edge router bit (1/2 inch), forstner bit for cutting dowel holes, drill, Grrripper used to push wood along table saw (seems safer than other methods). I am sure I have skipped a few but, let’s just go with that for now!
Like this post so far?
I spend most of my free time creating tutorials like this to help those like yourself get into leatherwork and woodworking, or get better at it. If you'd like to support my efforts, consider checking out my handmade leather goods shop and purchasing a gift for yourself or a loved one. It's readers like you that help keep a small U.S. business like mine going strong, so -thank you!
So – you are going to need some wood. I always try to buy a bit extra simply because once in a while I measure wrong and the extra $10 saves me another trip to the hardware store for more wood. Before we dive into this head on I need to mention that I am building a version of this stool based on this very handy and interesting fellow: “Make a Wooden Bar Stool” (Sorry the page where this existed is no longer there, so I removed the link!) There (used to be) plans and a cut list on there, so have a look then come on back for an armchair travel guide to building it!
Day 1:
Ah, day 1. The beginning of the build, where to start? The seat – it’s where you’ll be spending most of your time after you’re done.
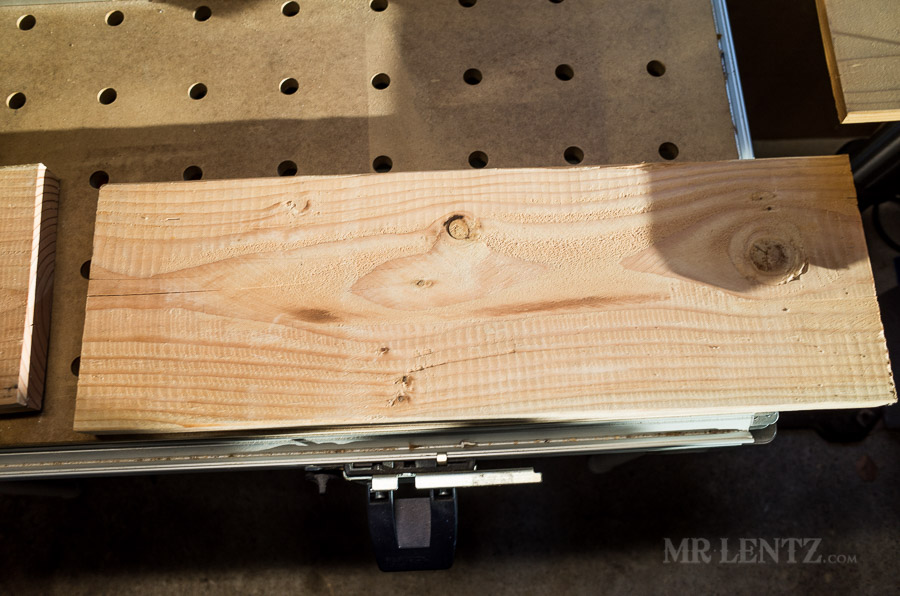
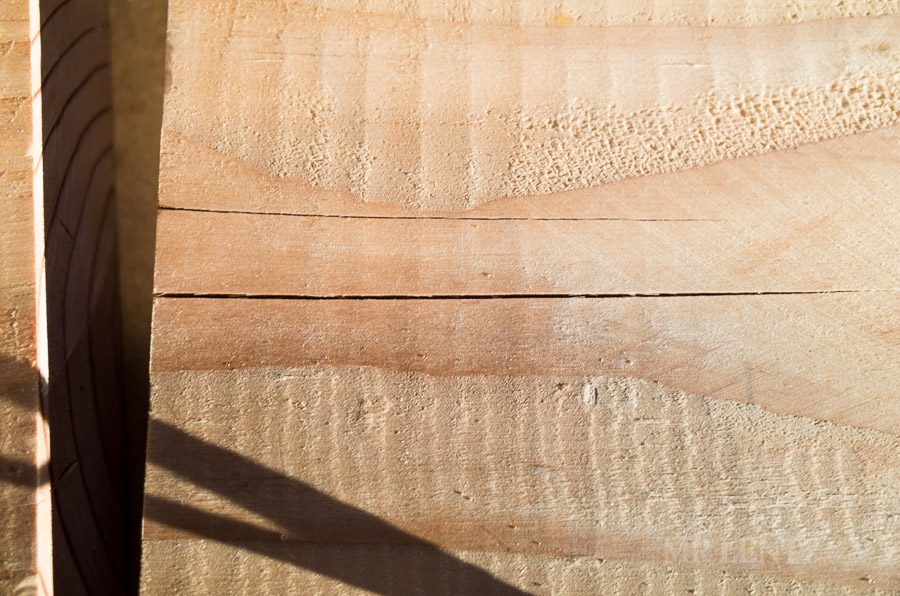 I used a 1 3/4 inch thick piece for my seat so I wouldn’t have to glue a few pieces together. It saves time but you risk warping. Since this is for my workshop I kind of like the risk. Above you can see some splitting in the wood, make sure to avoid using these areas and just chop them off instead. Or – even better, buy wood that doesn’t have any imperfections – good luck!
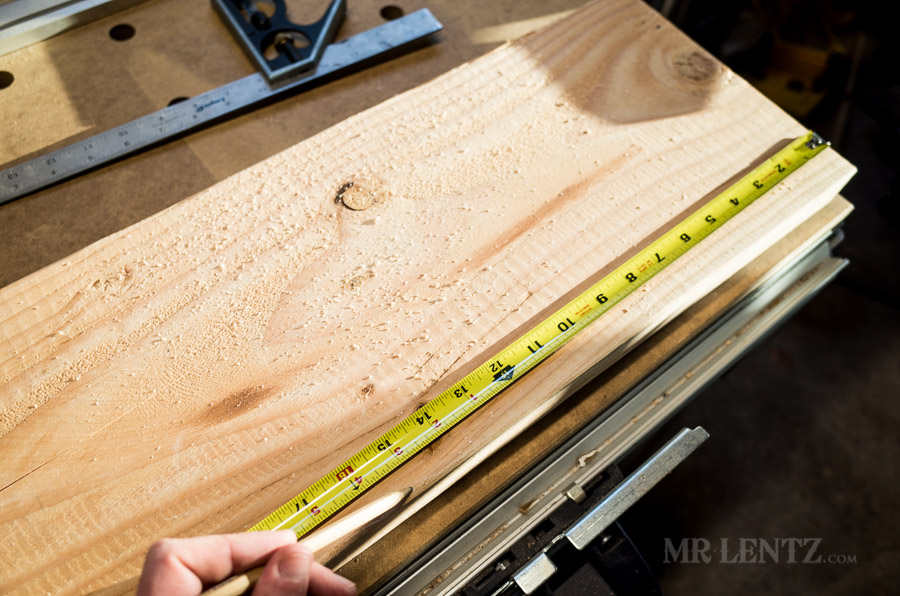
I measured out 15 inches or so…and later on down the line realized this was way to long. Shoot for a square-ish shaped seat, you will thank yourself later. Basically with a workshop stool you want to be able to sit on it quickly from any angle…versus a bar stool that is designed to have a front and back, and can be rectangular and wide – basically meant for drunks looking to stay put. Half the time in the workshop I find myself sitting on the diagonal, it’s just comfy.
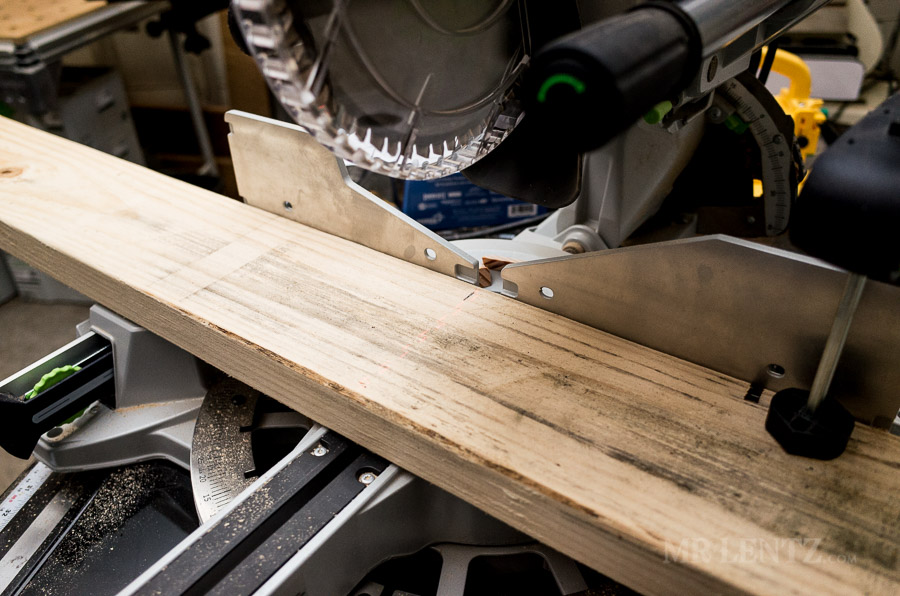
I measured about a half an inch in to cut a 45 degree angle off the corners. I prefer a square seat to a circular one, but be my guest if you decide to get fancy.
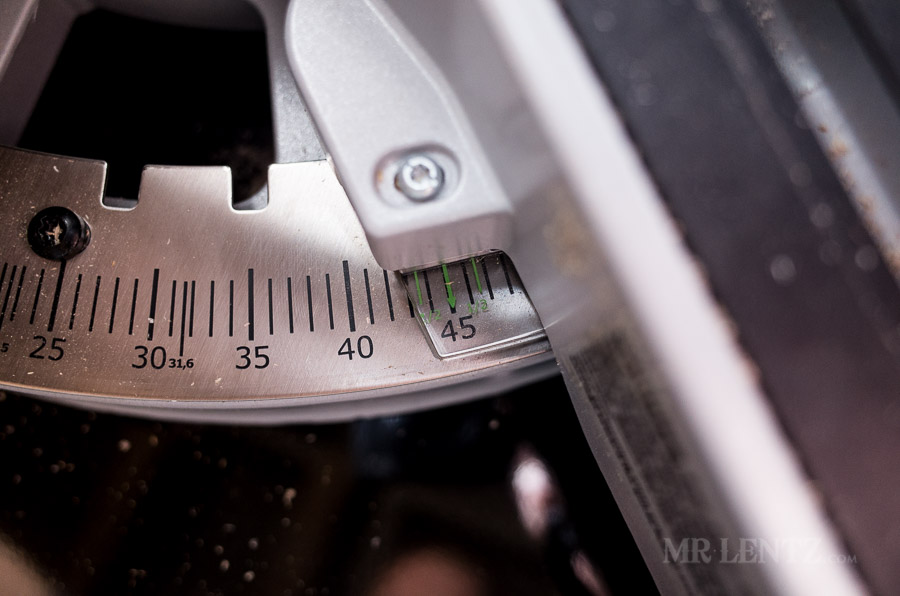
Settin’ up the miter saw to cut the corners off.

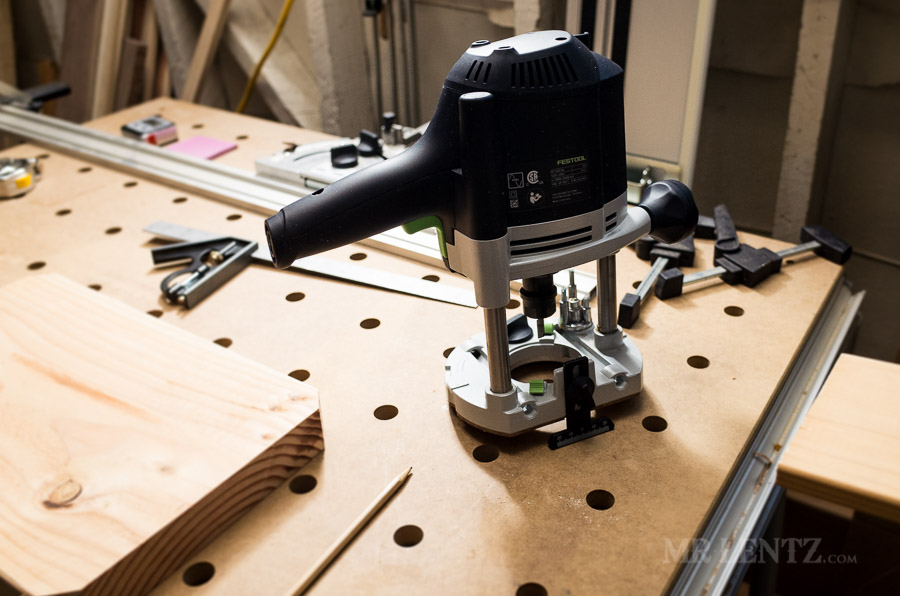 With the corners cut I set up the router to cut rounded edges for a bit of comfort.
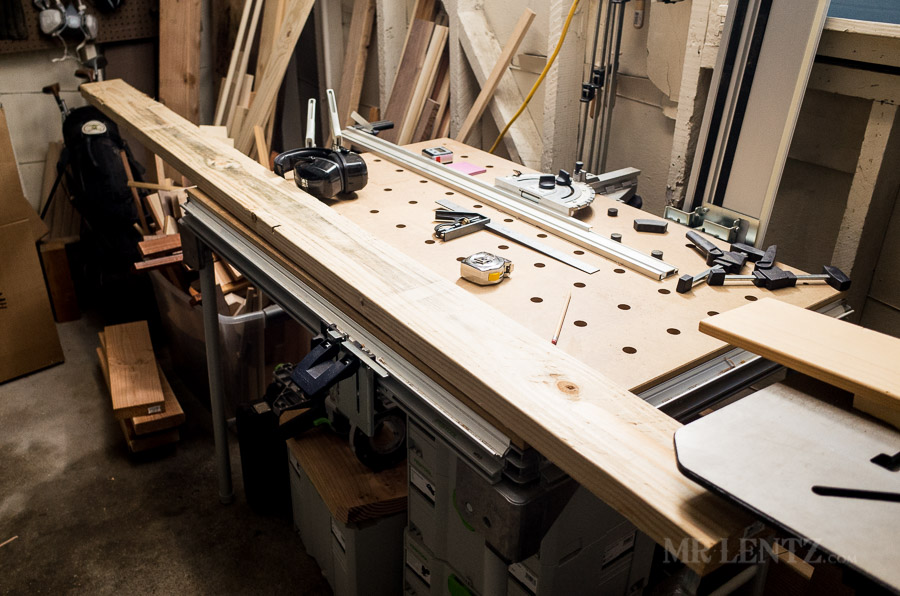 Now on to the legs. I had a few 2 x 6 boards that I wanted to rip down to size.
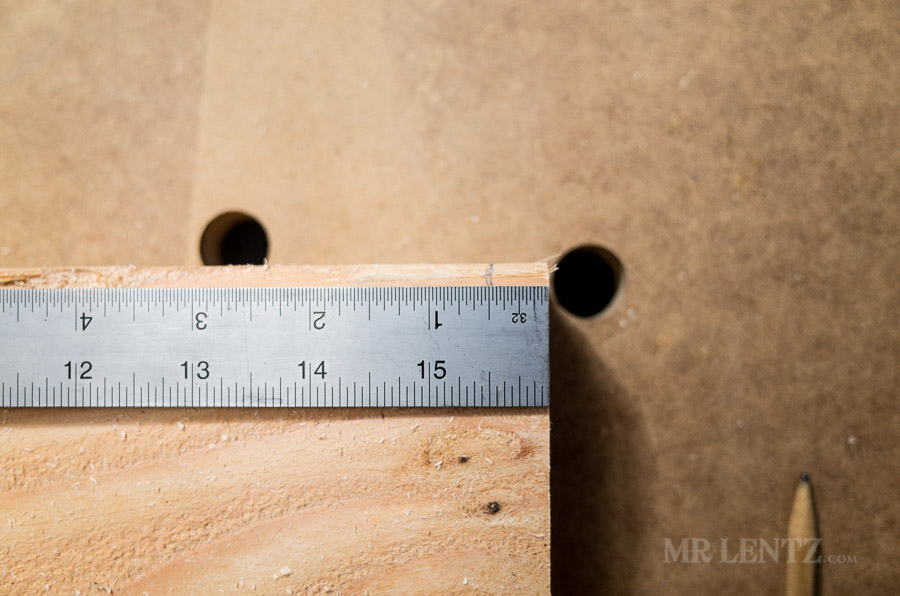
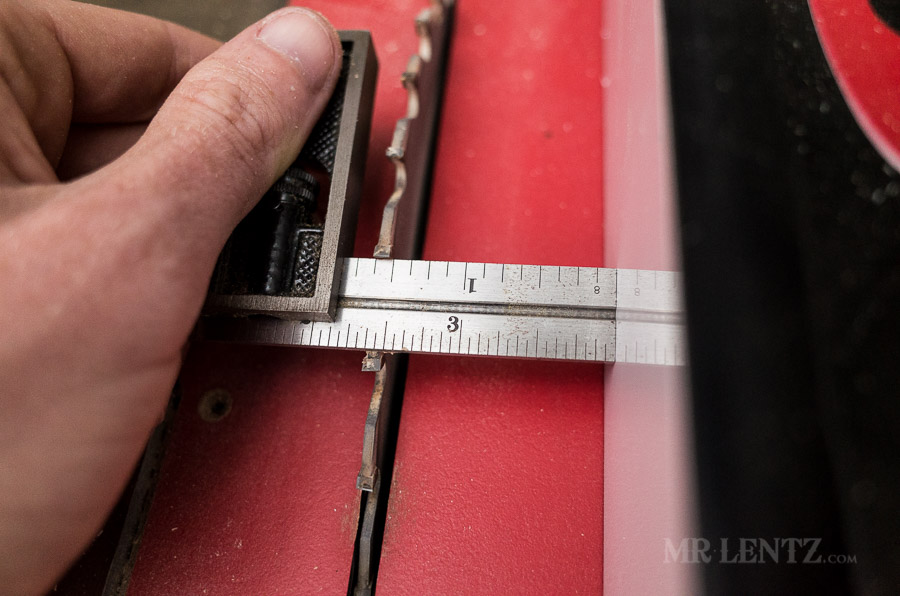
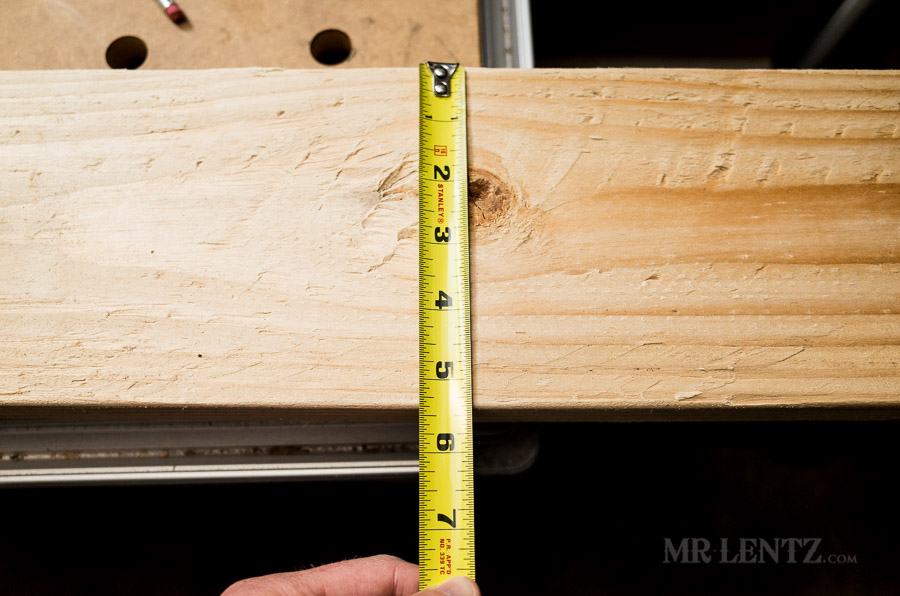 A 2X6 actual size is 1.5 inches by 5.5 inches. I wanted square legs so I measured across and made ticks at 1.5 inch intervals (take care to note the ‘kerf’ of your blade may be about 1/8 of an inch, I always measure the first cut, cut it, then remeasure for the second cut to make sure I am getting equal cuts. It takes longer but is slightly more accurate).
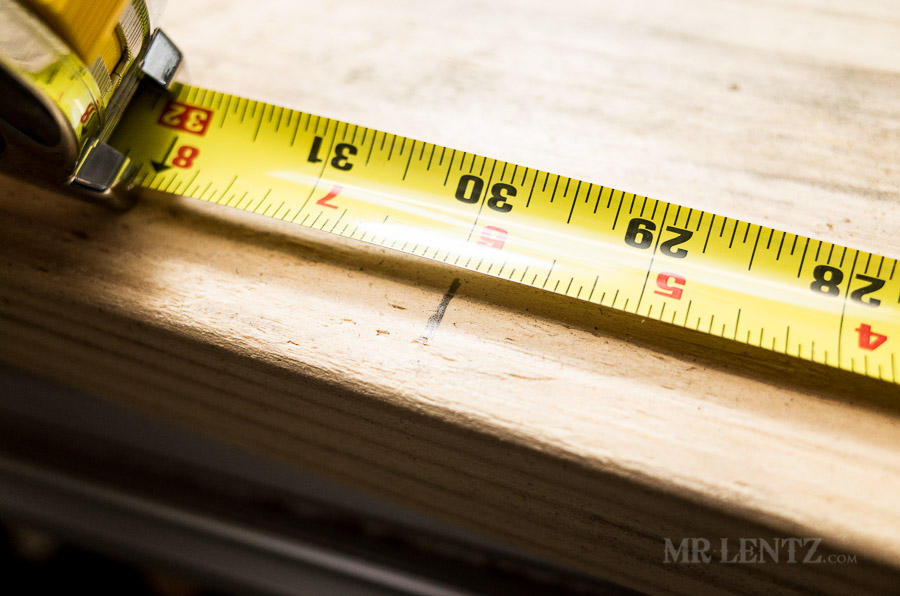 On the plans the legs should be 30 inches…later on I realized this is “Bar Stool” height and not the working height of a workshop stool. I believe I ended up with a 26 inch leg height when all was said and done.
 The cross cut comes first to make handling the wood through the table saw later on that much easier.
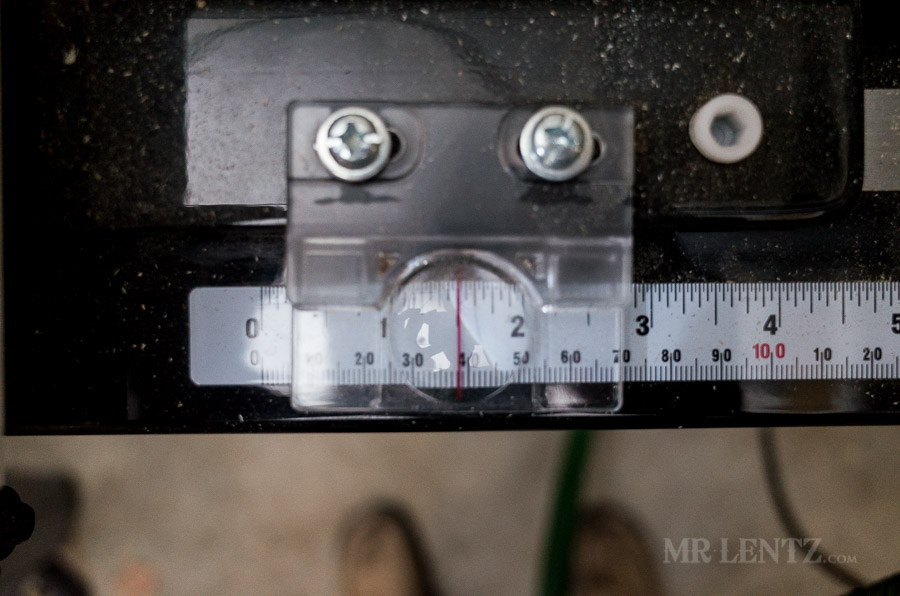 On my table saw I set the fence to 1.5 inches from the blade.
 Here you can see the 1/8 inch kerf, which is the amount of wood removed from the cut and needs to be factored in to all the following measurements. As well the measurement from blade to fence is 1.5 inches when taken from the tip of the widest part of the blade.
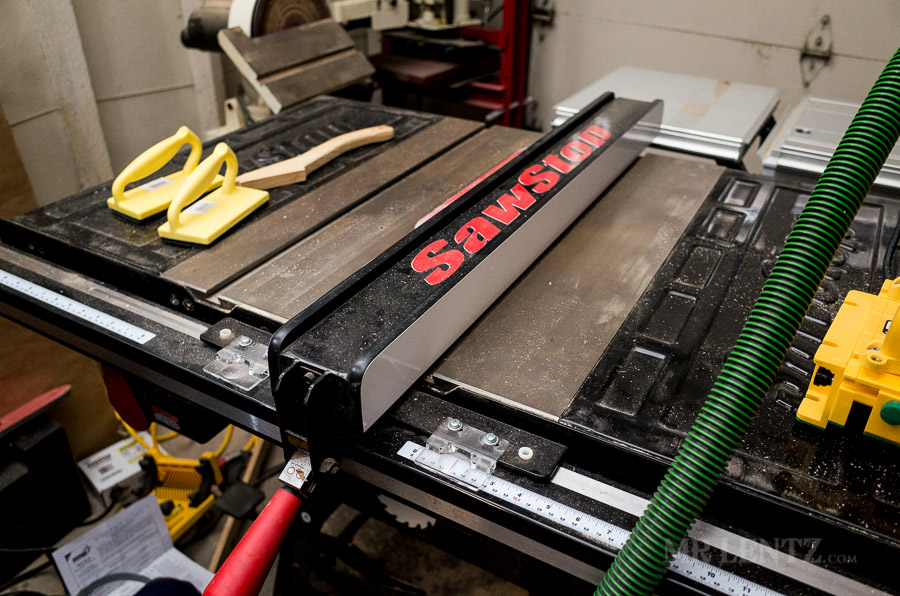
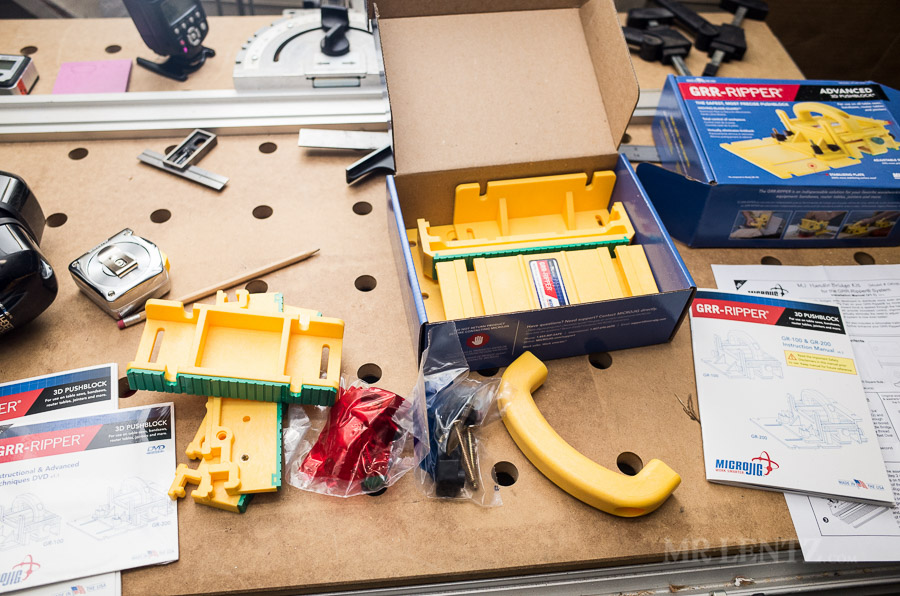 Before making the rip cut of 1.5 inches down the length of the board I realized I finally needed to sit down and figure out how to put together this Grrripper thing. It helps to keep your hands further from the table saw blade. I admit I am a sucker for these safety tools – and I saw this first on that guy’s youtube video which pinged around in my brain until I had to buy. Well, I bought, and there it sat for about a month or two. A mess of 40 or so parts waiting to be assembled. Being the functional type of guy that I am I waited until I really needed it until finally putting it together. I can tell you as well – that after using it and understanding the different uses, it is a must have (nobody paid me for that).
Let’s take a break and reconvene in a few days. I will have part 2 for ya in a bit, but this should get y’all going for now
View Day 2 View Day 3READER'S FAVORITESVIEW ALL


Who pays better for product placement? Festool or Sawstop or Microjig? Thanks for blurring the sandal picture.
@Dave, Ha! well, if I knew the answer to that one I would definitely call them up and see if they’d pay me for posting using their tools. But honestly – I don’t make any money off of showing which tools I use, I simply bought the best I could afford a few years ago and am pretty happy with them so far. Certainly other brands work just the same. I have had experience with cheaper brands of drills and must say you get what you pay for. I am a leatherworker by trade so income is solely off of the products I sell, not any tool shown on the blog. Not sure what you mean by the sandal photo. I try to wear closed toe shoes whenever I am in the workshop. Cheers!
Thanks for the reply. To me, it seems/seemed that the posts reeked of product placement – several photos that only seem to serve the purpose of showing what brand of tools you’re using. The explicit mention of the gripper also seemed a bit off. Bloggers/youtubers etc need to be paid to keep producing content, but I prefer when this is disclosed.
Photo 46, in day 2. Watch those toes.
@Dave I actually blog and produce content on here for fun as well as once in a while to highlight some of the leather goods I have on sale. Any photos of brand name tools are specifically shot just so the audience can see what tool I am using for the job. Keep in mind there are people from a wide spectrum of experience coming on here, so a quick shot of a table saw or compound miter saw helps with the learning process. Thanks for being a fan of my work, I hope you continue to enjoy the blog! I have a few fun pieces coming up in the next few months as I step away from larger items into some small things.
Excellent job of presenting your thoughts and directions. Simple and straightforward, no loud music,thank you!