
Everything, Leather, Tutorials
Leather Moccasins Tutorial (Part 3 of 3)
Jul
It’s now time to complete the final steps in this 3 stage DIY Moccasins Tutorial. I had to put off this last blog post for several weeks since we ended up moving the workshop out of state. You wouldn’t imagine the work that goes into moving a leather goods workshop. If you are interested in taking a look at that here’s a link to the first moving post here, and the second post here. Now back to Moccasin making! In Part 2 we glued up the Upper and stitched it together, then we glued up the back of the moccasin and stitched that together too.
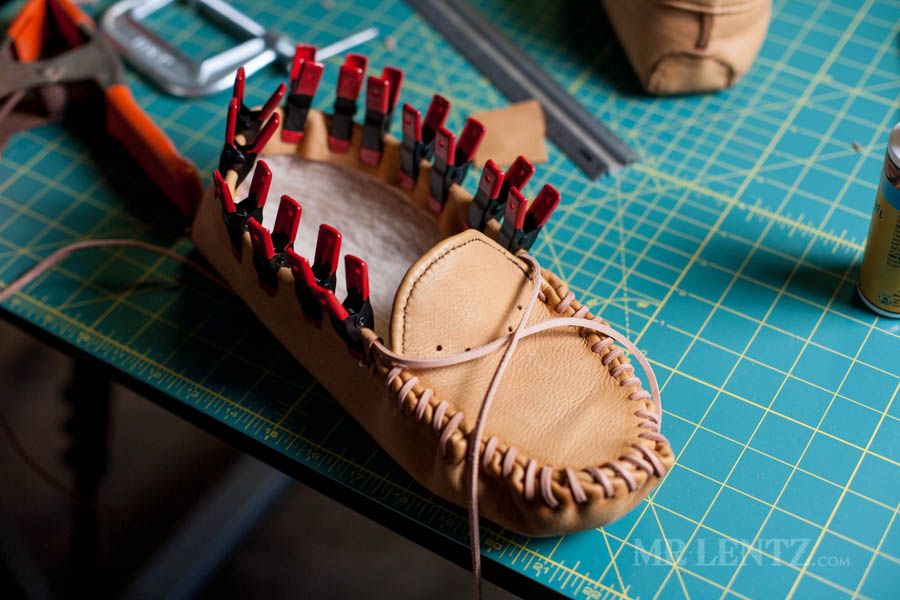
Now the fun really begins. It’s time to lace the upper to the main body and in doing so we will also be securing the liner on that end just by running the lace through it. I chose to cut my own lace out of about 9/10 oz. full-grain vegetable tanned cowhide. I cut it down to size using a series of lace cutting and skiving tools. For the average person…I’d just recommend buying some pre-cut lace at 1/8 inch width and about 3/32 thickness or so. Not thicker though – as it will be hard to pull through all of the layers. I took a length of about 6 feet of lace and tied a knot in one end. I know this seems like a lot of lace, but the first time I did it I used a few feet less and ended up running out of lace a few inches from the end! One of my moccasins is now jimmy-rigged with another lace piece tied onto it on the inside. You can’t see it, but my little toe knows it’s there. I guess it’s part of the handmade world of imperfection.
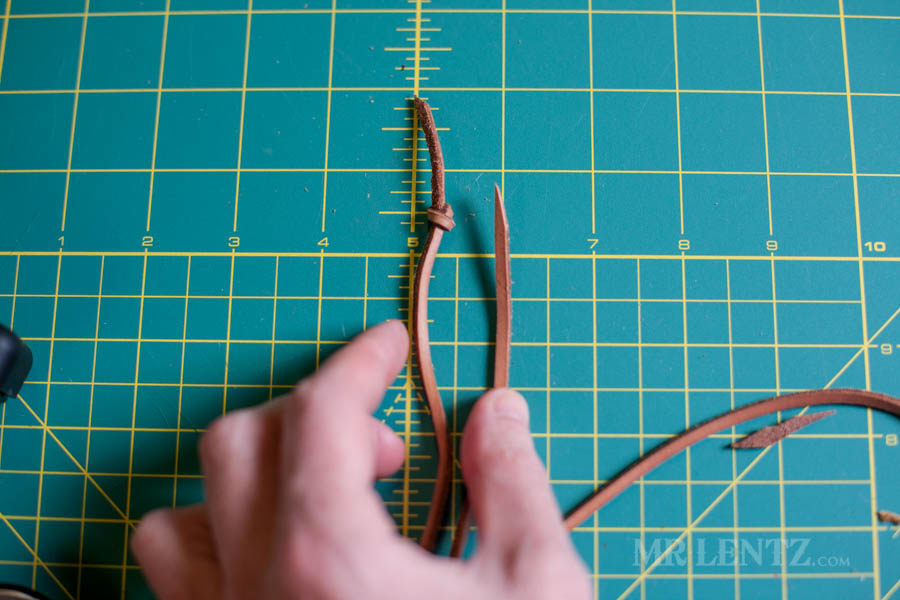
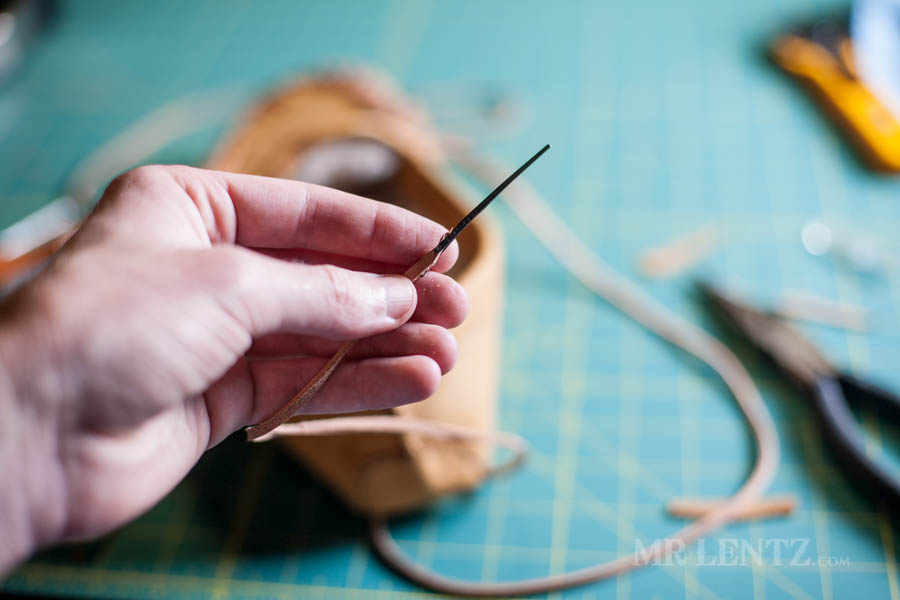
I cut the other end of the lace to a point and even shaved off some thickness to the back. This will help you attach it to the lacing needle.
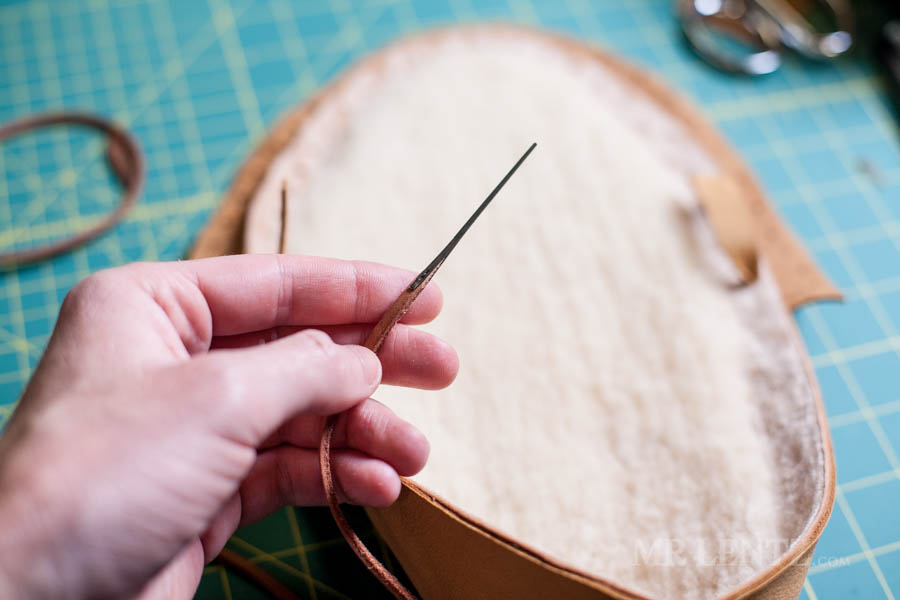
I attached the lacing needle and used pliers to crimp it onto the lace.
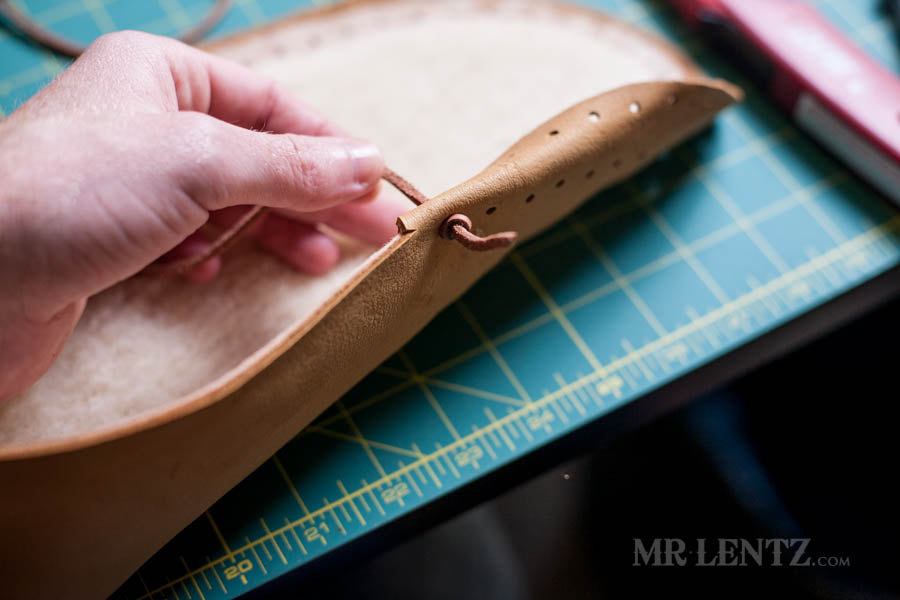
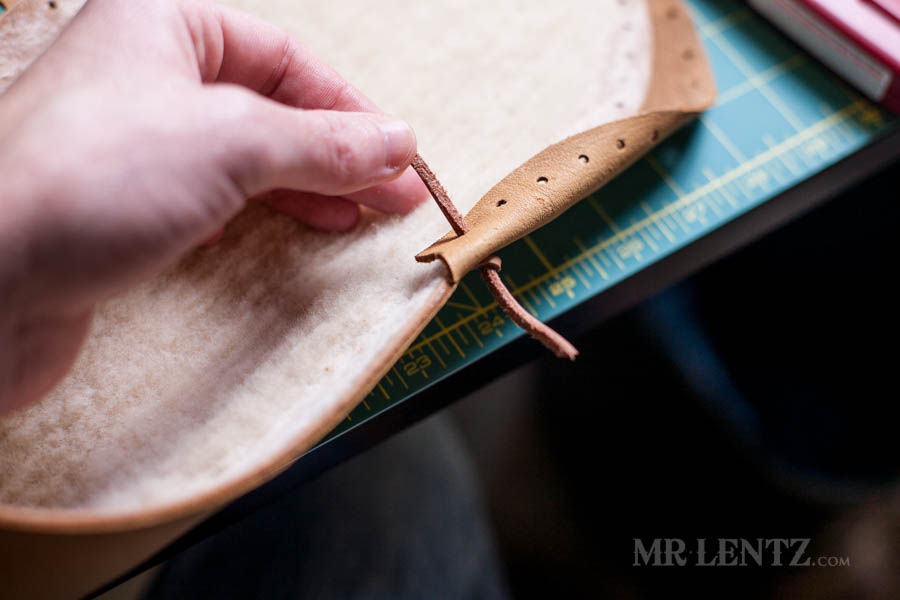
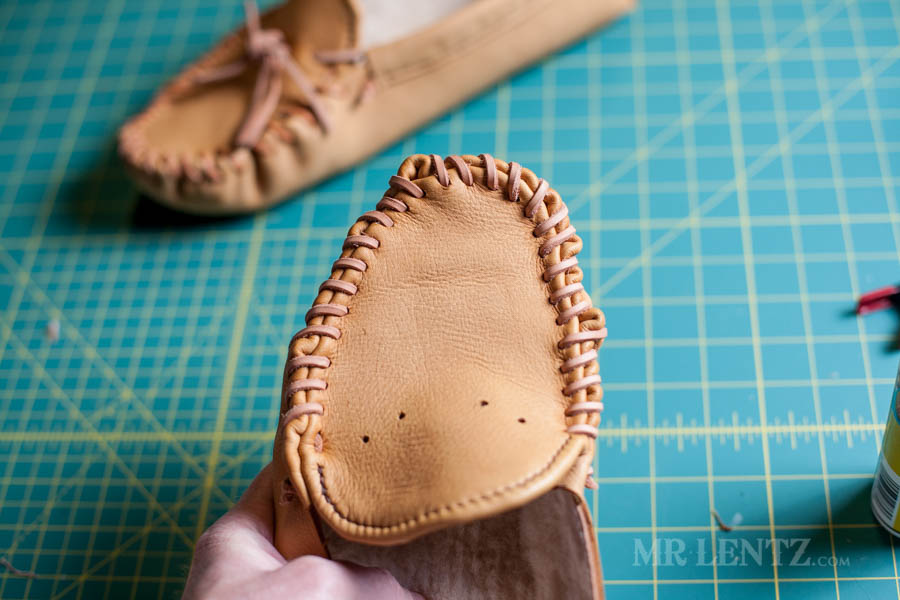
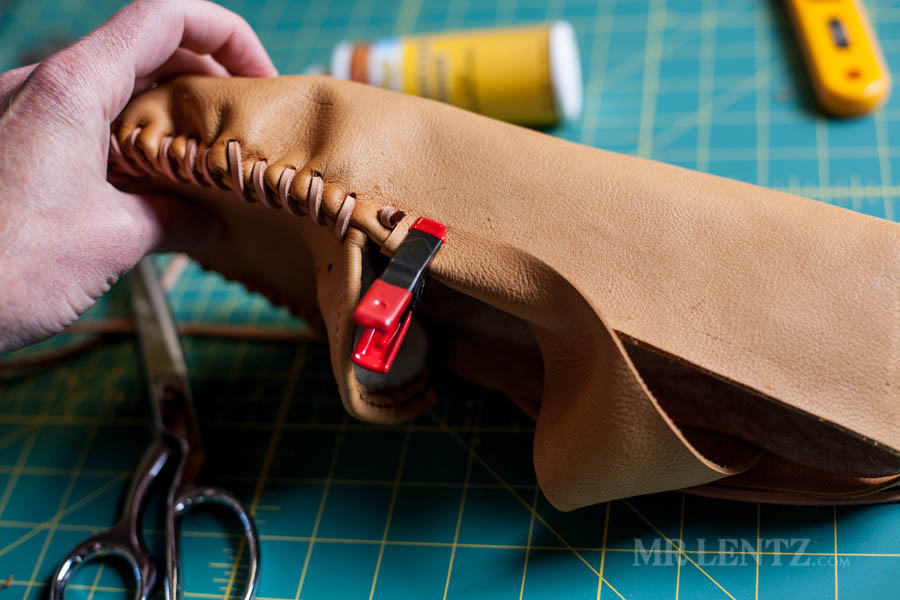
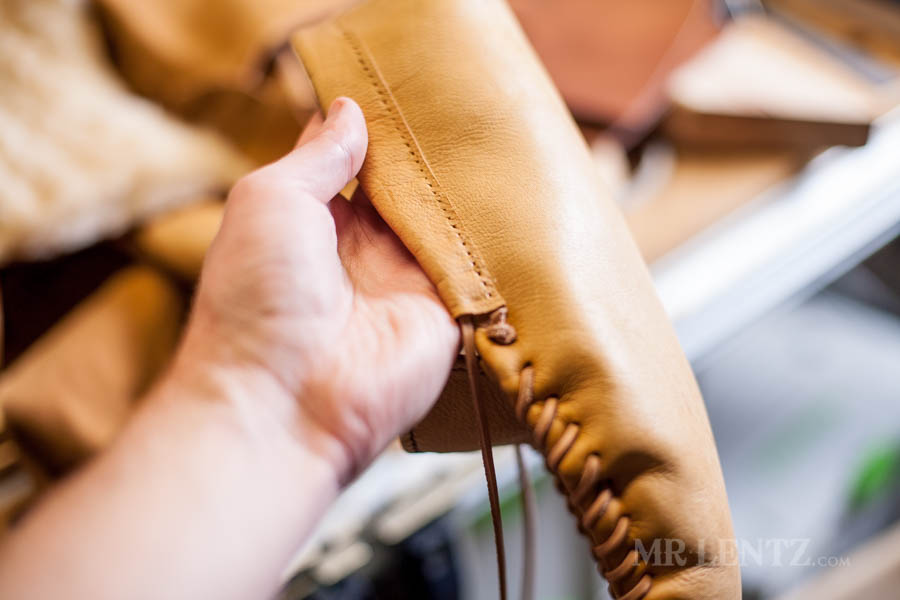
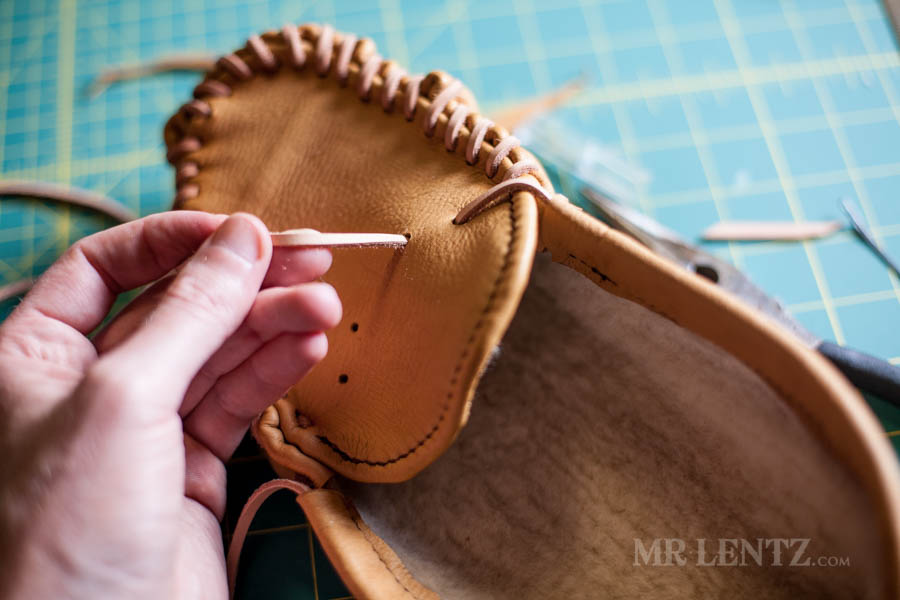
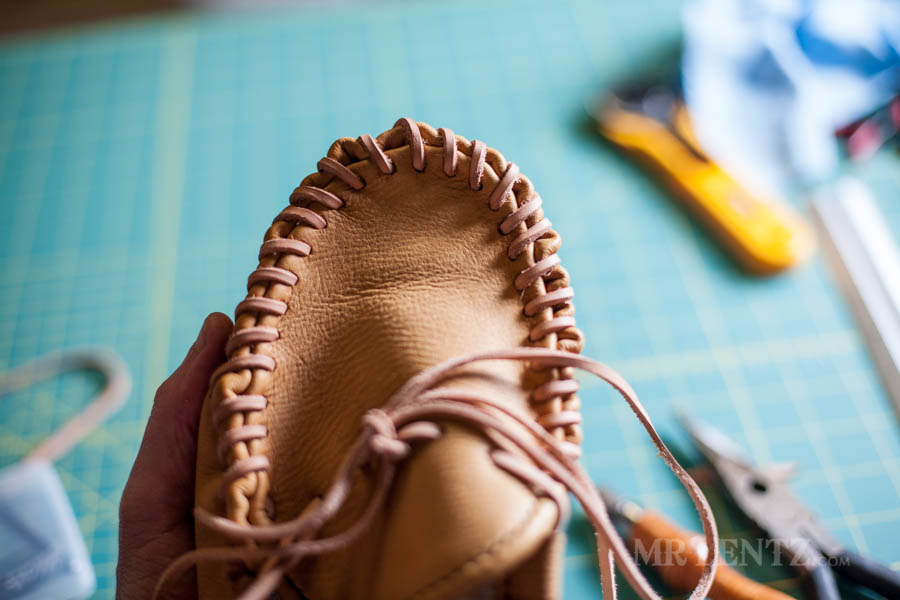
Starting on the side, (either is fine, but make sure to mirror it when you make your second moccasin) I folded the deer skin over the liner and pushed the lacing needle through all three layers.
Like this post so far?
I spend most of my free time creating tutorials like this to help those like yourself get into leatherwork and woodworking, or get better at it. If you'd like to support my efforts, consider checking out my handmade leather goods shop and purchasing a gift for yourself or a loved one. It's readers like you that help keep a small U.S. business like mine going strong, so -thank you!
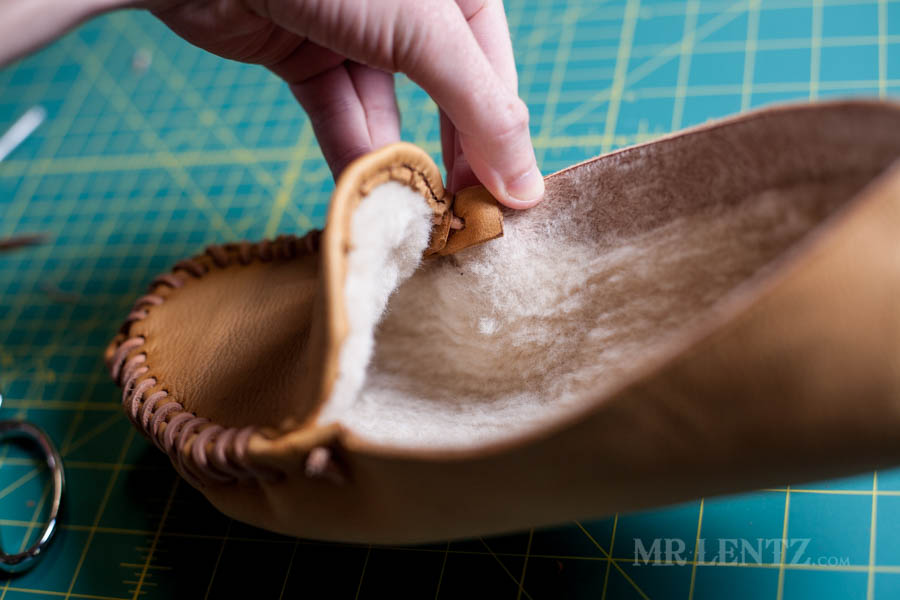
Here you can see the liner is sandwiched in between the deer skin. Go slowly and make sure the needle goes through the holes in every layer.

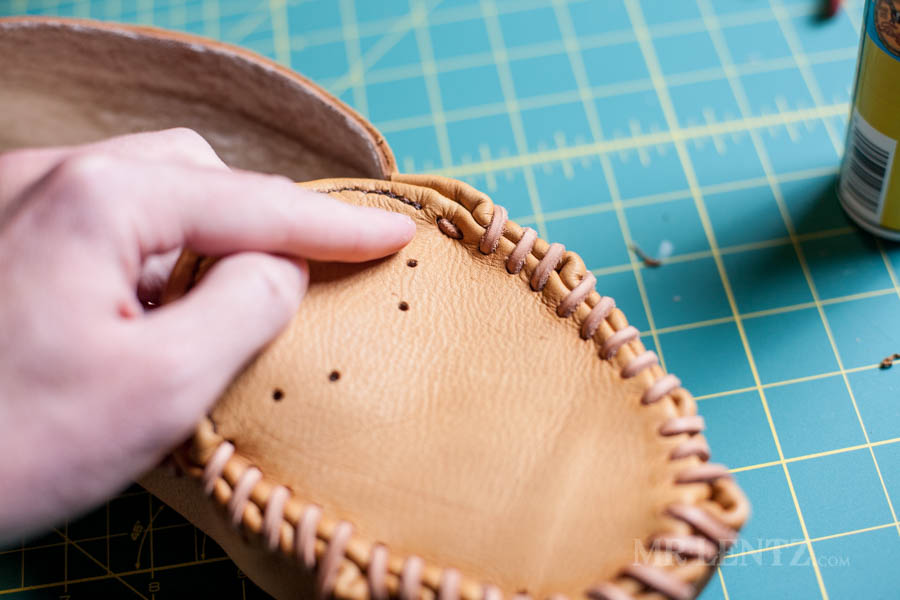
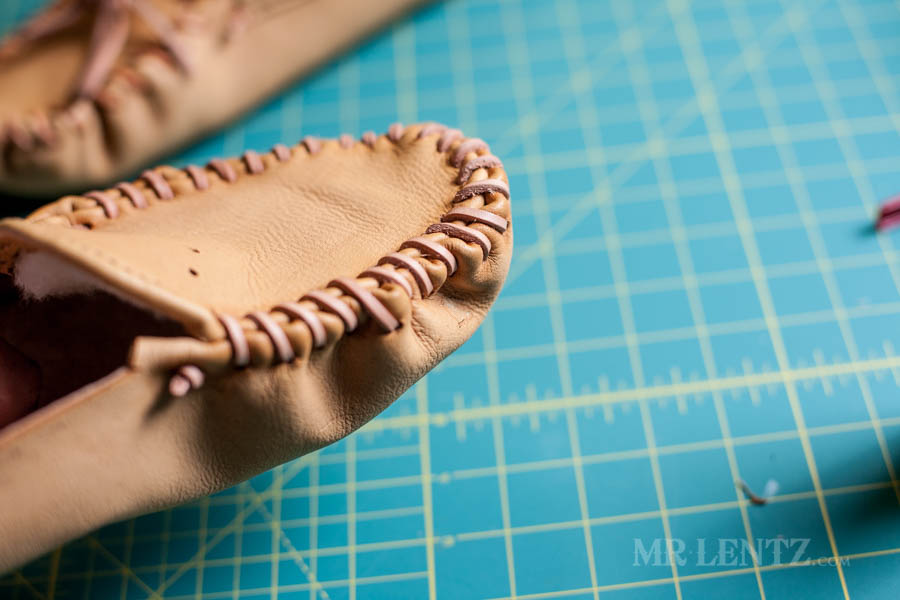
You do the same technique on the Upper, lace goes down through the top hole, liner, then folded over deer skin. Then the lace is fed out the body (inner deer skin, liner and outer deer skin). I slowly made my way around the entire moccasin, trying as best as I could to keep the lace tight. Inevitably I had a few loose spots, but this can be fixed with a lacing Fid at the end of the project. Basically you insert the fid under the lace and work it around to pull the loose lace into tighter areas to even it out.
To finish the lace I skipped a hole as shown in the photo and fed the needle to the outside.
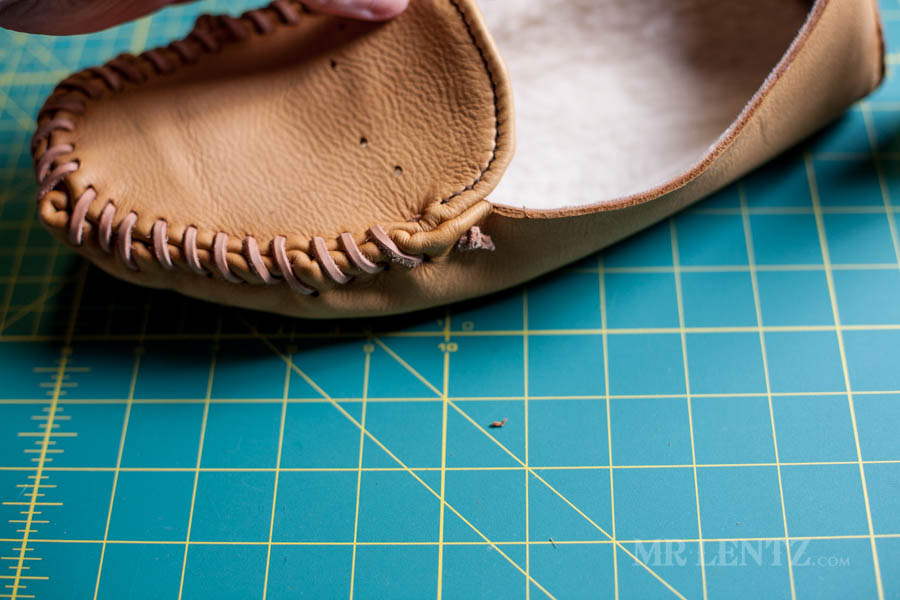
This could be because the number of holes on the upper didn’t match the body, but it’s a good fix.
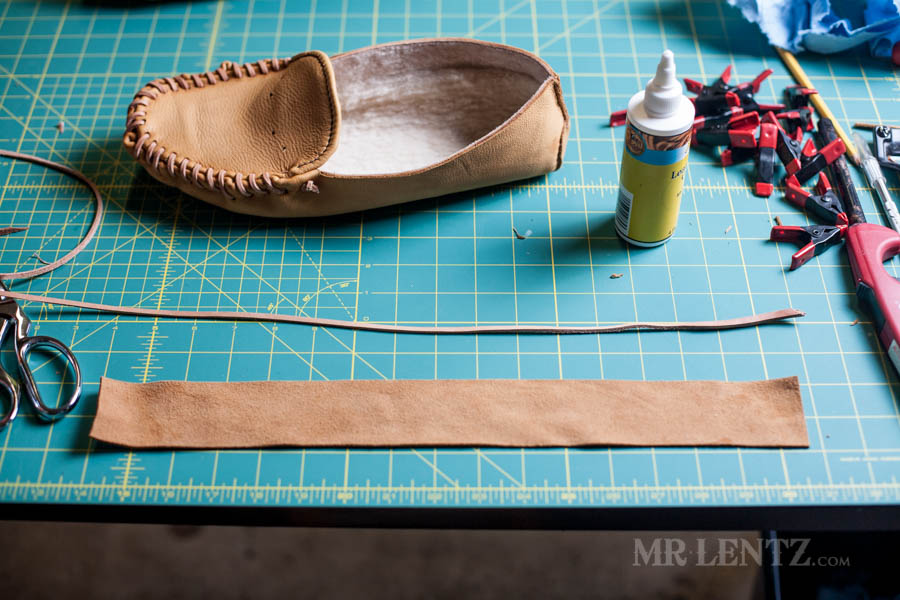
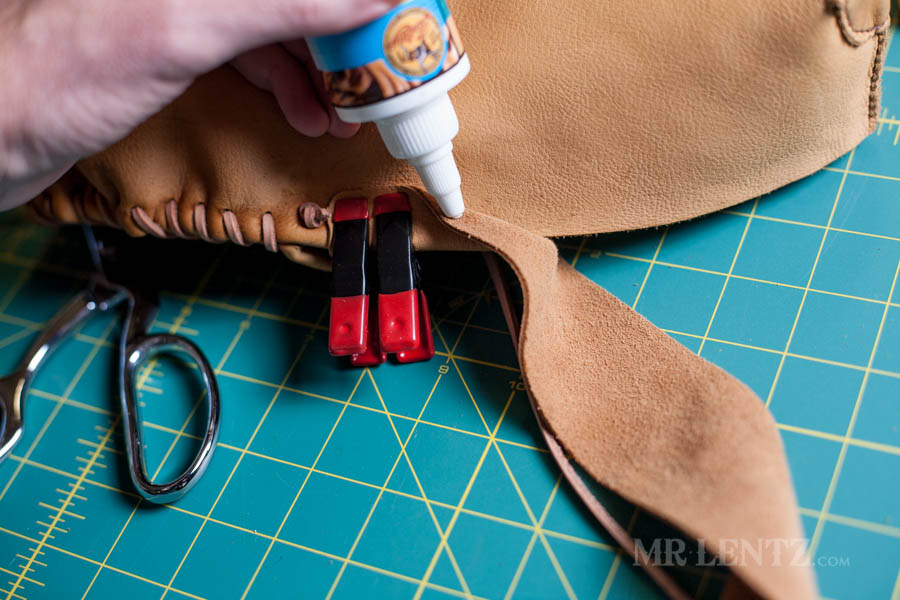
Next I took a length of deer skin that will wrap around the body of the moccasin to hold the ‘tightening lace’, or the piece that you tie up on the top to secure your foot. This deer skin piece was cut to about 4 inches longer than the measurement around that top part, giving room for error. The width is about long enough to overlap the body by 1 inch on the outside and one inch on the inside with a tiny bit of room to hold the lace. A good idea is to rough cut the piece and test fit first so you know about how long and wide you will need it. The lace is around 4 feet long as well.
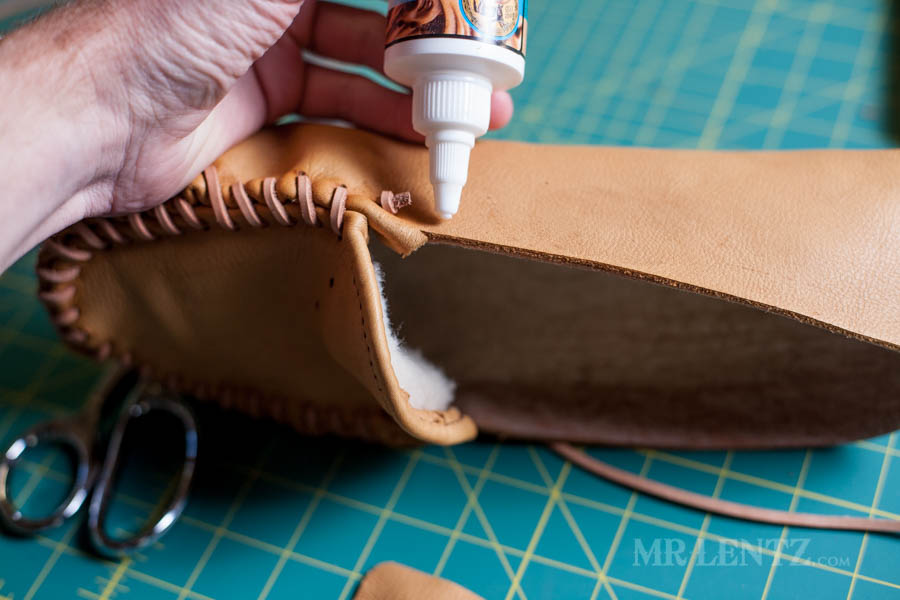
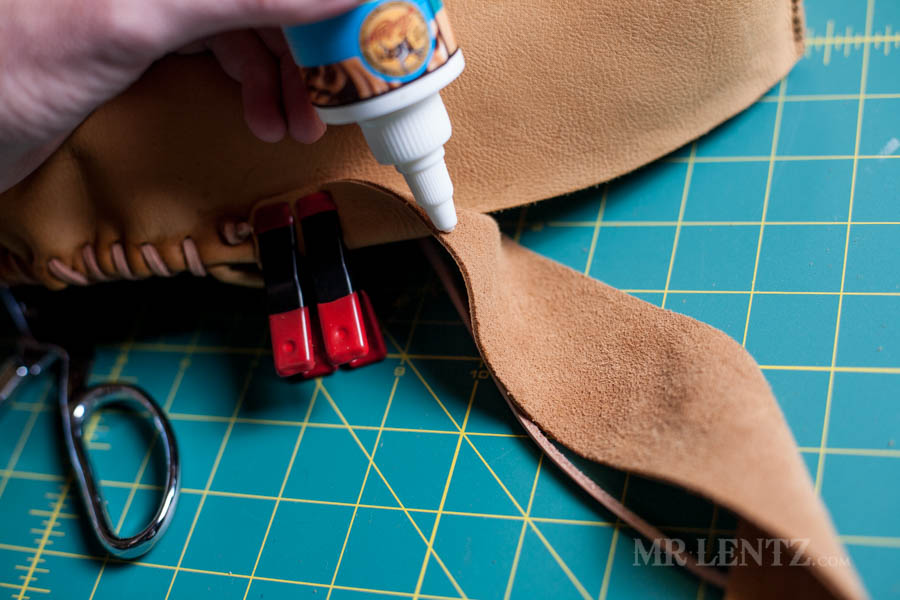
I glued this piece in sections taking my time so that the glue would not run all over the body. I only glue the outside piece first.
Working my way around I clamp as I go. Again – only apply glue to the outer part that touches the outside of the body. Don’t do the inside yet, you will need to do that as a separate stage.
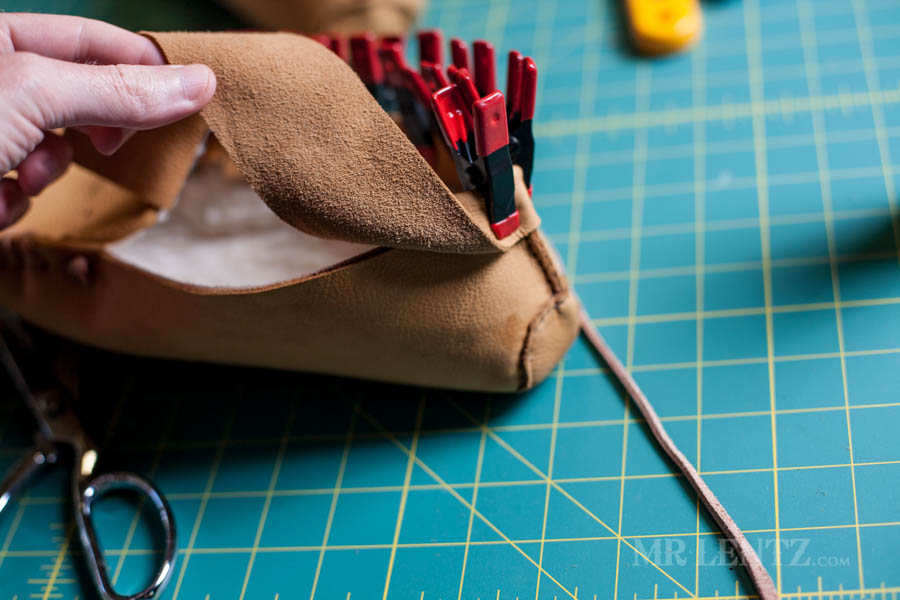

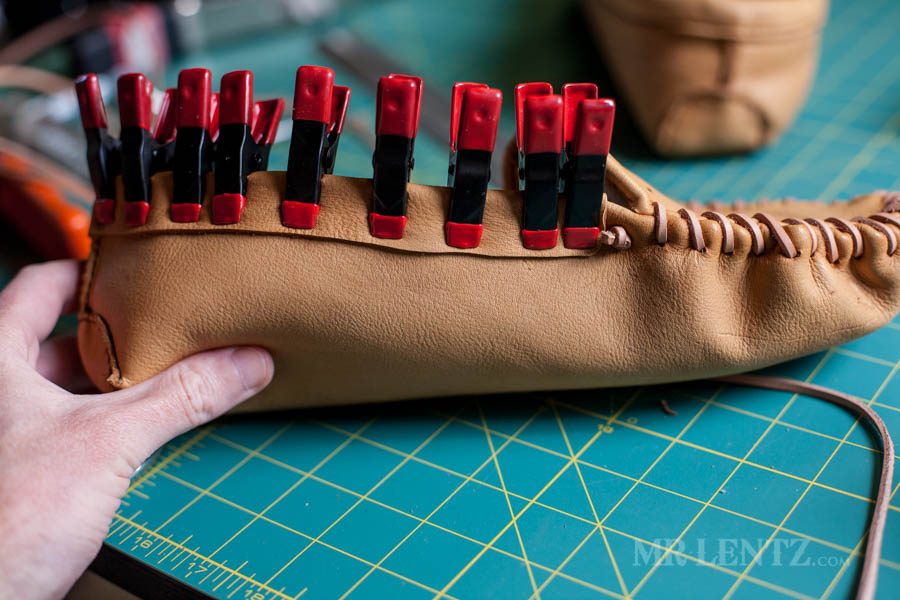
I made sure to clamp it down regularly and left it to fully dry for an hour or so. Drying is key – you don’t want things sliding around on you as it will make a mess on the moccasin body. I also trimmed the excess length of deerskin to fit just behind the knot.

I took my lace and folded it in half. The halfway point will go in the back near the heel. I rested the lace on the little ledge there.
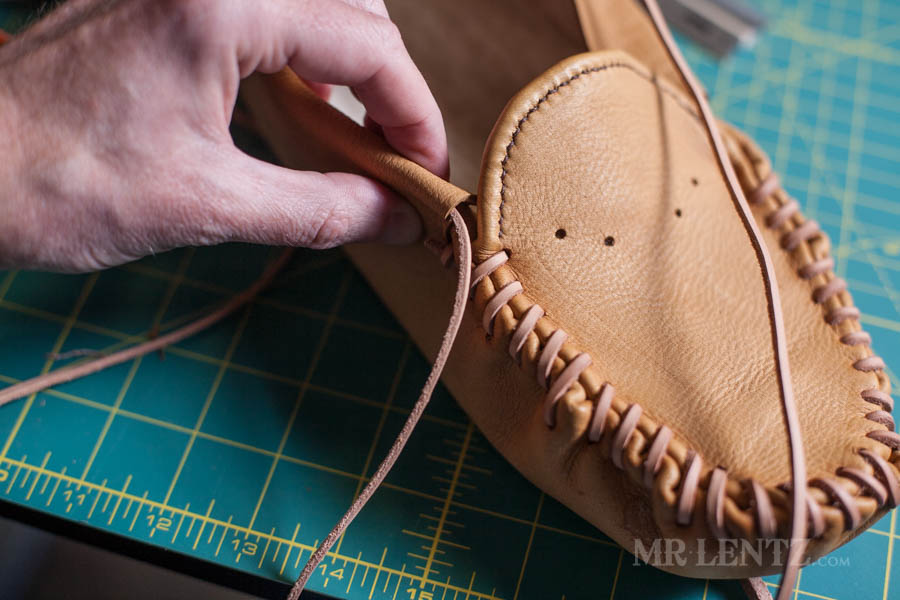
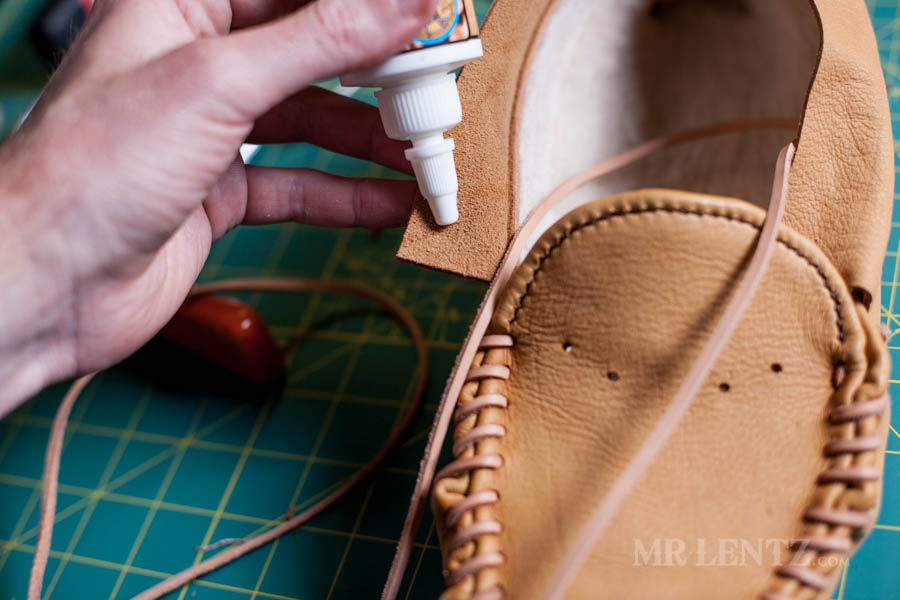
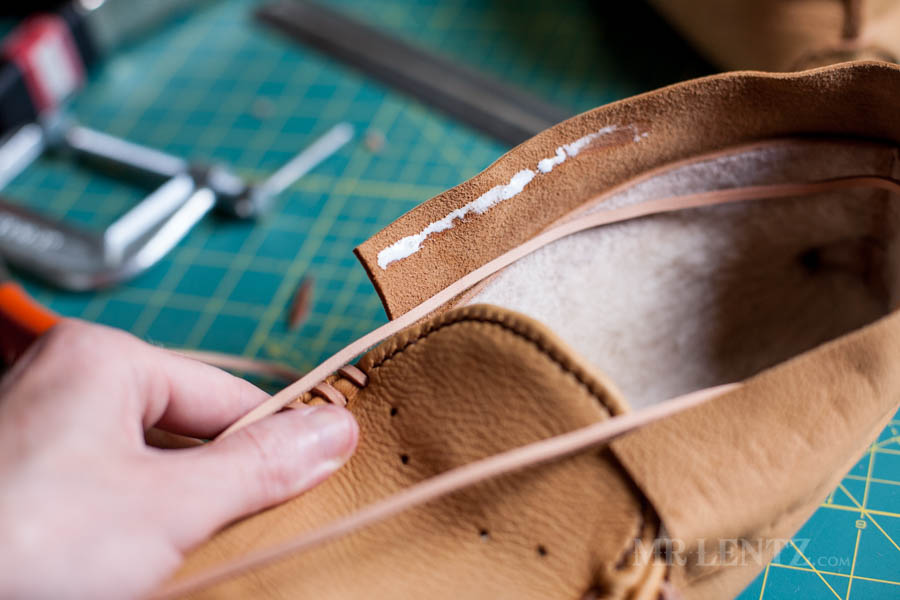
Carefully applying glue to the top part I did a small section at a time. Then folded the piece over and pressed it onto the liner, while keeping the lace underneath near the top and away from the glue.
I used clamps all the way around.
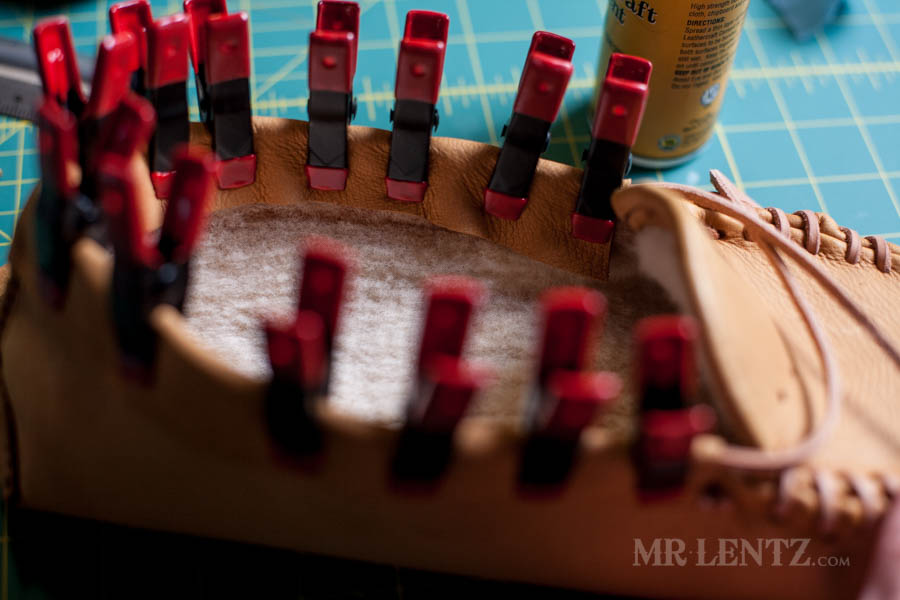

I let the piece dry for about 1.5 hours.
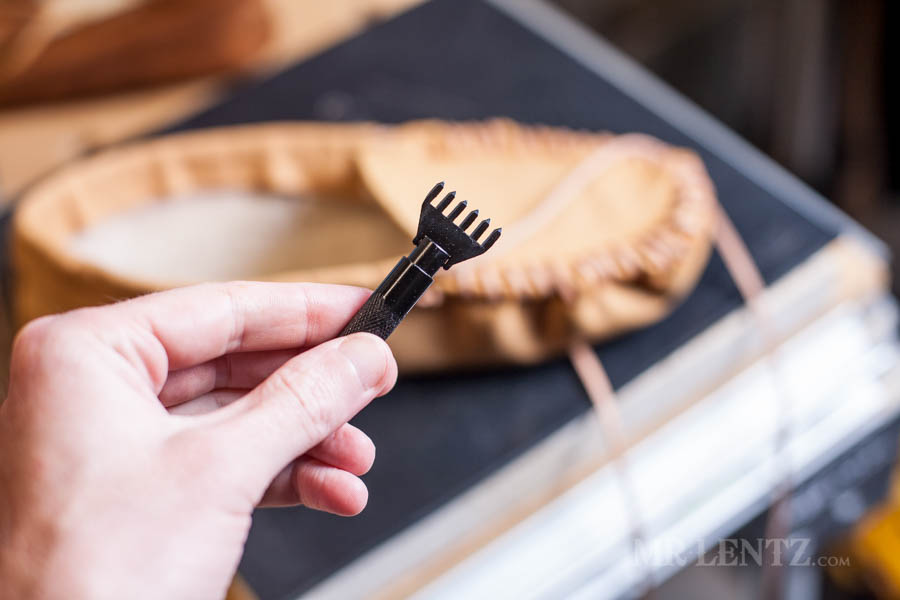
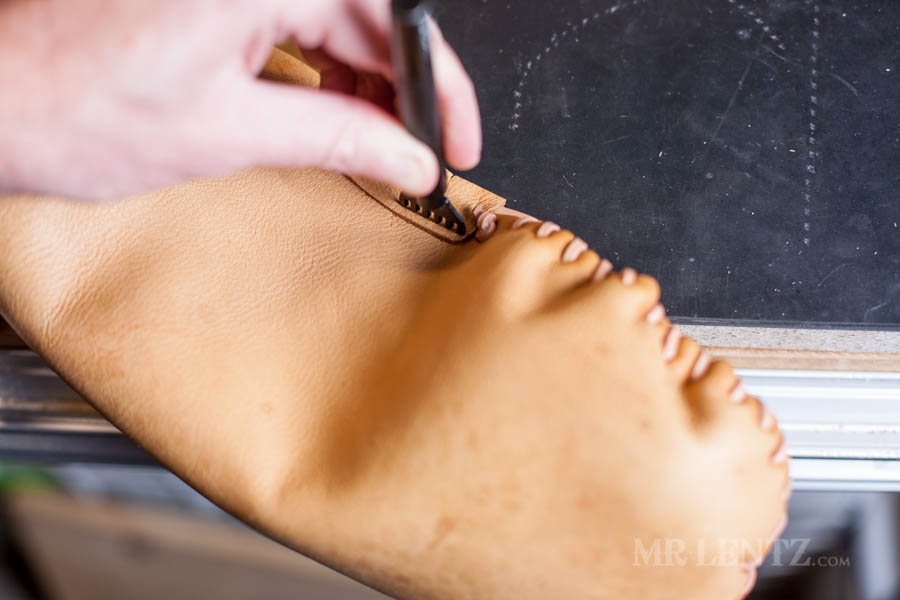
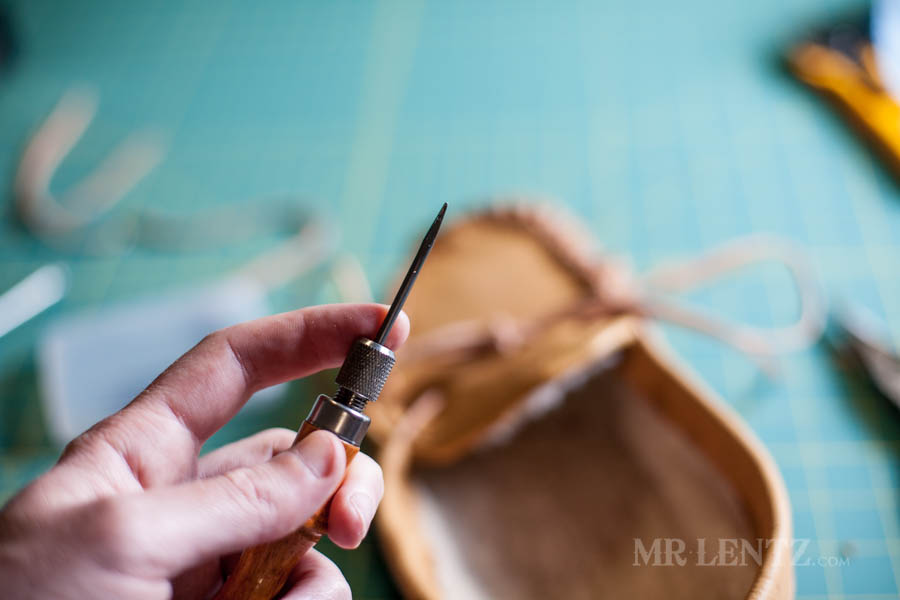
Next I took a stitching chisel with diamond punches and worked my way around the area I just glued.
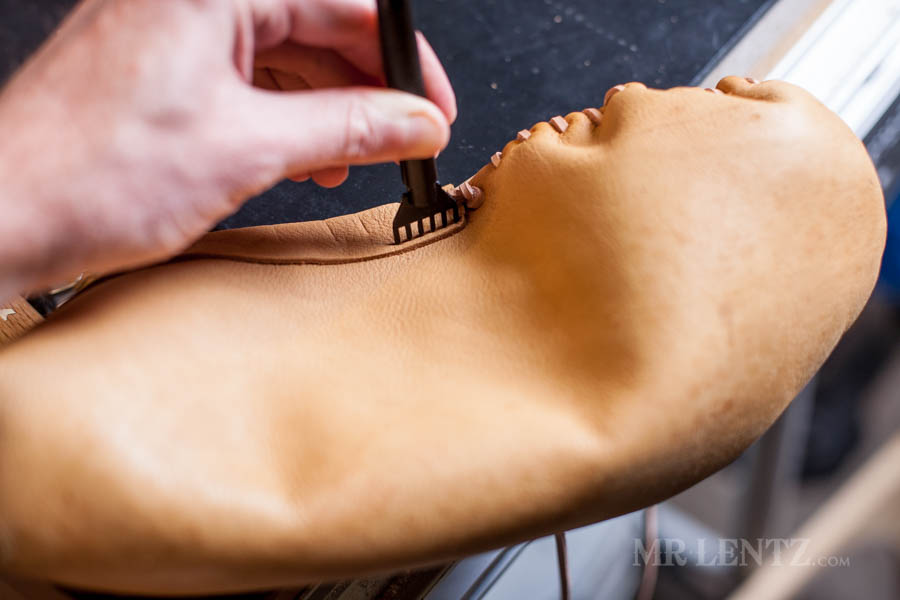
Starting just back from the edge and up from the bottom of the piece.
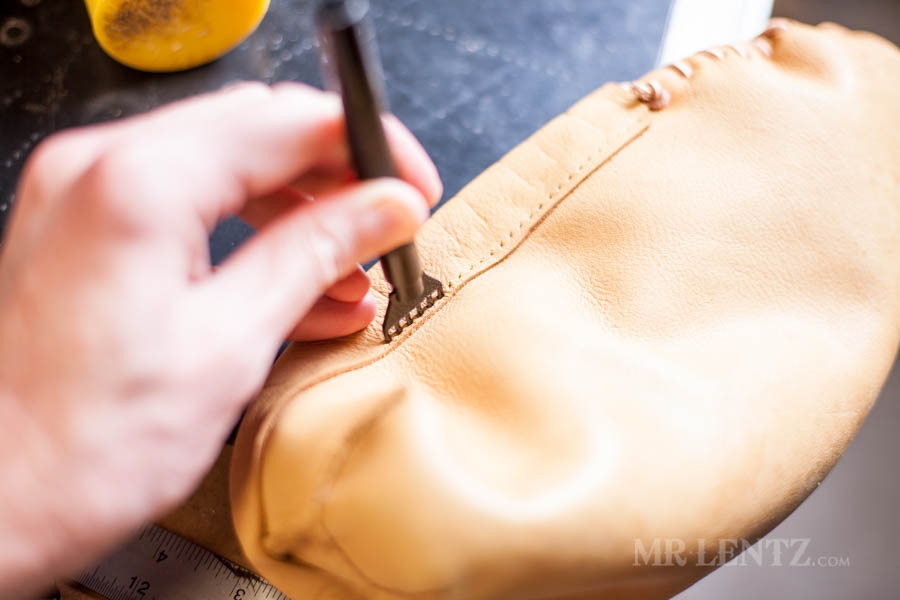
As you go fit the last chisel piece into the hole before it to help line things up.
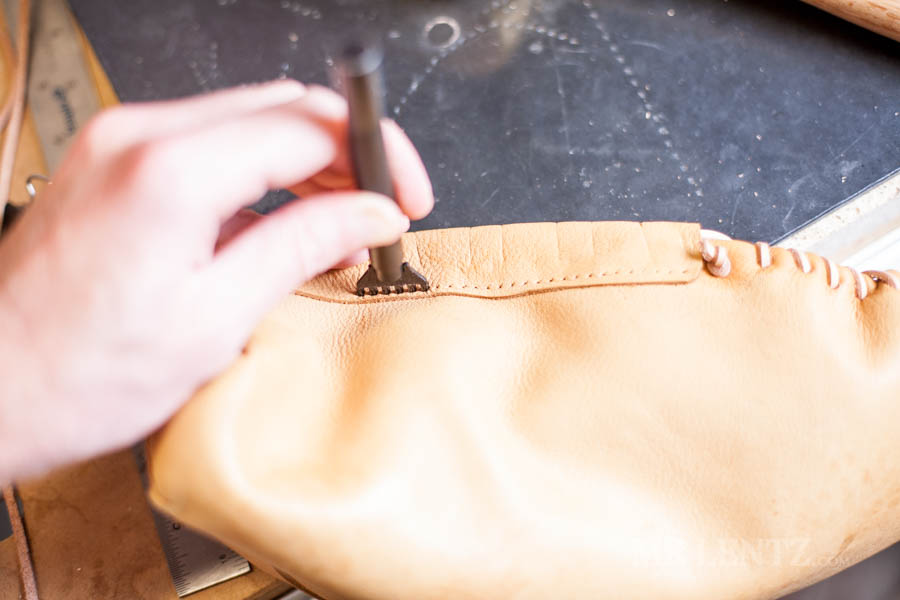
It can get a little awkward as you make your way around the heel, but just keep pressing the moccasin down just enough to reach what you need to punch. Double check you are punching through the back side (glued on the inside of the lining).
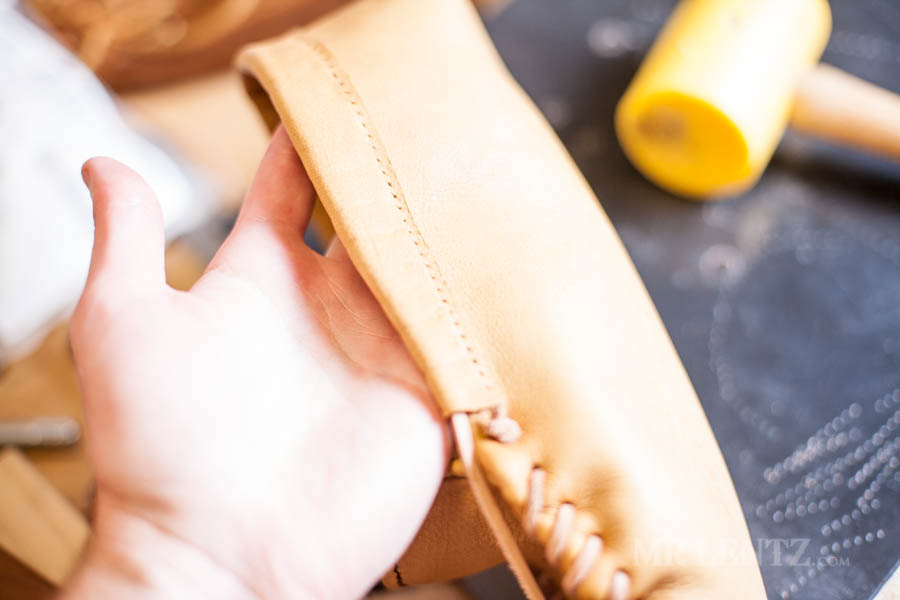

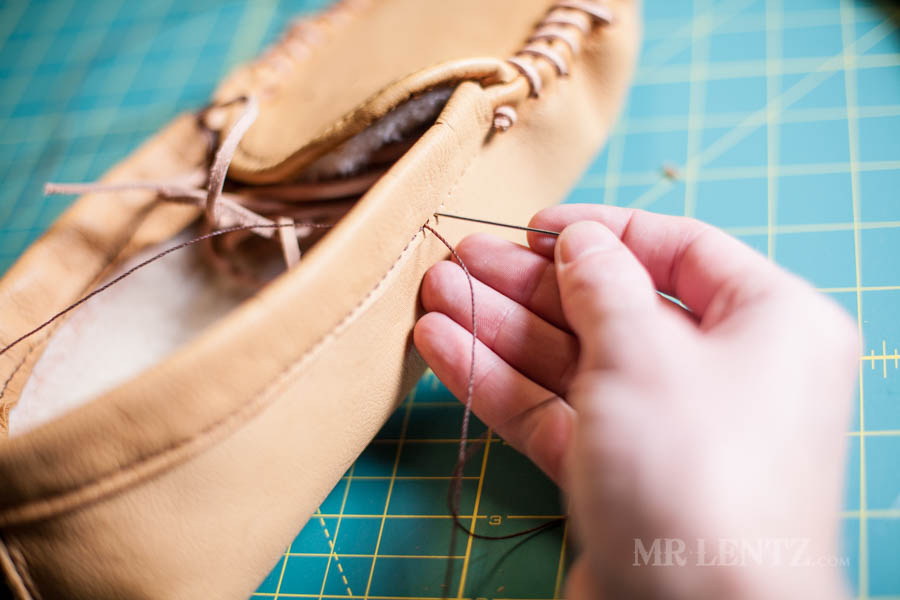
With the holes punched, I then stitched my way around using the saddle stitch.
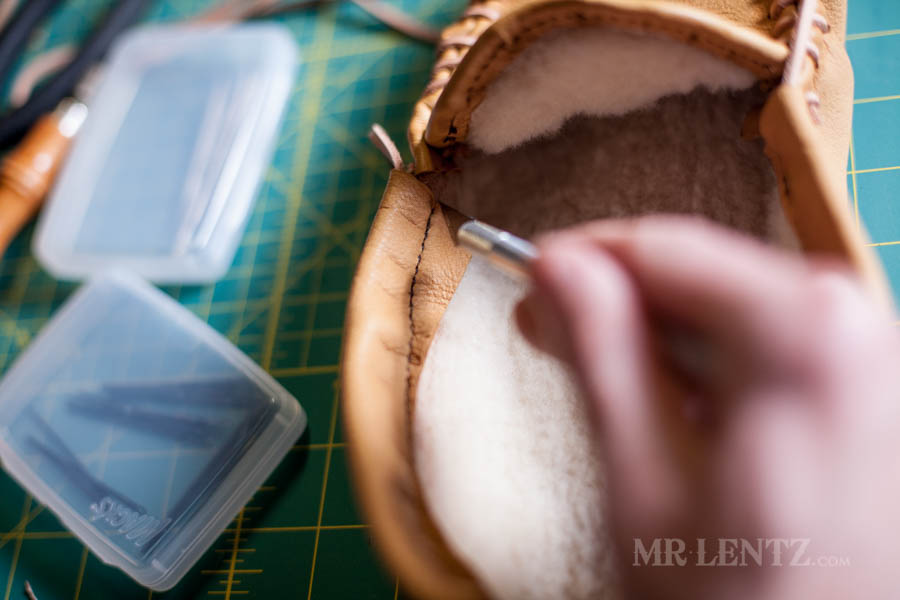
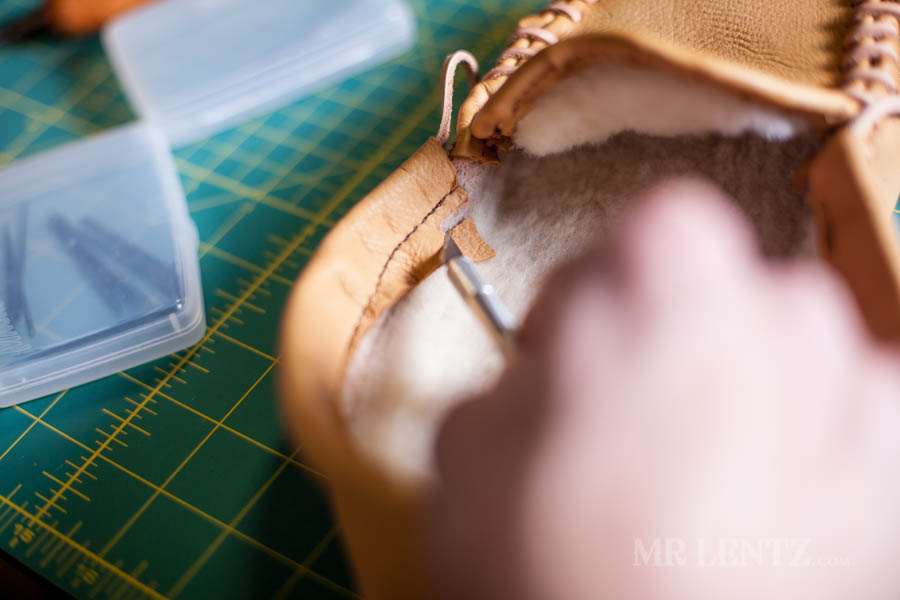
Once the stitch was done, I very carefully cut the excess deerskin on the inside.

It helps to use your other hand to pull it outward so you don’t cut the lining.
I then took one end of lace and attached the lacing needle.
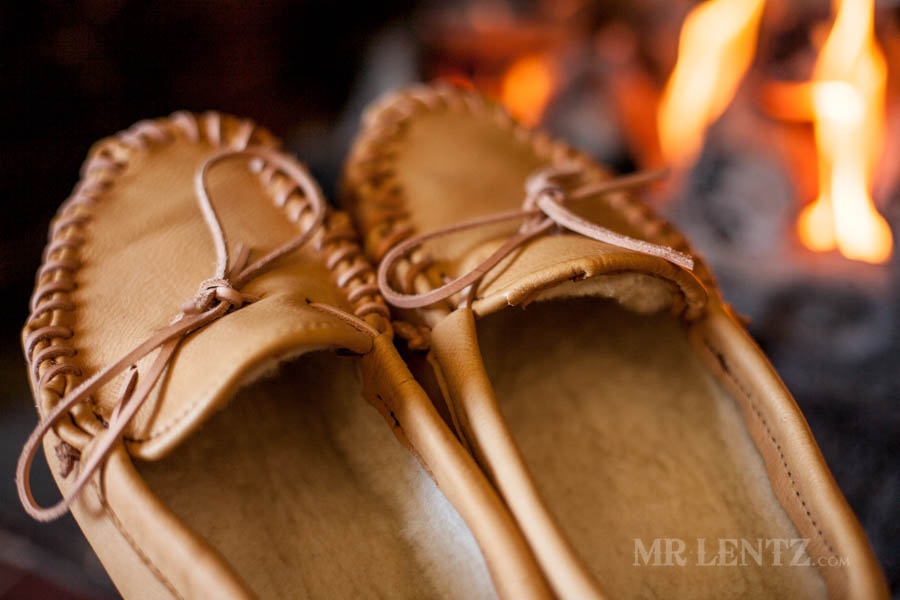
The lace gets fed over the upper, then down the first hole and up through the second hole. I did one side, then the other and tied it all into a bow.
Here’s the fid I had mentioned earlier. I used it to fix buched up parts and loose lace.
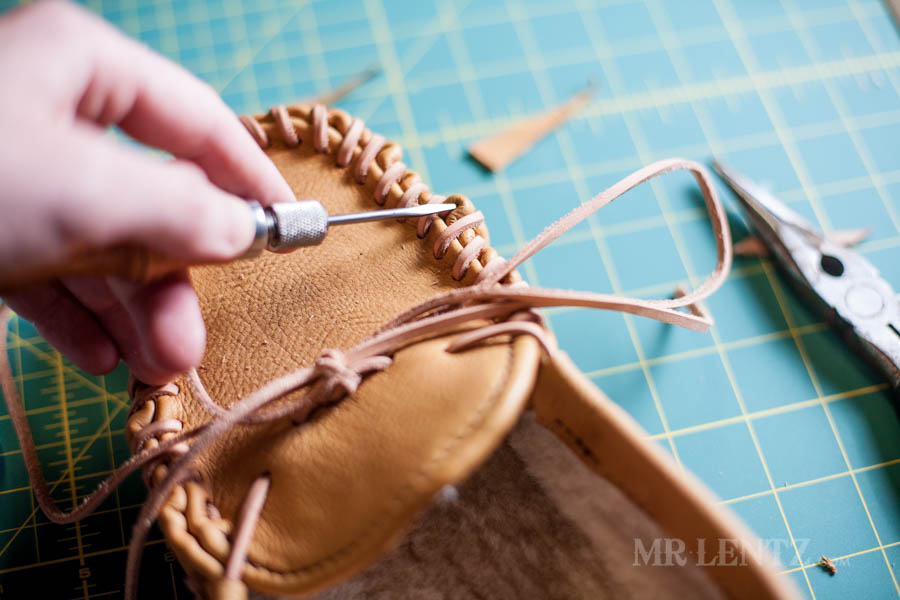
You can work the fid around to even things out since it is a dull object – it wont cut anything.
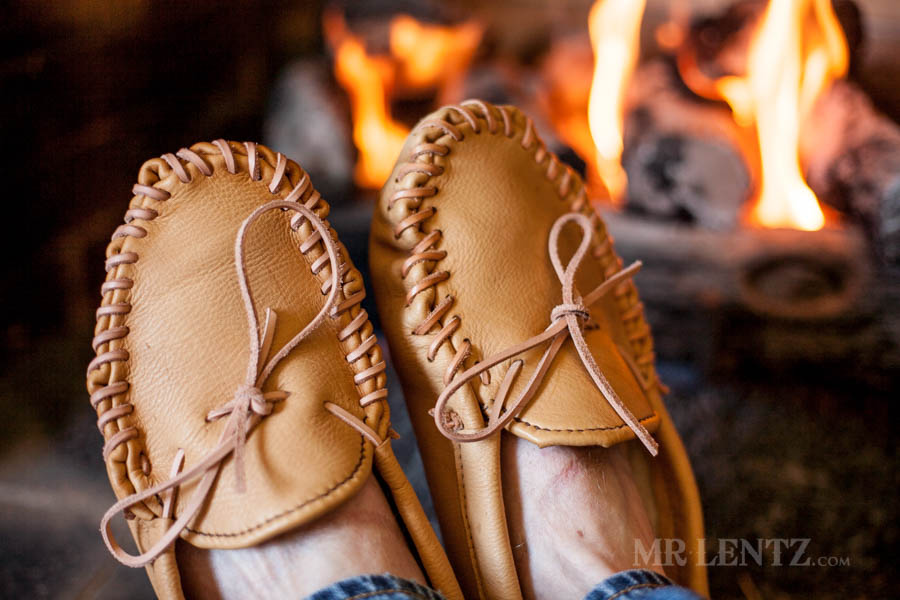
Pretty simple right! Well it certainly was a challenging task, but if you take things slowly – it is fairly straight forward. I think the real challenge was that after finishing the first moccasin…I had to make another for the other foot!

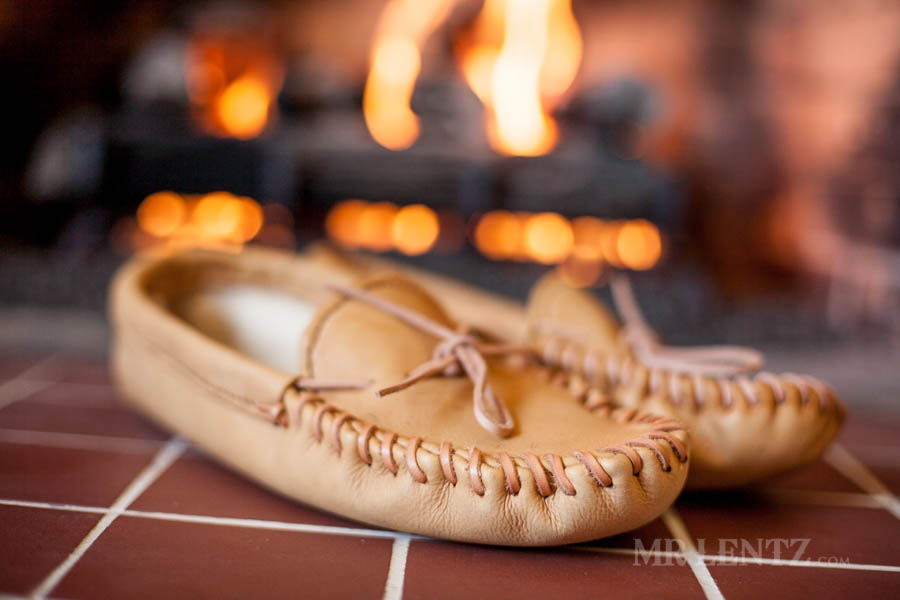
I will say – they are quite comfy.
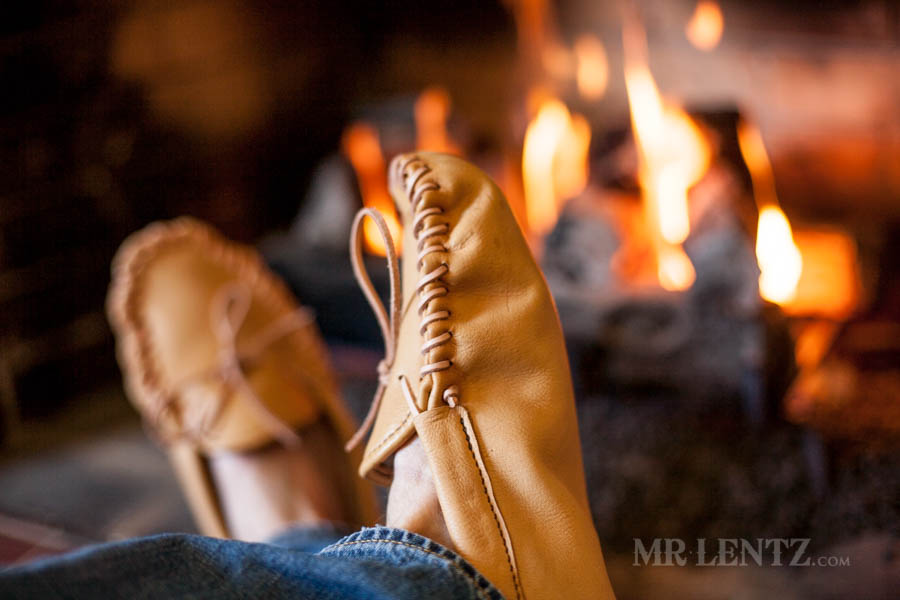
If you find yourself getting stuck at any point, feel free to write questions in the comment section below. I like to answer everything on the blog so that others can benefit from the advice too. I hope you enjoyed this tutorial. It was a fun build and just the right amount of challenge. Coming up (not sure when yet) I am planning a few more tutorials for some things I need such as: machete sheath, axe sheath, and handle wraps. Until next time!
Part 1 Part 2 Part 3READER'S FAVORITESVIEW ALL


Hi,
How much square feet of leather did you use to make a pair??
Hi Dave – I would say around 2 square feet of deerskin. One typical full deerskin hide will make a few pairs of moccasins, but if it’s your first time plan to make a few mistakes!
Wow. You are a great teacher, patient, plenty of clear and thoughtful pictures.
Thanks Amy! I hope you had good success in making a pair!
Thanx so much for d detail tutorisl. Generally how much would a sq ft of deerskin cost? Can you recommend a supplier that ship overseas? Thanx. Talhah
This place has a great selection of deer hides and I believe they ship worldwide: https://www.hideandfur.com/
How difficult is it to make the tongue and outside strip that holds the lace for tightening around your foot longer so that they keep your ankles warm too?
This is a wonderful tutorial and something I definitely want to try. But my ankles are always cold! 😀
I hear ya! I don’t think it would be too difficult. I would still keep the lace part lower because it keeps a good hold around your foot. You might have to experiment a bit with the design but you should easily be able to sketch out a longer tongue. Then I would use an additional piece to wrap around the ankle and meet the tongue on both sides. If you incorporate a way to lace it all up with just one long piece of lace – this would be your best approach. There may be other templates online you can find to help plan the design, then you can come back to this post for specifics and photos on at least the bottom construction.
Do you have any ideas on how to re insert a lace around the ankle, mine snapped.
Hi Georgia – I have pondered this same thing in case mine snapped, luckily they haven’t yet. I would use a safety pin and attach it to the end of the new lace, then slowly work it through. That should solve it, but it’ll take patience!