
Everything, Leather, Tutorials
Leather Moccasins Tutorial (Part 2 of 3)

Apr
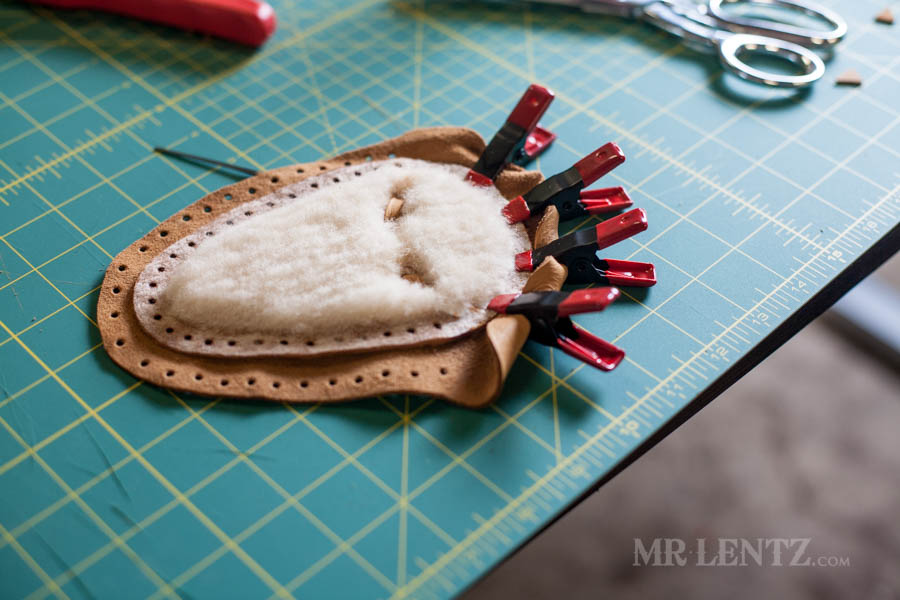
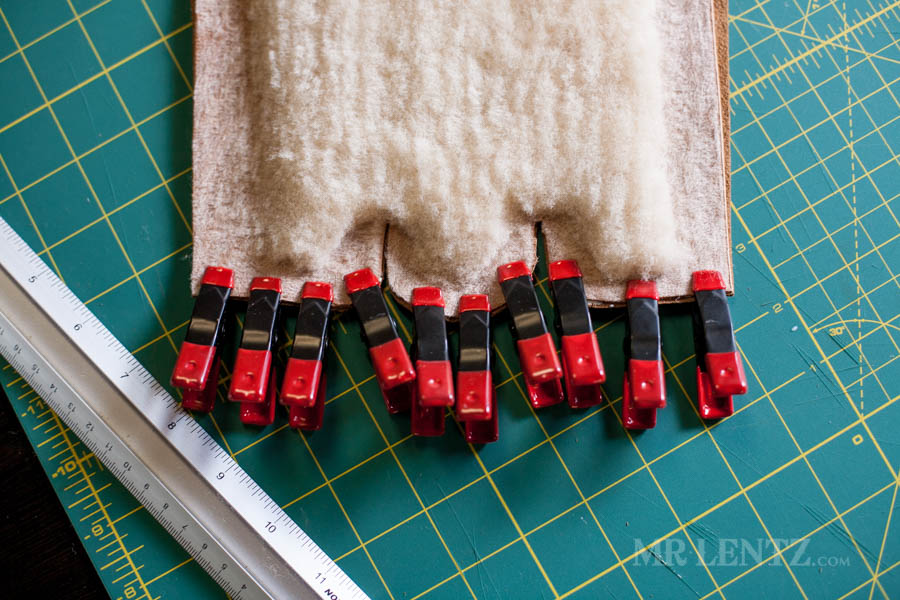
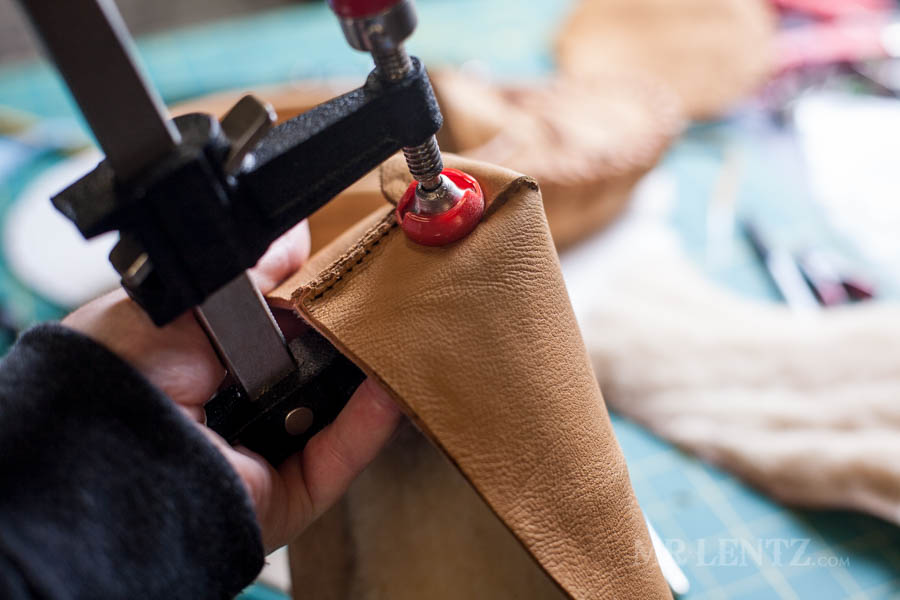
In Part 1 of this tutorial, we did a lot of cutting, shaving, hole punching and generally prepping the leather for the next stage. Here in Part 2 of this tutorial we are going to glue things together and stitch them up. Above I have taken the deer skin and the shearling of the upper and put glue between them only on the part just underneath those clips. I chose not to glue the whole piece together as the glue may wear over time and it could be visible on large flat surfaces. By only gluing at the top – we are just securing the pieces together long enough to punch the stitching holes and stitch them together. the other edges with the holes punched in them will be laced together and do not need glue.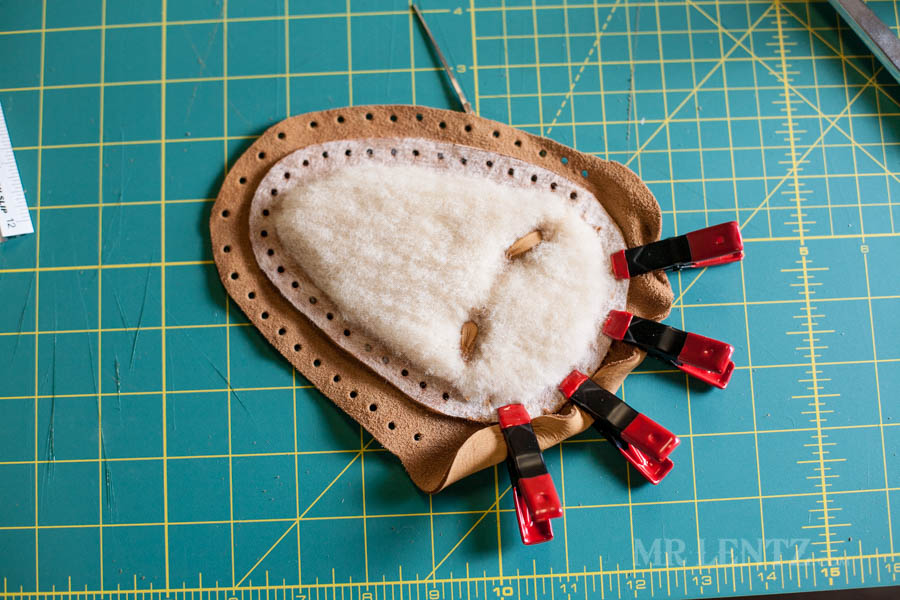
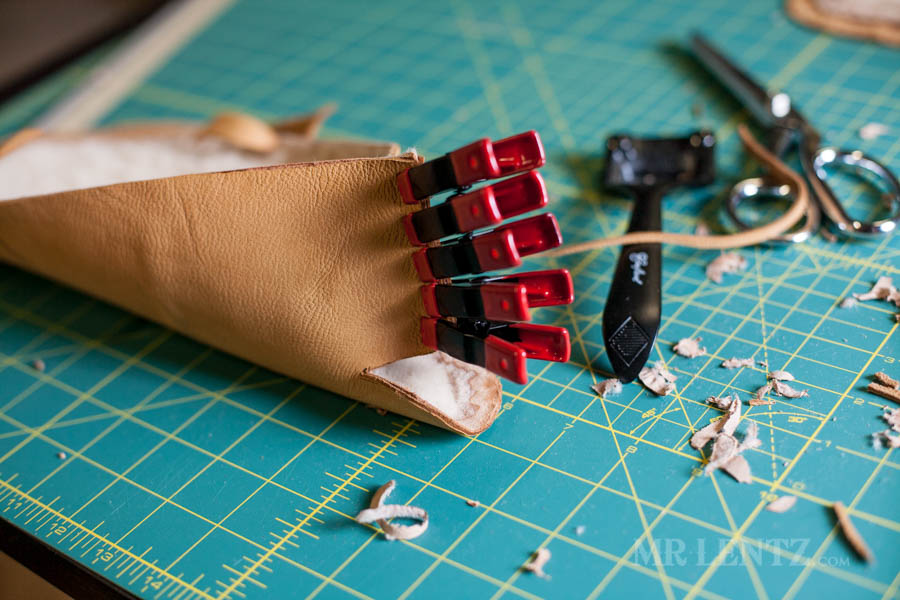
On the body of the moccasin I clipped both the deer skin and the shearling together first to line things up. Then I carefully glued between the pieces on the back end of the leather and replaced the clips. Make sure to wipe off any glue that seeps out after replacing the clips.
Like this post so far?
I spend most of my free time creating tutorials like this to help those like yourself get into leatherwork and woodworking, or get better at it. If you'd like to support my efforts, consider checking out my handmade leather goods shop and purchasing a gift for yourself or a loved one. It's readers like you that help keep a small U.S. business like mine going strong, so -thank you!
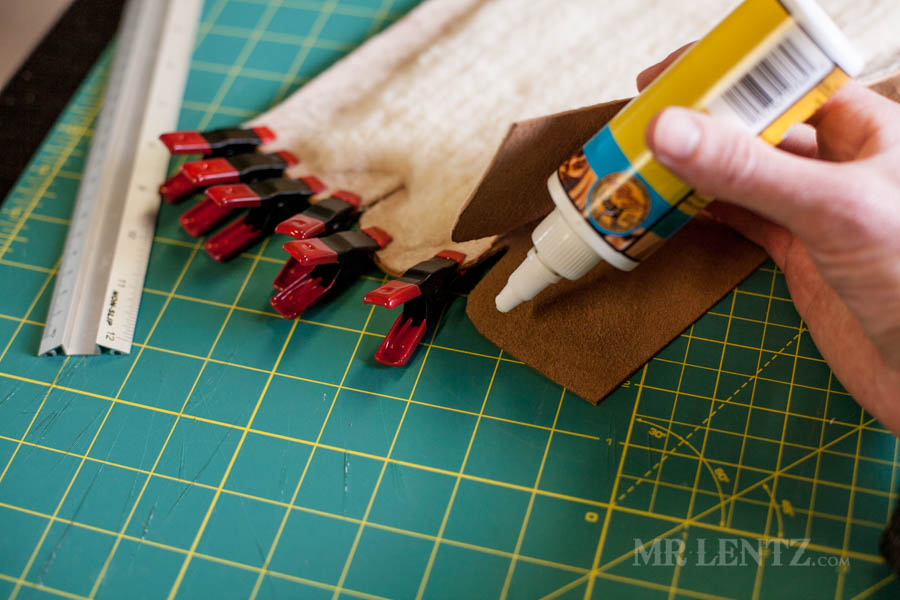
I like to let the glue set for about 1 hour just to make sure it’s holding things tightly. There’s no real need to glue up any other part of the deer skin with the shearling, only where the clips are shown above.
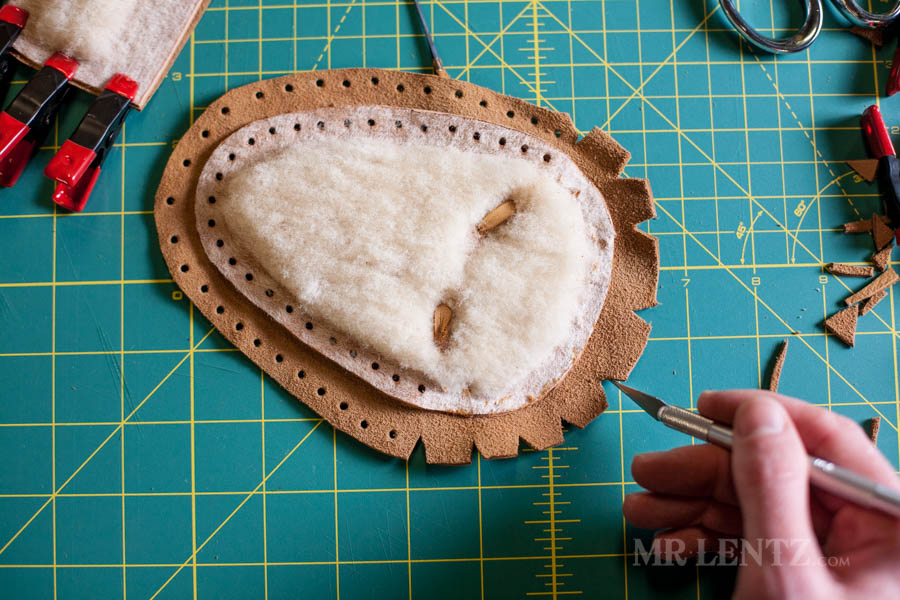
Next – we need to be able to fold the deer skin over the shearling before sewing. This will give a more finished look to the piece and it’ll be more comfortable to wear. When you fold leather over on itself, you need to cut what are called ‘darts’. This is basically removing material that would otherwise bunch up on itself and make sewing impossible. It’s important to note (because I screwed this up the first time myself), that the darts are slightly closer together in tighter curves and they should only be cut into the leather 1/2 the distance to the shearling liner or less. The reason is that when you fold the leather over, you want those folds to be hidden under and out of sight, trust me! If that all sounds confusing, just make your darts look similar to the above and you’ll be fine.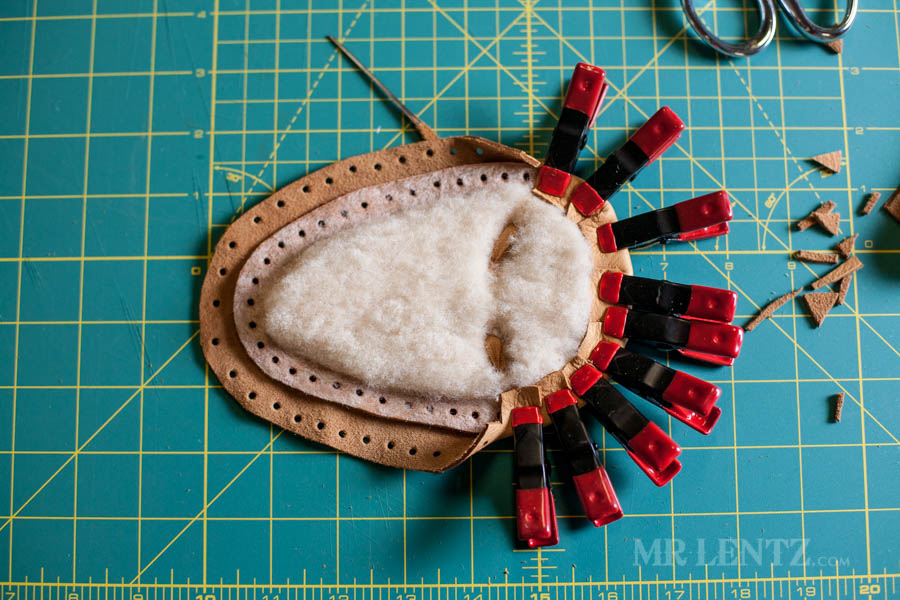
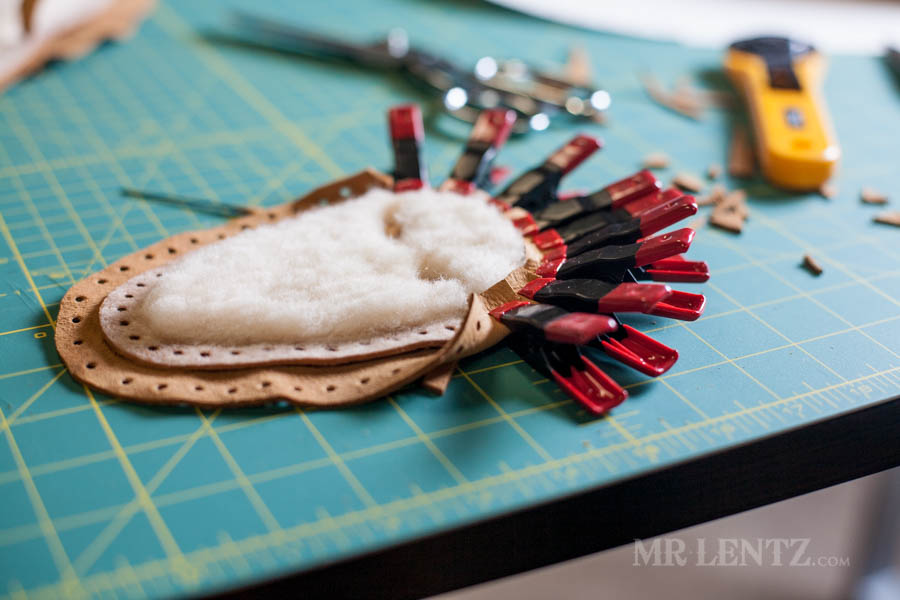
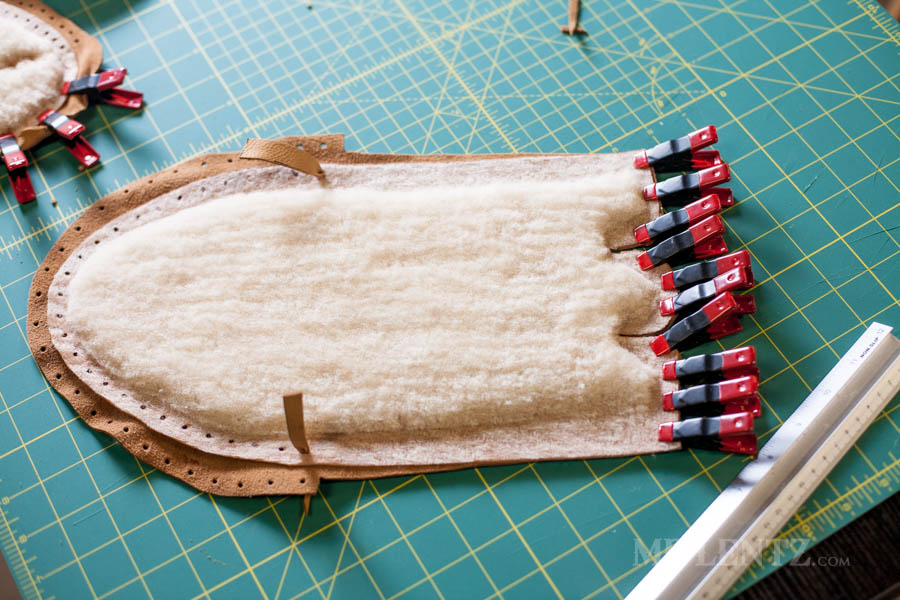
Next I glued up the edge of the shearling, carefully folded the deer skin over it and clamped it all down. Let it sit another hour until dry.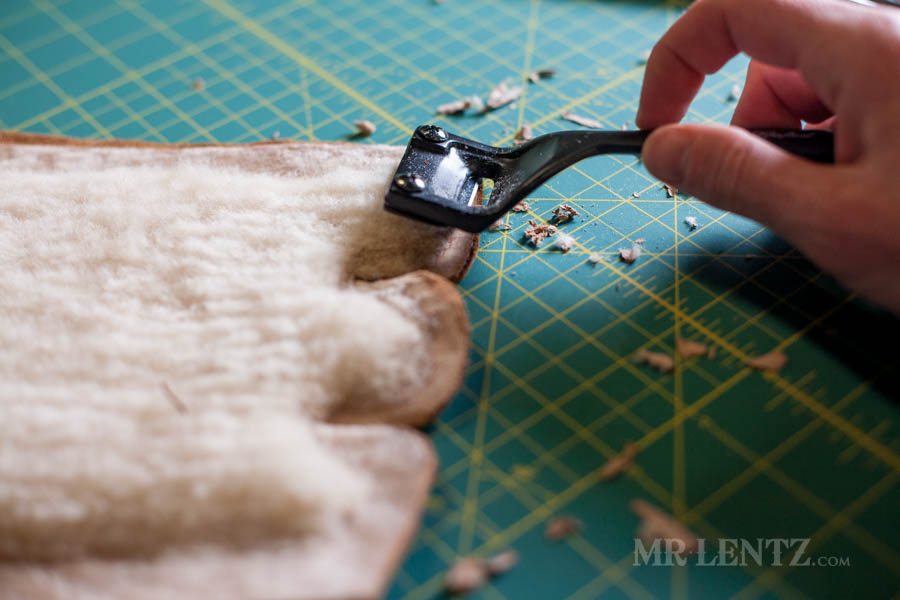
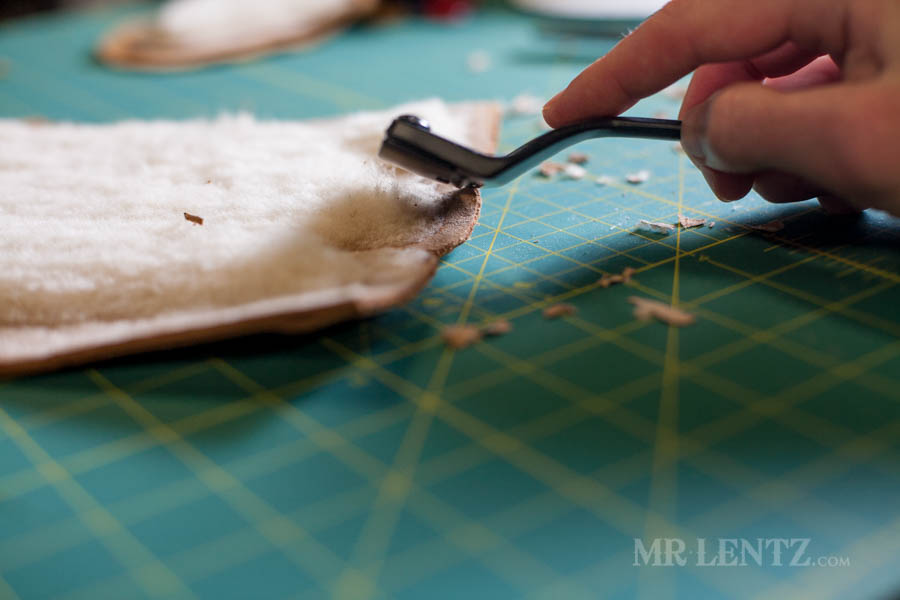
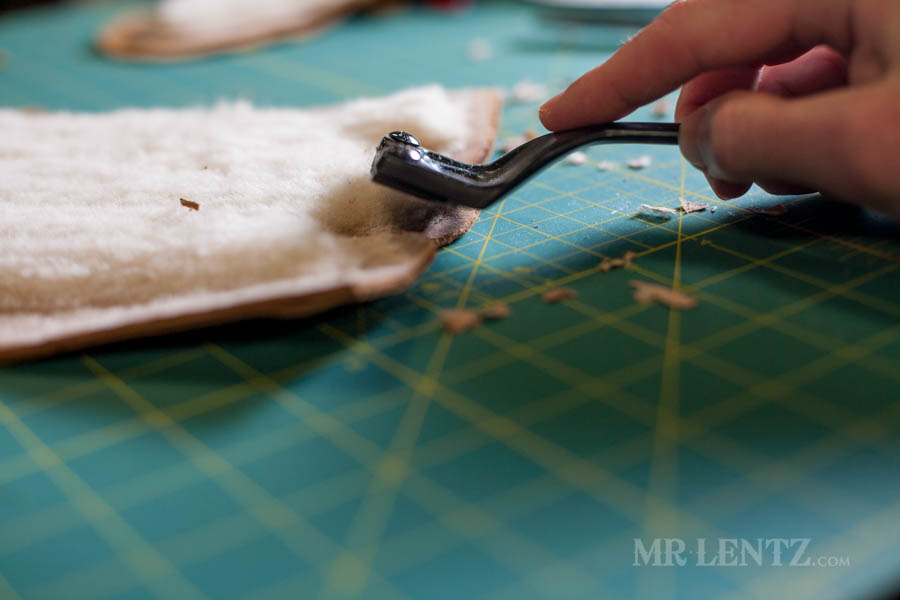
To prep the body for gluing I found that you can improve the look of the back end of the moccasin by removing some of the leather at the back edge. Using a skiver I very carefully stripped away the leather in small cuts at a time until the edge was down to the deer skin. Basically I removed the layer of shearling glued to the edge. This way when you glue each side together it will be flatter and fit together much more easily. Careful with that skiver though – it’s easy to take off too much and there’s no going back!
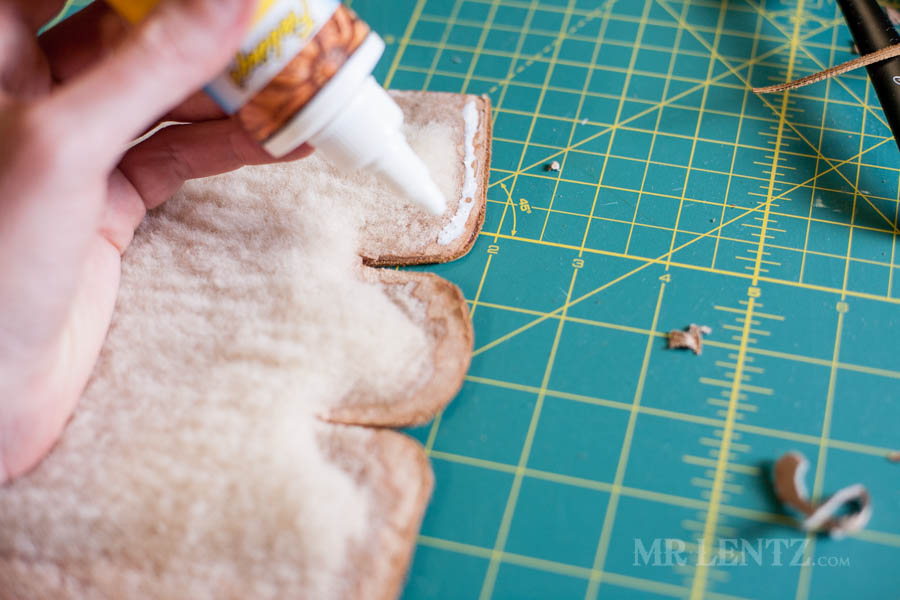
Next I placed glue on only the two flat parts of the back end, don’t glue the curved part yet.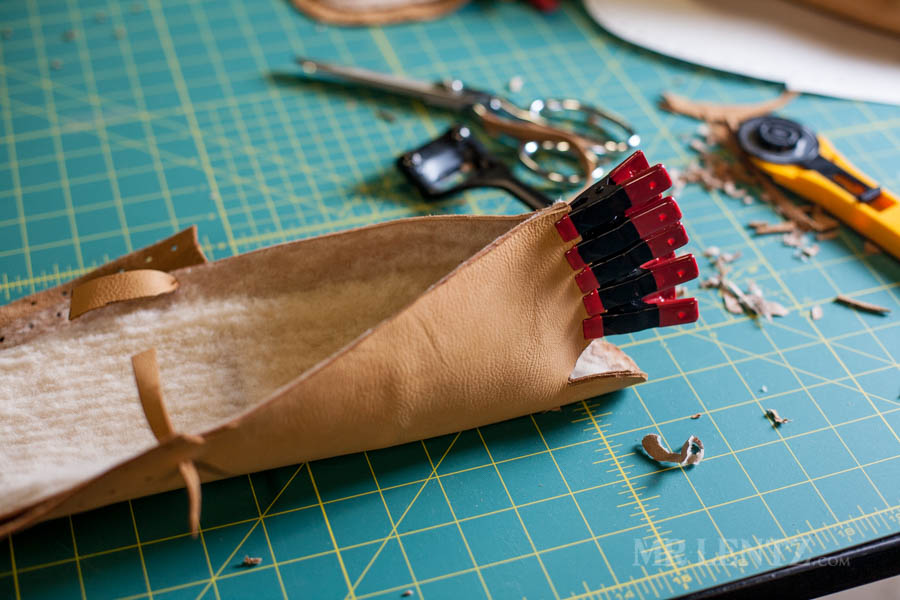
The two flat parts of the back end were then clamped together and left to dry for an hour.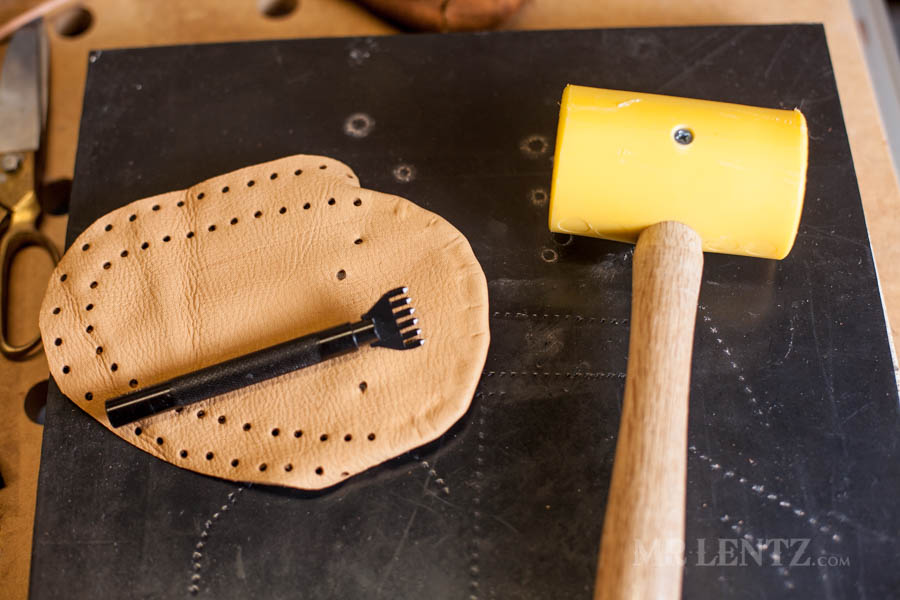
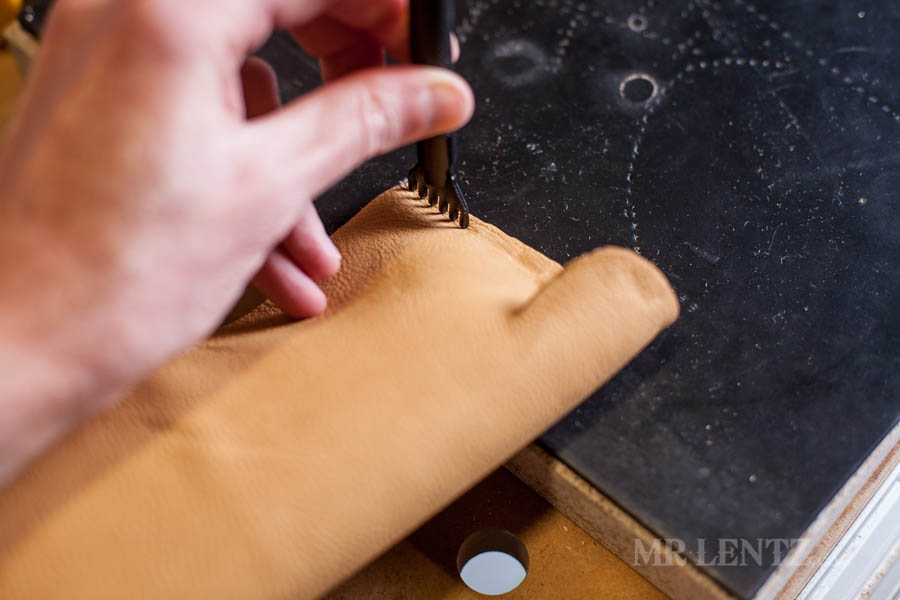
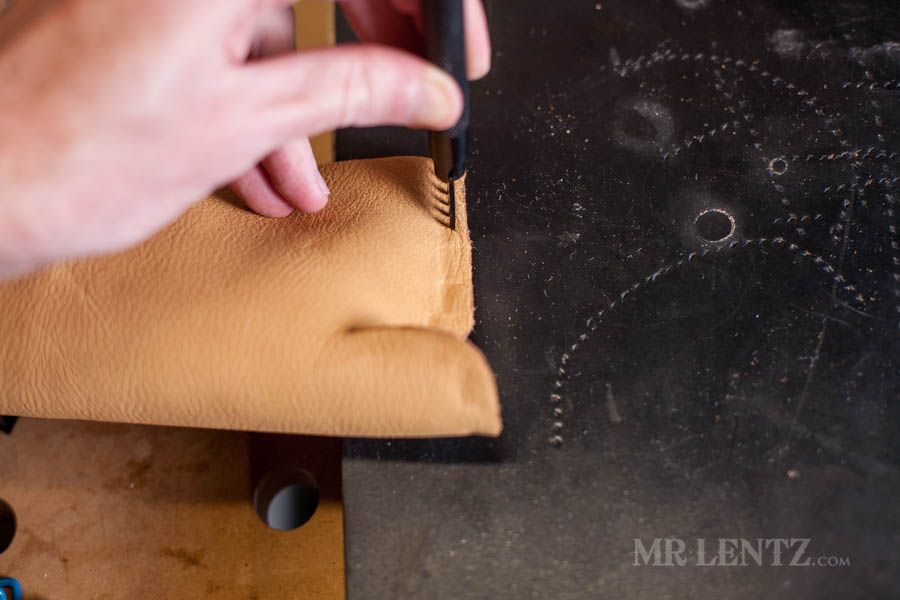
Now we need to stitch the upper together. The deer skin and shearling lining will be stitched together along the area we glued. Grab your stitching prong – I used a fairly tight spacing on mine as it will give a nicer look to the stitch. I also started with the six hole prong, which is well suited for longer less curvy areas. Use a rubber mat underneath to protect the prongs. I also have a 1.5 inch thick marble slab to help control vibration when using the mallet ( a good investment!).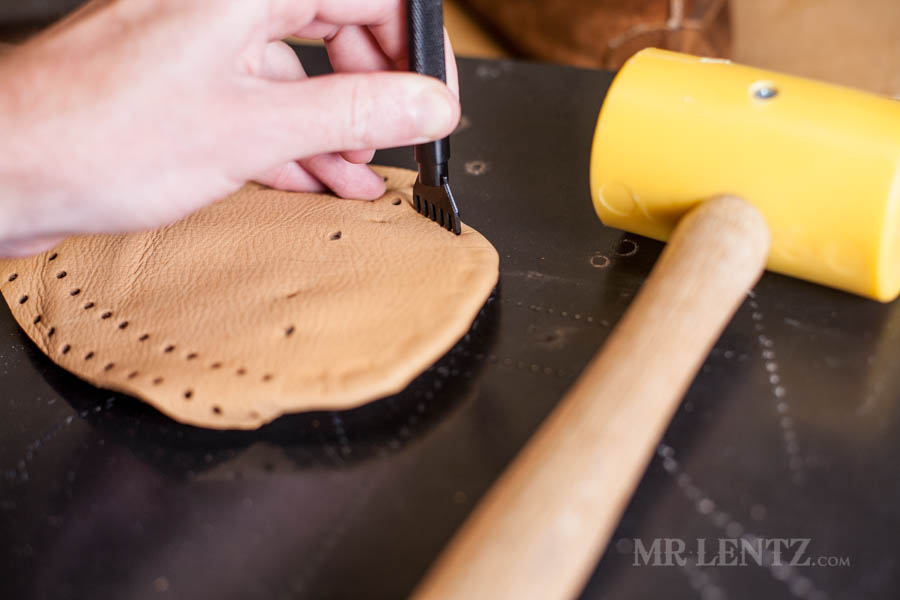
Place the prongs at one end around 1/4 inch from the hole already there and around 3/16 inch from the edge. 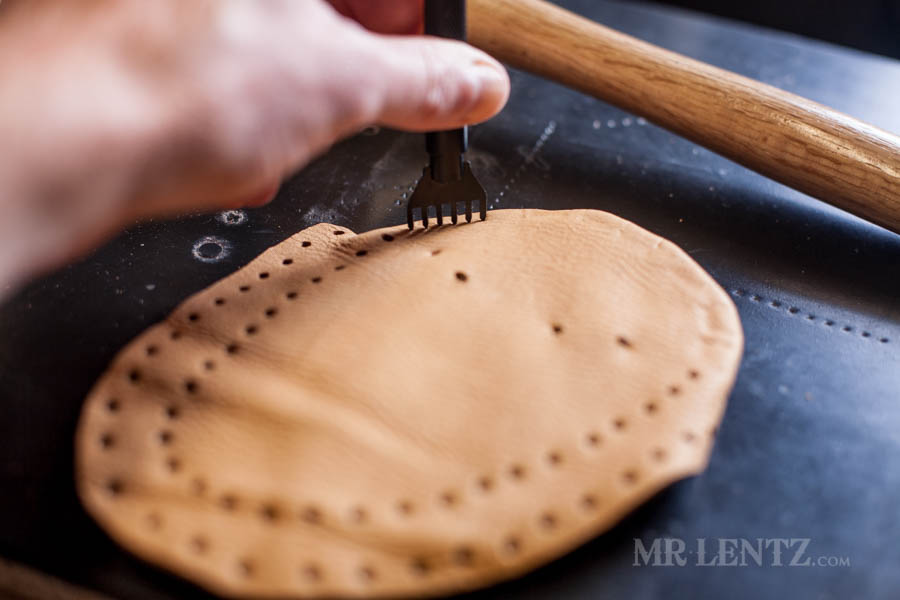
Using the mallet I punched through all layers.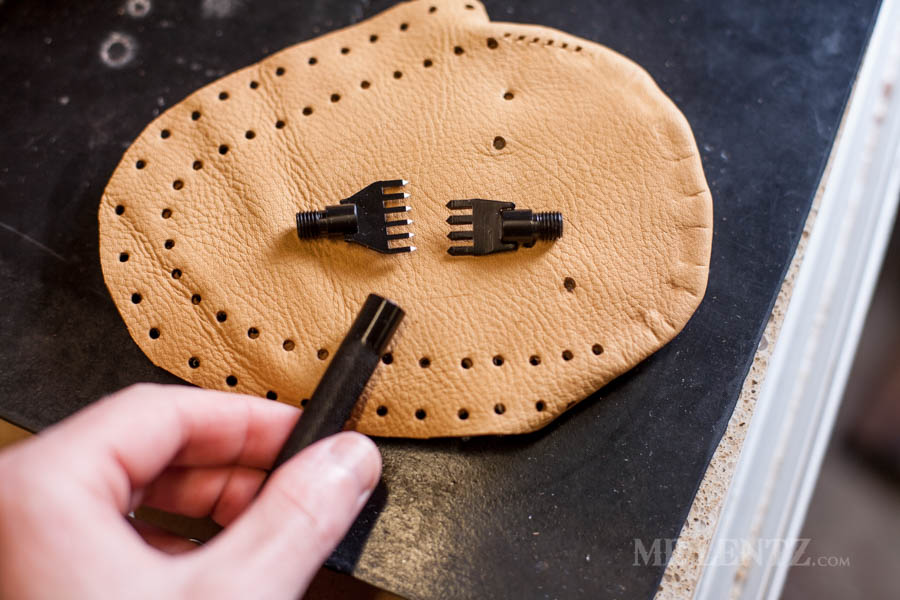
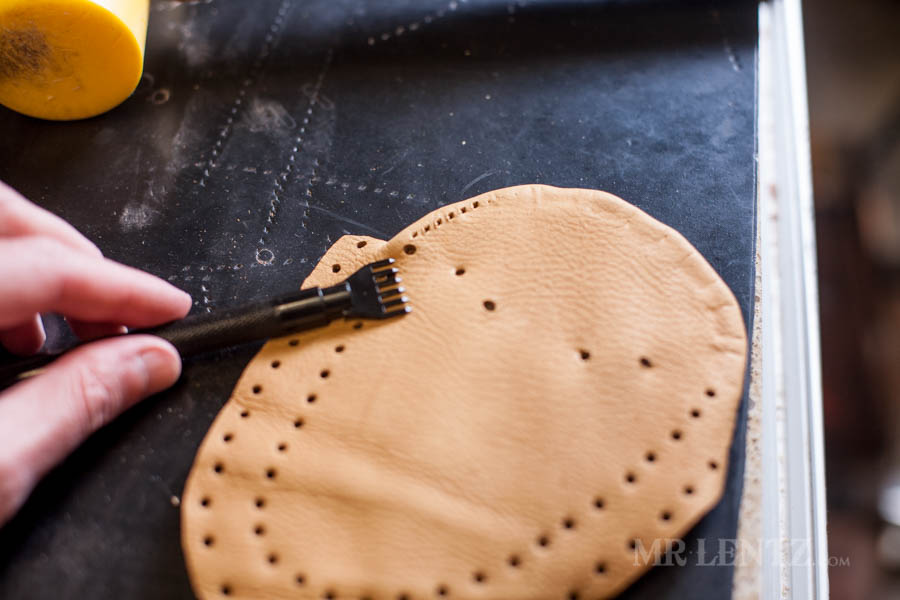
When approaching a curve you can change your prong head down to the 4 prong, just make sure it is the same stitch length, or space between holes.
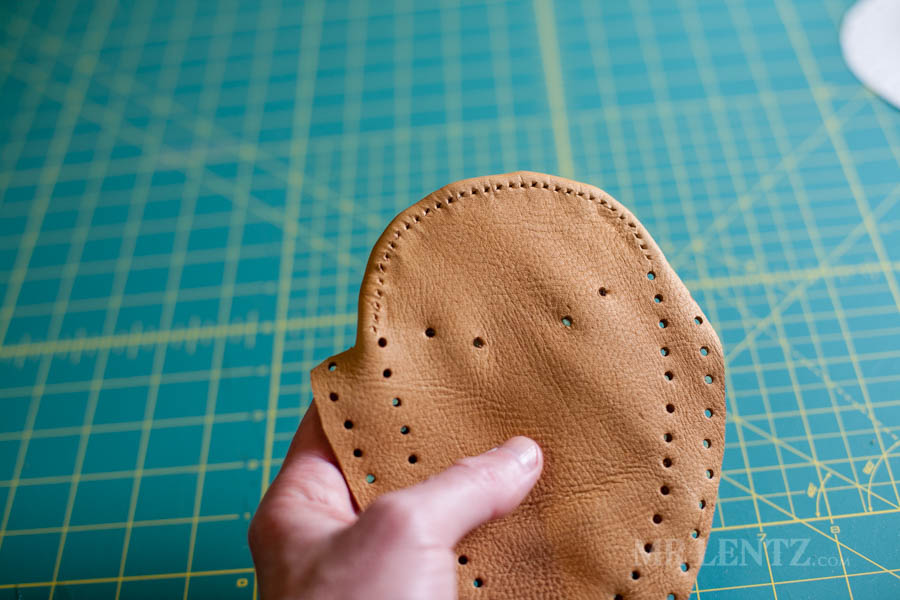
After working your way around the edge, it should look like this above.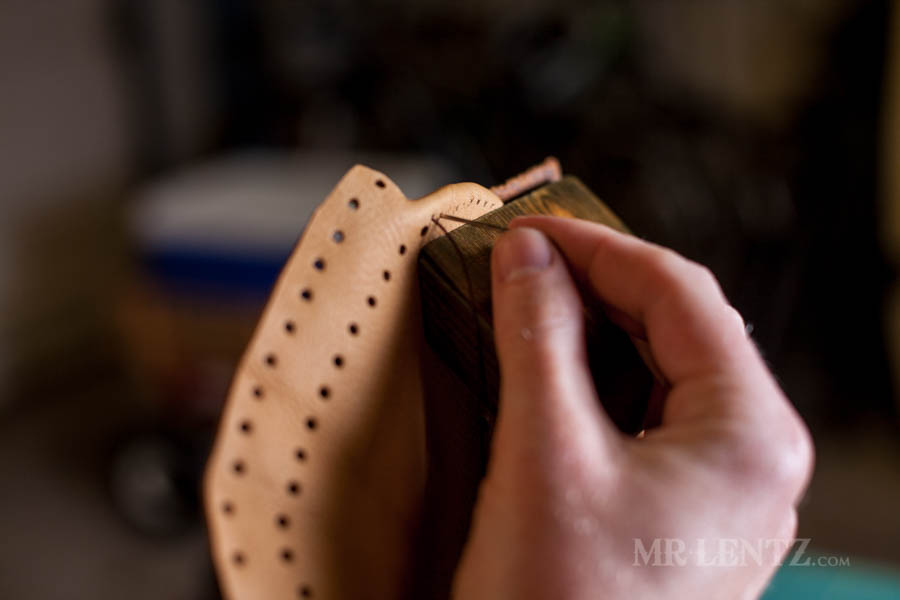
The next step it to stitch it all together. I have explained and photographed the entire stitching method in other tutorials, so head on over to this one here and scroll down a ways to find the stitching instructions typed out. The video at the top will show the entire process as well and you can easily navigate to it by clicking ‘Stitching’ linked below the video. It’s the same thing that you will be doing on the moccasins.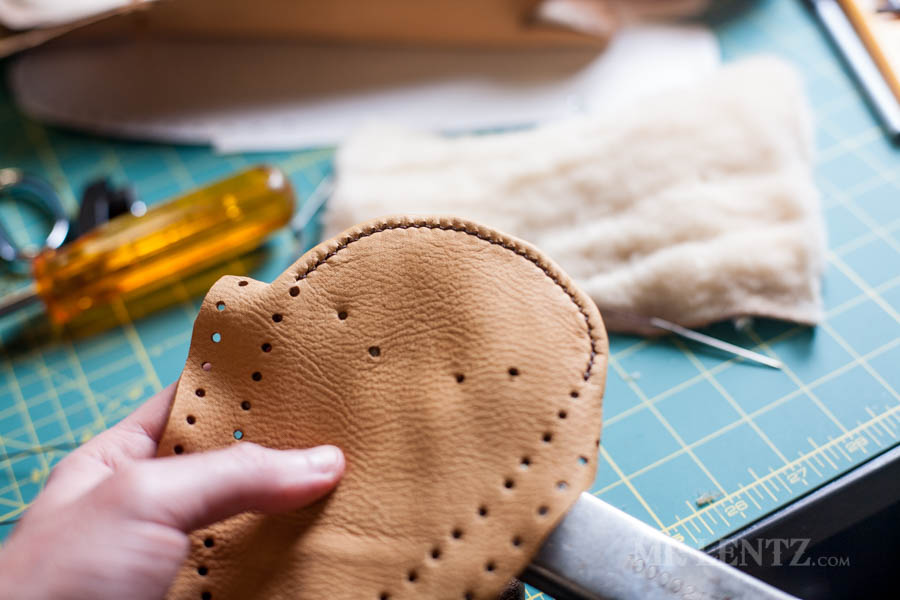
The stitching on the upper is complete! Hopefully your’s looks somewhat similar.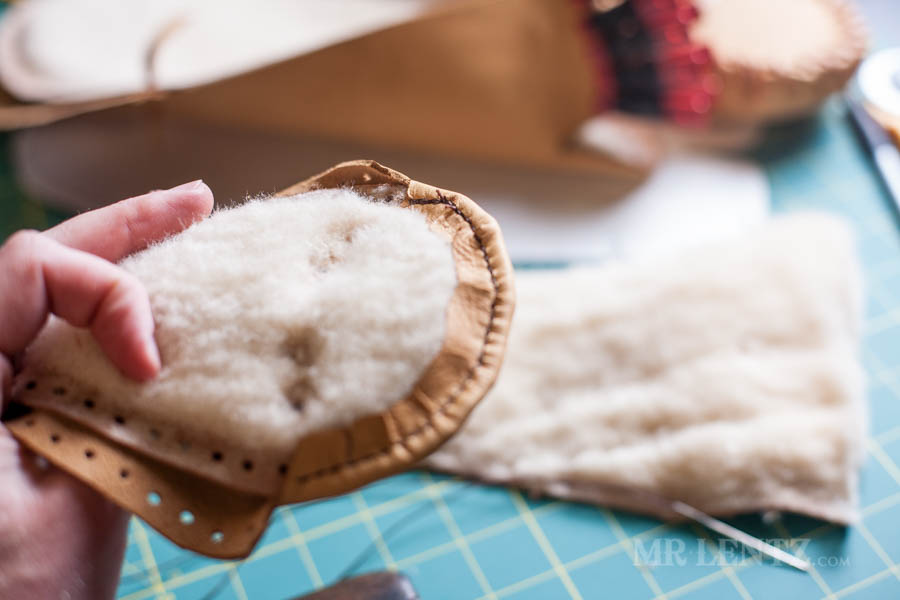
On the back side you will see there’s some excess deerskin extending out. 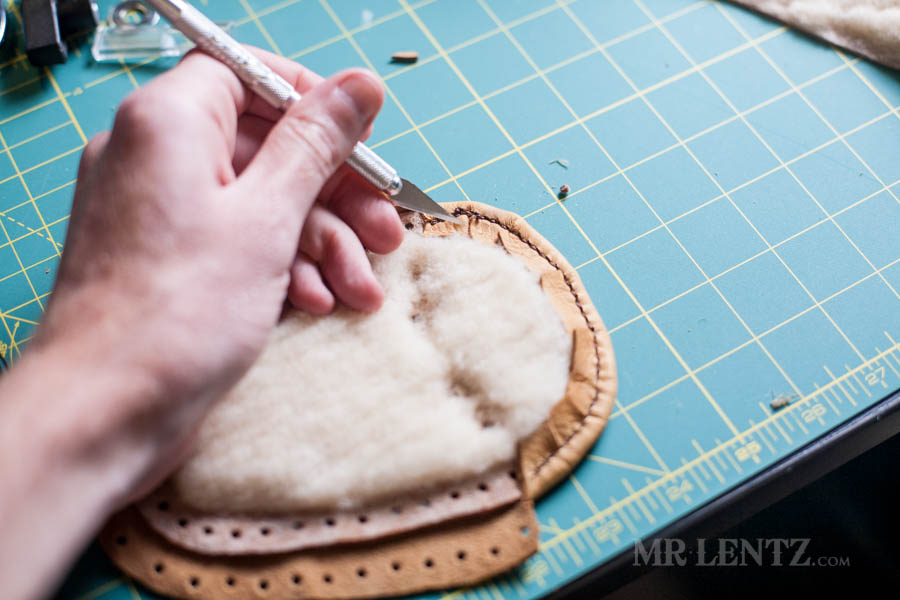
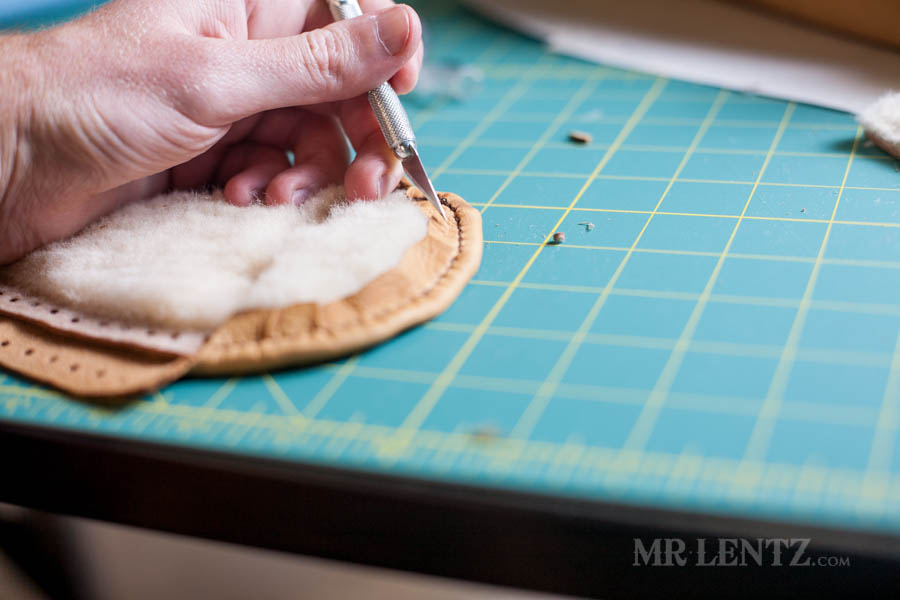
Using the exacto knife carefully pull up on it and cut it off, leaving about 3/16 inch left away from the stitch. Don’t cut into the shearling!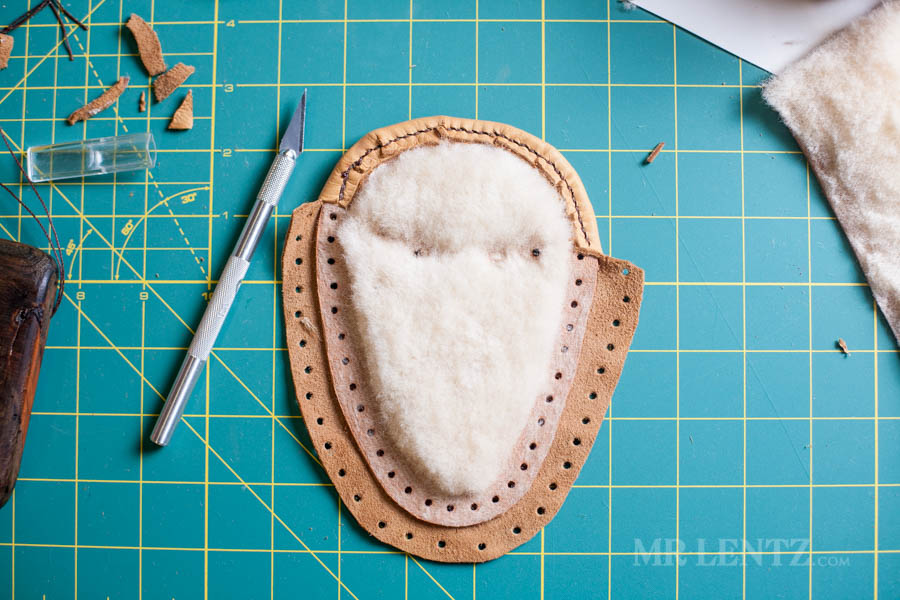
After cutting away the excess deerskin, here is what we are left with.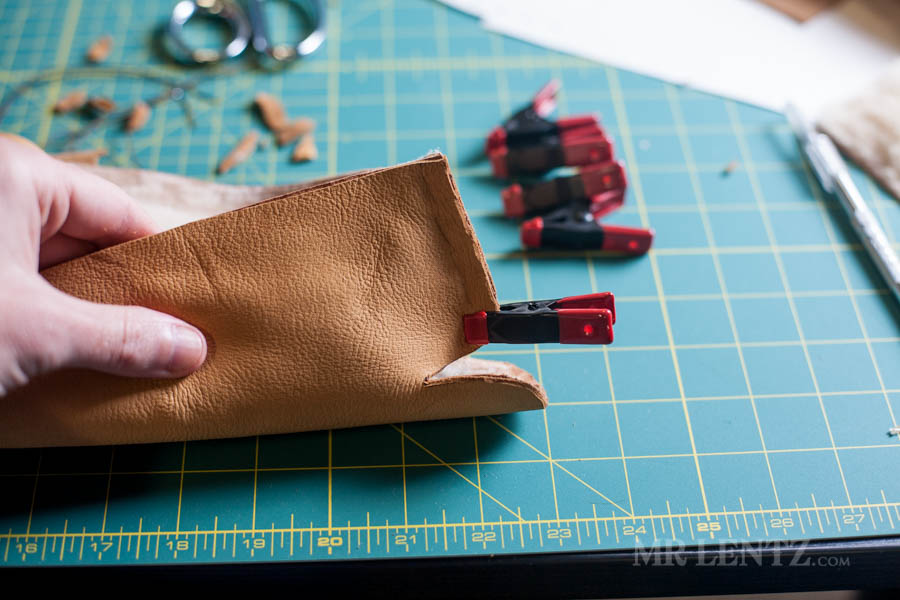
Back to the body, we can take those clips off and prep the piece for stitching.
Using the same method for punching the stitching holes, I did the same for the back end of the body. Start your holes near the top, and end them where the leather starts to curve inward.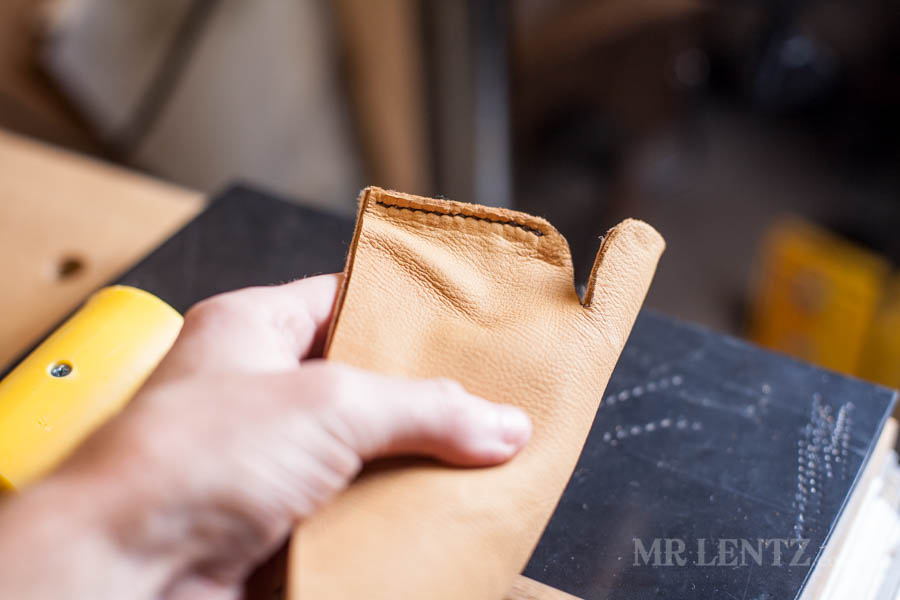
This was stitched up from close to the top edge down to where it starts the curve, but no further.

Next, I cut very closely to the stitch, removing excess leather. I left about 1/8 inch from the stitch. This will help flatten things out a bit when you stitch the next piece over the top of it. 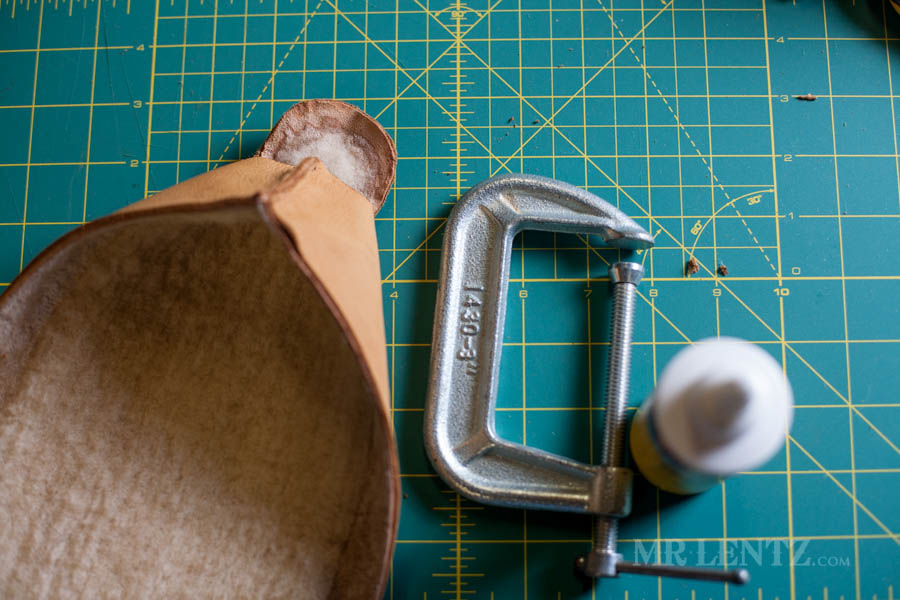
To help aid in gluing up the curved piece, I used a large C-clamp.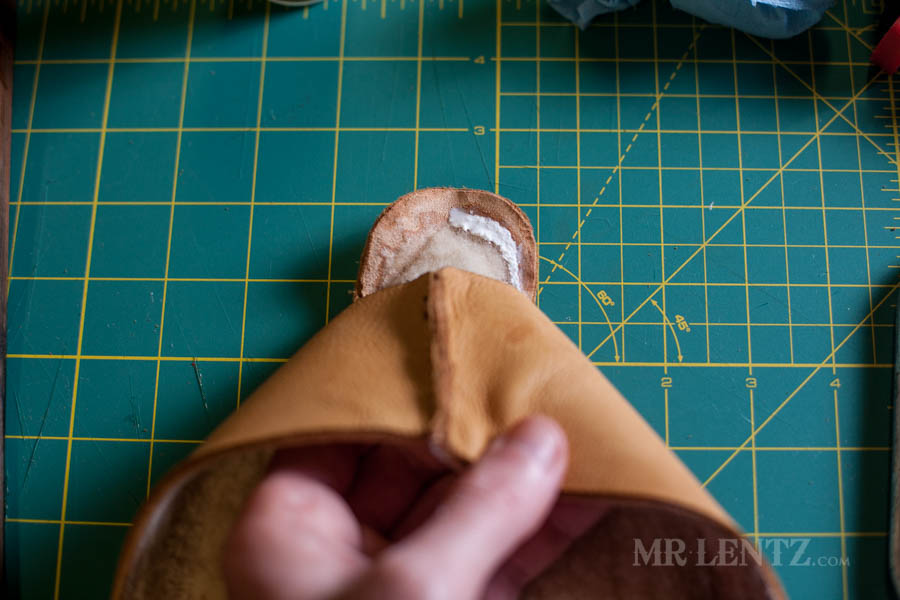
Place the glue along the edge, but a bit inward from it so that you have minimal or no seepage out of it which can be a pain to clean up. I only glued half of this piece at a time to make things easier and less likely to improperly place the glued piece and get glue everywhere. Take things slowly and it will come out right.
I clamped up the first half and let it sit for at least an hour to dry. Then I repeated for the other half.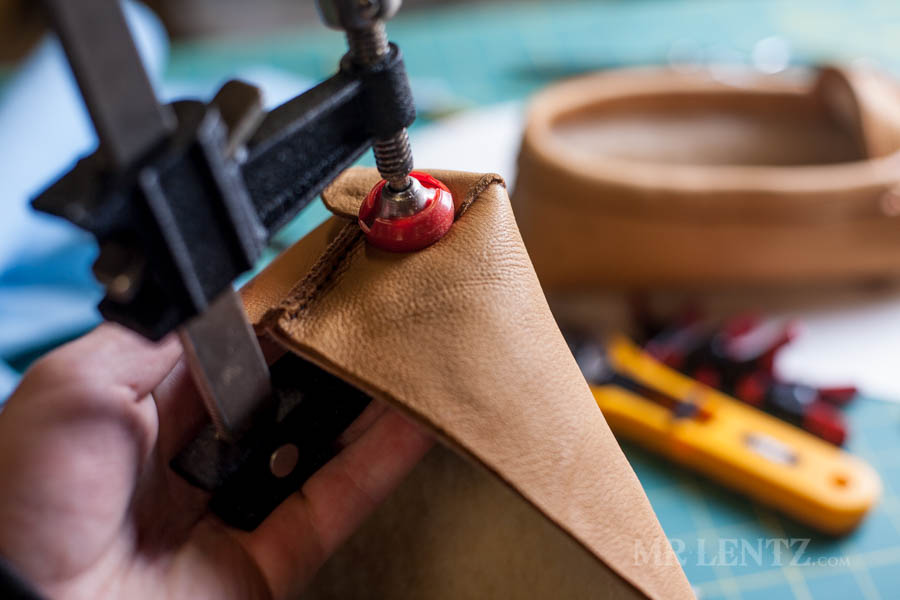
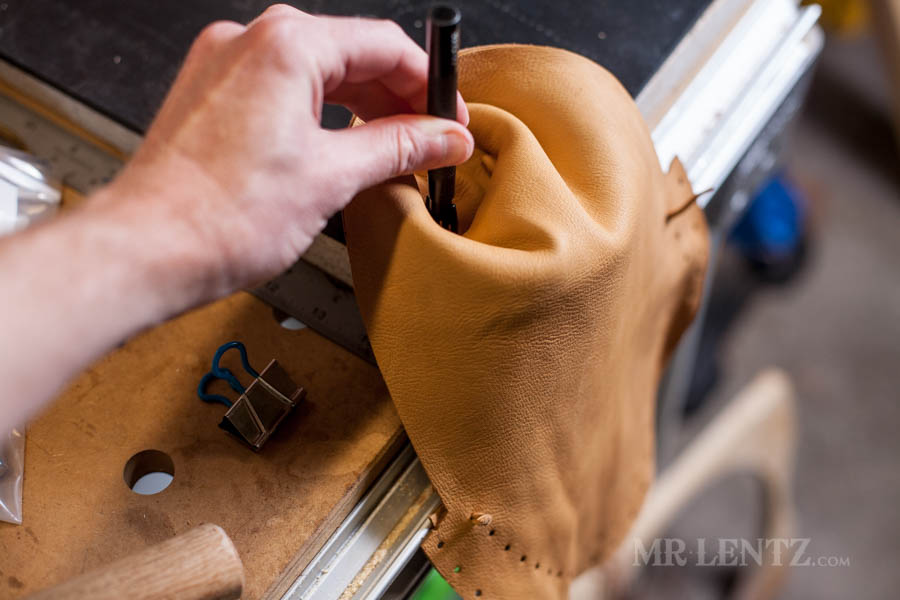
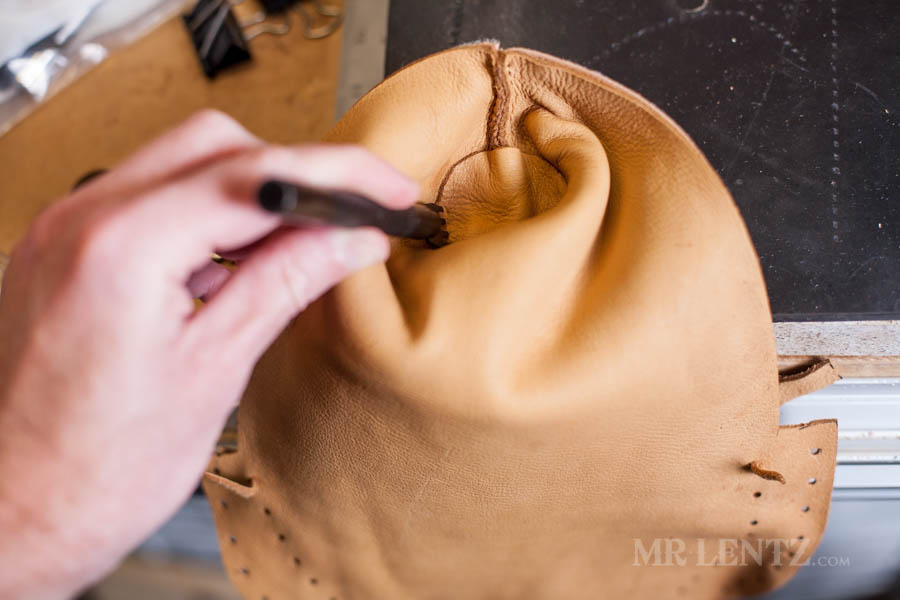
Next I punched the stitching holes around that curved piece I just glued. This is definitely not a very easy step as you kind of need to do what you can to squish the piece down to hammer in the holes. Place the holes all the way around that curved piece about 1/8 inch from the edge.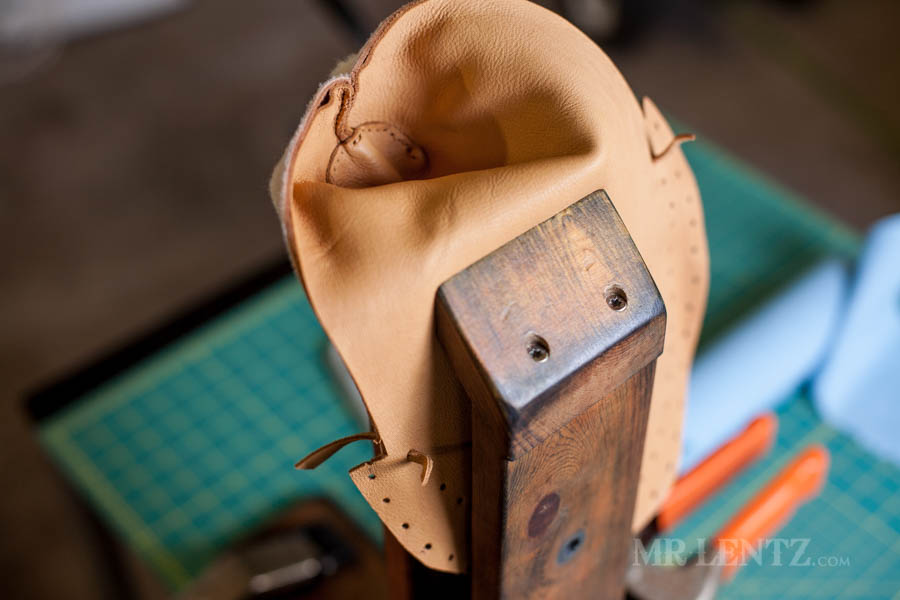
Next comes the other fun part – stitching this awkward piece! Place it in your stitching horse however you can. My best advice here is take your time, consider this step a Zen practice and make sure you are stitching through the correct holes. You may have to fold the piece and maneuver it a bit here and there to get the stitching in place, but it’ll happen!
Alright, that about sums things up for Part 2. We have about 2/3 of the project behind us and we are getting close to the finish line. At this point you should start to really see your moccasin taking shape. Don’t worry if you screwed up a step or two, I did as well and had to re-cut pieces as necessary. The point is not to be in a rush. This project could take several weekends if you want it to. If you get frustrated, the best thing to do is just lay down your tools and pick things up next week. Stay tuned for Part 3 in a week or so! Feel free to post questions in the comment section below and I will be quick to answer them – usually the same day.
Part 1 Part 2 Part 3
READER'S FAVORITESVIEW ALL


Is there a part 3 anywhere yet? Your tutorial is SO helpful! Thanks for posting it and helping all of us!
Hi Dee, almost! It’s been on my to-do list here for a bit and since we just moved I had to put it on hold. I should hopefully have it posted by the end of next week. Thanks!
I’m struggling to find deer hides here in the UK. Can I use another hide for the outer? Perhaps a lamb garment skin?
Hi Evelyn, here is a great source for deer hides in the U.S. that should be able to ship to you: https://www.hideandfur.com/ you can also try ebay.com to find hides locally. If you have no luck, then yes you can certainly use other leathers however try to only use Full Grain leather. Typically garment leathers are top grain or other and will wear down quicker. Also make sure to select the correct thickness too. Deer hide works best because it can get wet and dry out without damaging the leather. It is also a bit flexible.
Lamb or goat skin is awesome to use. I like working with goat skin, very similar to deer/elk skin in my opinion.
I haven’t worked with those types of leather before – I wonder how tough they would be compared to deer. Mine have held up well over the past 5 years or so, but they may need a new outer layer soon.