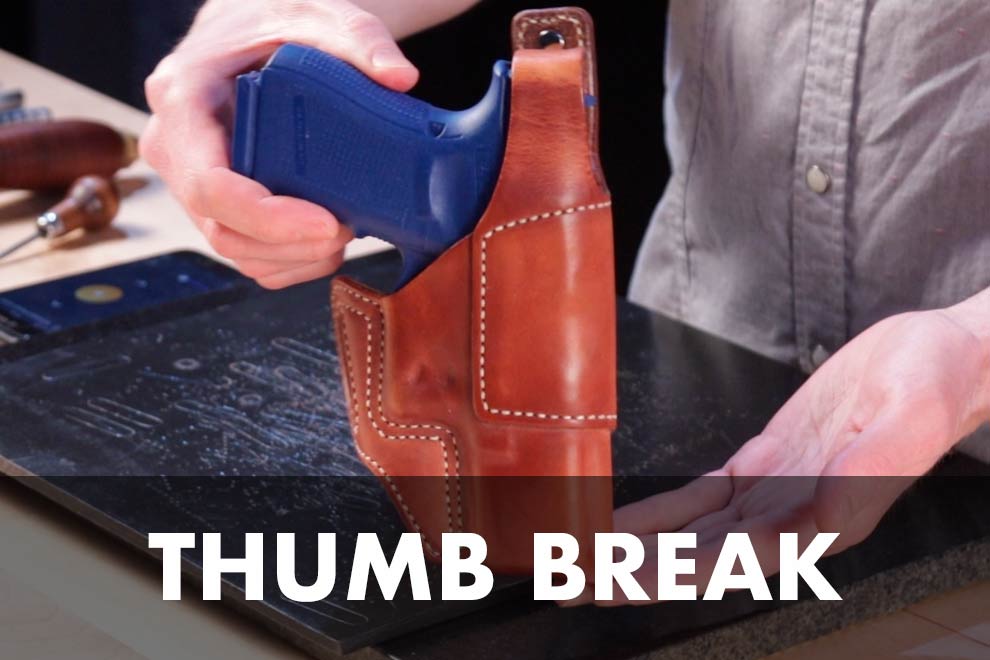
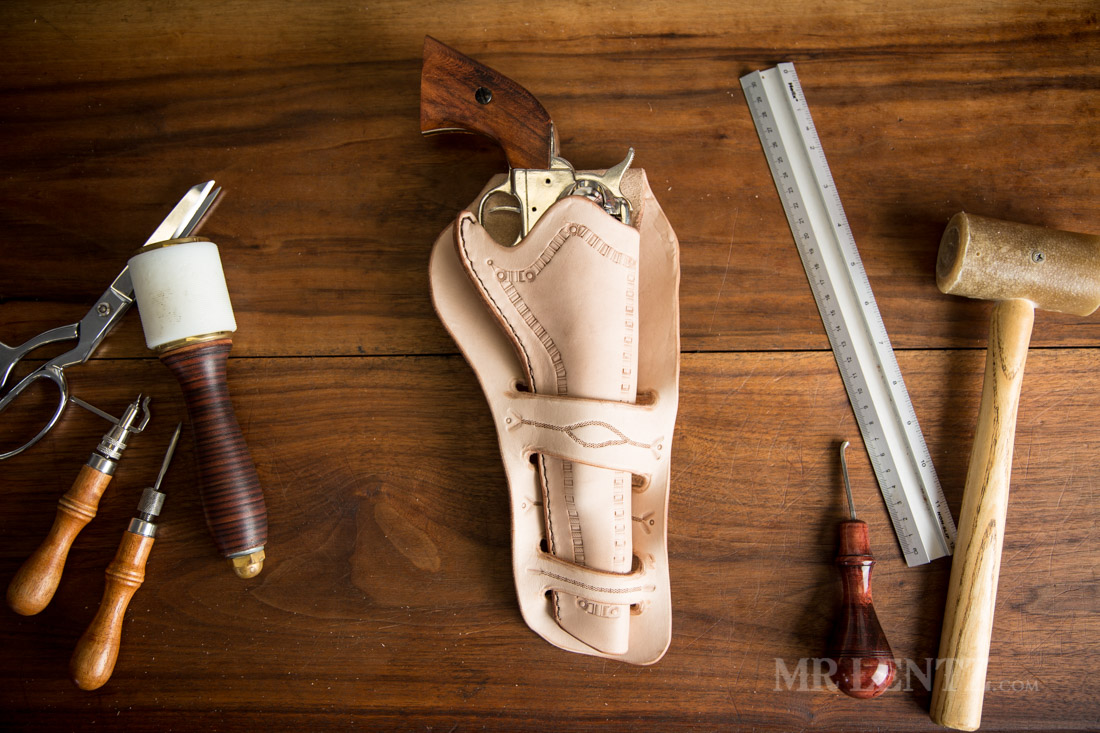
How to Make a Leather Holster
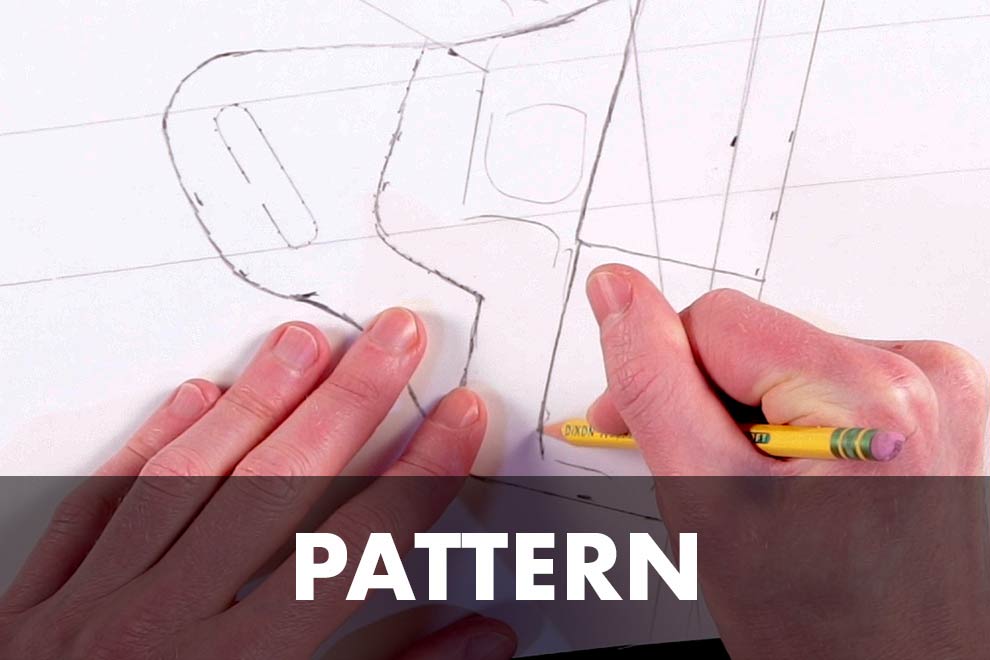
In order to build this specific leather holster you will want to start with my first video on making a holster pattern. I also sell patterns pre-made for almost all Glock guns if you want to skip that step. If you are building a different holster, you can use many of the techniques I am showing to help get it built right.
A Few Extra Notes
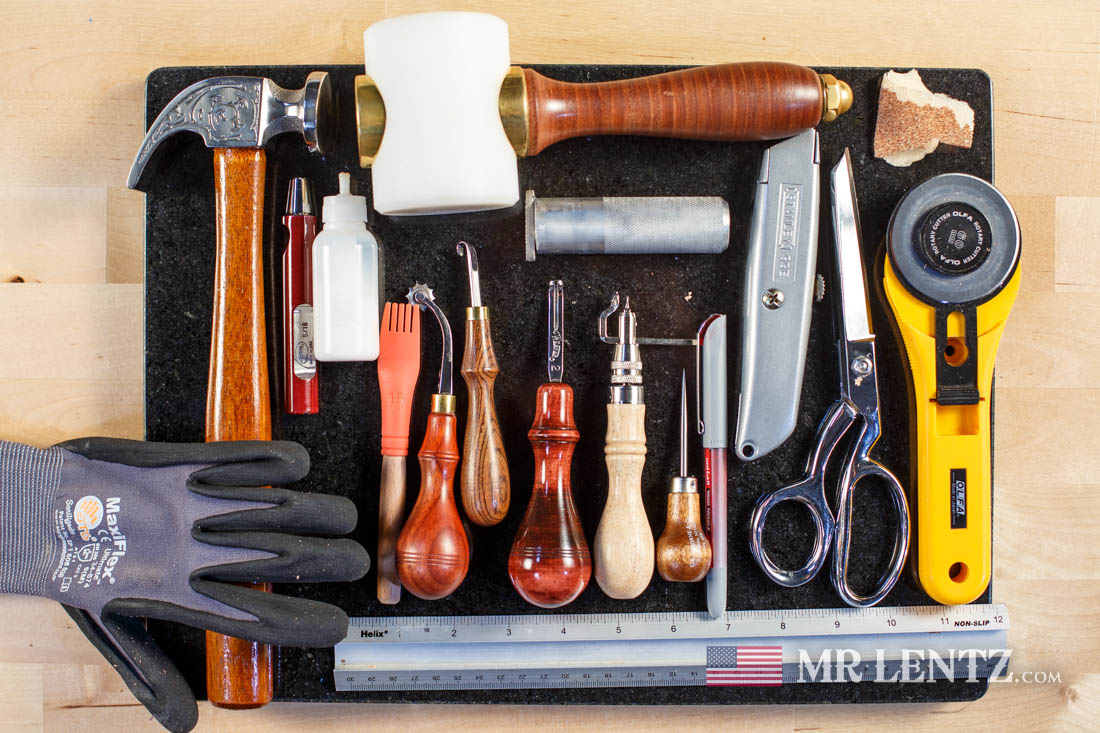
Now on to a few extra notes on the build. When you source your leather – try and get a 7-8 oz vegetable tanned full grain leather. Do not use chrome tanned leathers as this will rust your gun, plus they are not as durable among many other disadvantages. Cut the piece out from the upper part of the hide called the back. This is the side with a more smooth line going across the top. The more wavy line on the bottom is the belly and is a bit too stretchy for holsters. Likewise stay away from the neck area too – you can always test a piece to see how it’s stretching.
When beveling, it’s great to have a sharp tool, but even still it can be more difficult to bevel the flesh/rough side of leather. I always wear a glove on my free hand – which has prevented countless cuts and bruises.This tool tends to catch your fingernails!
For glue, I use a PVA style glue called Reina Aquilim 315. It is basically odorless and has very low VOCs. Many others swear by using alcohol based contact cements which are high in VOCs and give you headaches. There really is no reason for it, glue is simply meant to hold the leather in place while you stitch. It’s the stitching that does all the work from that point on.
When you go topstitch up the reinforcement panel and later on the side of the holster, I show how I do it in this video using my sewing machine. If you have the need for one and will be in this field for a while, it is a worthwhile investment as it makes quick work of an otherwise tedious task. For those that wish to hand sew, I have a free written tutorial on how to saddle stitch on the tutorials page. Basically you will use a pricking iron to punch the holes along the marked stitch line. Then set up the holster in a stitching pony and proceed using the saddle stitch. It may take a while, but it can sometimes be quite meditative. If your pricking iron did not go all the way through your will need to use a diamond awl to punch the hole the rest of the way. Do not use hole punches. You’ll see this around from time to time and it’s a cheap way to make a product that will fall apart in a few years.
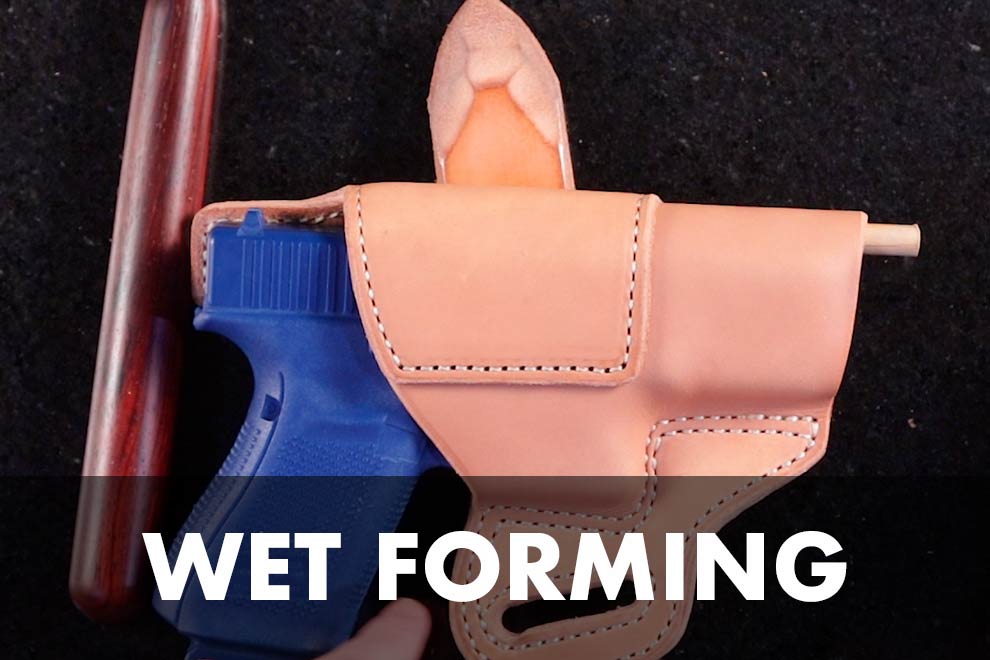
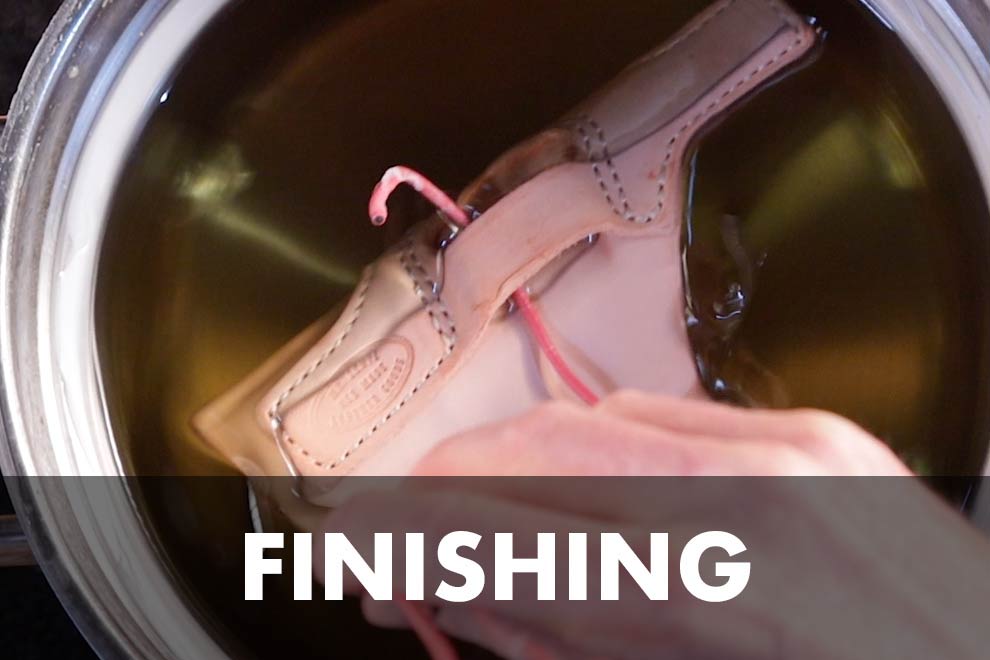
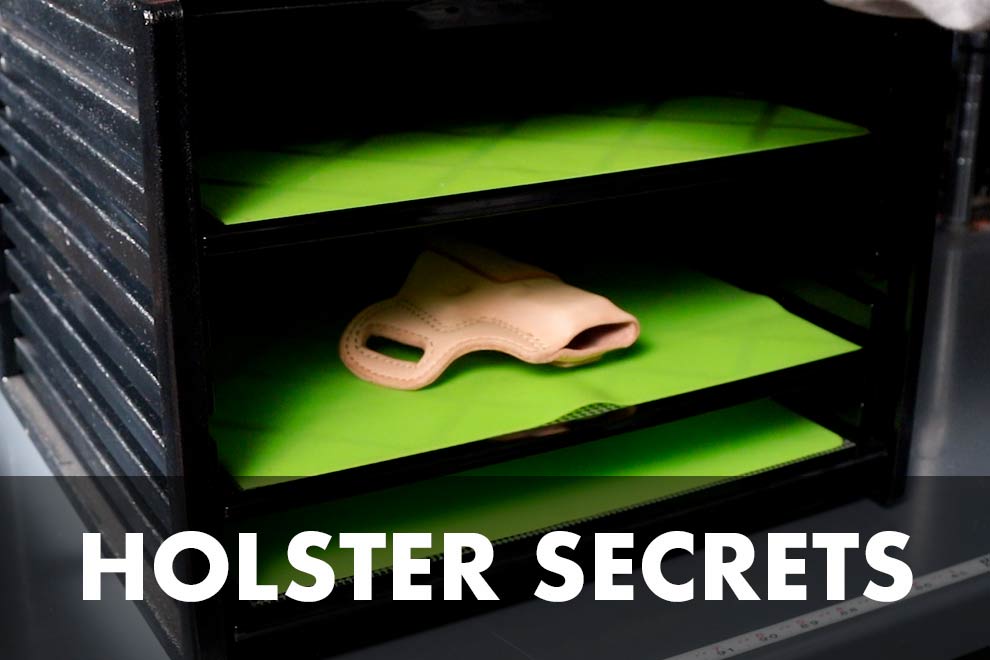
Once you finish up with this video, let your holster dry a bit overnight before you go on to Wet Forming in the next video. The glued edges will stay together this way and you will end up with a nicer looking piece when finished.
Please note that getting a pattern to fit perfectly may take a few iterations. Usually the culprit is the stitch line and how tight you make it. That said, these instructions should get you fairly close, if not a good fit from the start. I also have patterns for sale for almost all models of Glock handguns if you are looking to skip this step.